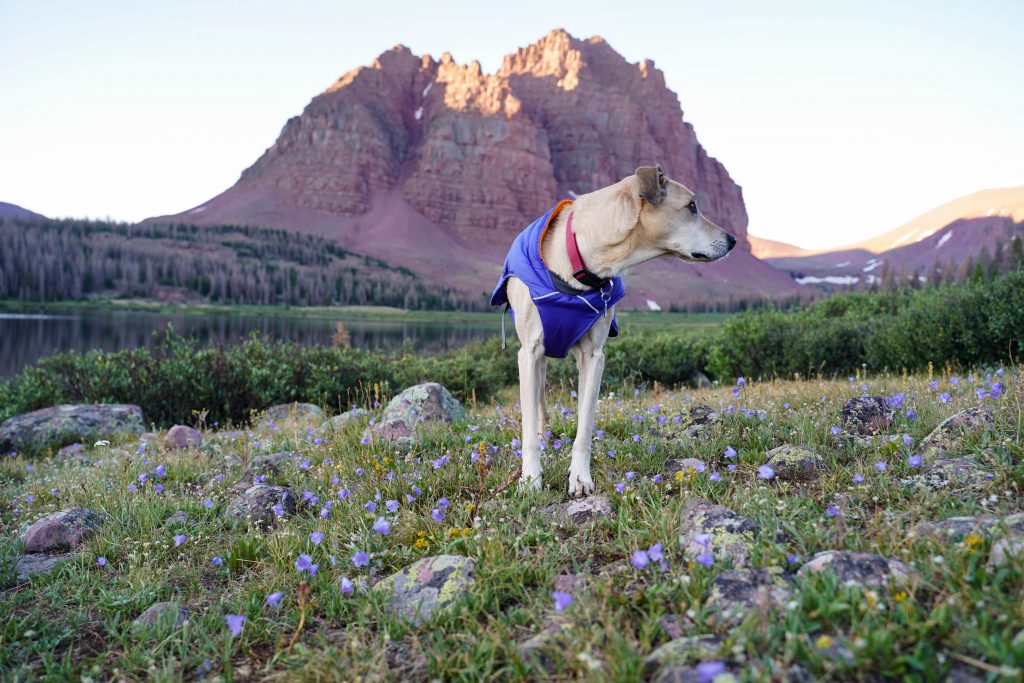
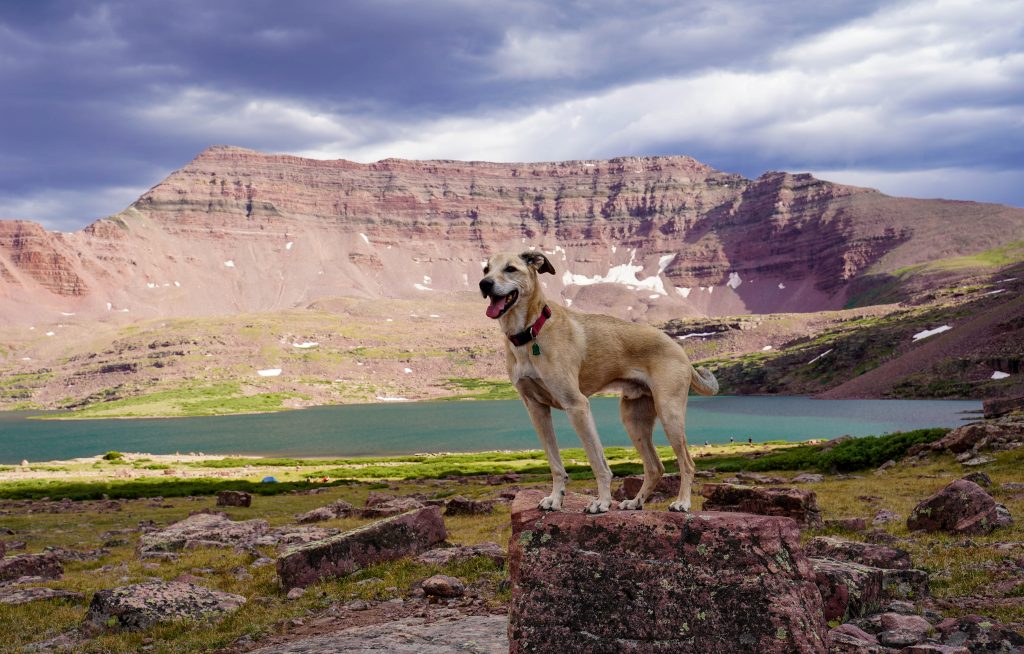
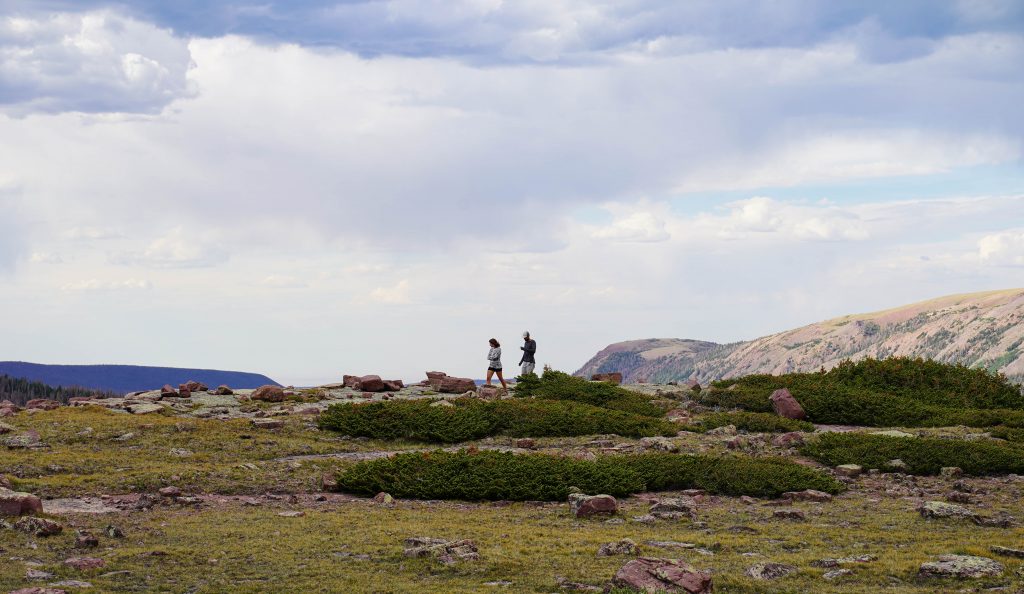
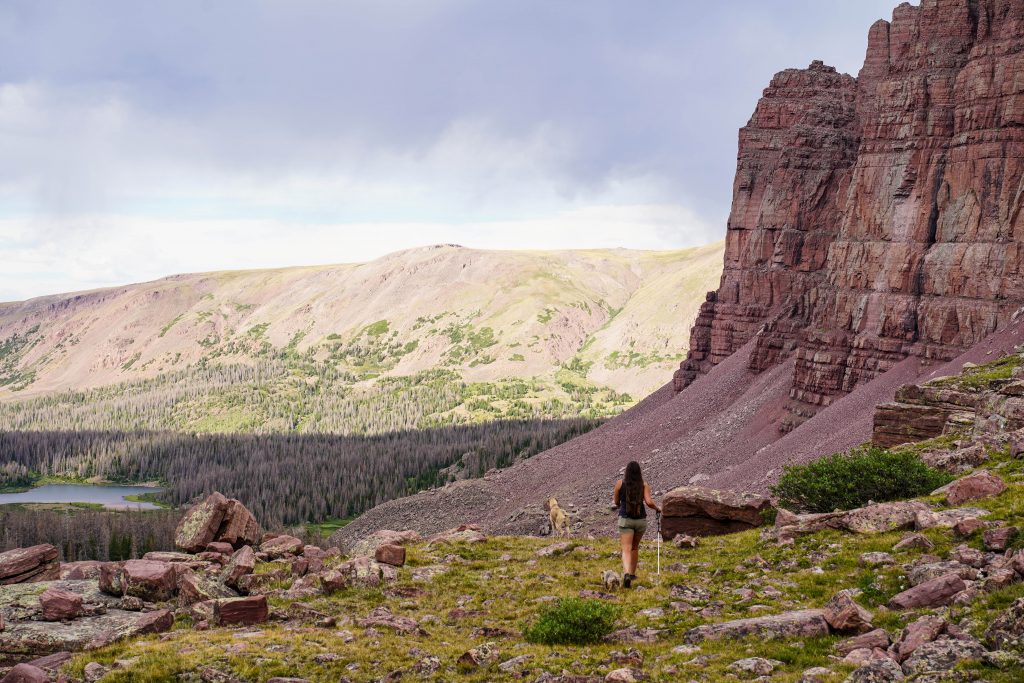
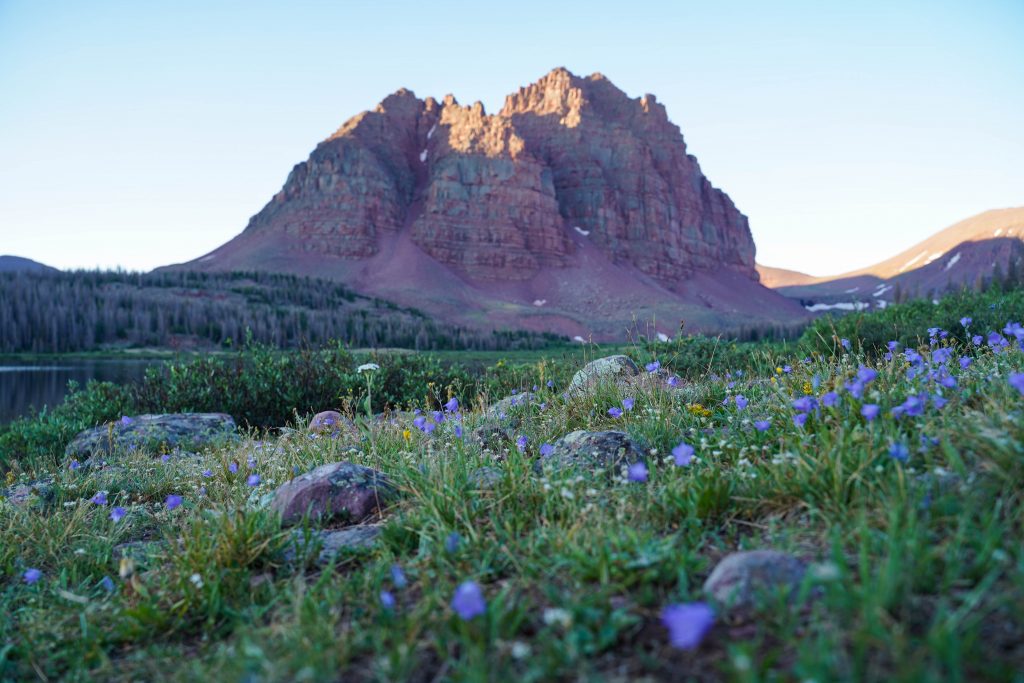
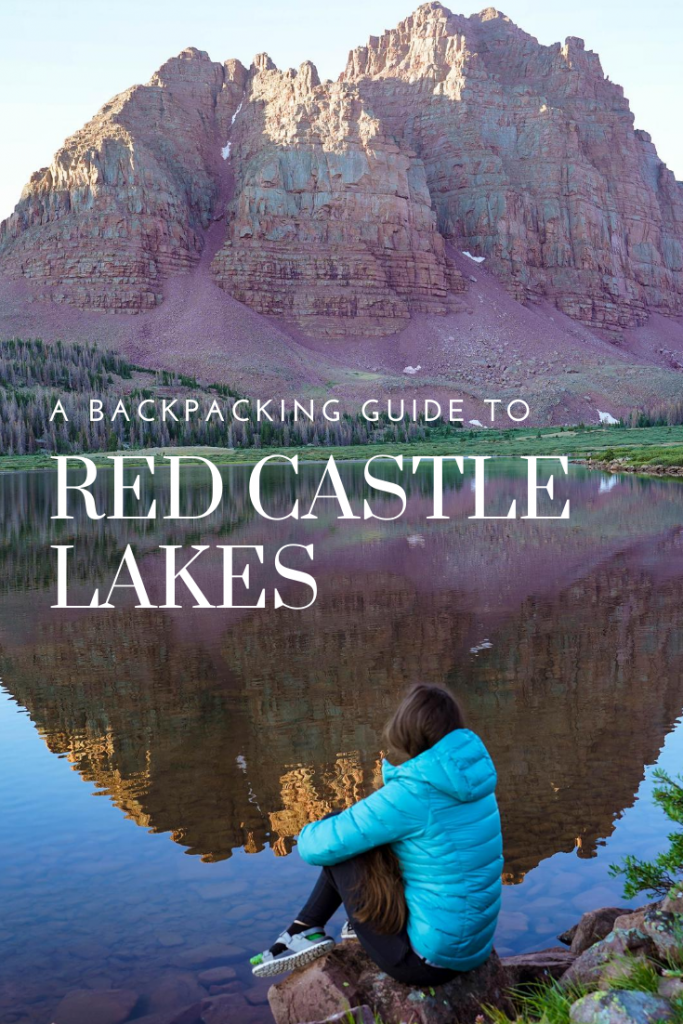
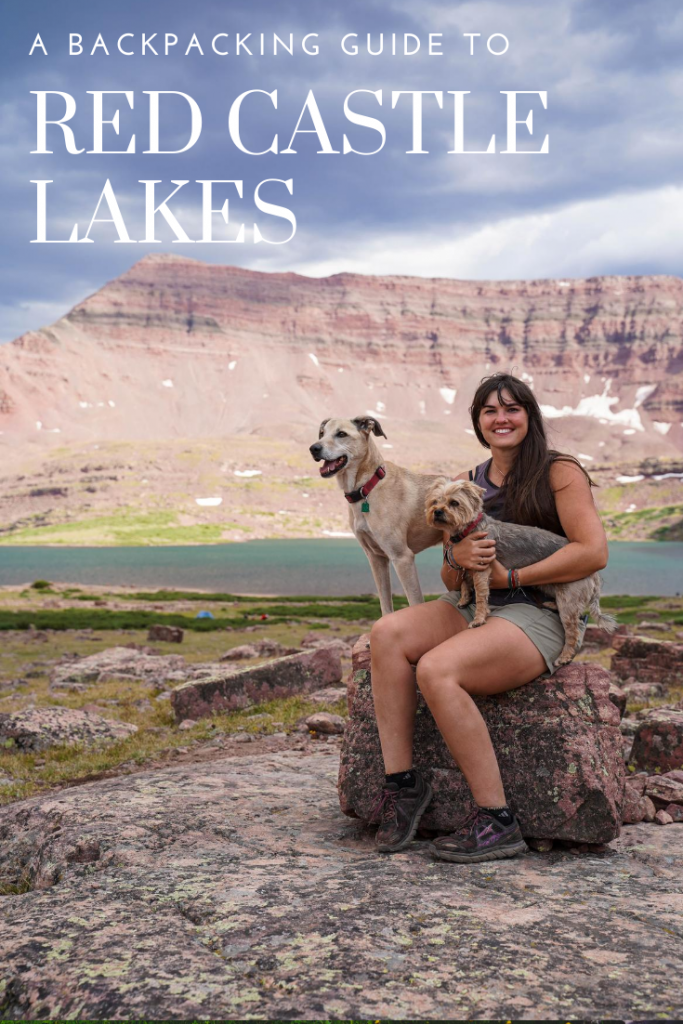
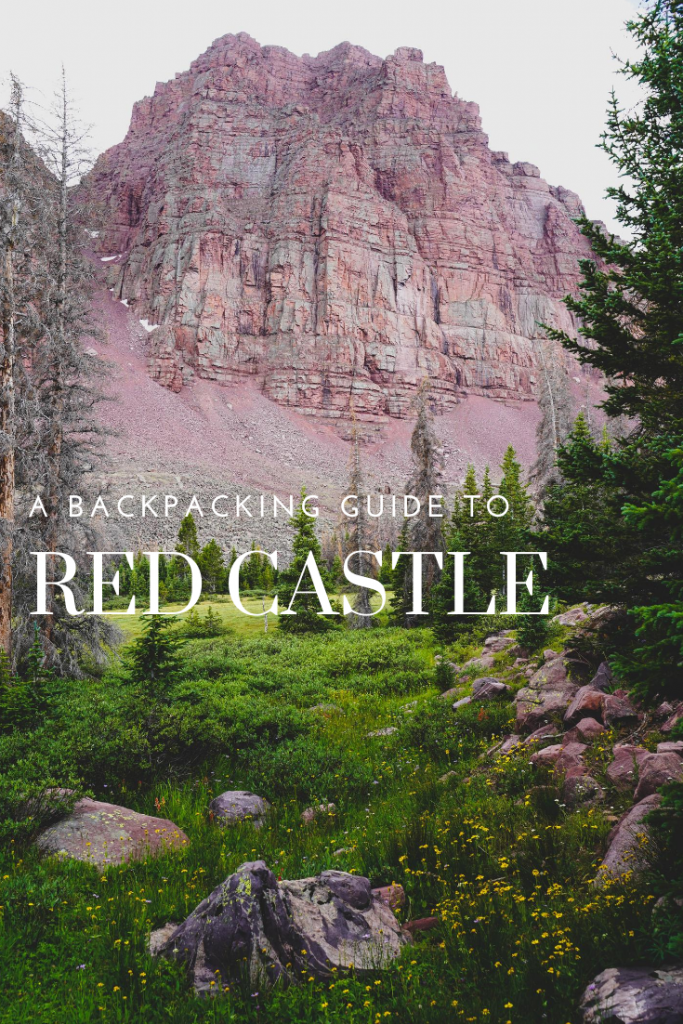
While almost everyone knows Kings Peak is “the” backpacking trip to do in the Uintas, Red Castle isn’t quite as largely known (though that continues to change with each passing year) I first heard about it and had a trip planned in 2016 but the trip was cancelled due to weather. Each year after I’ve tossed around the idea of going but something always came up! So this year was the year and all the hype from the last 4 years did NOT disapoint.
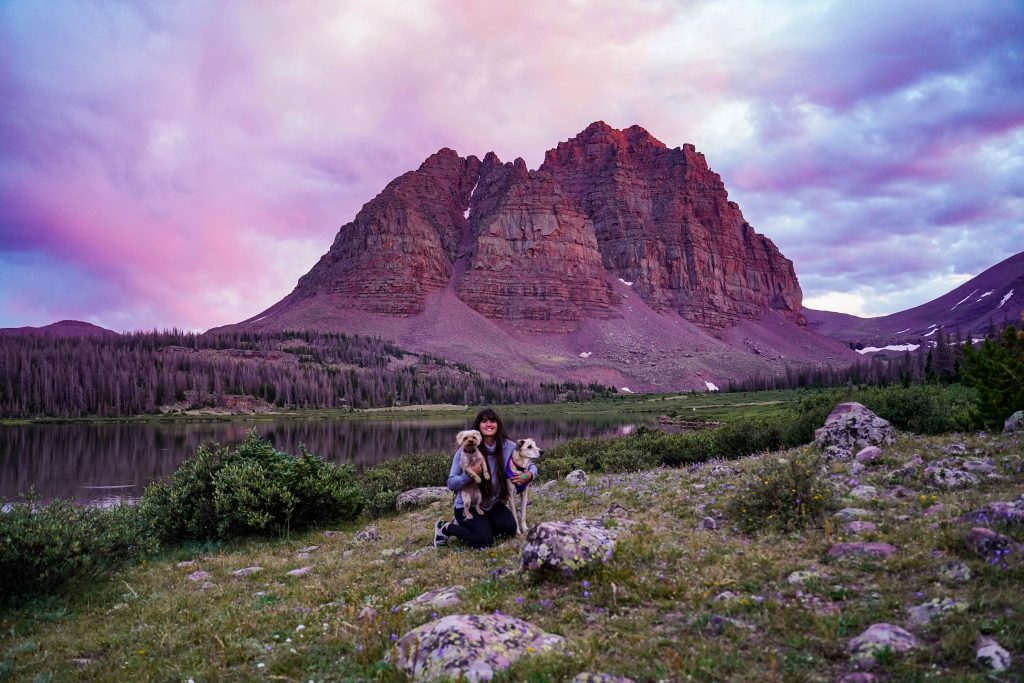
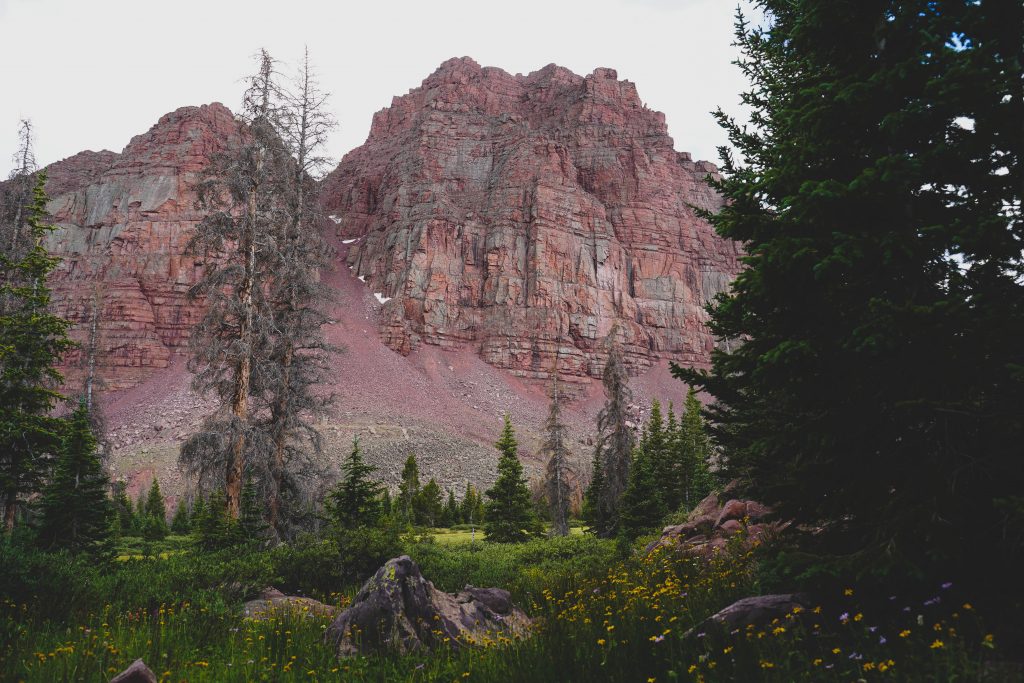
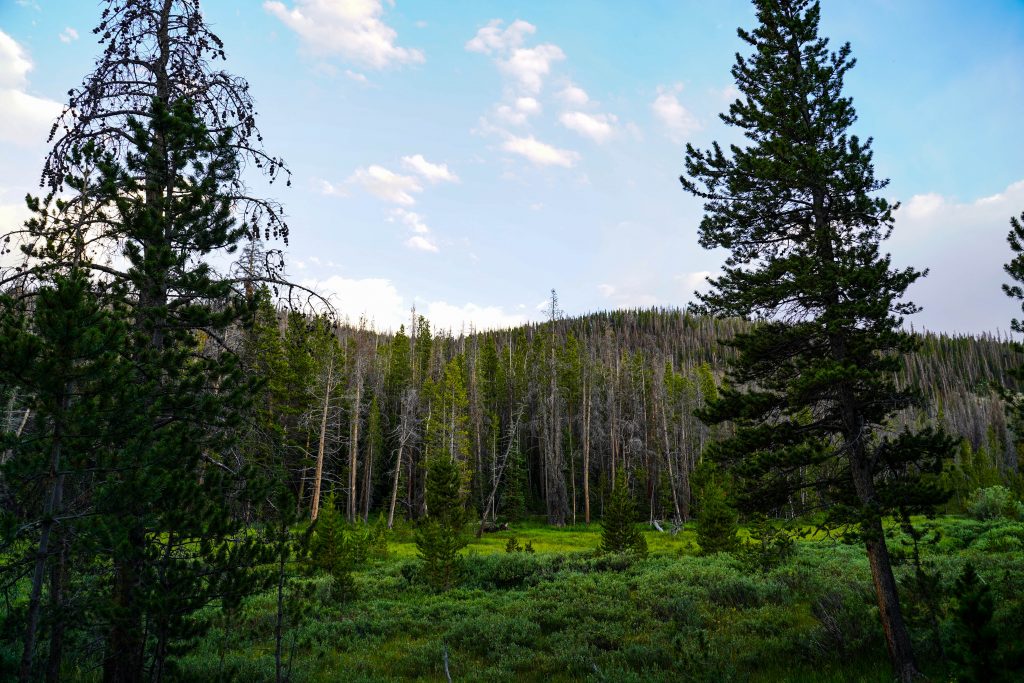
Red Castle, which just happens to be one major drainage over from Henry Fork (trail to Kings Peak), is not just an incredible destination but a stunningly beautiful hike as well. Now that I’ve hiked both Kings Peak and Red Castle, I’d say the trail to Red Castle is more graded and overall more enjoyable. (could be my PTSD from Kings though, that was a bit of a rough trip) So with that here’s the deets:
Trail Information:
Total Distance: 26 miles RT to Red Castle Lake
Distance to camps: 20-24 miles RT depending on where you want to setup
Elevation: ~2,000 feet
Time:~5 hours to Lower Red Castle Lake (camp) each way
Fees: The parking lot is $5/day and recreation passes are NOT accepted. If you have more than 1 vehicle you can pay “additional vehicle” charges which is +$4/ car/ day so if you have 2 cars it would be $9/day instead of $10. This fee is CASH ONLY. Come prepared so you aren’t ticketed while out in the backcountry.
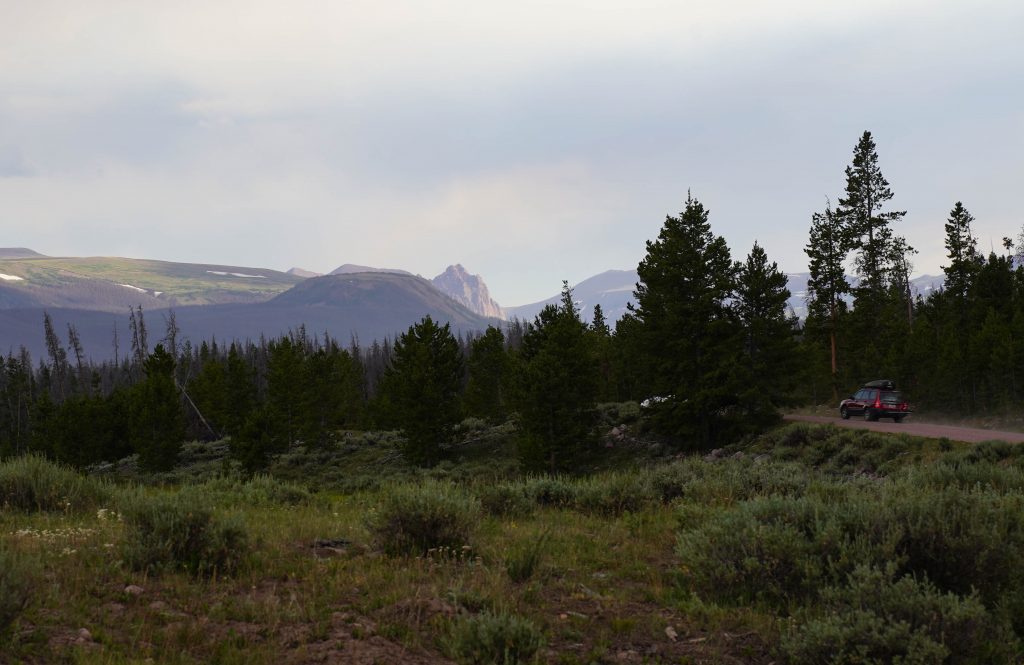
Trailhead:
While all trails connect and there are various ways to actually hike into Red Castle, China Meadows is the most popular route. The trail starts from the trailhead campground at the far end of all the campground loops. To get there, take exit 34 off I-80 and follow WY-410 E as it become Co Rd 283 and FR072 to FR125. Most of the roads are unpaved but still decent with only the last couple miles being a little more rough. As you pass China Meadows Campground and start the far loop, keep an eye out for a large parking lot.
Camping spot options:
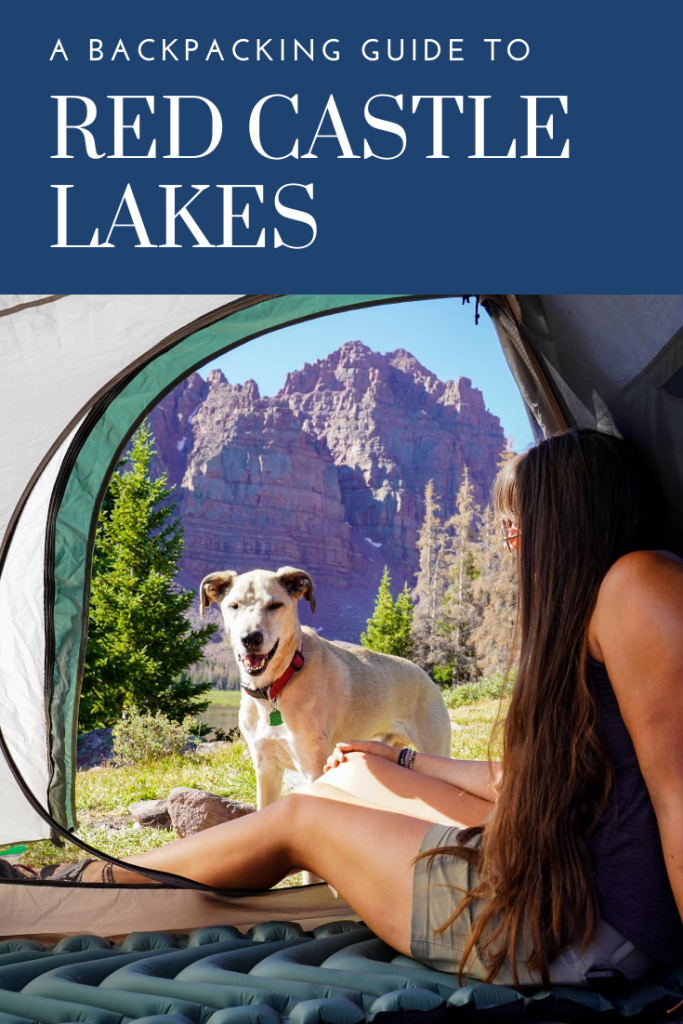
Red Castle is not a terribly difficult hike but it is a LONG hike. It can done as an overnight but would be much more enjoyable with 2 nights. We actually worked most of the day Friday, drove to the trail head, and started hiking in at 6:30 PM. Just getting halfway in made our 2nd day that much more enjoyable. Once near Red Castle, the camping options abound:
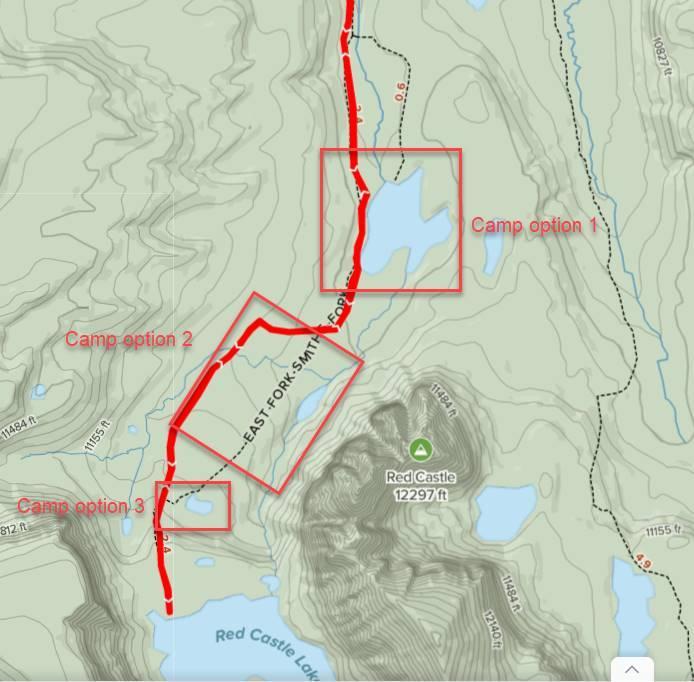
Option 1- Camp at Lower Red Castle Lake
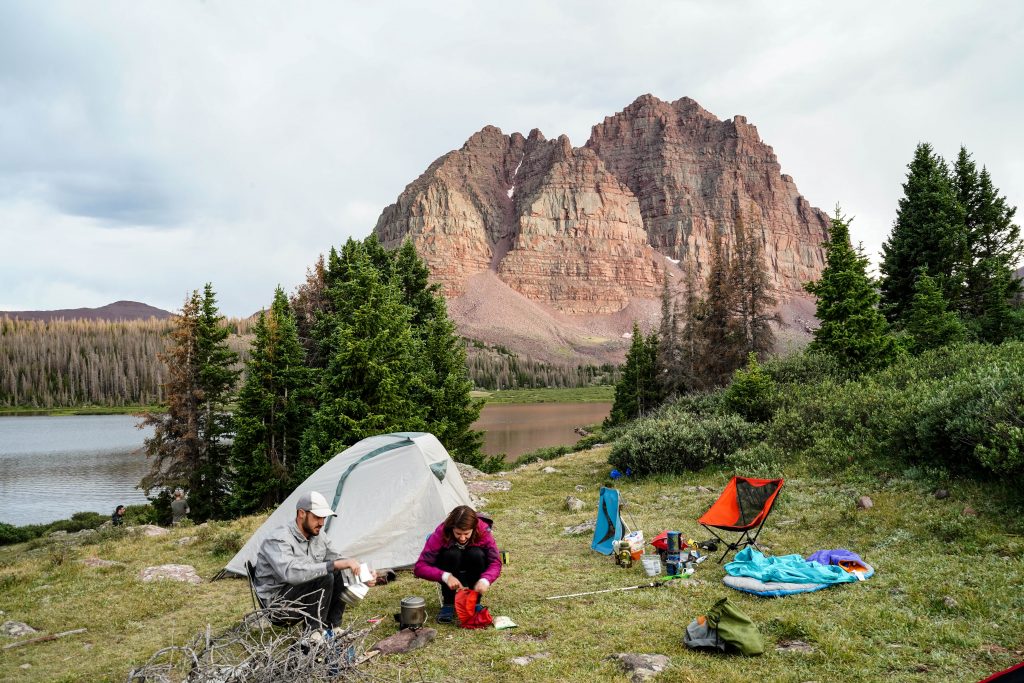
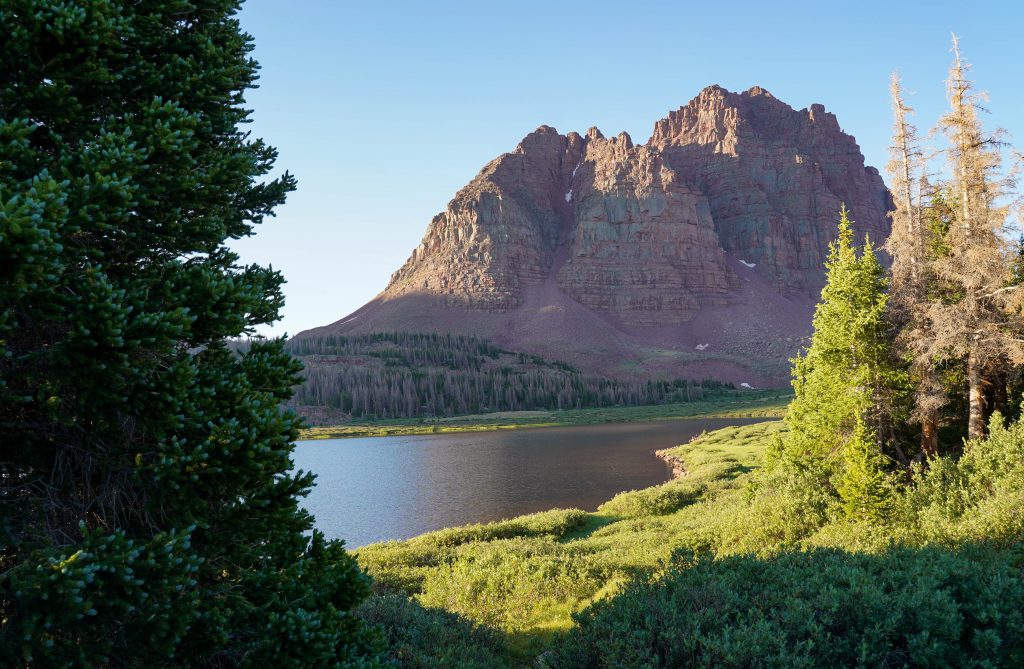
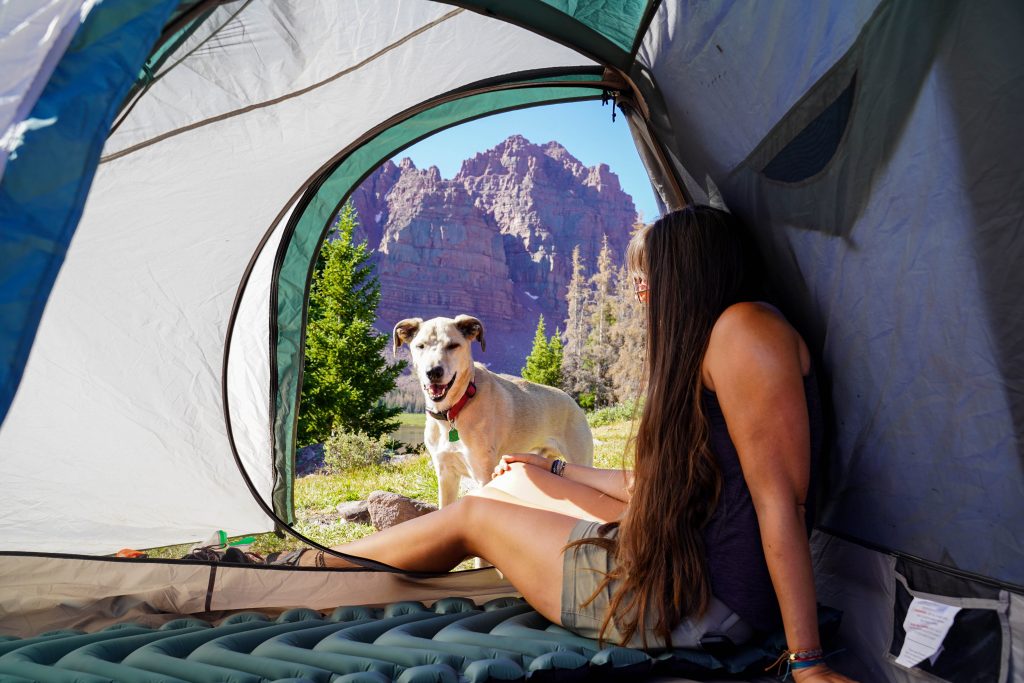
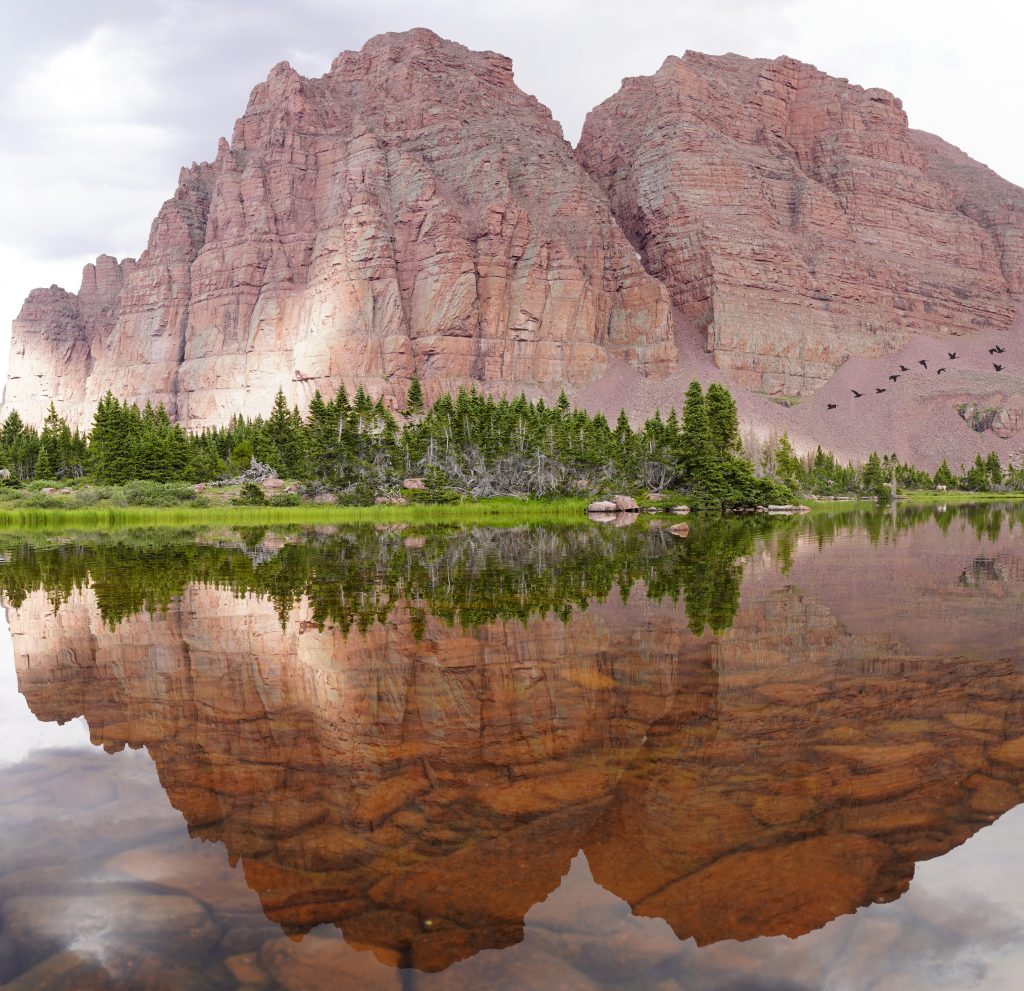
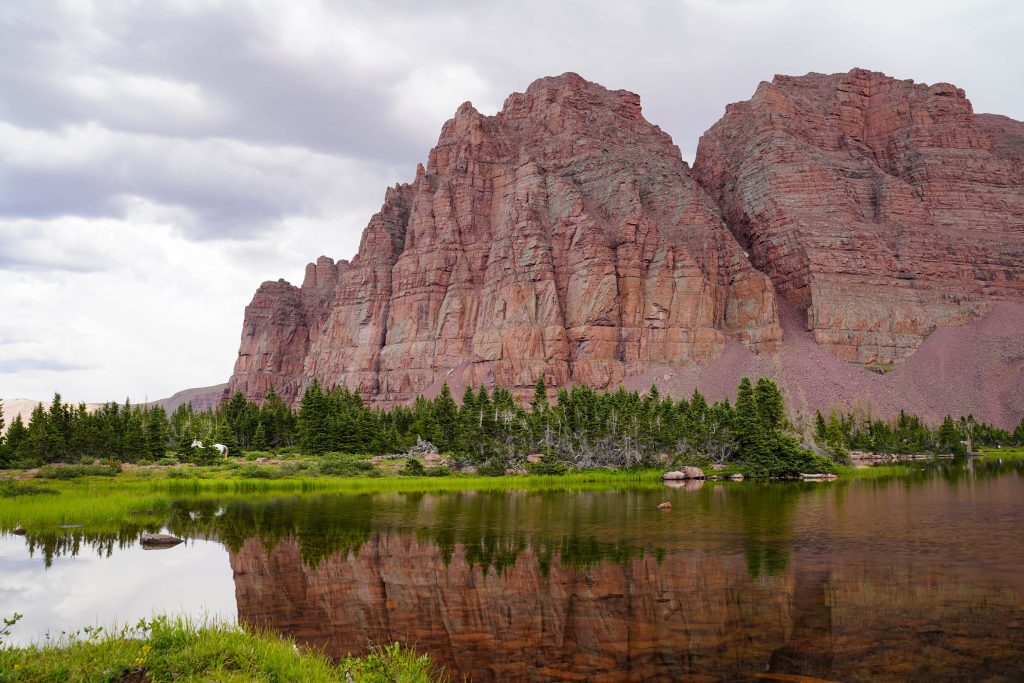
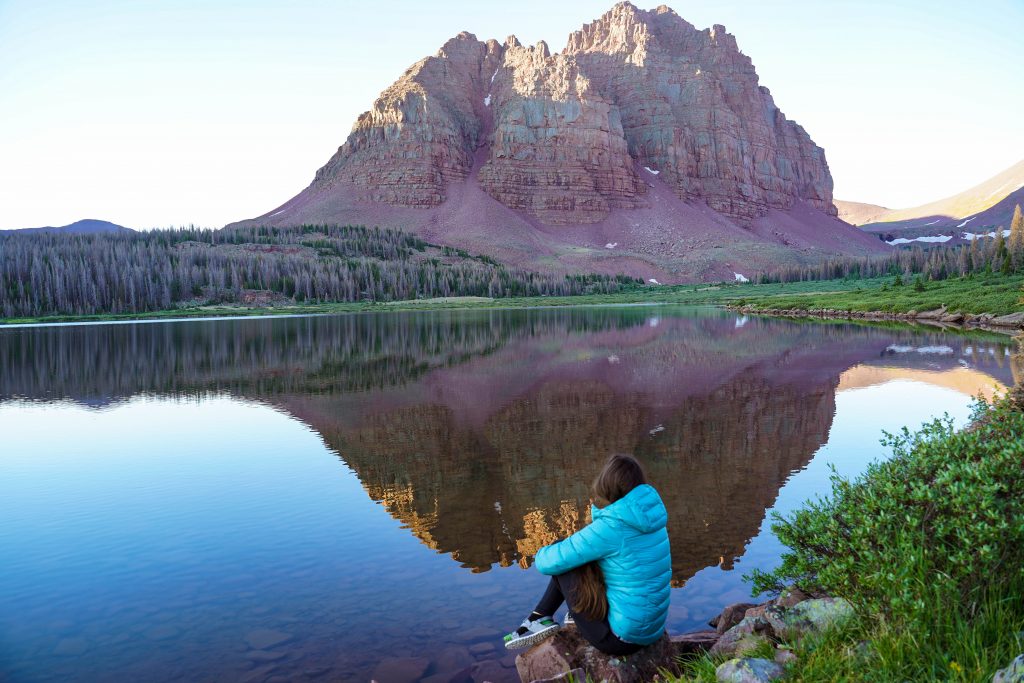
If you want that classic reflection of Red Castle on the lake and want the shortest hike with a pack possible, than camping around the lower lake is for you. (and for us) There are loads of places to setup all around the lake depending on the shore access and views you want. We got there Saturday afternoon and while it was busy we managed to still snag a great spot with some measure of privacy. (Just remember to camp 200 feet from water sources)
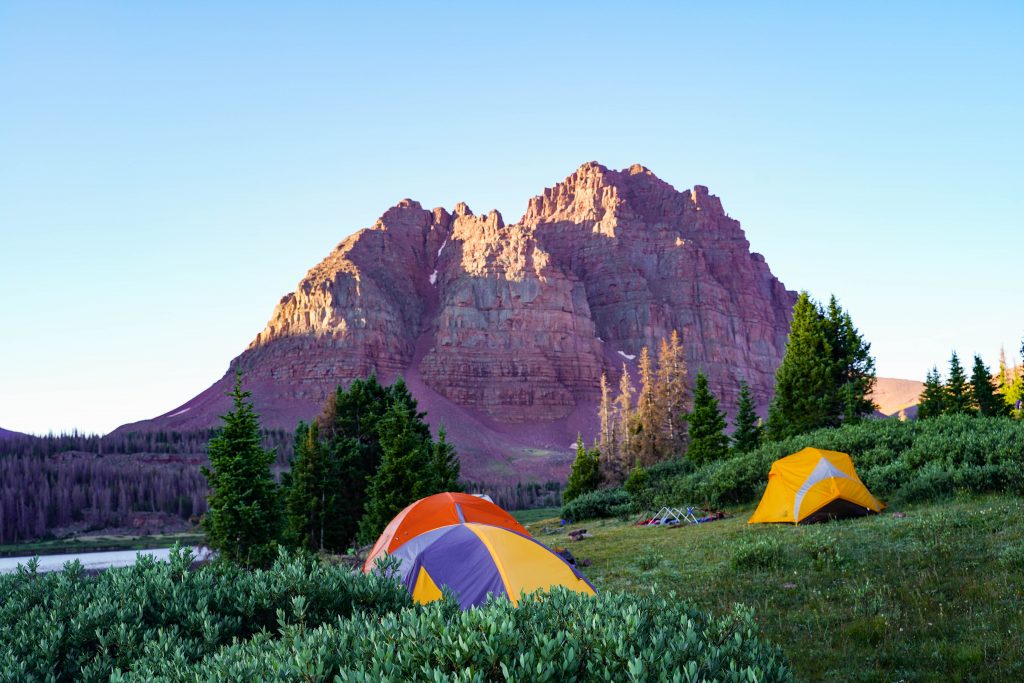
Option 2- Camp between lakes
As you head up from the lower lake there’s lots of beautiful forested areas to camp in near streams for water filtering and with Red Castle peaking out through the trees. If you have hammock sleepers, finding a spot in this stretch would be your best bet. This area will also provide more options for privacy and getting away from other campers however we did still see a lot of people camping along this stretch of trail. So while this may be the least crowded option, they area all pretty comparable.
Option 3- Camp at the pond just below Red Castle Lake
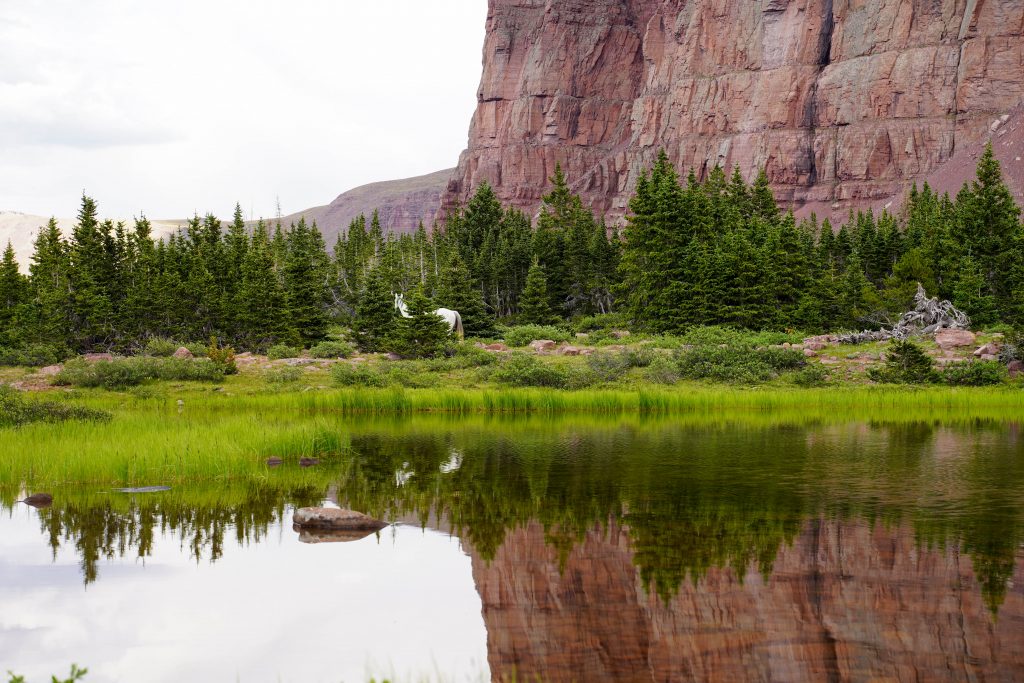
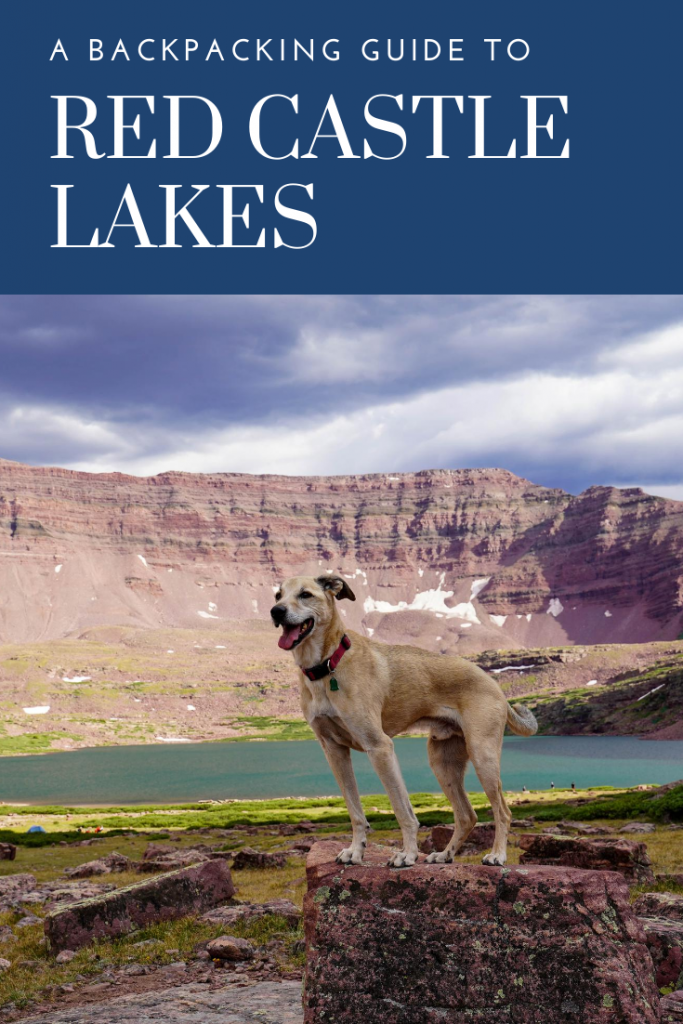
So, the main Red Castle Lake is huge and barren. It has no trees around it to break wind, hang water filters, or offer any privacy. (so I don’t recommend camping there). However there is a small lake un-named just below the basin for Red Castle Lake that offers plenty of shelter, water for filtering, and pretty gorgeous views to boot. This would mean you carry your pack 12.5 miles each way with about 1700 feet of gain so a longer harder hike, but definitely another worthy location to look for camp.
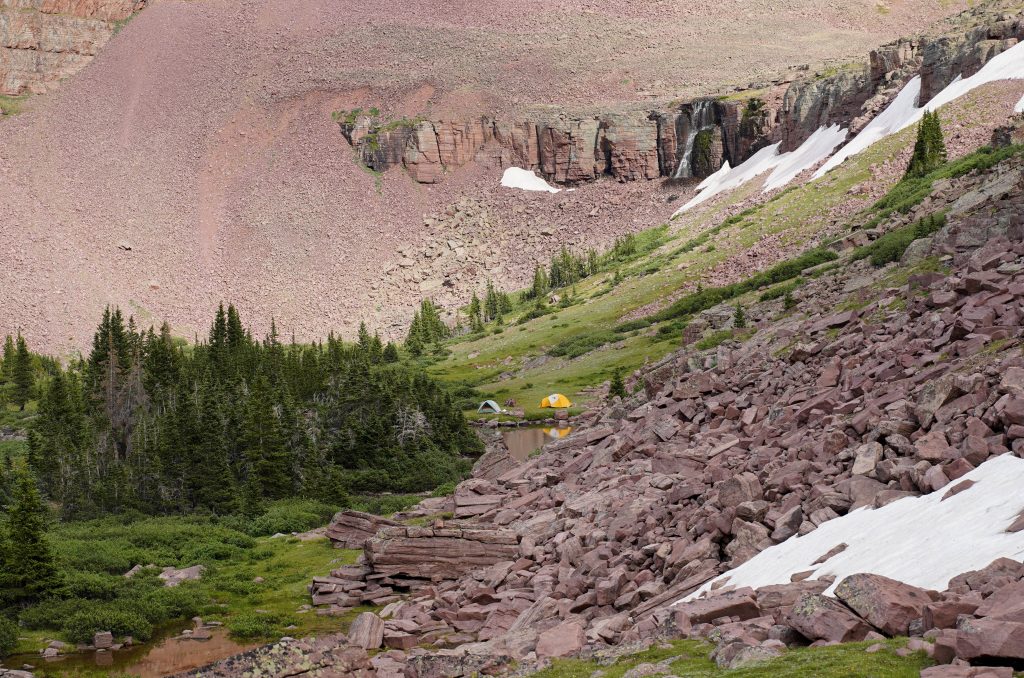
All 3 options are great options with superb views and about equal levels of crowds. Just know if you don’t find a spot where you had your heart set on, you very well could find an even more brilliant spot just down the trail.
*It took us about 30 minutes of wandering along the side of Lower Red Castle lake to find our spot. We passed several already snagged spots that looked AWESOME but we were just as happy with where end ended up. Don’t lose hope.
Packing list:
Gear:
- Lightweight Tent
- Sleeping bag
- Sleeping pad + pillow
- Jetboil or light stove
- Long spoon and coffee cup
- water filter
- Solid backpack with rain cover
- String for hanging packs when out hiking or at night
- GOOD bugspray and sunscreen
- luxury item: lightweight chair
Clothes
- Puffy coat
- Rain jacket
- 1x shorts
- 1 leggings/ light sweats
- 1x fleece/ sweater
- Socks and other underthings
*The weather can be super bipolar in the Uintas meaning you’ll want a full summer wardrobe during the day when it is hot, and warm winter gear for at night. In August we had a high of 70 (felt at least 75 in the sun) and low of 40 at night. Afternoon thunderstorms are common as well so rain gear is always a must.
Food- For a 2 night trip here is what we packed per person:
- 2x dehydrated meals (backpacker’s pantry) + 1 dehydrated dessert
- 2x oatmeal cups (no dishes needed, just cook in the cup and pack out trash)
- 3x flavored tuna packets + several handfuls of crackers for lunch
- 3x larabars
- several handfuls of goldfish for snacking
- 2x hot chocolate packets for colder evenings
Trail Description:
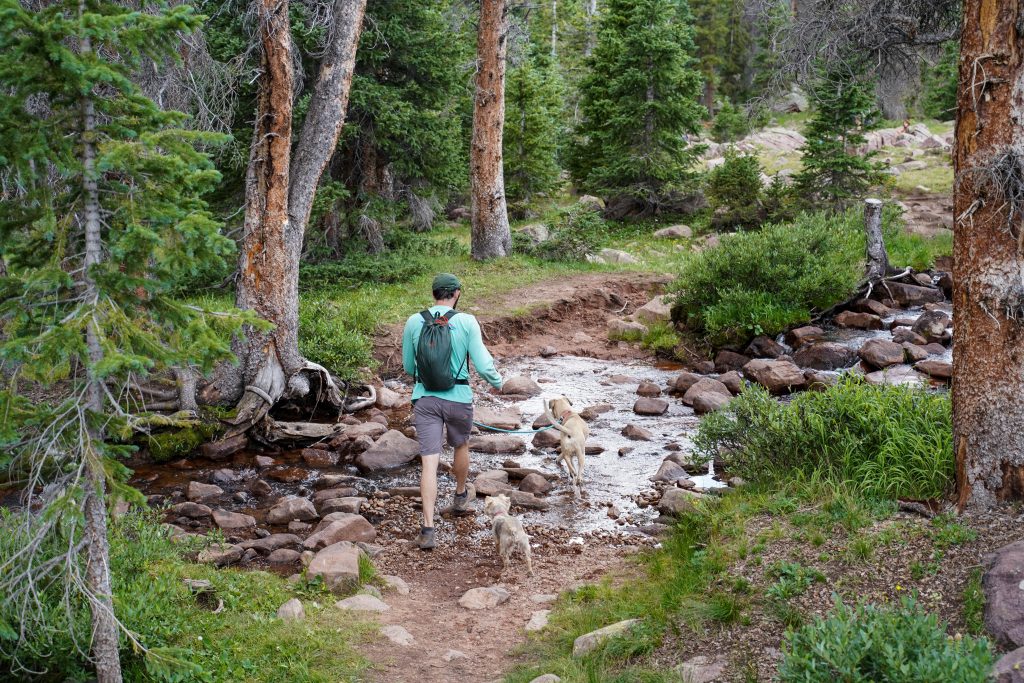
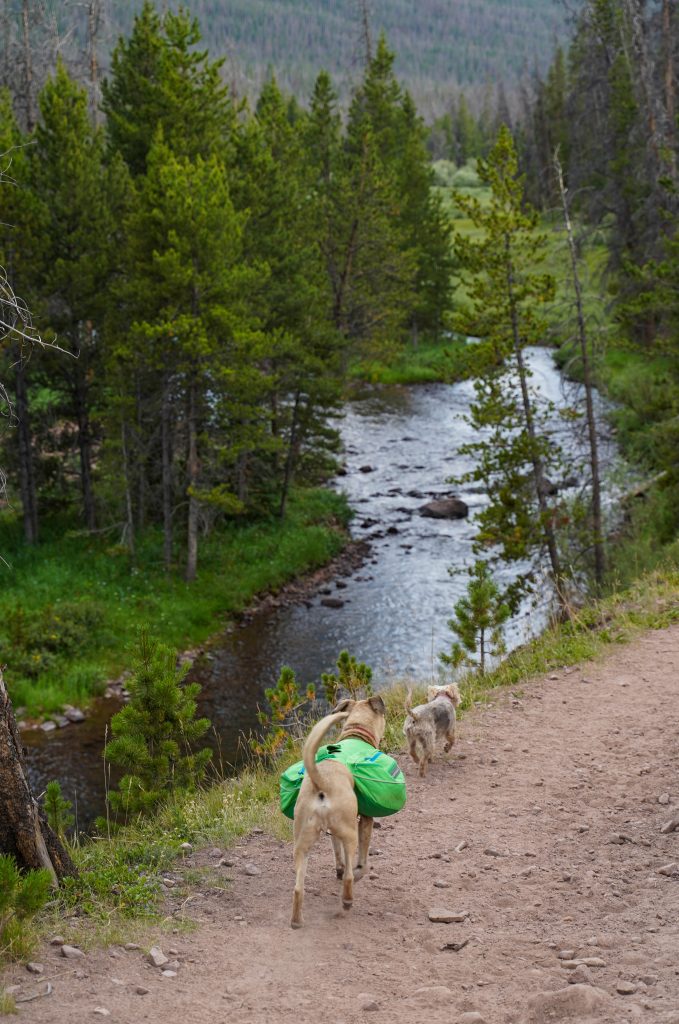
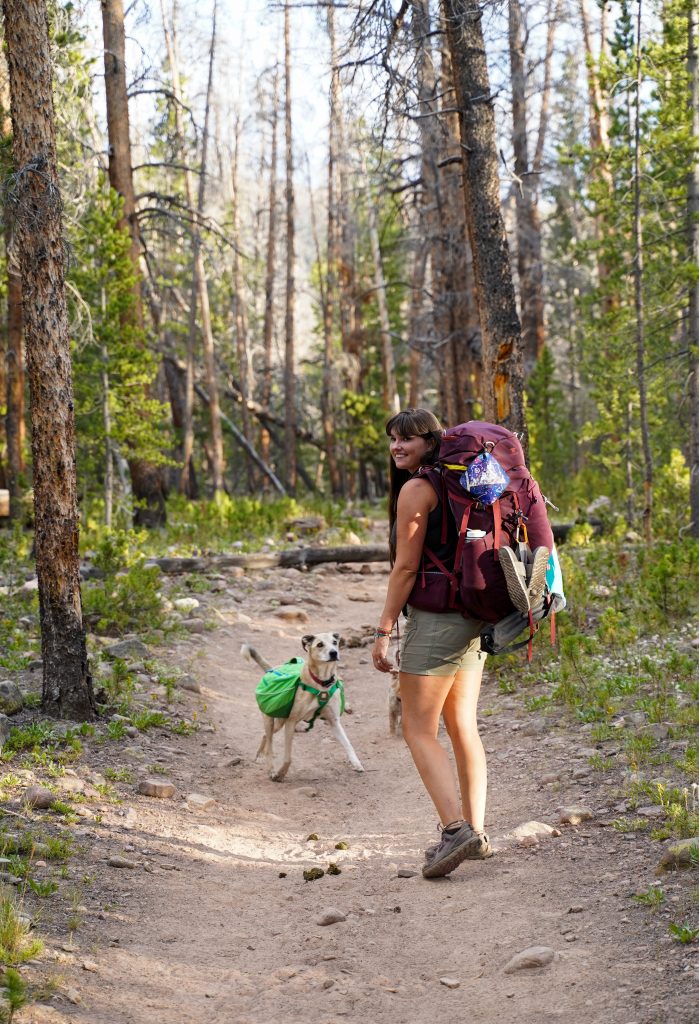
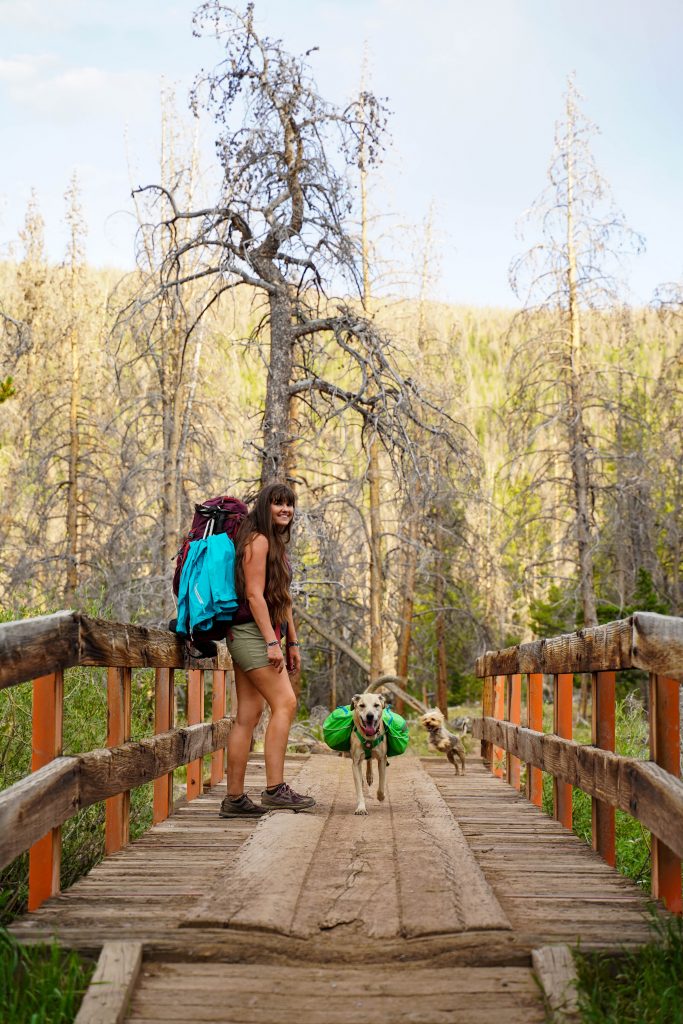
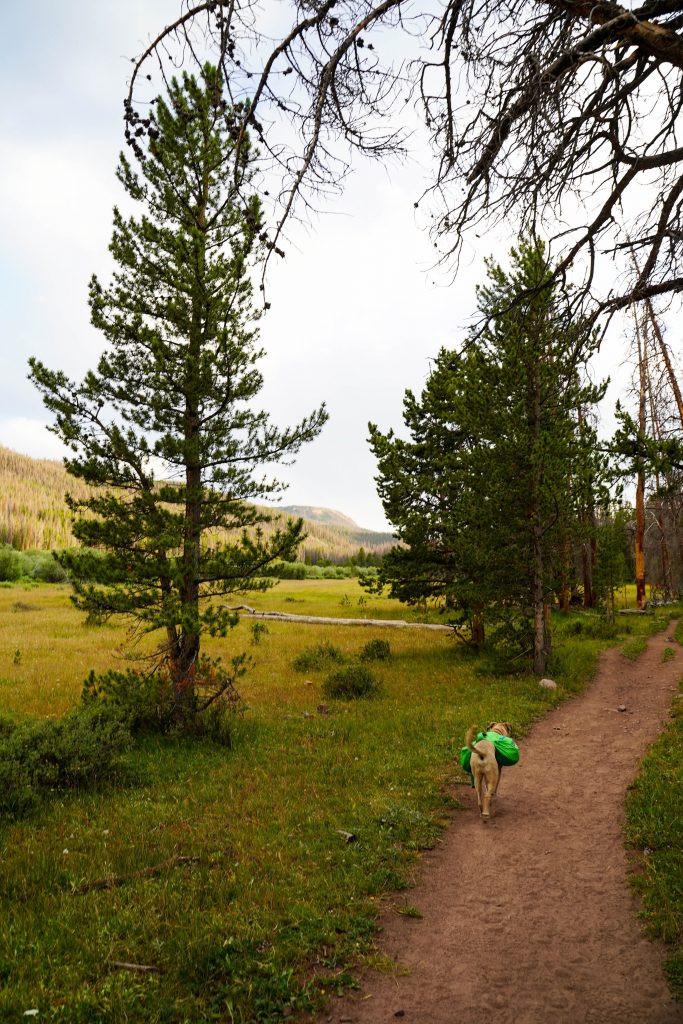
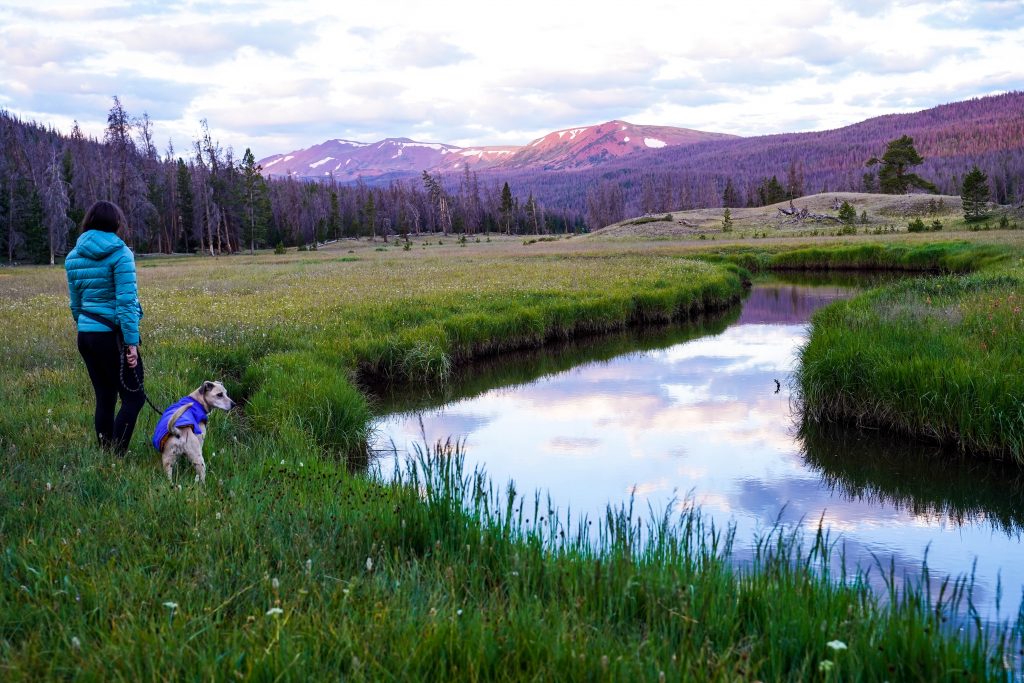
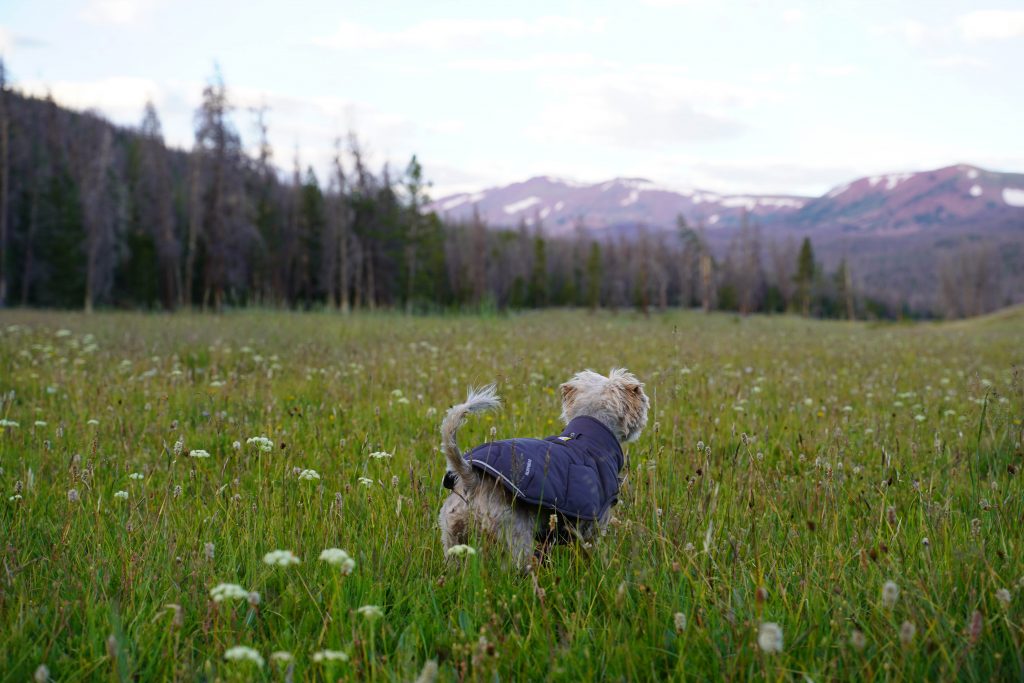
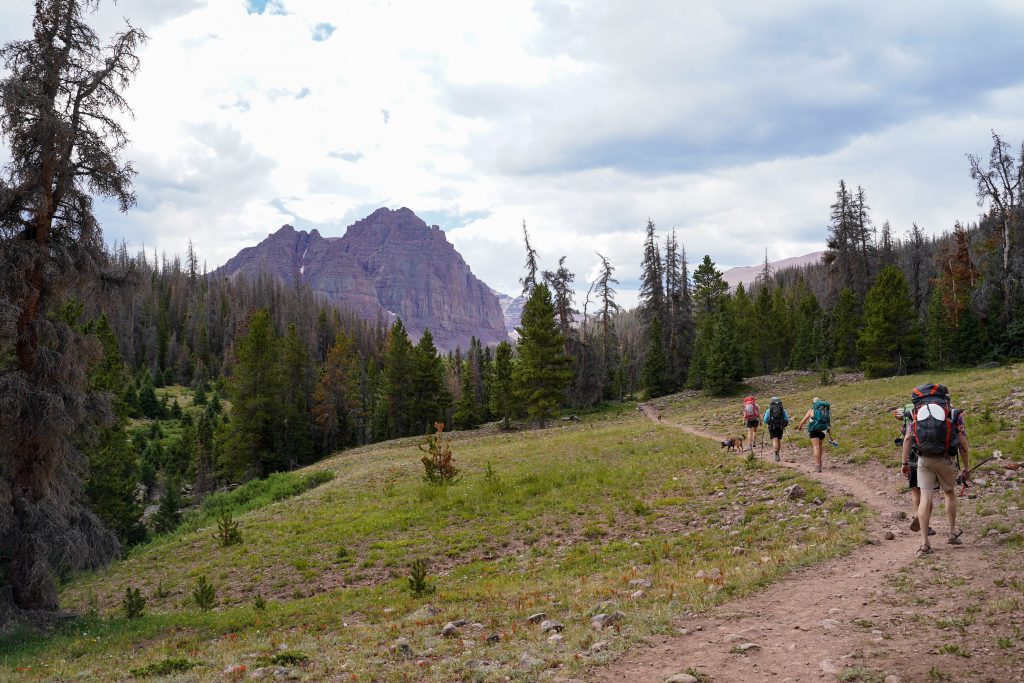
As previously noted we started in the evening on a Friday and just planned on hiking in as far as we could make it (which was several miles) The start of the trail is really easy, with the first almost 7 miles having little to no noticeable elevation gain. It wasn’t too rocky and was pretty easy going with our 2 dogs. Bonus- starting later we had the trail to ourselves.
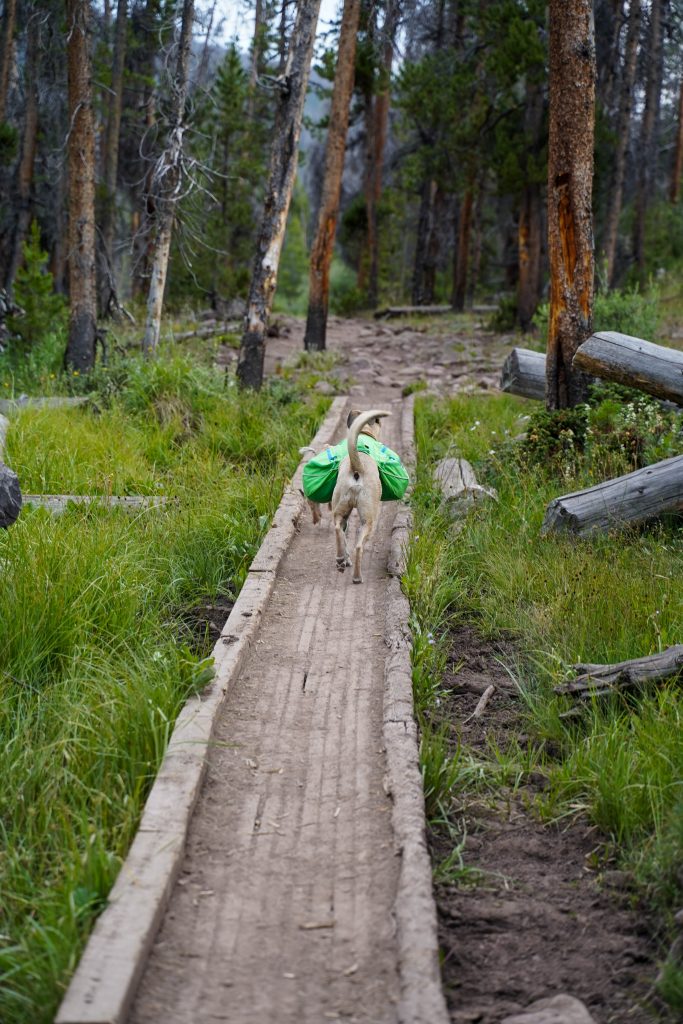
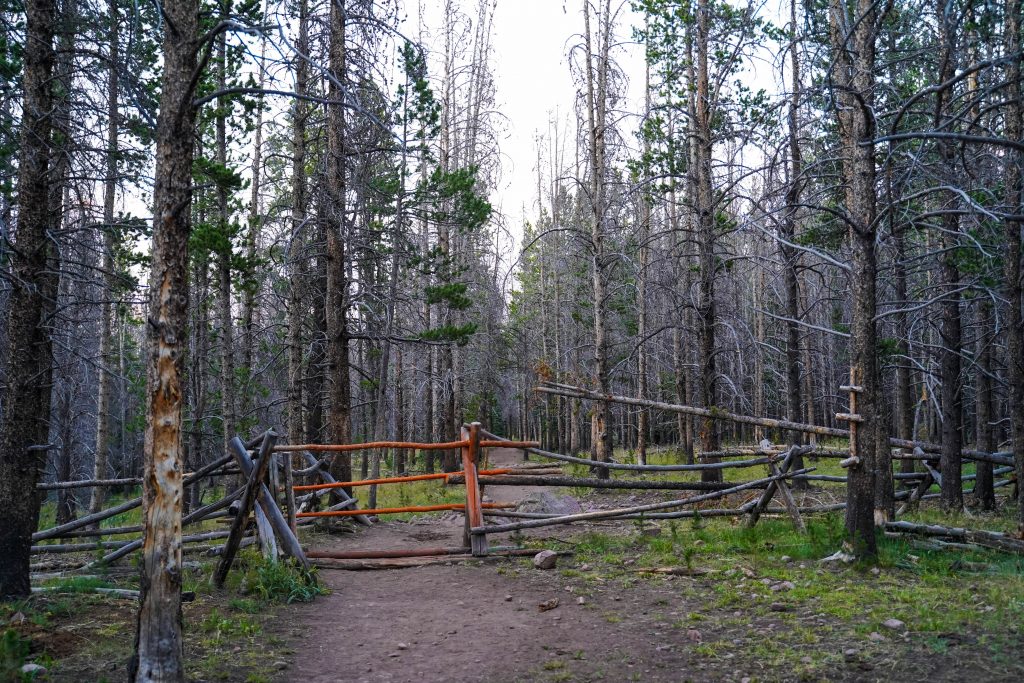
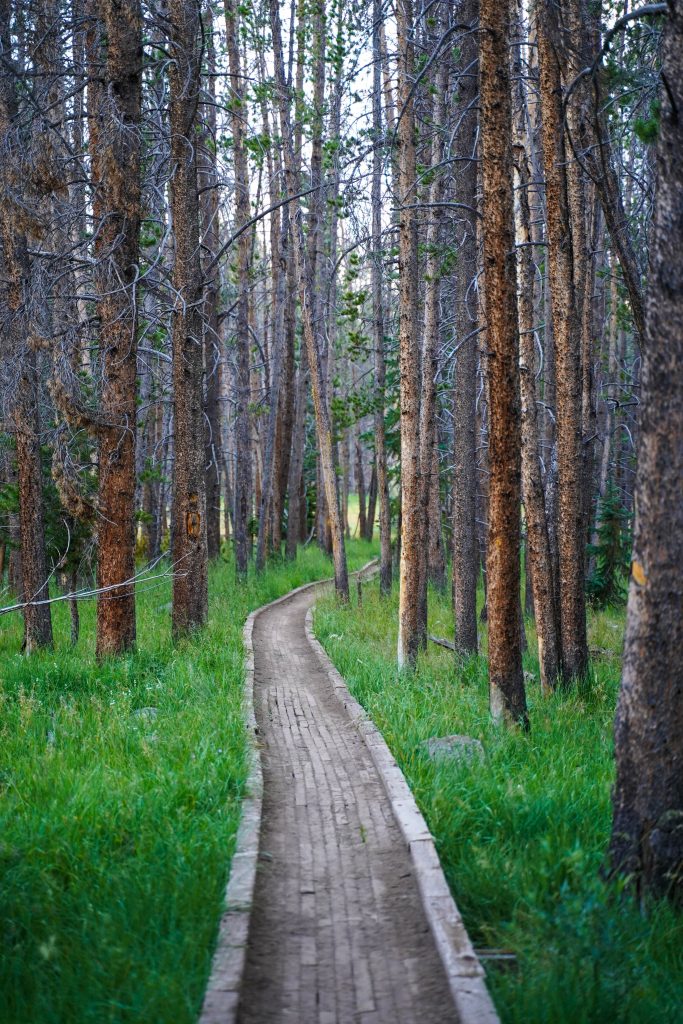
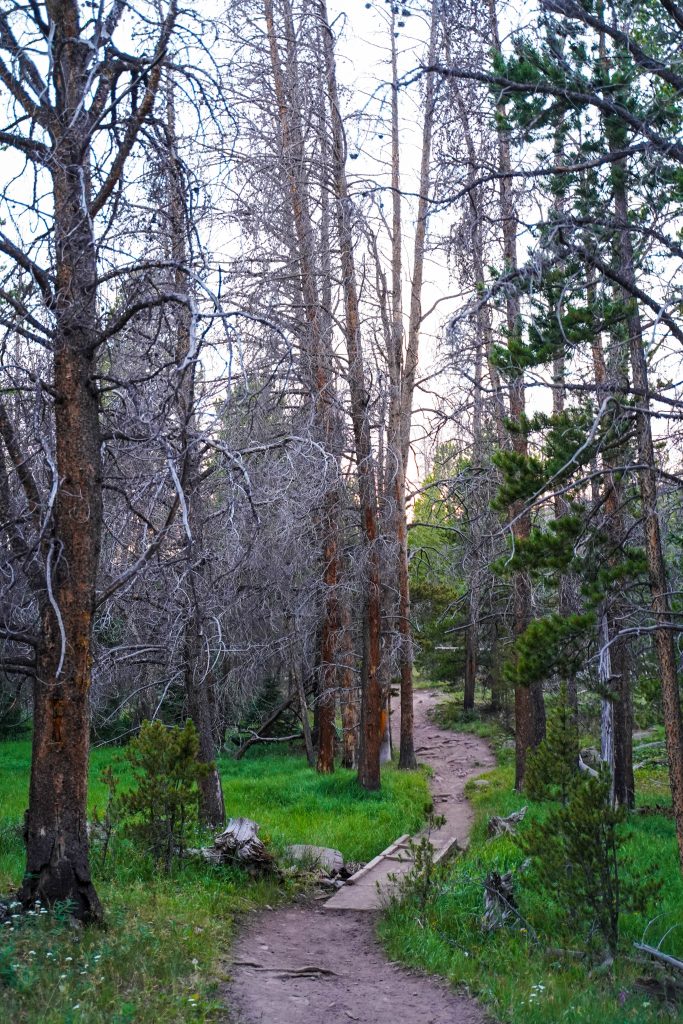
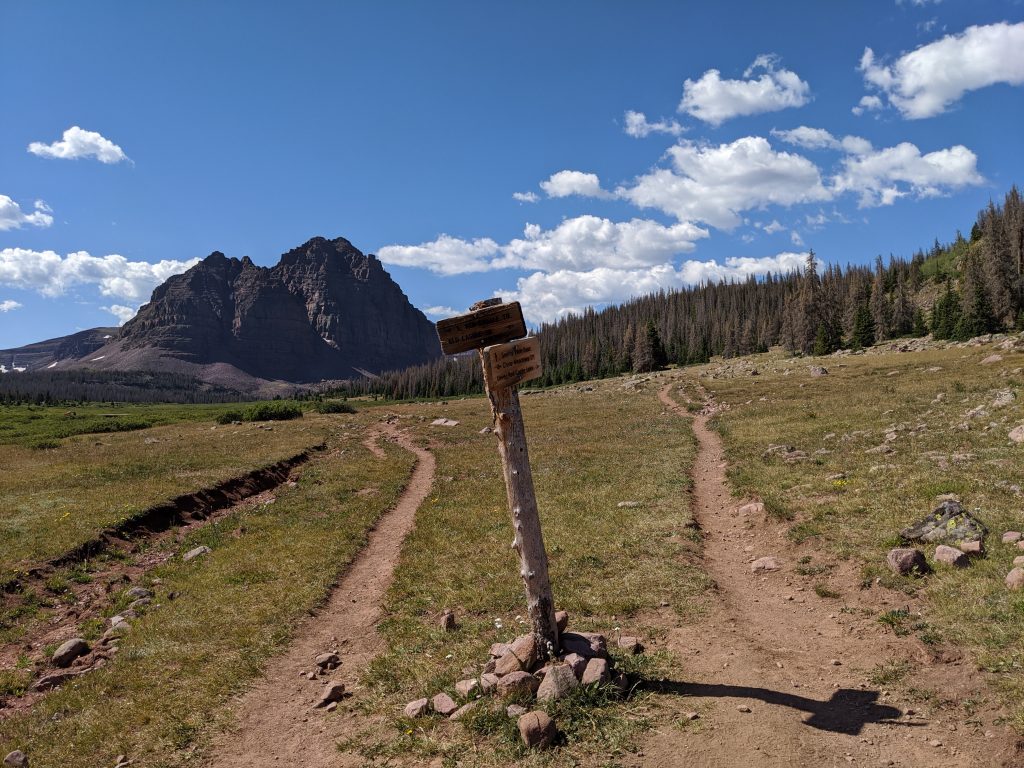
There’s a beautiful bridge 2 miles in and a random fence that you have to move logs out of the way about 3 miles in. After that you may notice some trail splits but they are all signed making the trail very easy to follow. You’ll just keep on the trail to Red Castle lakes.
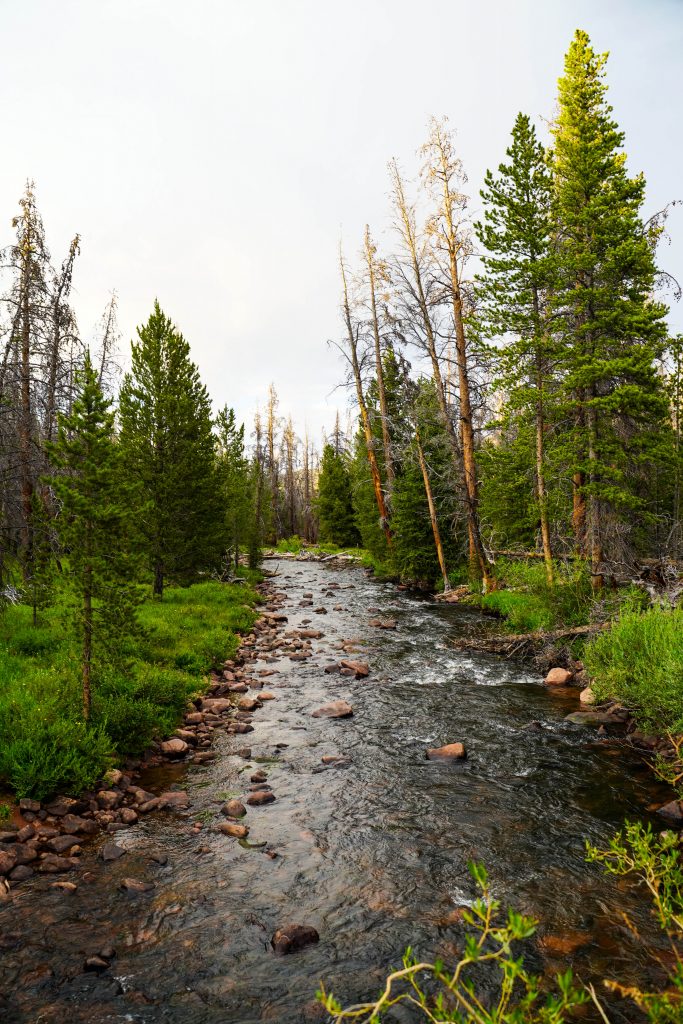
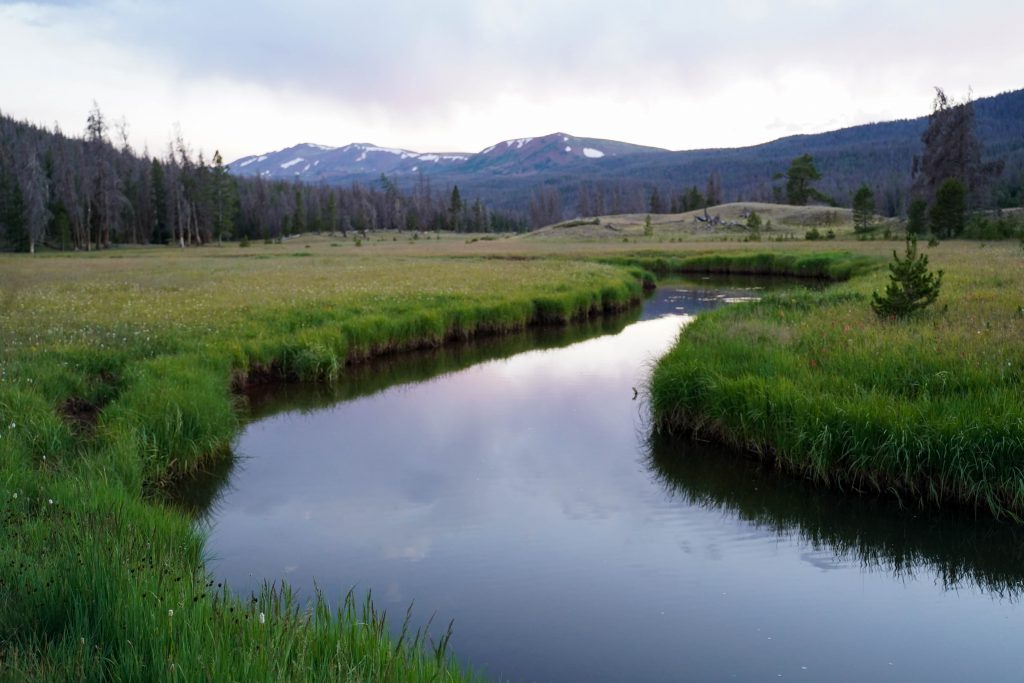
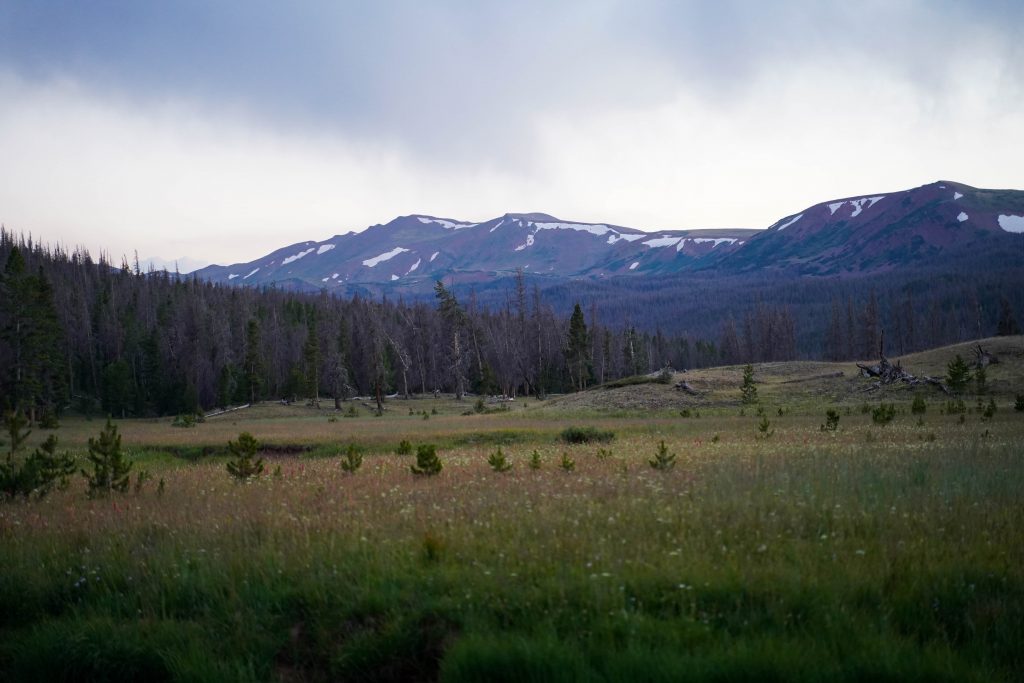
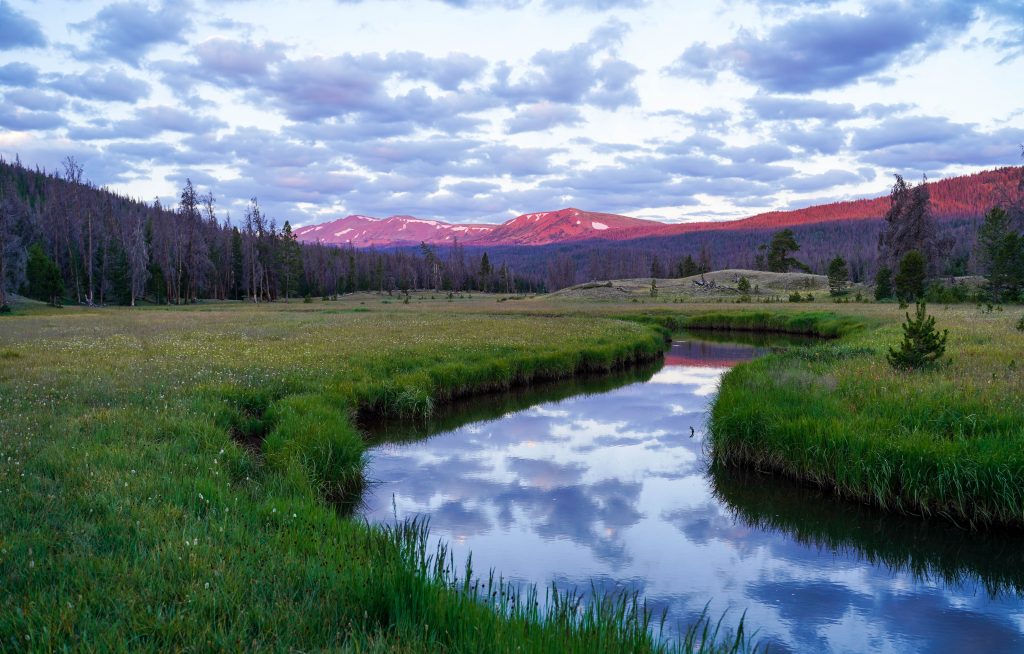
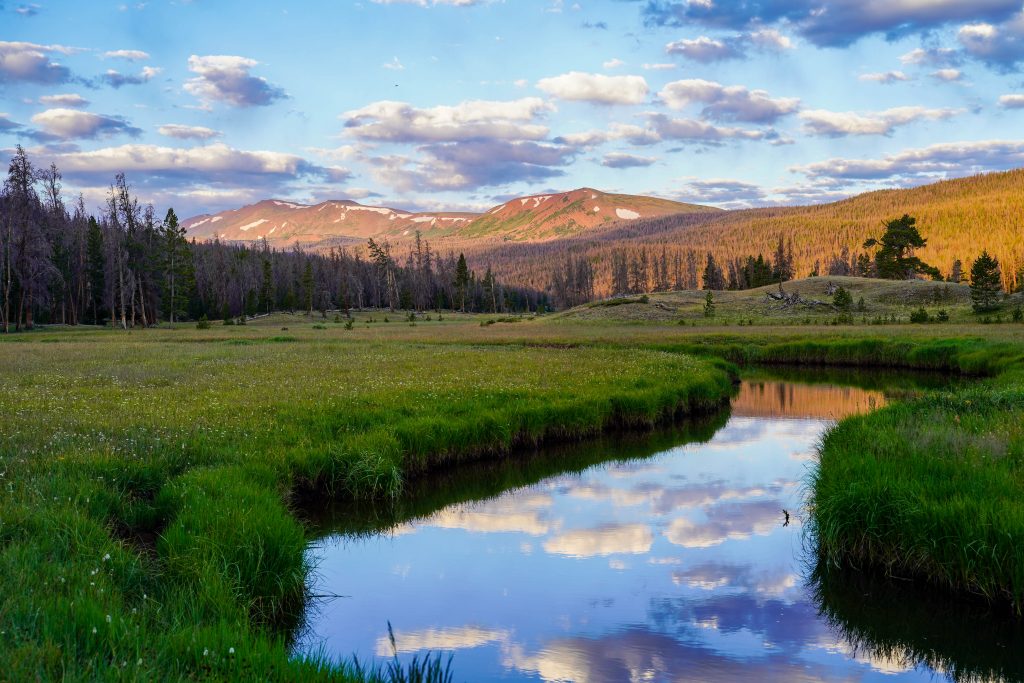
Around 8:30 we found a great little camp spot that even already had a fire ring so we called it a night and waited for our friends who started hiking even later than us. We were right near a stunning section of creek which made amazing sunset and sunrise photos and provided a very convenient spot to filter water from.
Day 2
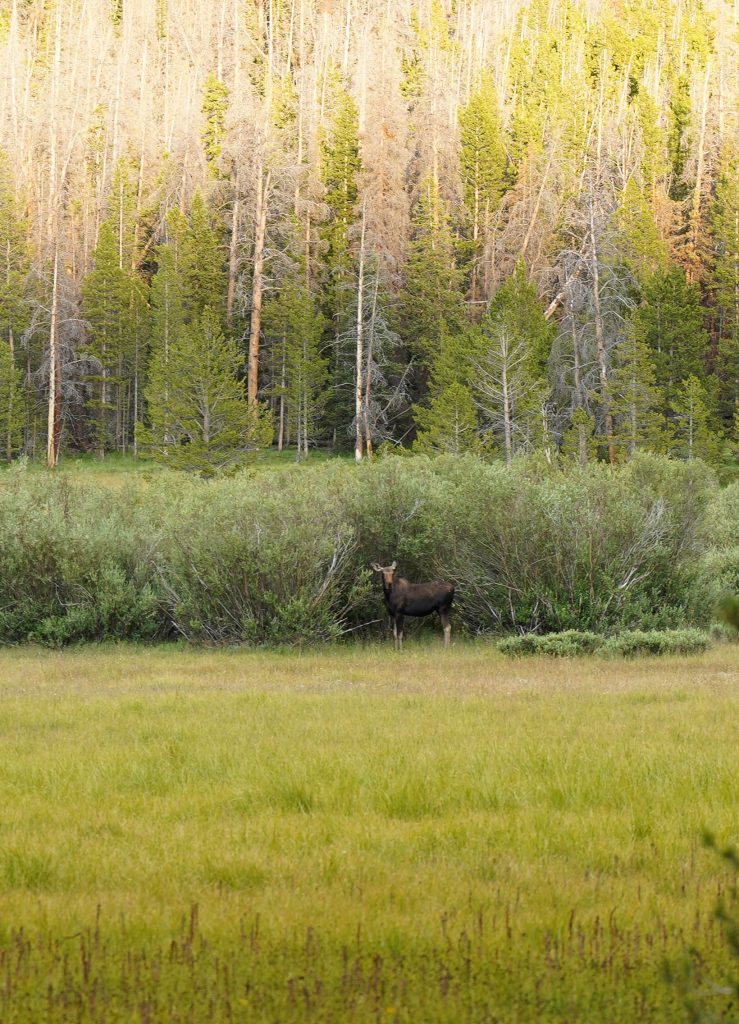
Starting in the morning we got a later start (around 9:30) and already noticed several groups hiking by as we cleaned up our camp. (so note Saturday a lot of people start hiking in) The trail again was pretty nice starting out moving between open meadows and trees (usually the climbs in elevation happen in the trees)
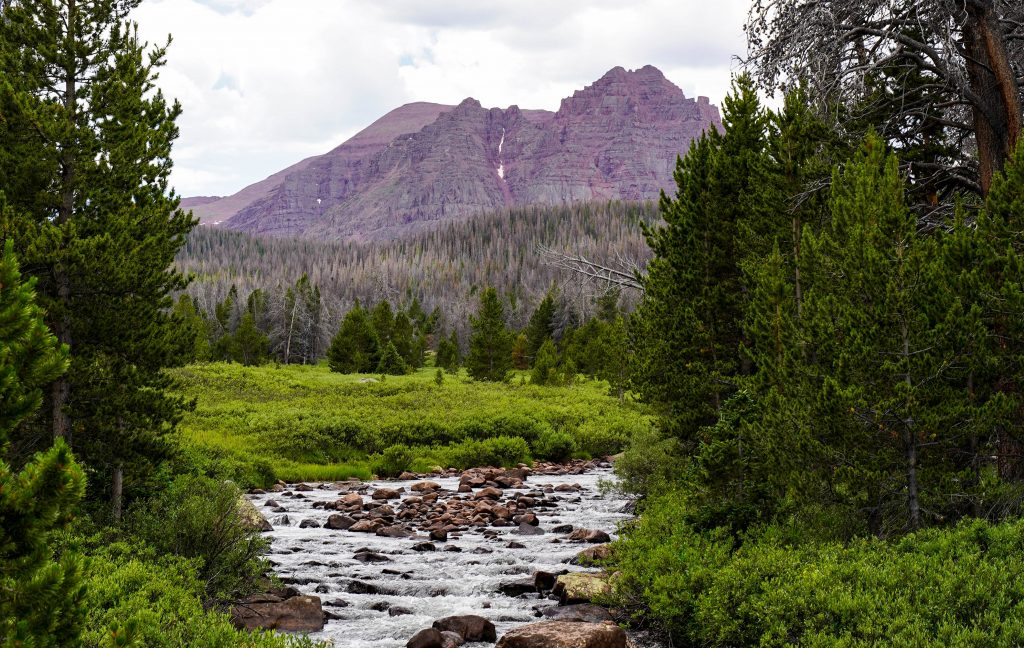
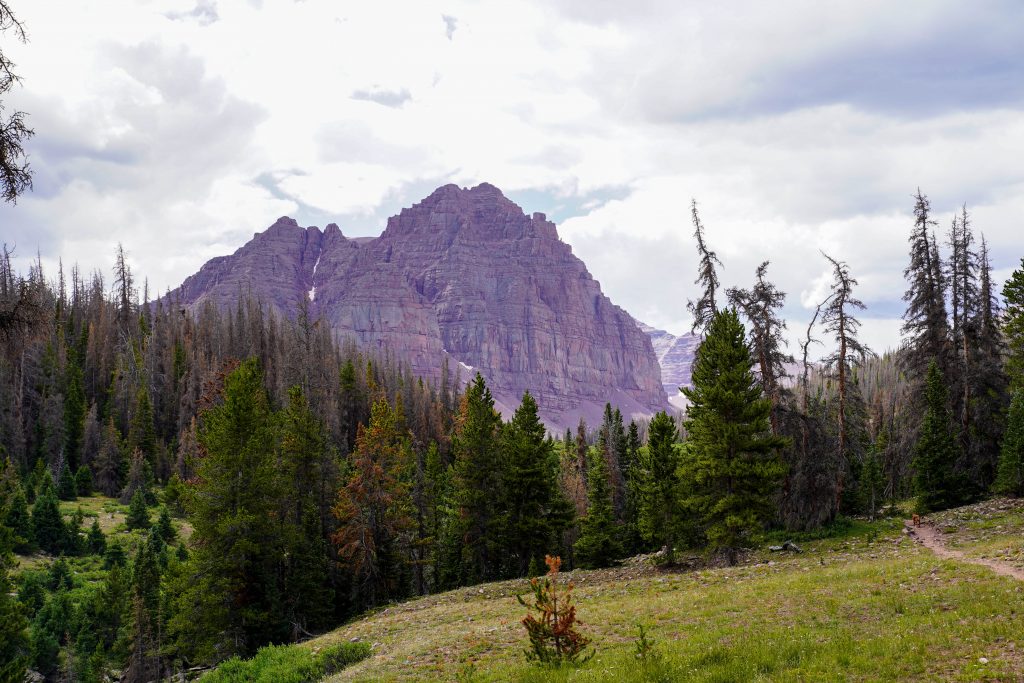
At about 8 miles in you get your first look of Red Castle as you cross your 2nd solid bridge of the hike. Then you’ll reach the switchbacks – which normally would strike fear in the hearts of people not wanting to go uphill- fear not, these are pretty mild.
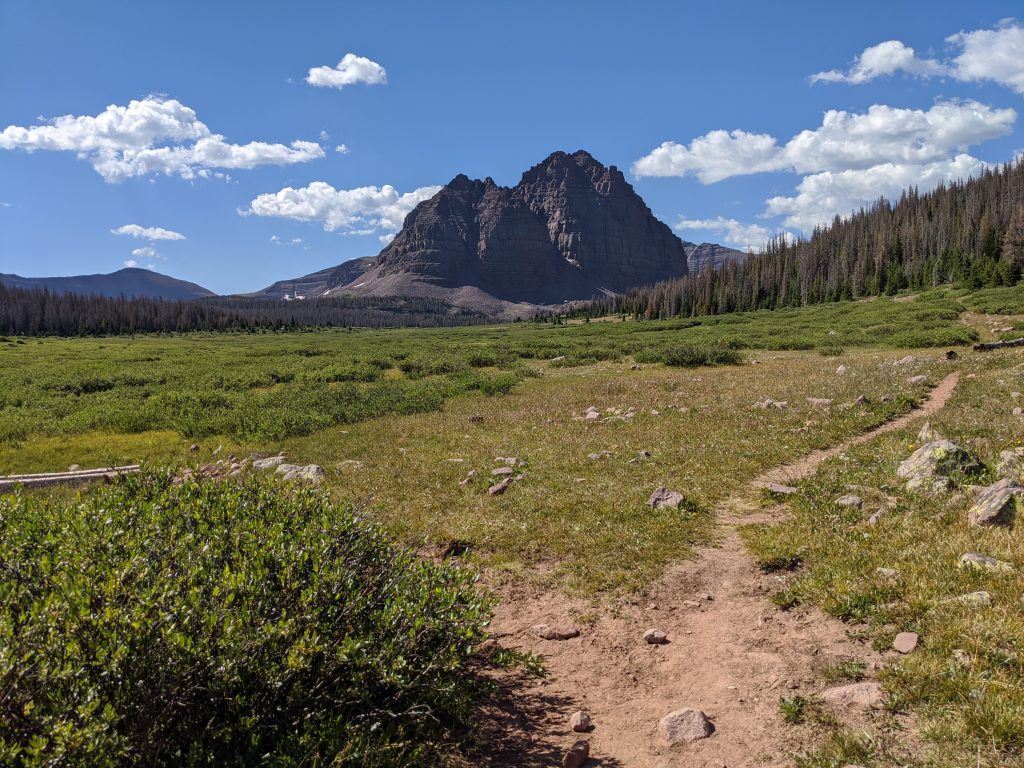
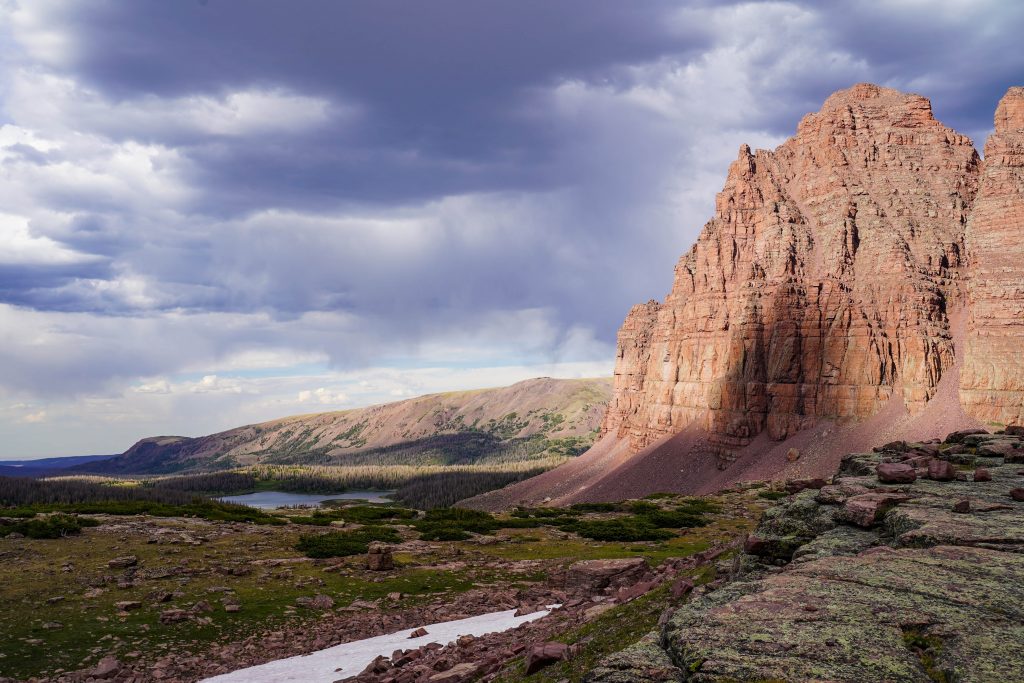
After finishing the switchbacks the trail opens back up with really nice views of Red Castle as you hike towards it. We were enjoying beautiful weather however it was HOT. The water along the way was very tempting to hop into.
Time to pick a camp spot
After the switchbacks you’ll reach a fork in the trail. This is where you decide where you are going to try to setup camp. If you want to camp by the lower lake, take the left fork which will go a couple yards and then at the unsigned fork you’ll go right. The trail crosses several streams but eventually leads you right to the lower lake where you can start scouting a good spot. This will be about 10 miles in.
Otherwise take the right fork to climb up a hill that will take you around (and quite above) the lower lake. You can pick you way through some unmarked areas to this trail from the lower lake at later points- but it can be very muddy and overgrown. If you take the right fork, you will look down on the lower lake and hike on by where you’ll then come to some beautiful wooded meadows with creeks to filter water from. (camping option 2 about 11-12 miles in)
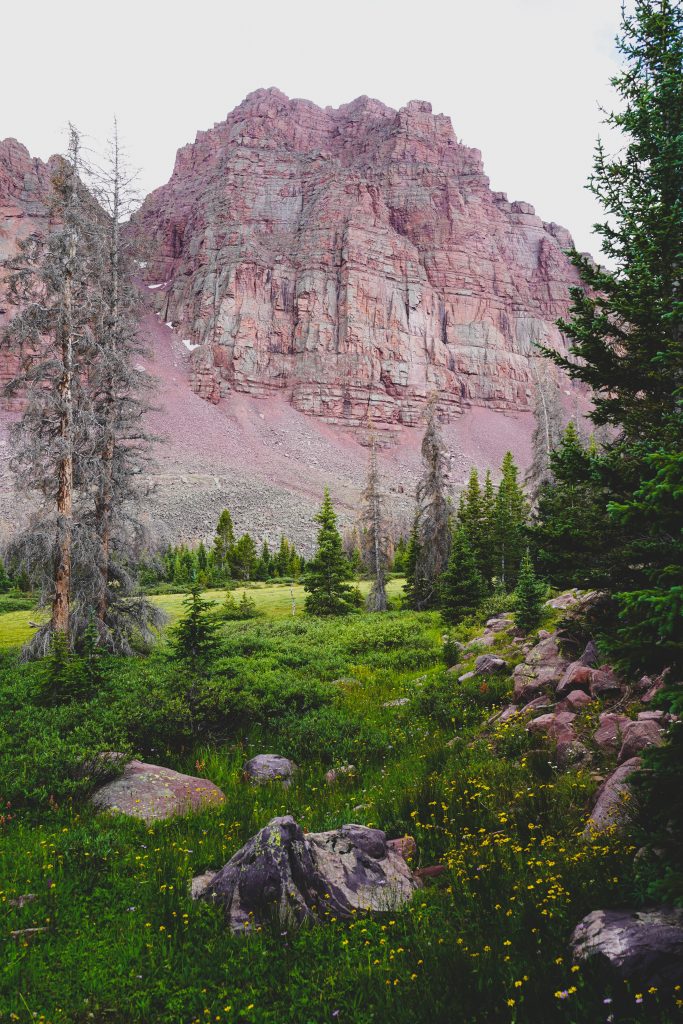
Continuing on past the lower lake you will start to notice quite a bit more elevation gain through the trees until you reach a beautiful unnamed lake with a waterfall and nice reflections of the side of Red Castle about 12.5 miles in. (camping option 3) This lake is the LAST viable camping option as from here on out you will be above tree line and subject to wind/ lack of privacy.
My experience
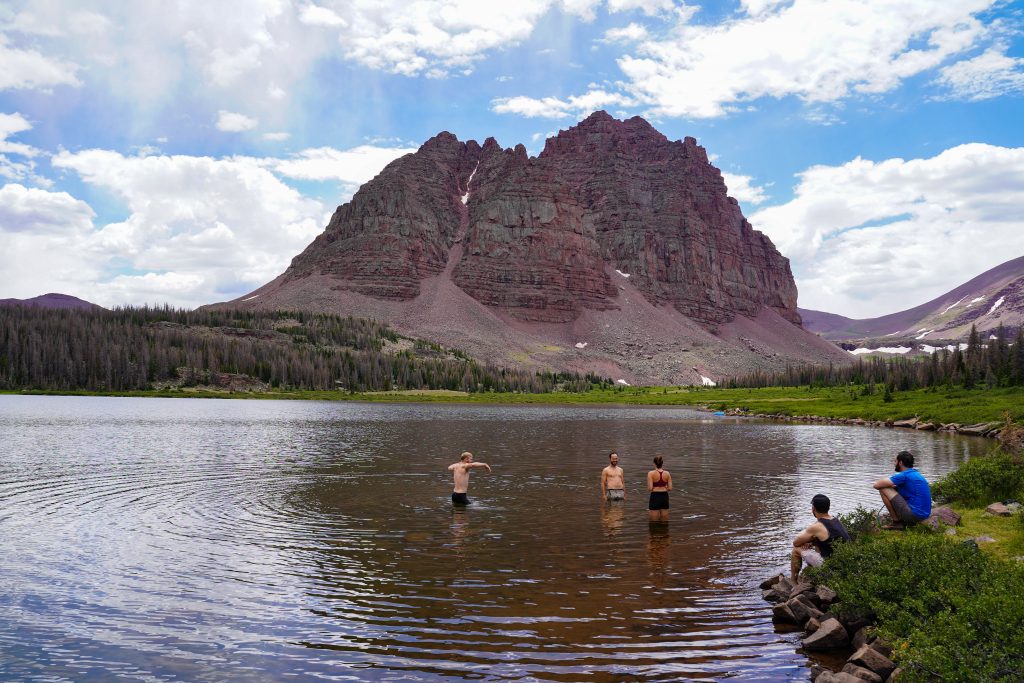
We dropped our stuff at the lower lake, had lunch and a dip in the lake, followed by a little nap and were ready to hike to main Red Castle lake. We started up about 4:30 PM and it took about an hour each way. (It was SO nice being free of our packs) We noticed as we hiked up that almost all the camping options felt about the same level of crowded… so really it just comes down to what kind of a view you want.
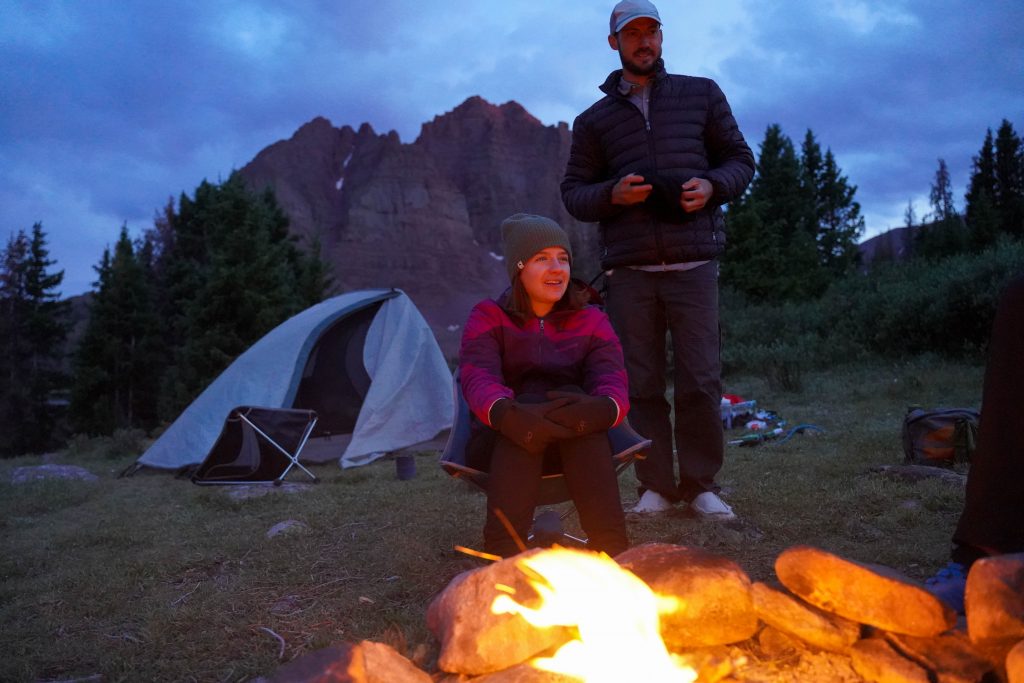
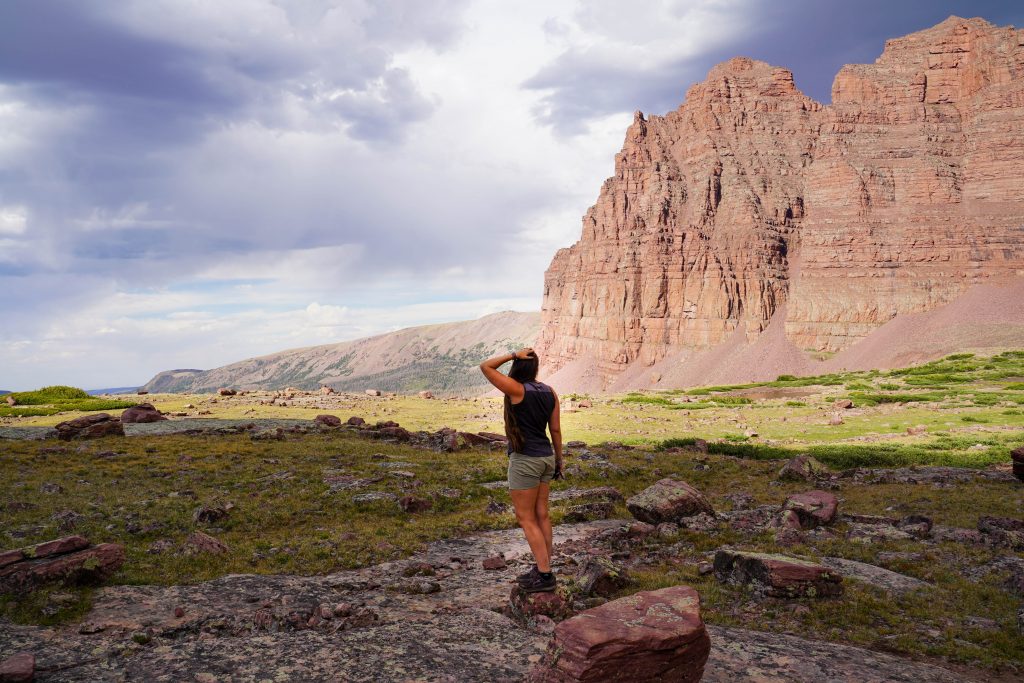
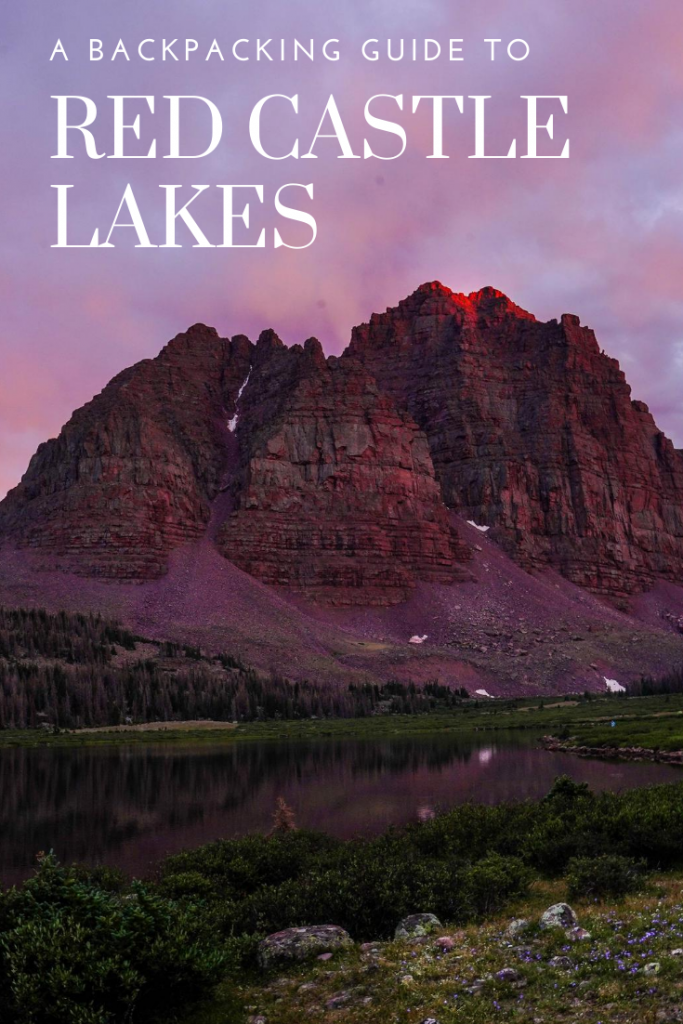
Again we had pretty incredible weather (if a little hot) After taking photos at the upper lakes, we headed back down for our dinner and sunset views from our own campsite (which were pretty unparalleled in my opinion)
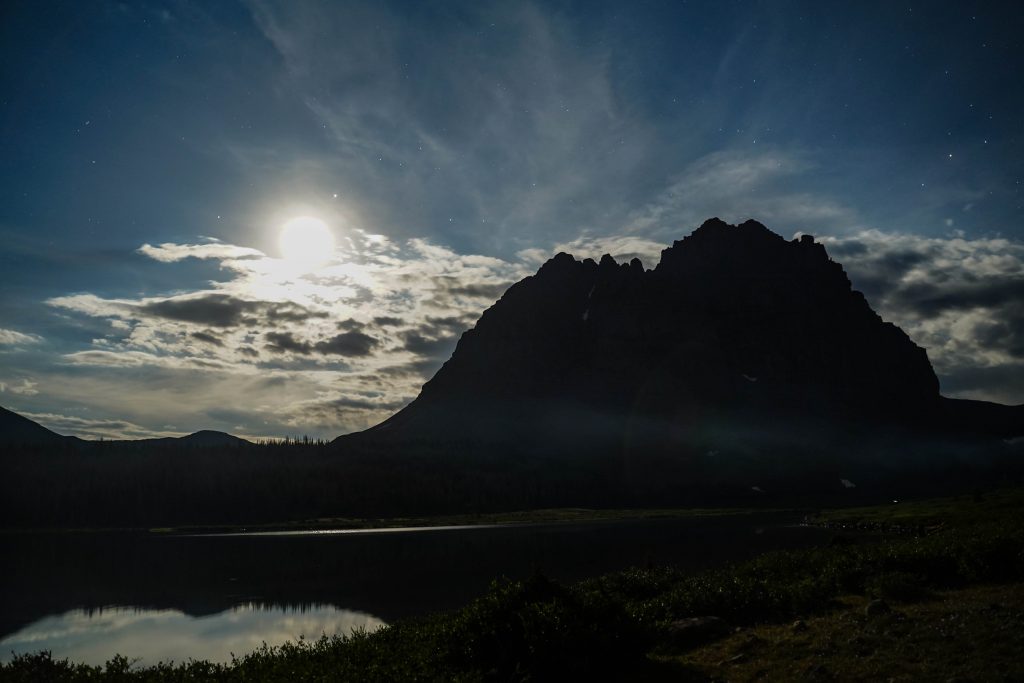
We collected fallen dead wood again (do NOT collect wood from live trees) for a small fire and had a nice evening before hitting the tents under a nice full moon.
*Be aware of fire restrictions in the areas you are camping. Some don’t allow fires close to the water and some don’t allow fires at all. It may also be seasonal- be fire aware.
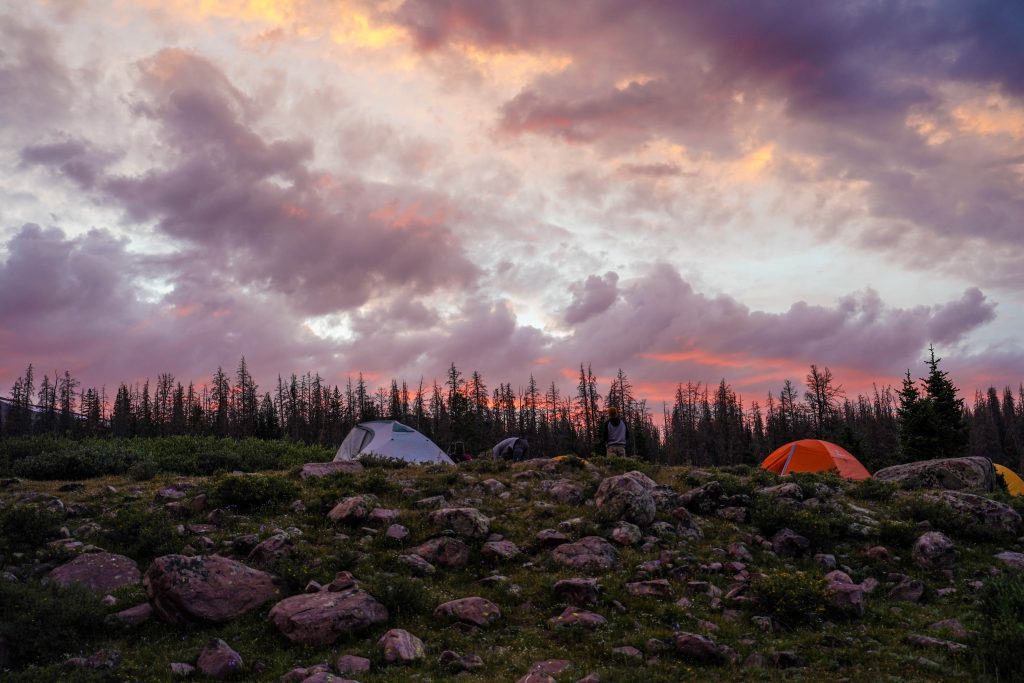
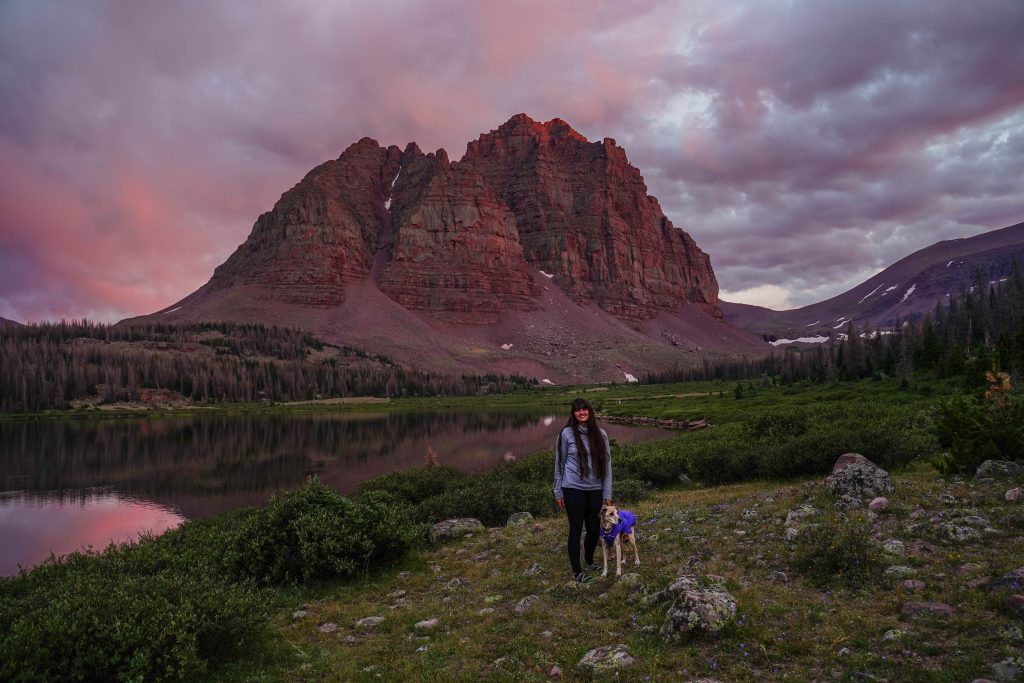
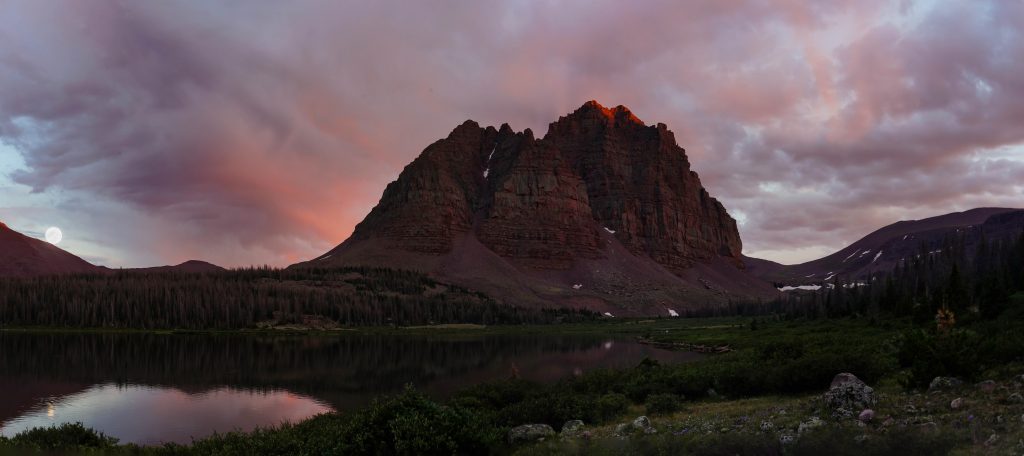
*The bugs were AWFUL- since we had such nice weather without wind, they were all over for several hours in the evening. Make sure you bring GOOD bugspray (100% deet)
The hike out:
We had an easy going morning again, leaving camp around 10. It took us about 4.5 hours hiking back with about a 30 minute break. The hike back was nice as we noticed a lot of the groups left earlier so we had the trail to ourselves again. One of the great things about how long this trail is that people really get spread out along it. There may be a lot of people recreating in the area, but it never really felt all that crowded. Which is awesome for a weekend around here!
Wrap up:
This backpacking trip is a total MUST DO. It is so incredibly scenic all along the trail with a breathtaking destination. Plan at least 2 nights so you can really enjoy the area and come prepared! Leave no trace as well so everyone can continue to enjoy the spot for years to come.
