Mount Lagazuoi and WWI Tunnels

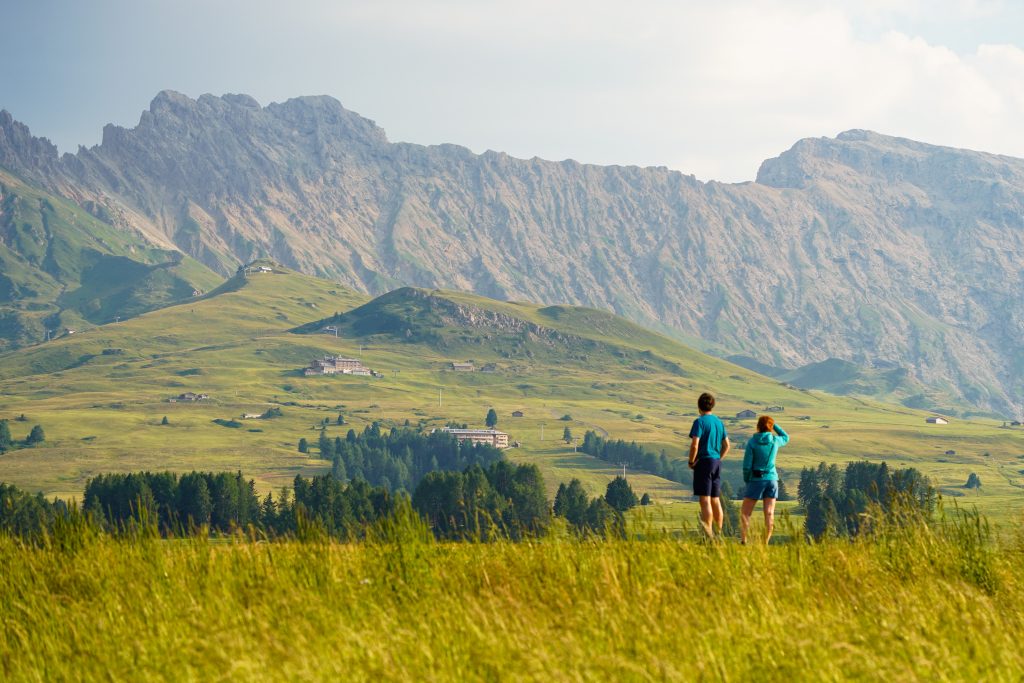
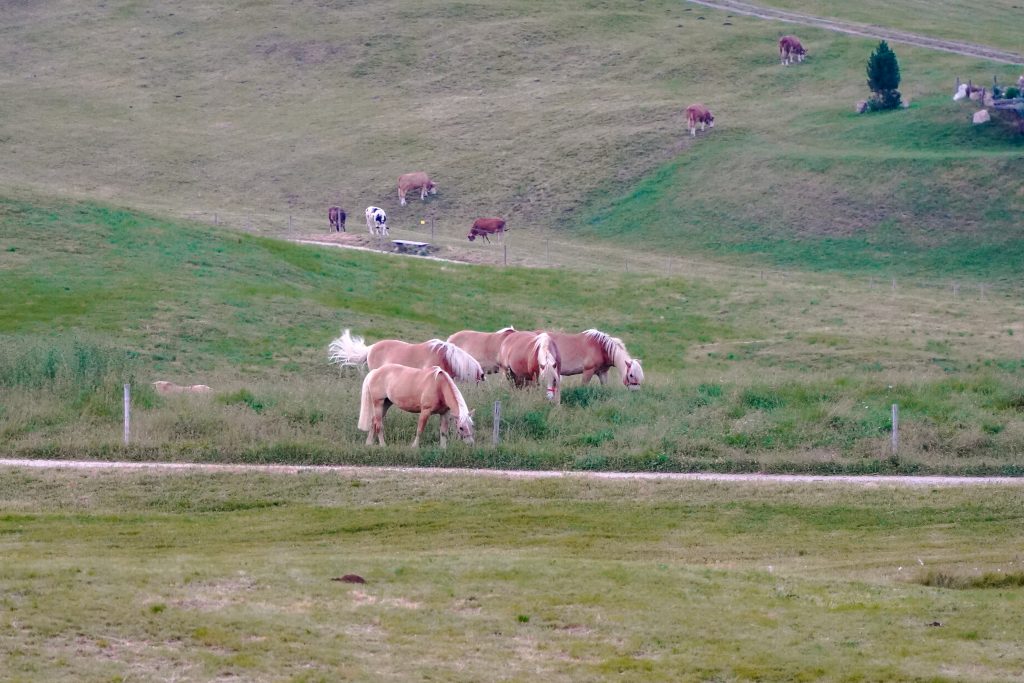
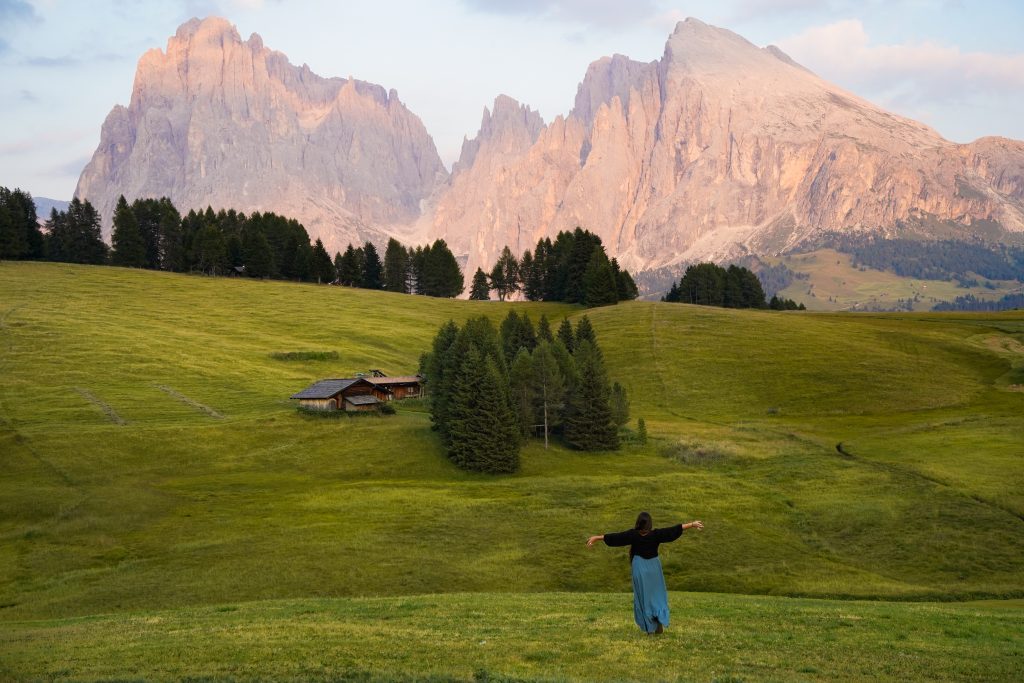
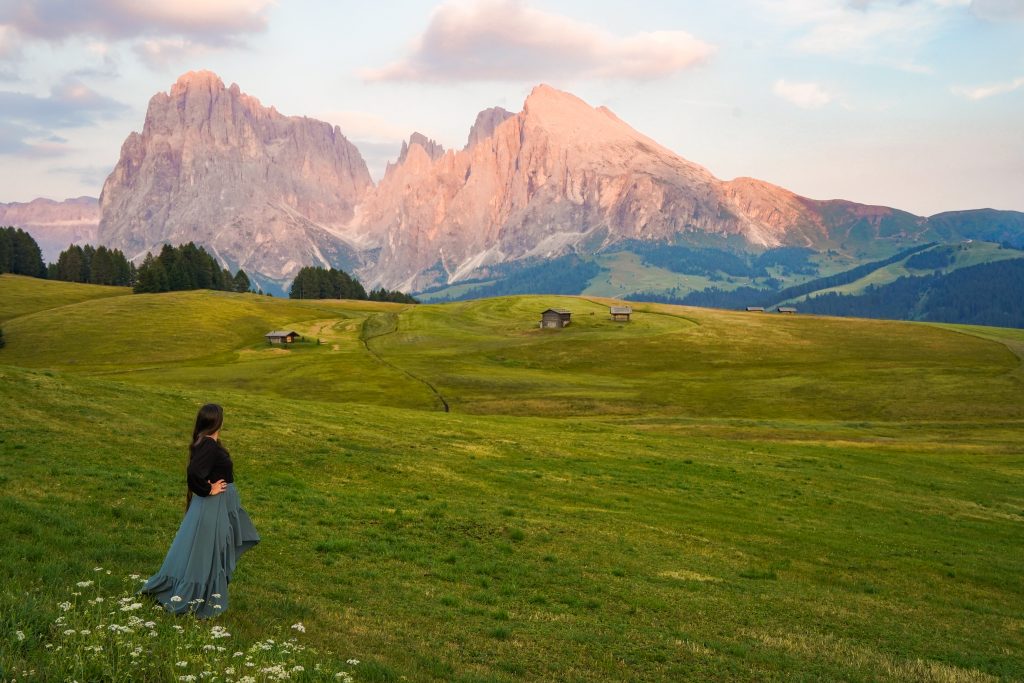
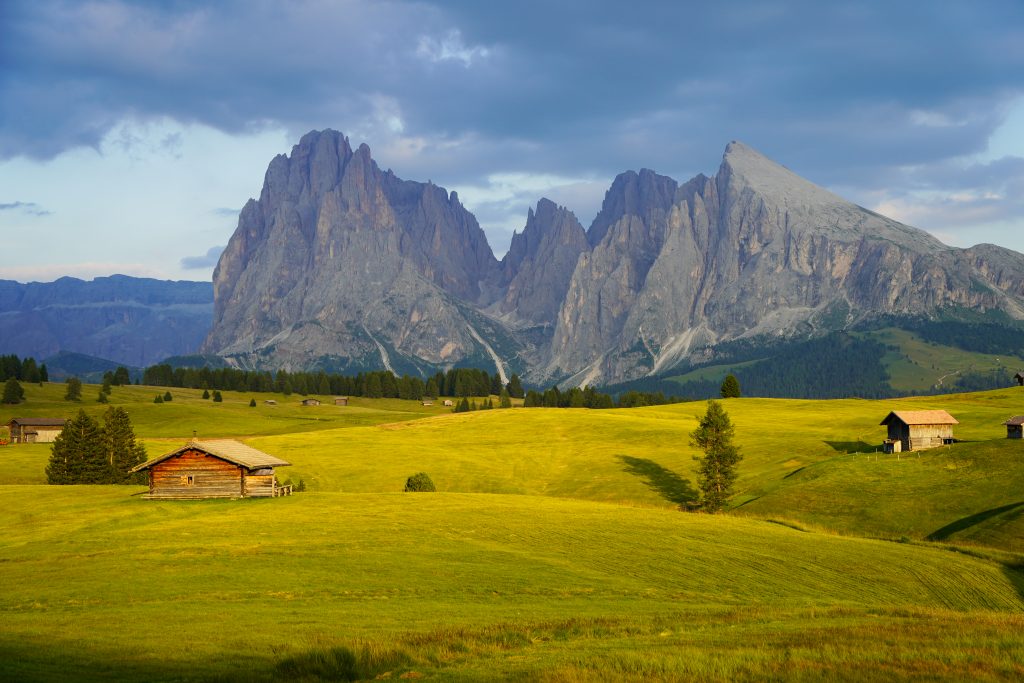
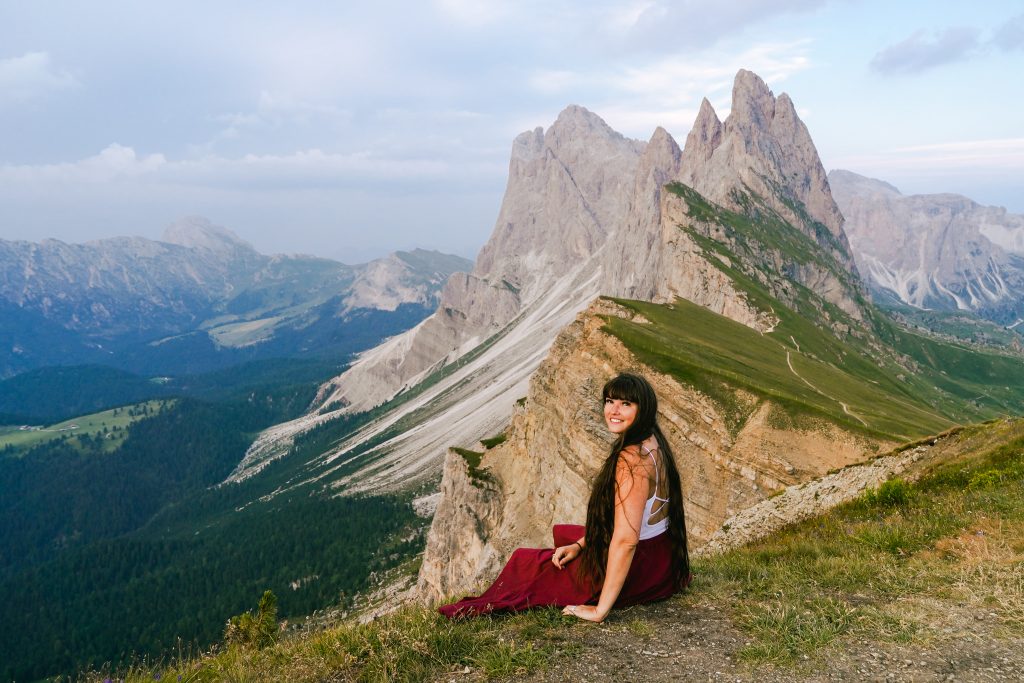
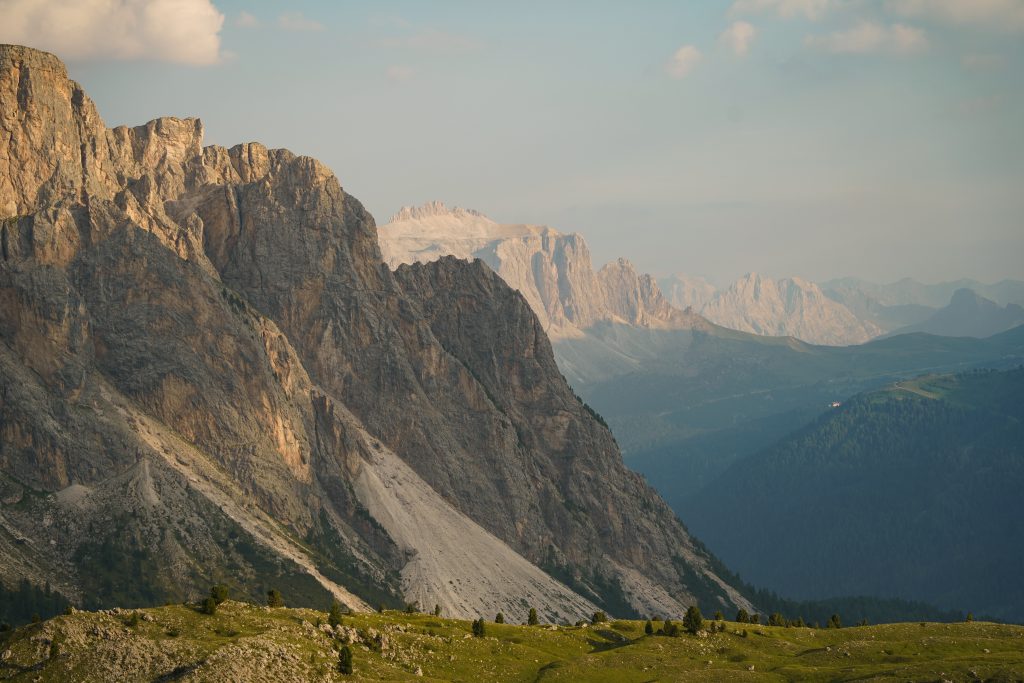
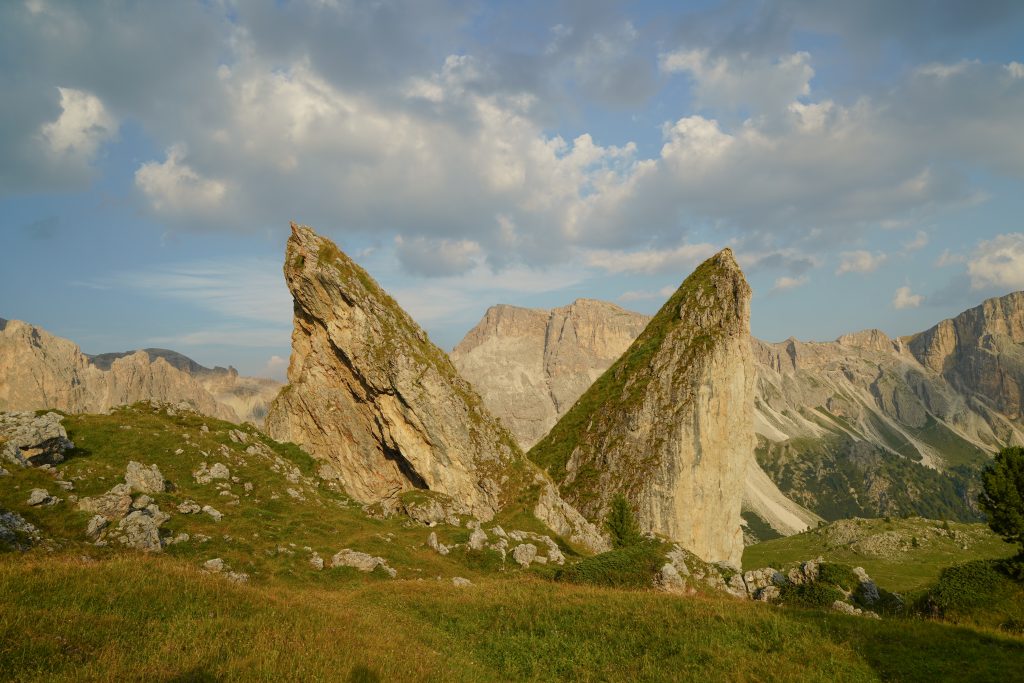
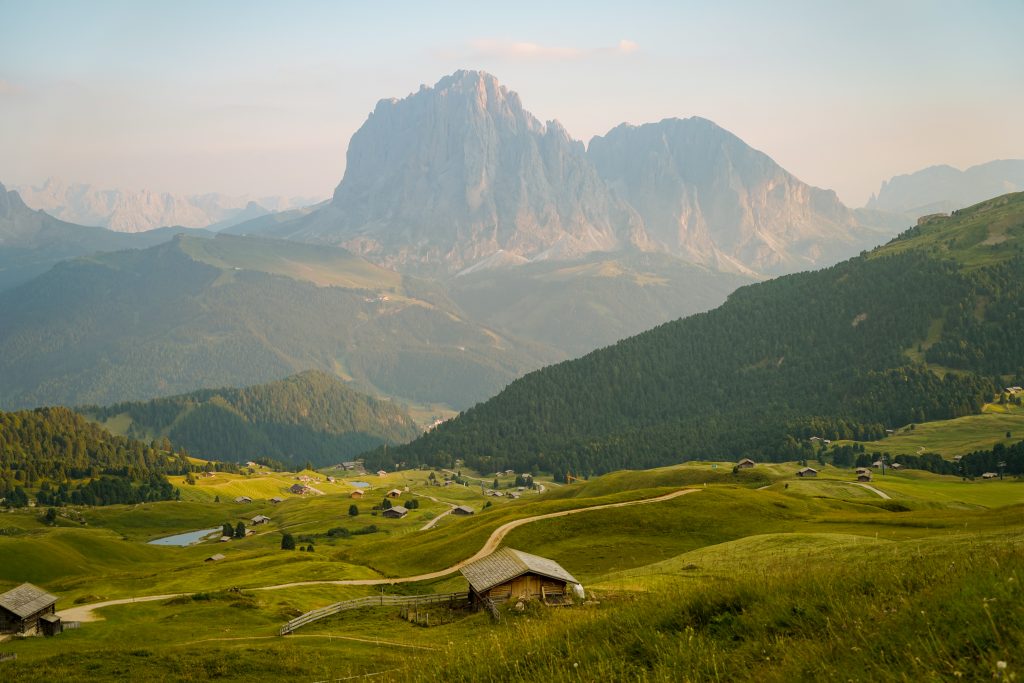
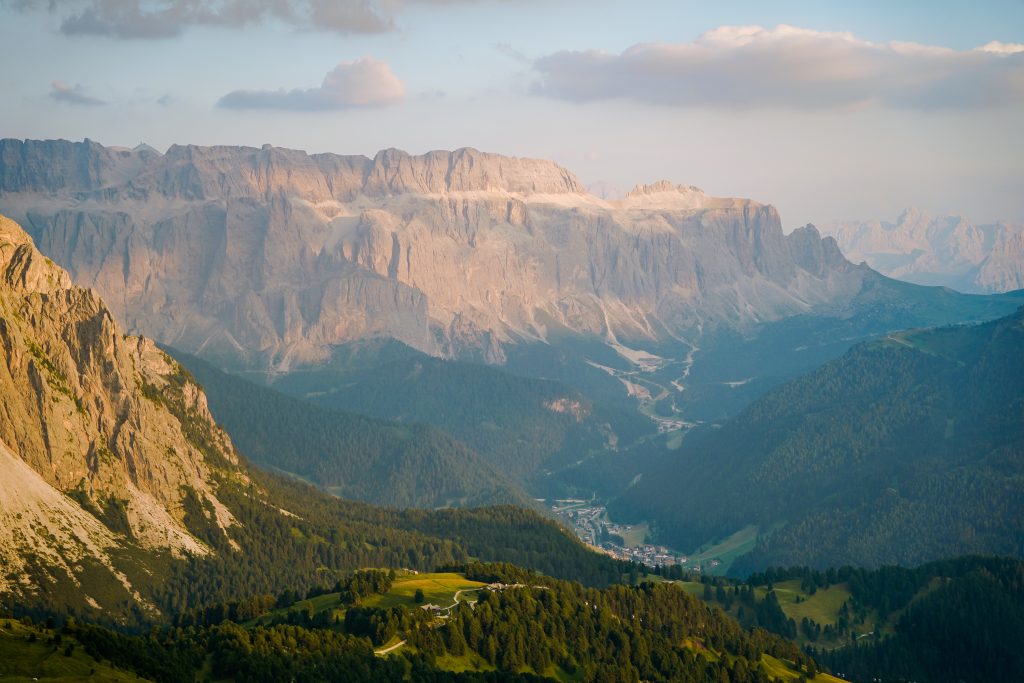
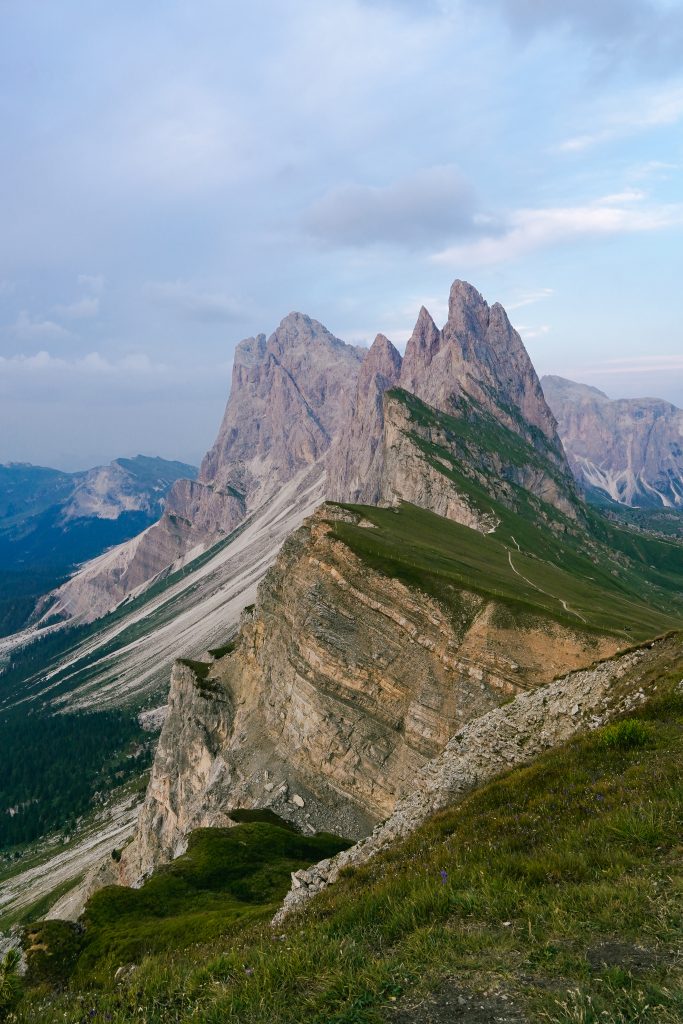
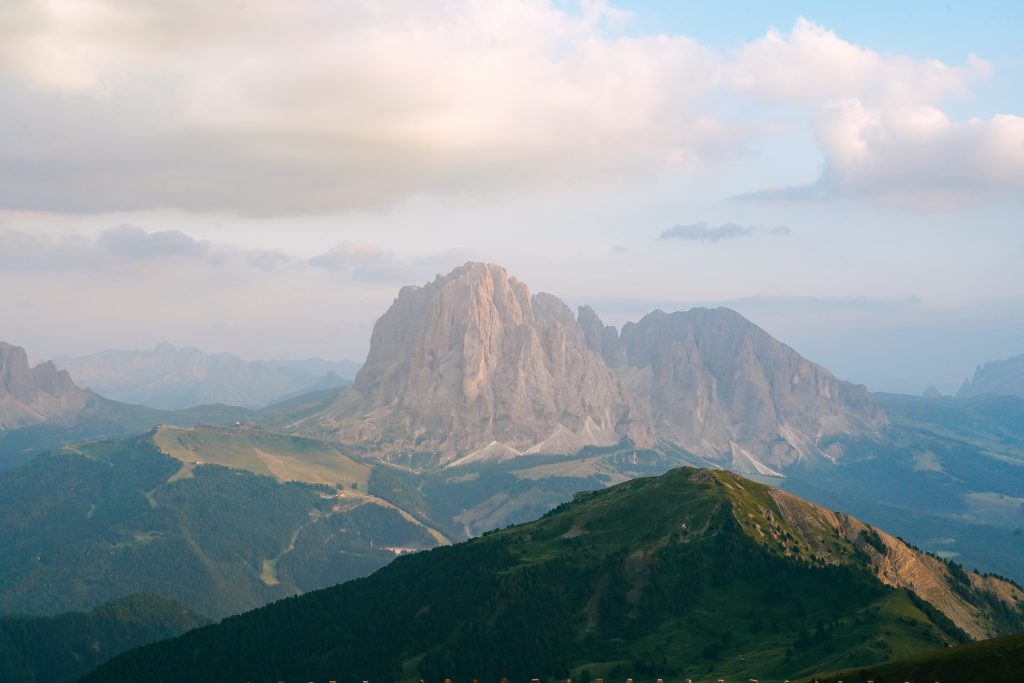
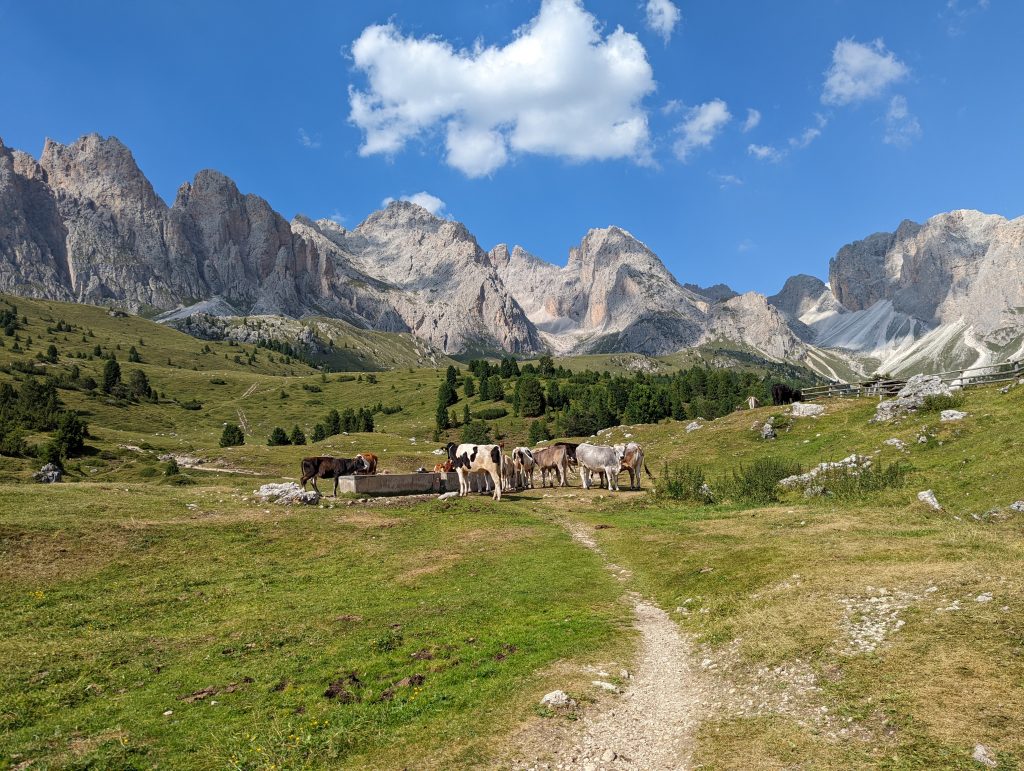
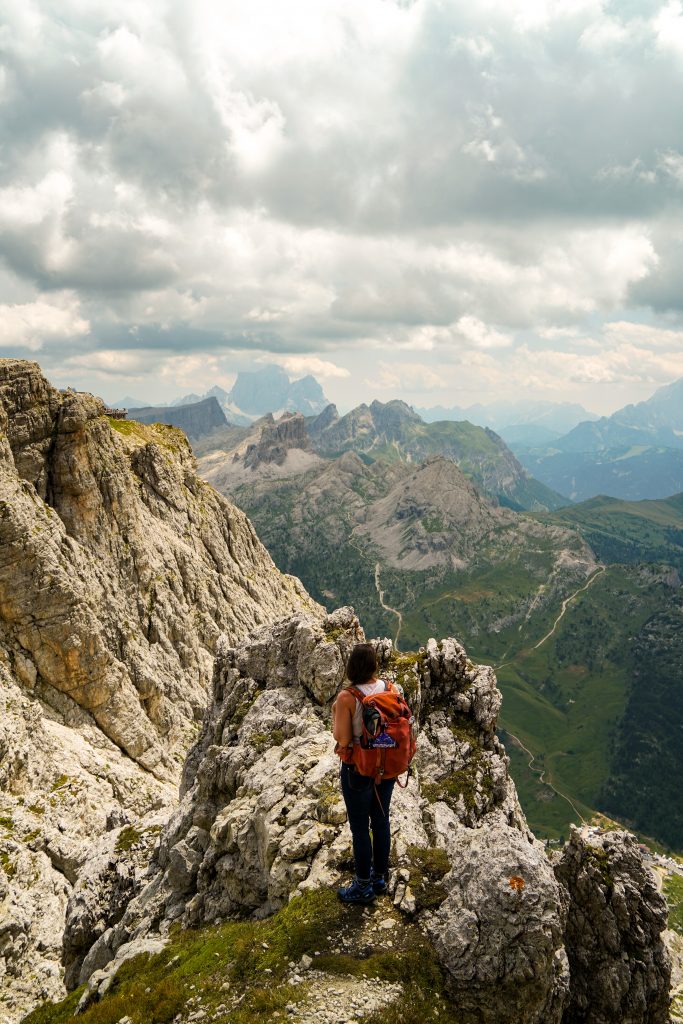
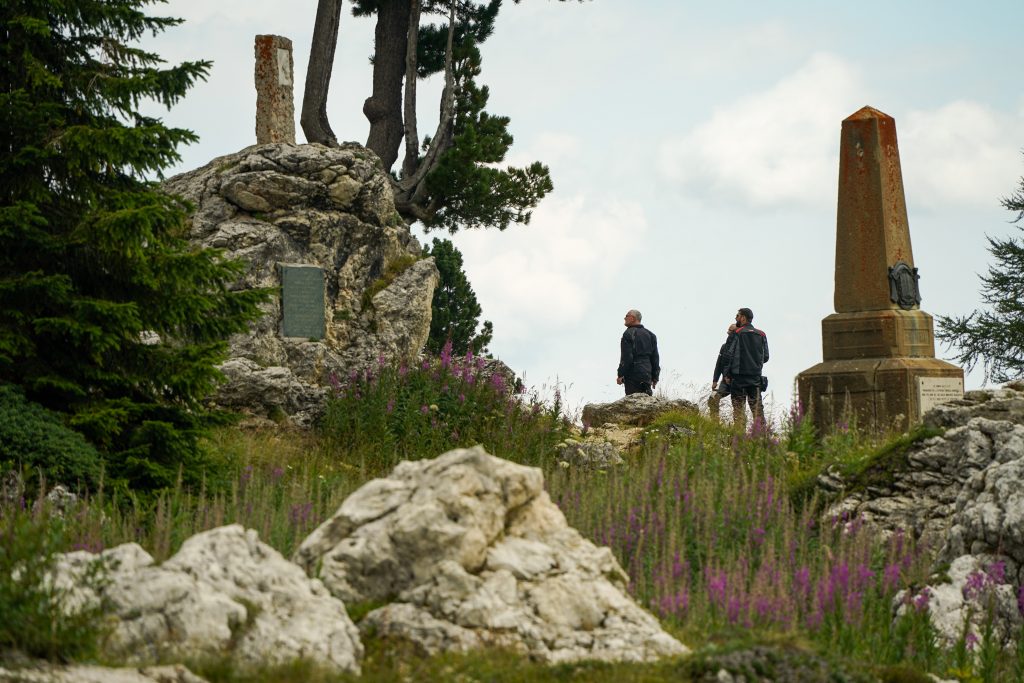
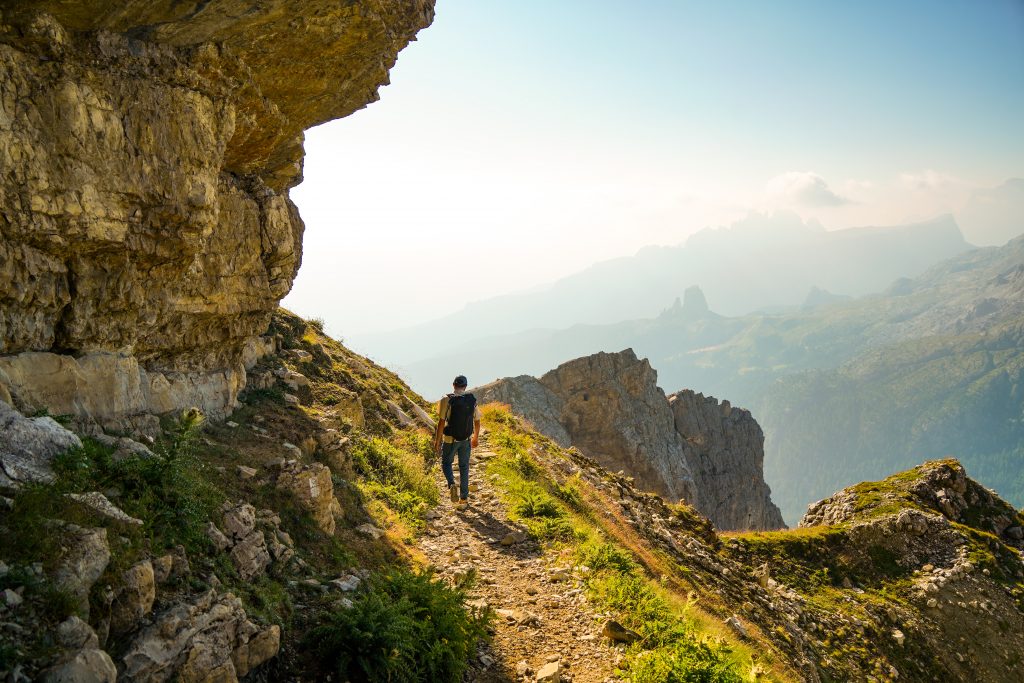
Mount Lagazuoi- The mountain you’ve never heard of but one of the coolest places in the Dolomites. It stands in a central part of the Dolomites dividing the more famous sections of Val Gardena from Cortina D’Ampezzo. It’s one of the most accessible mountain peaks to visit and offers astounding 360 degree views. From the summit, Grand Cir/ Gardena Pass, the Seceda peaks, Mount Avera/Nouvelau, Marmolada (Italy’s highest peak), and several others are easily visible. 

The area is also steeped in history with the hike up/ down from the summit riddled with WWI tunnels. The Lagazuoi tunnels, trenches stand as a testament to time on the grizzly battles that were fought in the area between Austria and Italy. So between the views, the history, and the accessiblity – Mount Lagazuoi is absolutely a MUST do in the Dolomites. 

How to visit Mount Lagazuoi

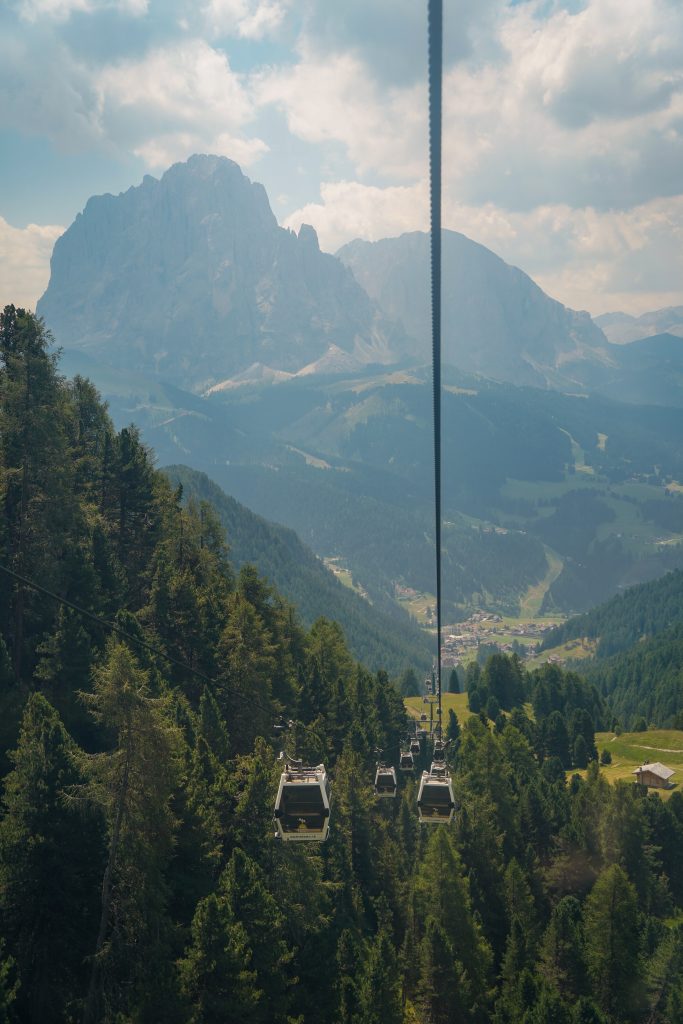
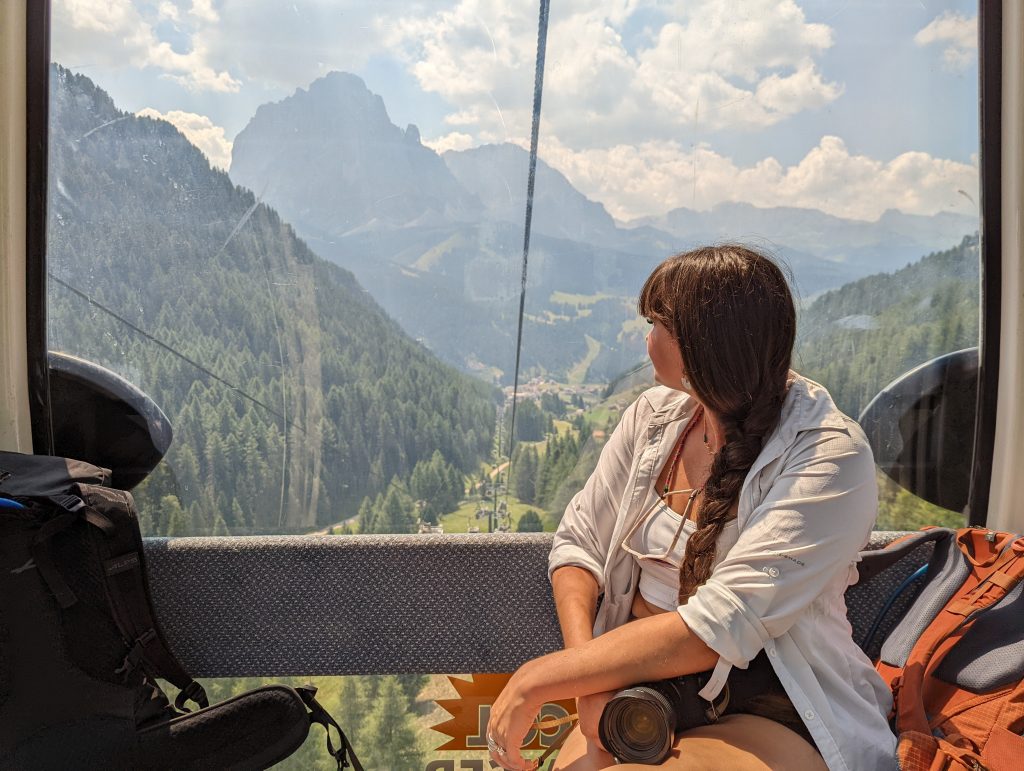
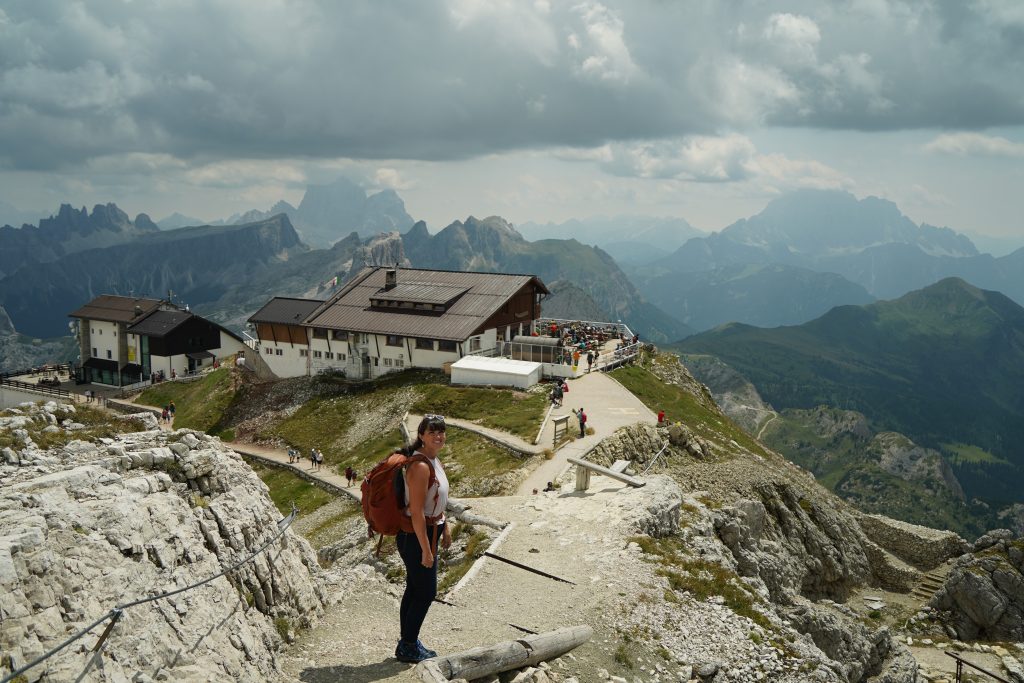
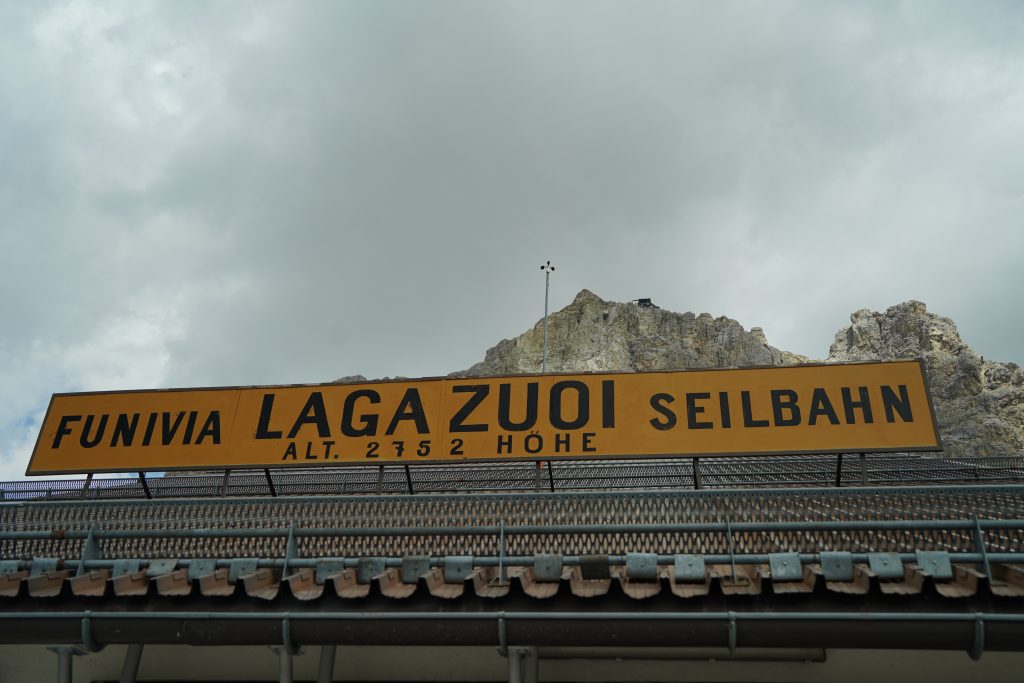
1. Easiest Way: Take the Lagazuoi cable car up and down. The hut is right by the cable car station and if you want to walk to the summit it is a pretty easy stroll to the very top. There’s also a lot of smaller tunnel off shoots from the top including some open air museums that you can visit without doing any hiking. This way you can see and experience the history and views without breaking a sweat.

2. Take the cable car up and famous Lagazuoi tunnel hike down. This saves you a lot of effort but still lets you experience the really long tunnels and bunker rooms that are located further from the top. This is the way we took and I can absolutely say I would not want to hike UP the tunnels. They are virtually a series of steep uneven stairs in the dark and that is not my picture of fun. (going down however was great!) Scroll on for details about the tunnel hike. 

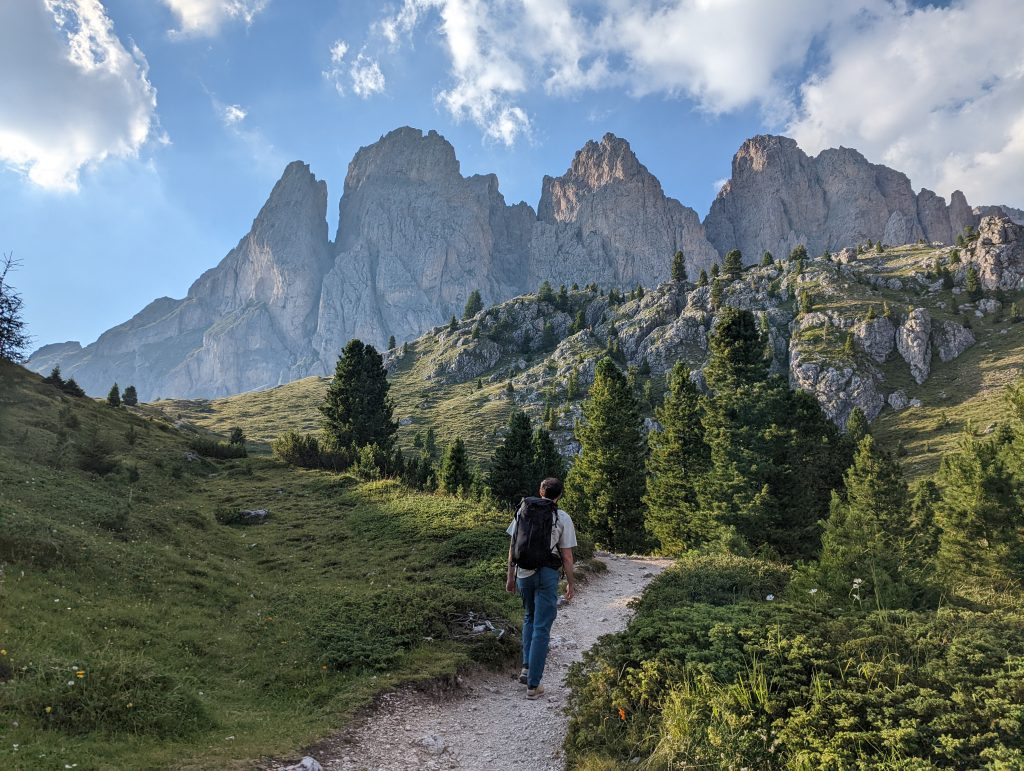
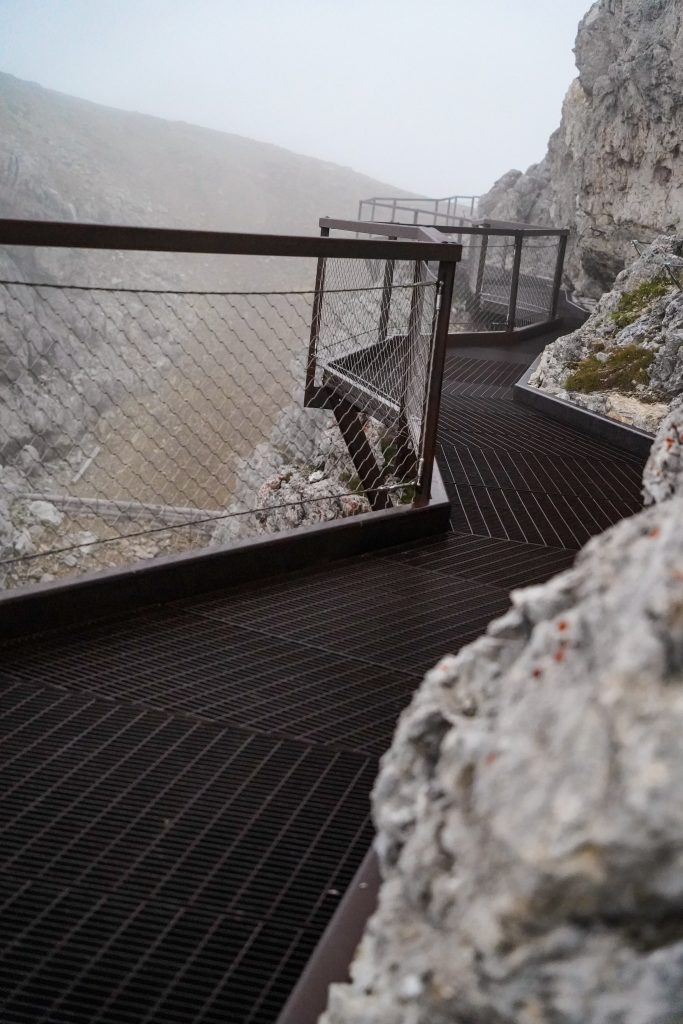
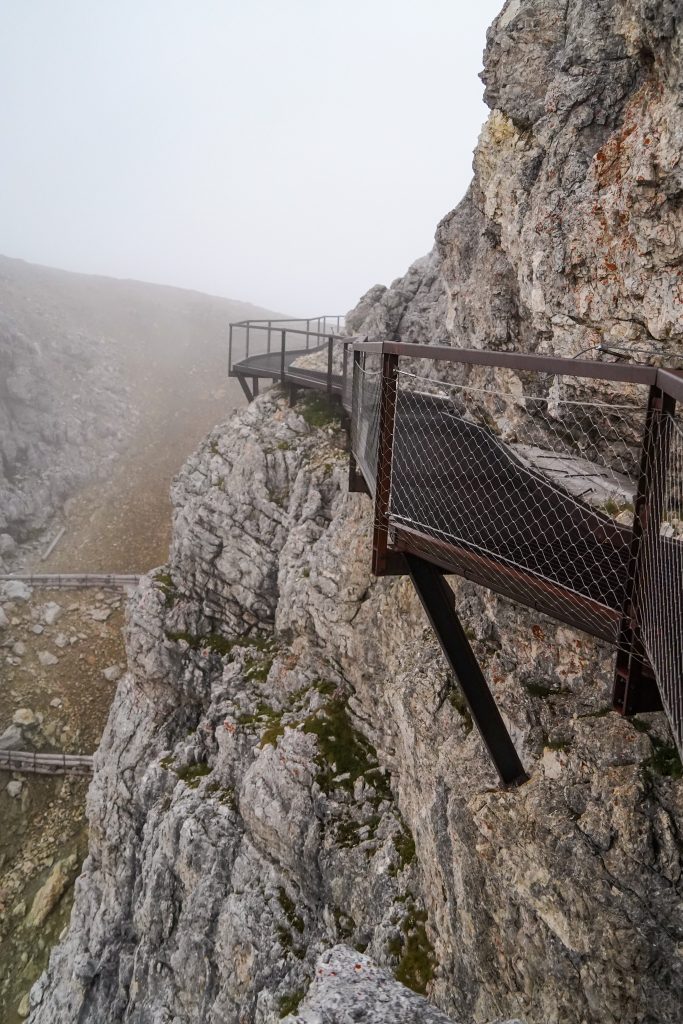
2. Skip the cable car altogether. Take the Lagazuoi Via Ferrata up and the tunnel hike down. This path should really only be taken going up due to some very steep sections. It includes a very cool bridge and some nice via ferrata sections. Only take this path if you are equipped with the right gear. If I’d prepared mentally for the tough climb I would have loved to do it, but we were on a rest day.  

Lagazuoi Cable Car prices

Adults: $15 for one way, or $21 round trip. Children under 8 are free and discounted until the age of 16. For specific prices and the timetable of operation visit here: https://lagazuoi.it/EN/Information-Prices-and-useful-information-page20-Lagazuoi-cable-car-Summer-2022

Parking: Parking is free during the day for customers who take the cable car. ($5 if you don’t take the cable car) However nightly parking is $10 whether you have a reservations/ cable car tickets or not so keep this in mind if you plan to stay at the hut.

WWI history:

While I certainly can’t dive into the complex history that makes up WWI, I can give a little explanation of the Lagazuoi (and Dolomites as a whole) front. At the start of the war, Italy was actually torn between the 2 sides but eventually sided with Great Britain, France, and Russia predominantly due to land border disputes with Austria.

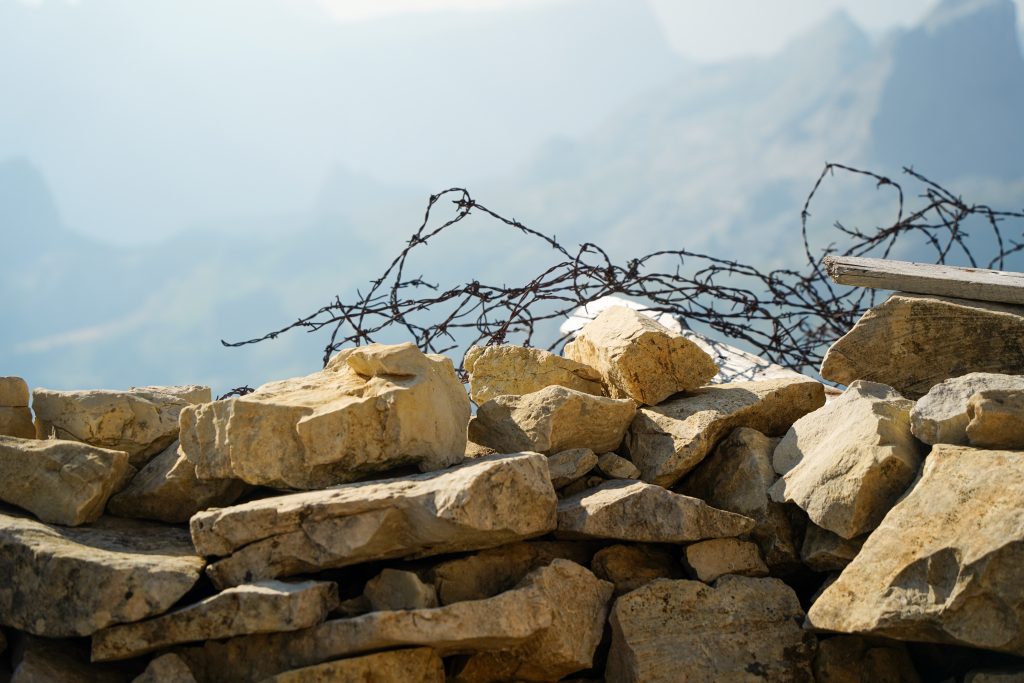
Austria had been occupying the mountain region of the Dolomites and had a much smaller army than the Italian troops so they retreated to the mountain tops. (hello high ground!) Italy spent most of the war then trying to dislodge Austria from these mountain tops. For most months of the year, the Dolomites are not hospitable and the fighting that took place for 29 months from 1915-1917 became known as the white war. 

Now the Lagazuoi front made up 5 mountain peaks including Lagazuoi itself- Austria held the summits. This mountain in particular was strategic for Italy because of the natural and large ledge below the summit known as the “Martini Ledge.” Italy had numerous encampments across the way in the 5 tower region (Cinque Torri and Mount Averau) so they could supply the ledge. Seeing as there was no way to attack Austria at the top, the only way to win was to lodge mines under the enemy army. 

Both armies made strong use of tunnels for supply chains and shelters but Italy built most of the tunnels leading up to the summit on this mountain.. In the end, Italy suffered a horrible defeat in another Dolomite front and retreated from all positions in 1917. The tunnels, bunkers, huts, and pathways created through a very unforgiving terrain is unbelievable to witness. 
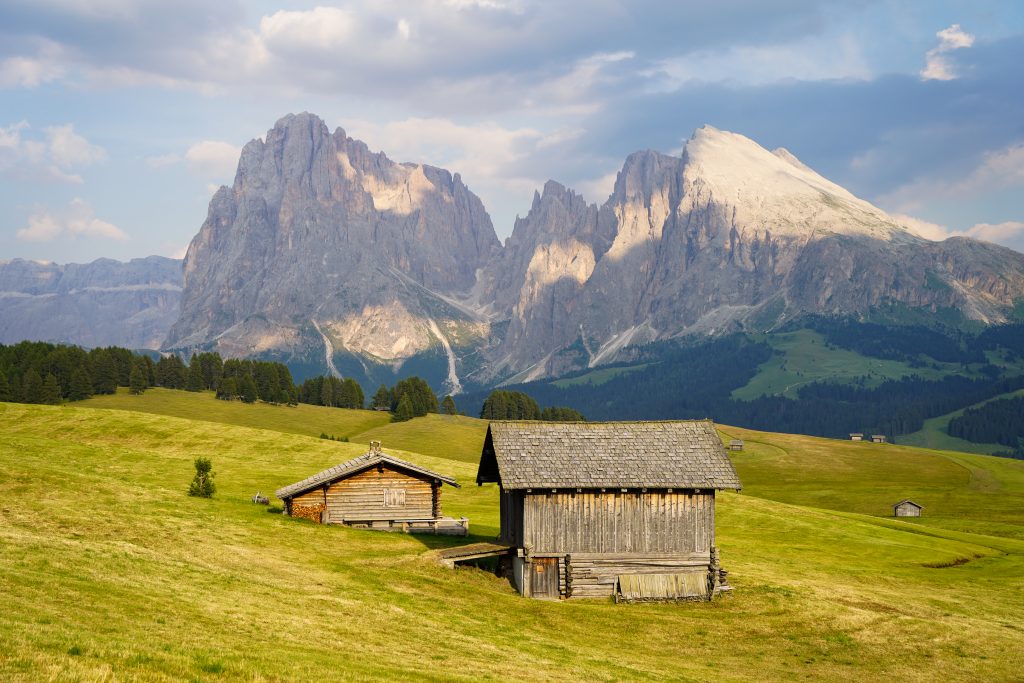
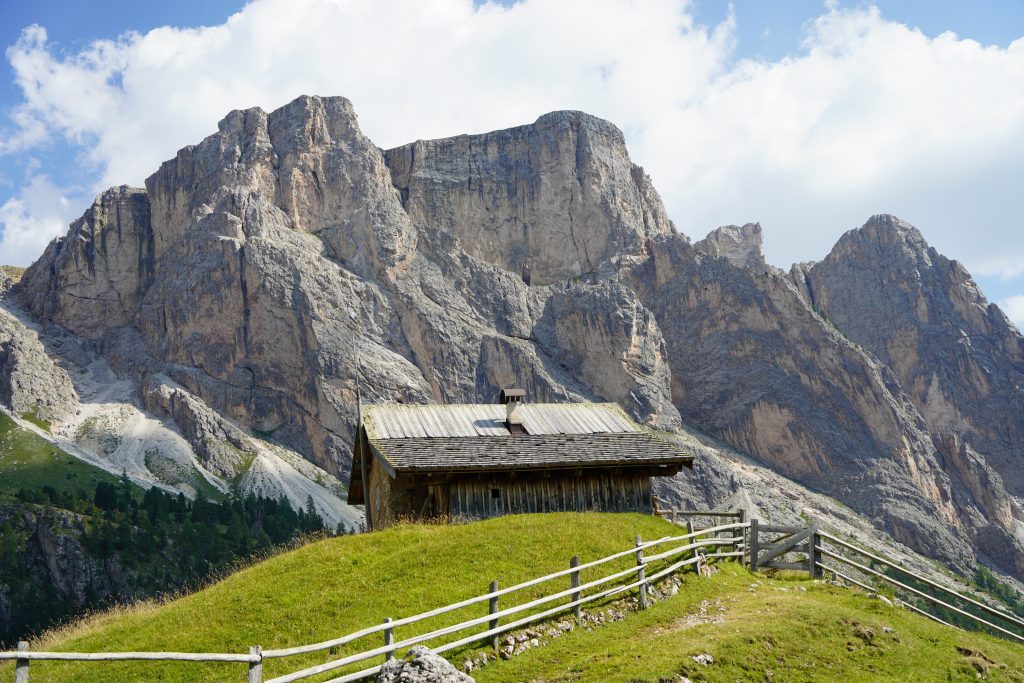
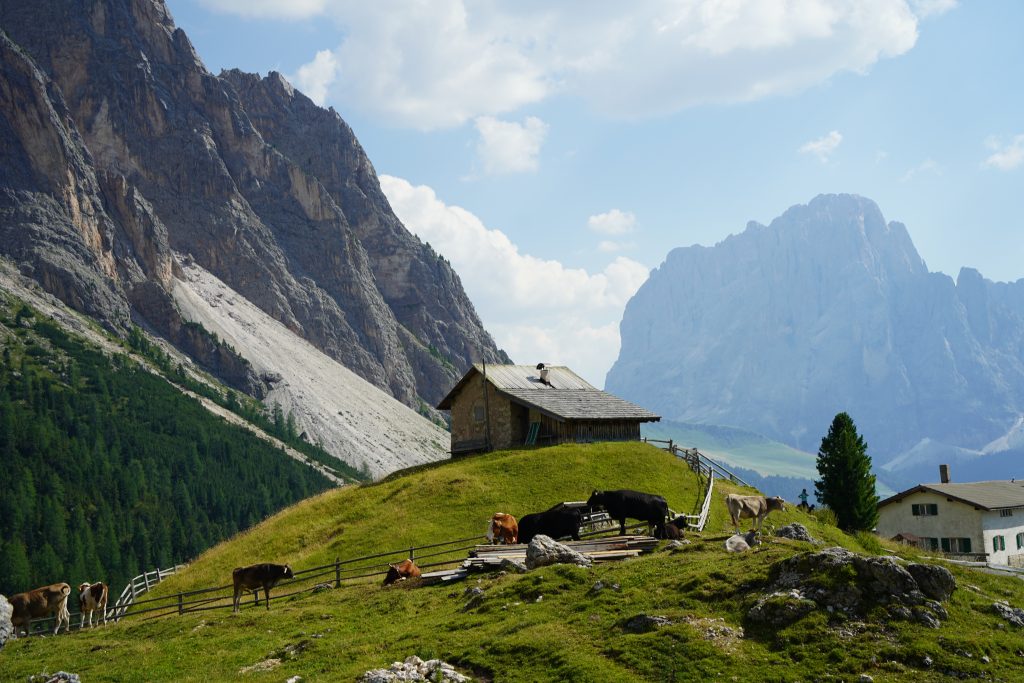
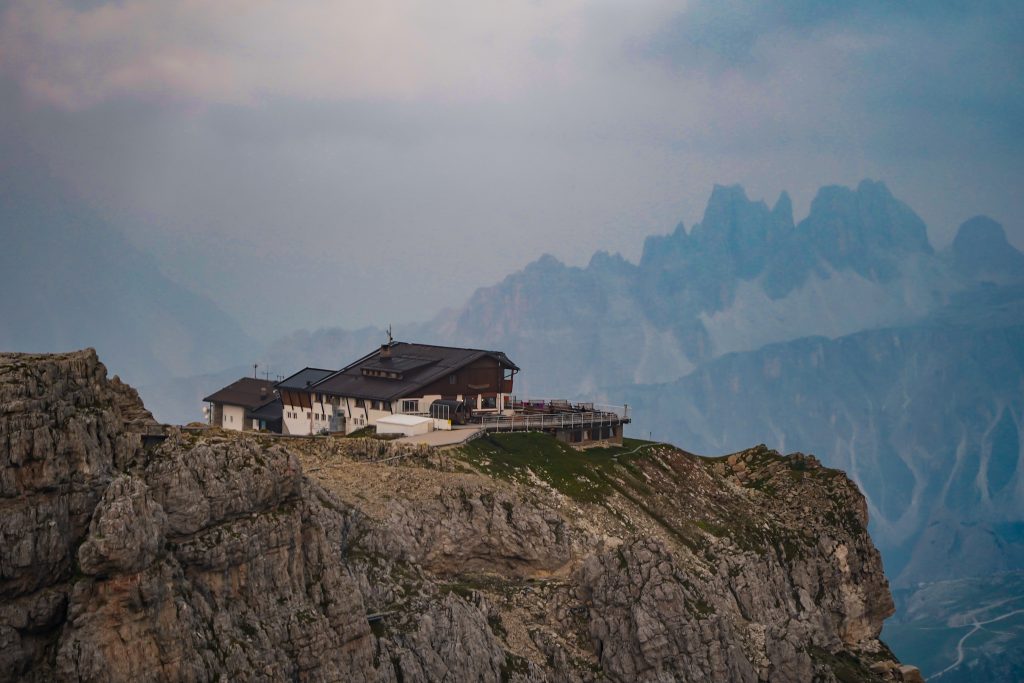
The Rifugio: 

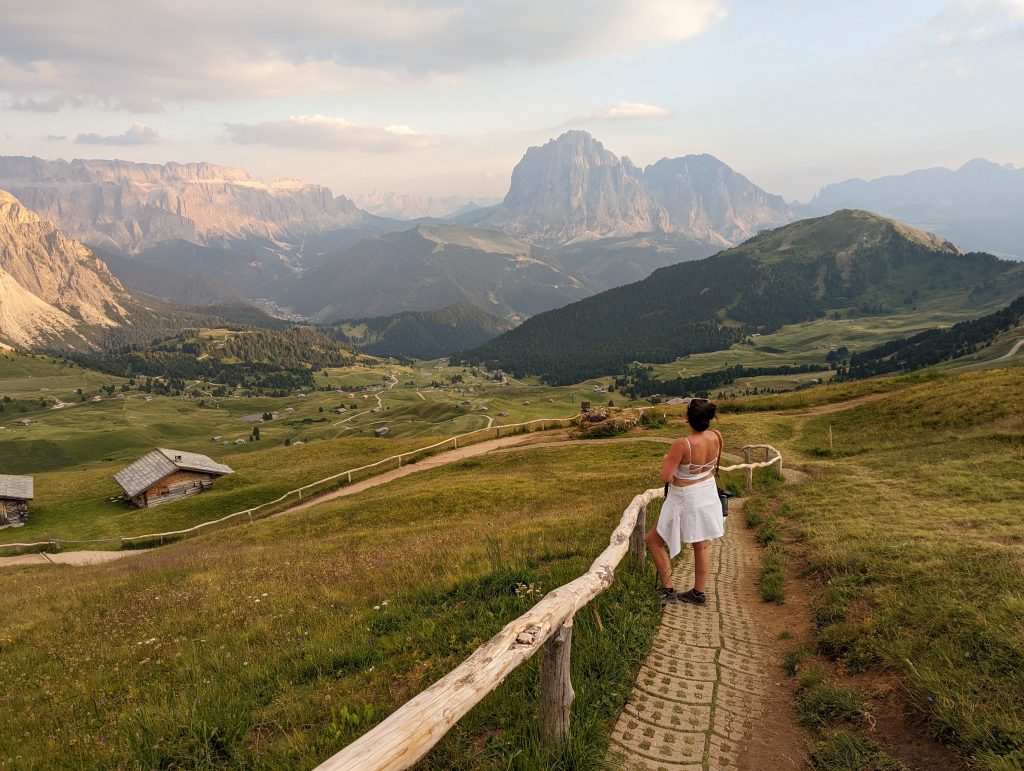
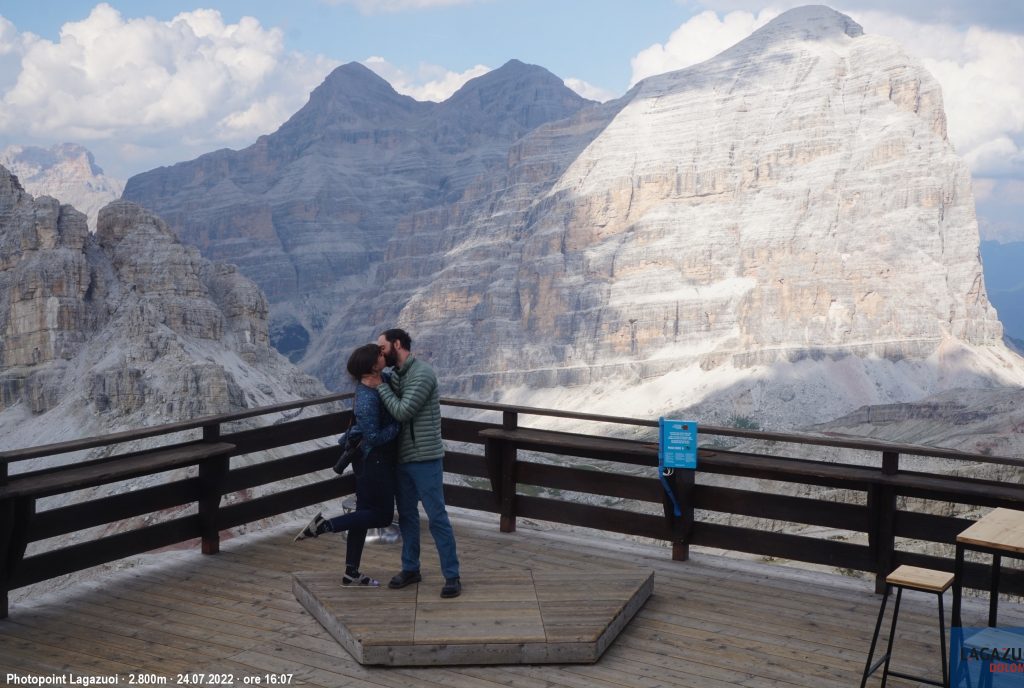
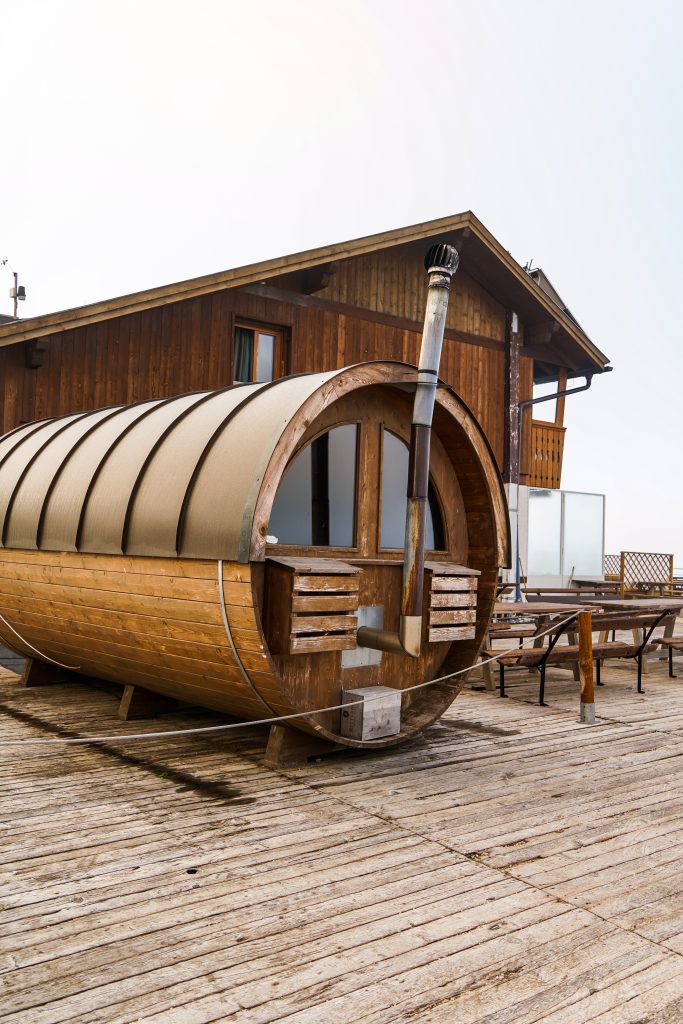
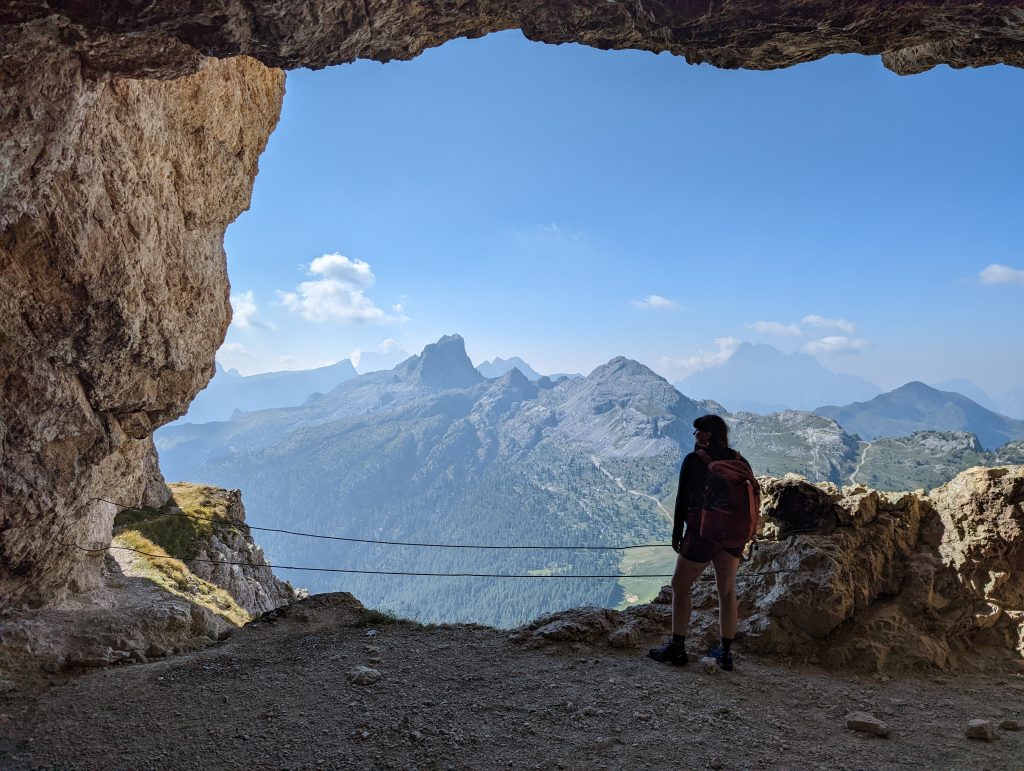
The location of this hut is incredible. It perches on the edge of a massive cliff face with valleys and other jagged peaks sprawled in the distance. It has easily one of the nicest decks for enjoying scenery and a great menu making it one of our favorite huts to visit. It’s also the largest and highest mountain hut in the Cortina area. Overall- another must visit and I highly recommend staying the night if you can. 
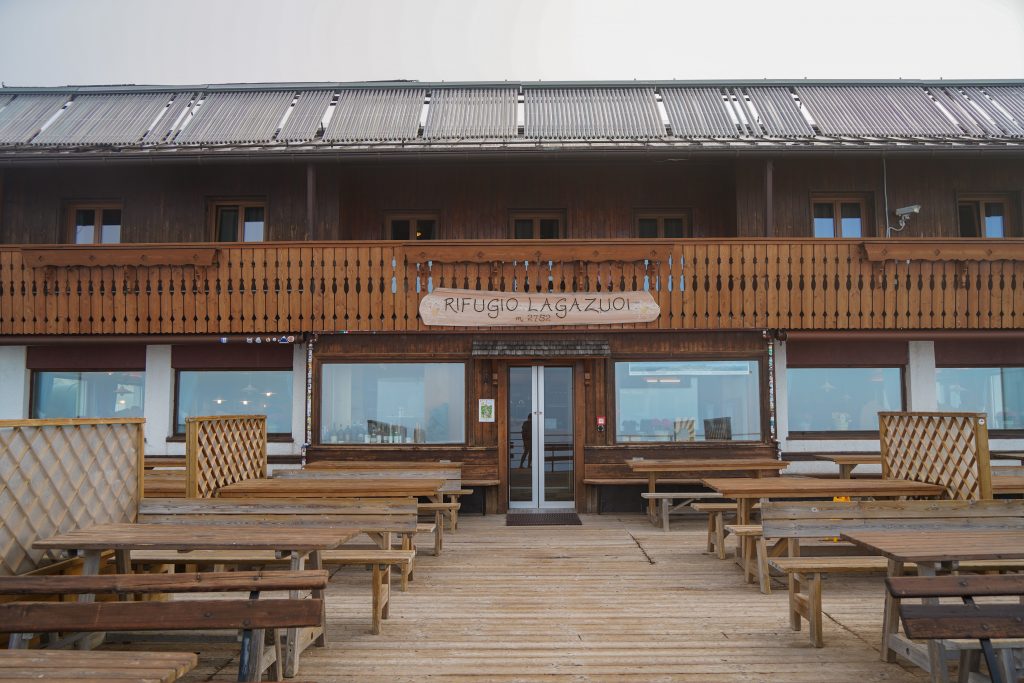
Prices:

Prices are right around $60 per person in either the dorms or private rooms and includes breakfast in the price. Dinner is $30 for the half board option or you can choose a la cart for dinner. Drinks started around $7 for beers and the hut does accept credit card for easy payment. 

For more information about this hut (and other huts in the area) check my post here: 

Hike details to the Lagazuoi Summit from the rifugio

Distance: 0.8 miles RT
Elevation change: 125 feet
Difficulty: Easy
Time: 30 min RT

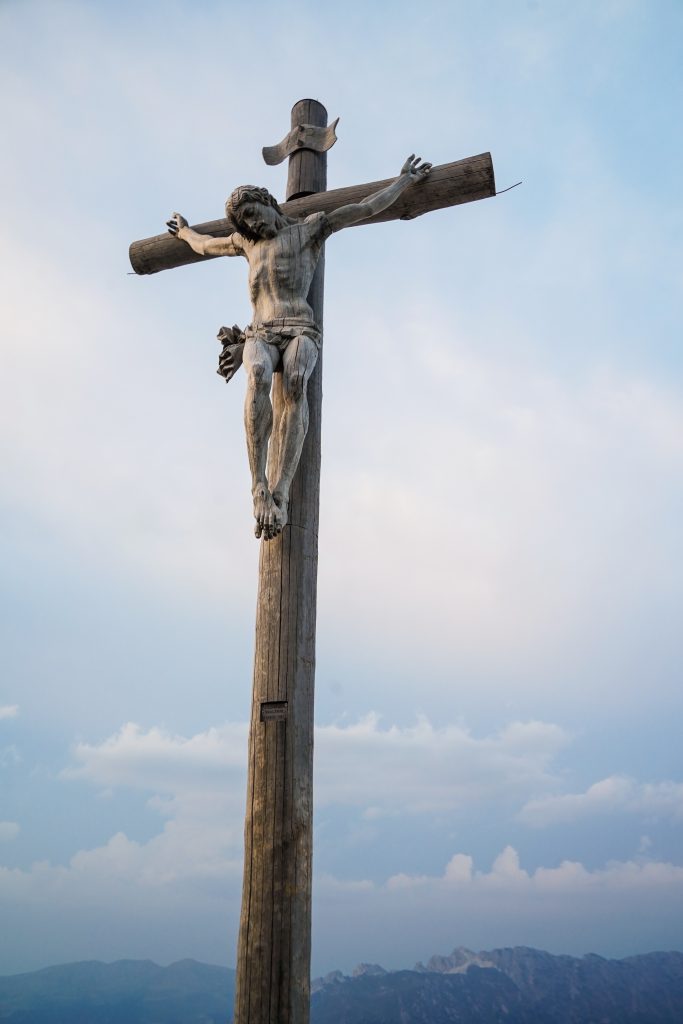
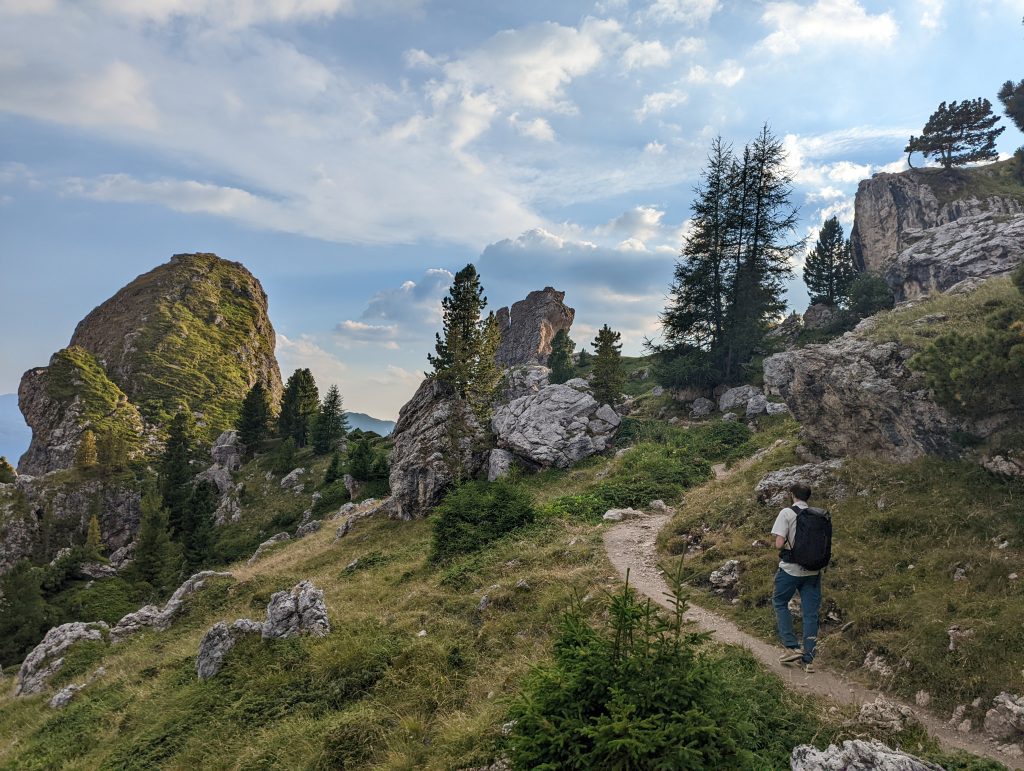
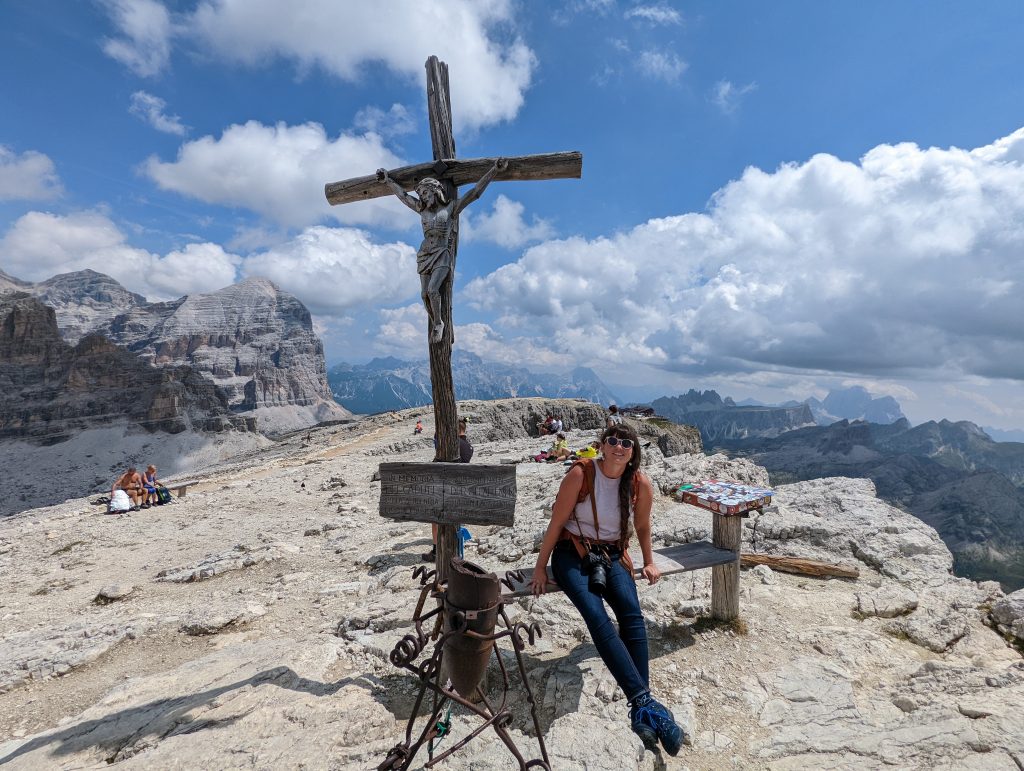
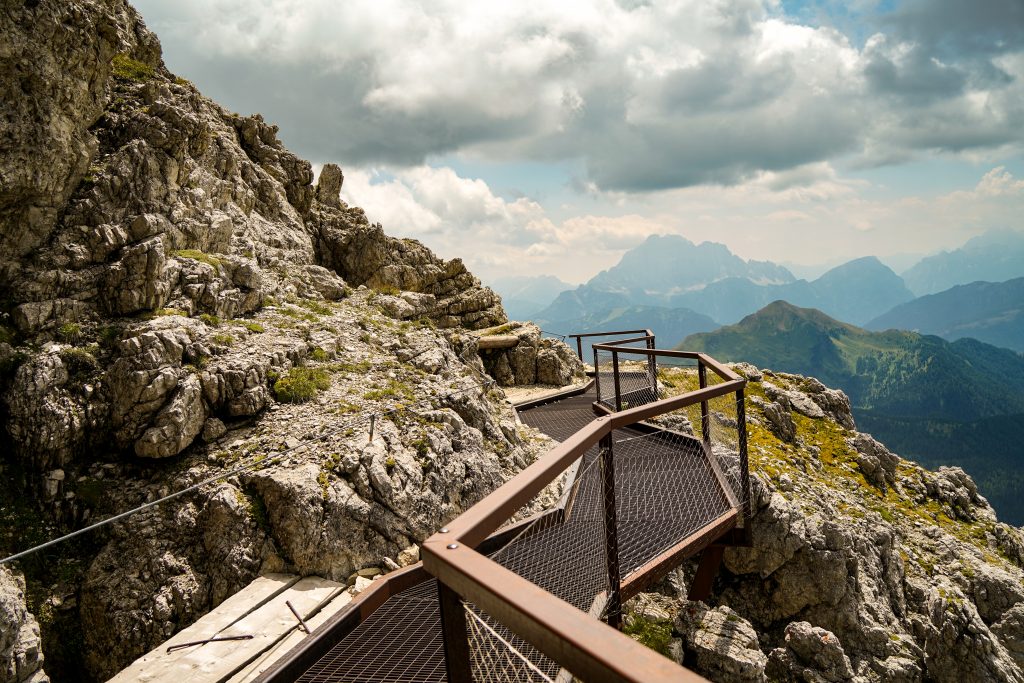
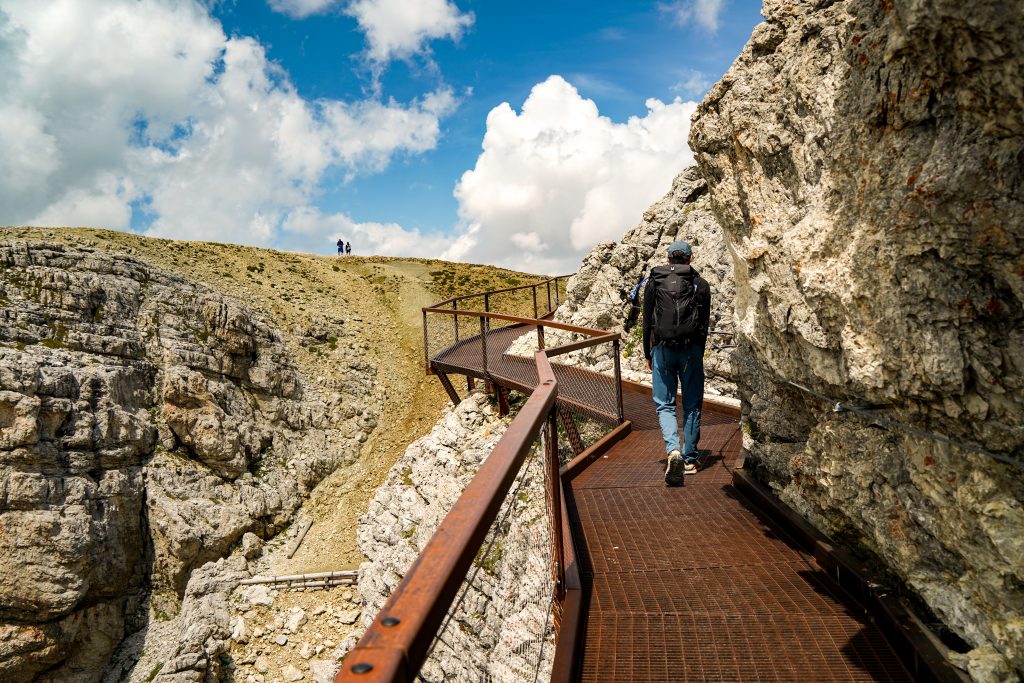
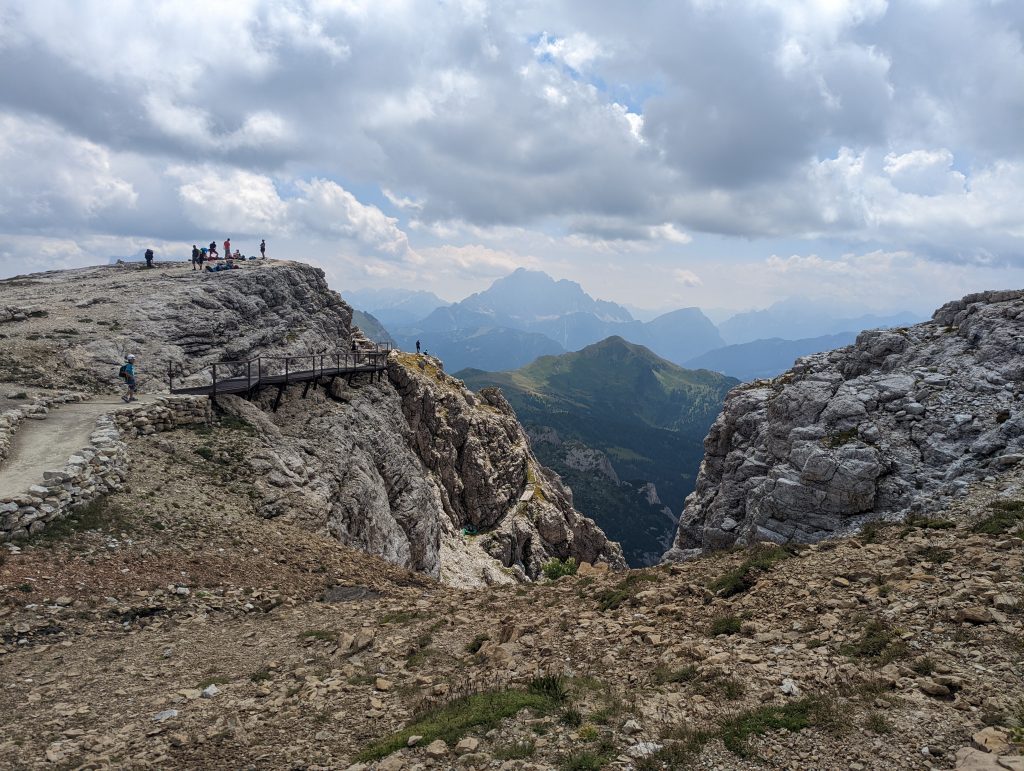
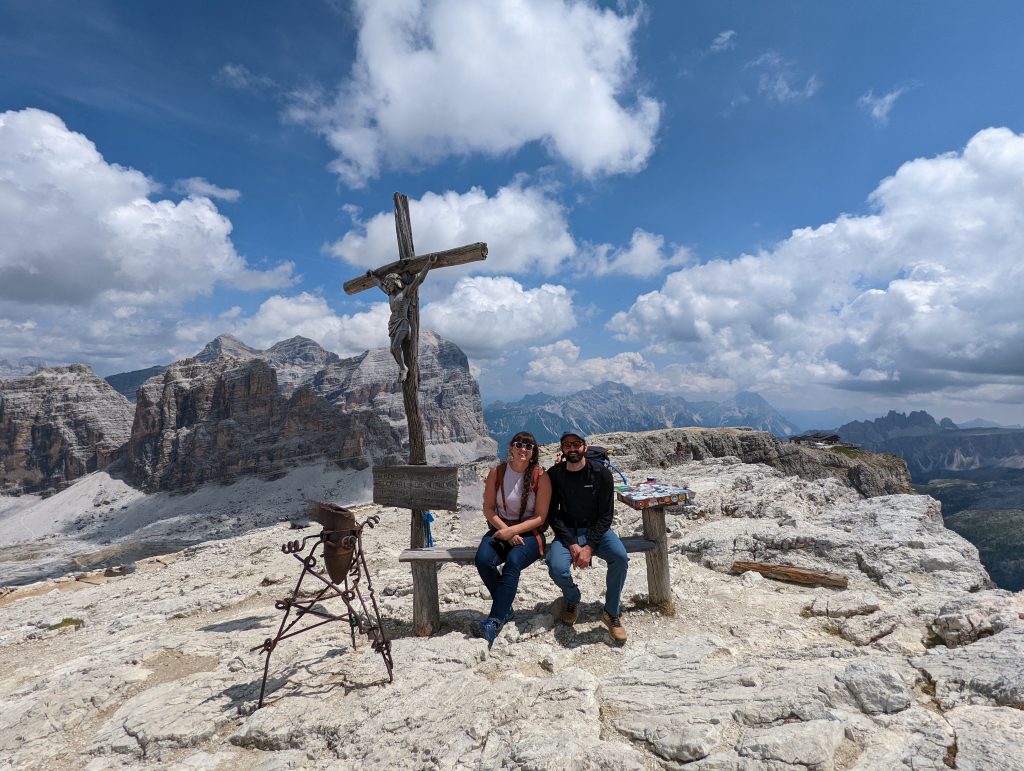
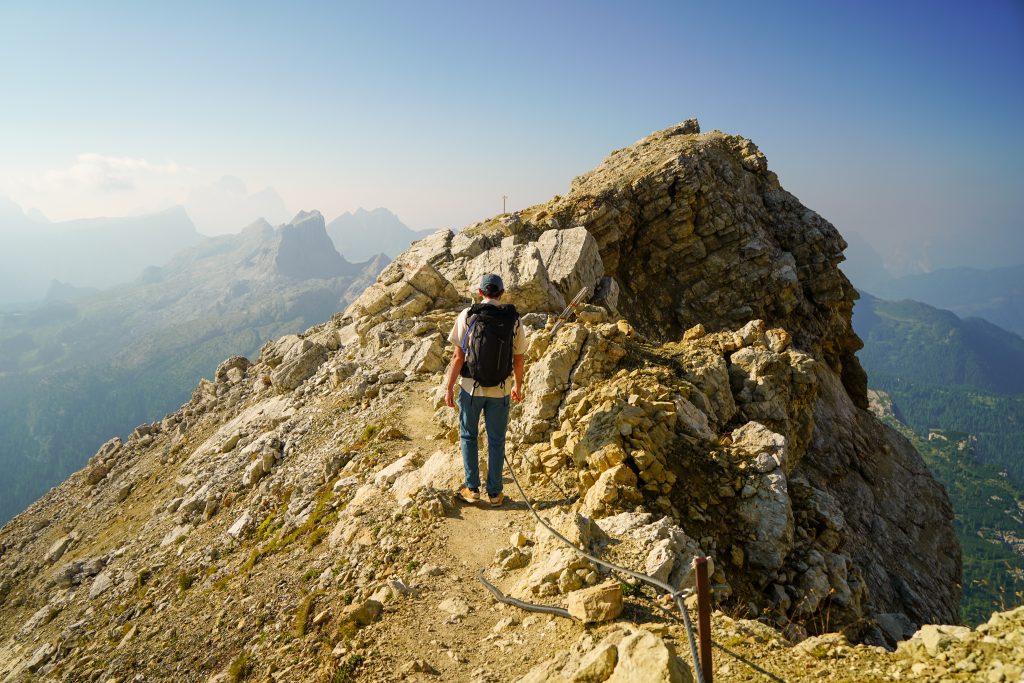
This trail is an easy walk from the hut to the true summit and cross. It offers very cool views of the hut below and a few tunnels and embankments from the war along the way. It’s also where you’ll want to head for the best views at sunset. At the trail split, take the left for an easier path and to see a small tunnel/ cave, and take the right for a bit more of a climb but cool views of the hut.

Hike details for the Lagazuoi Tunnels:

Distance: 1.5 miles one way from the Rifugio
Elevation change: 2,320 feet of descent
Difficulty: Easy- Moderate going down (depending on your knees)
Time: 2 hours one way down

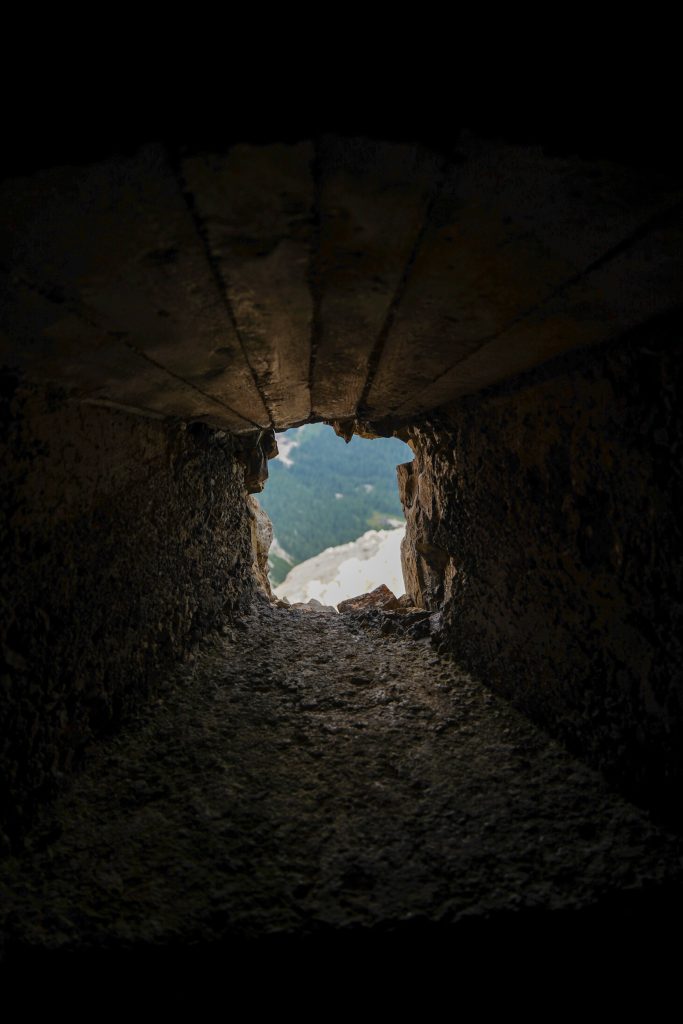
About our experience hiking the tunnels:

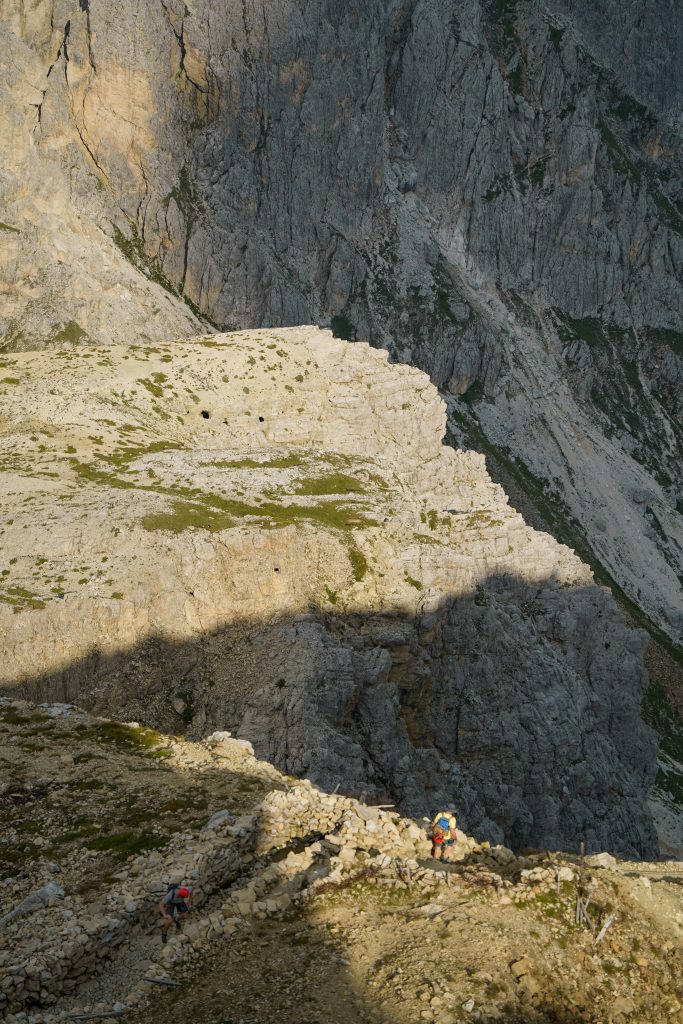
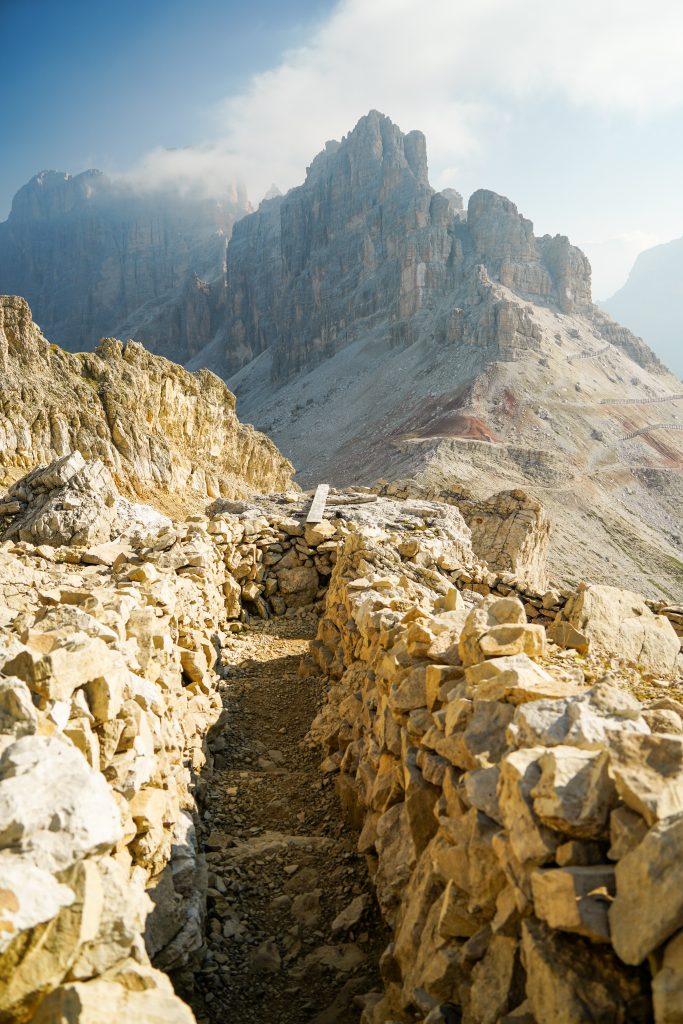
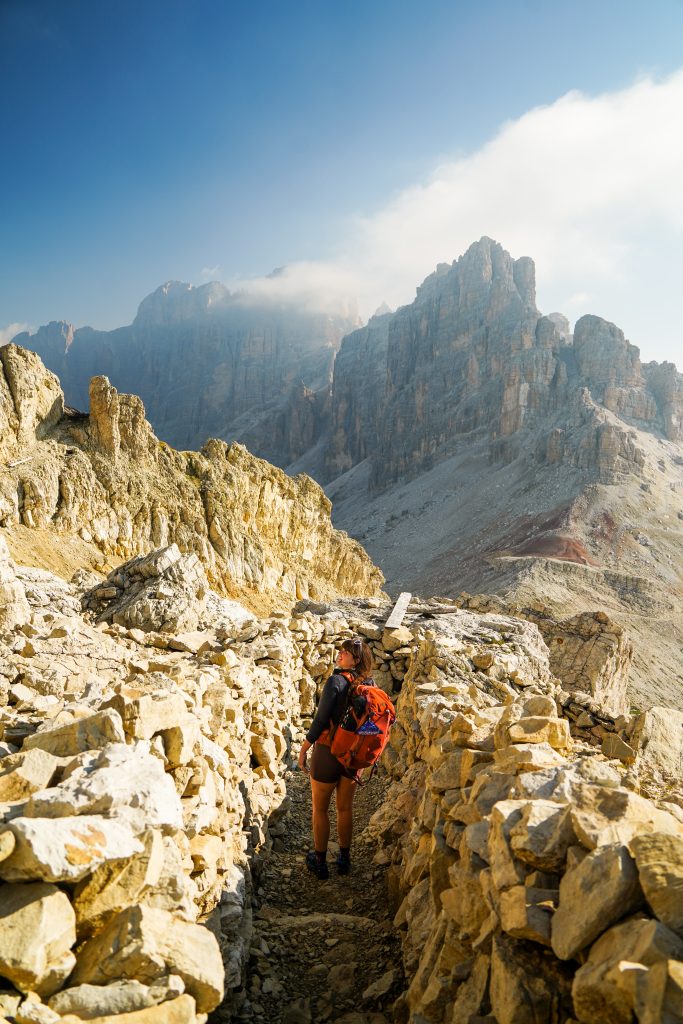
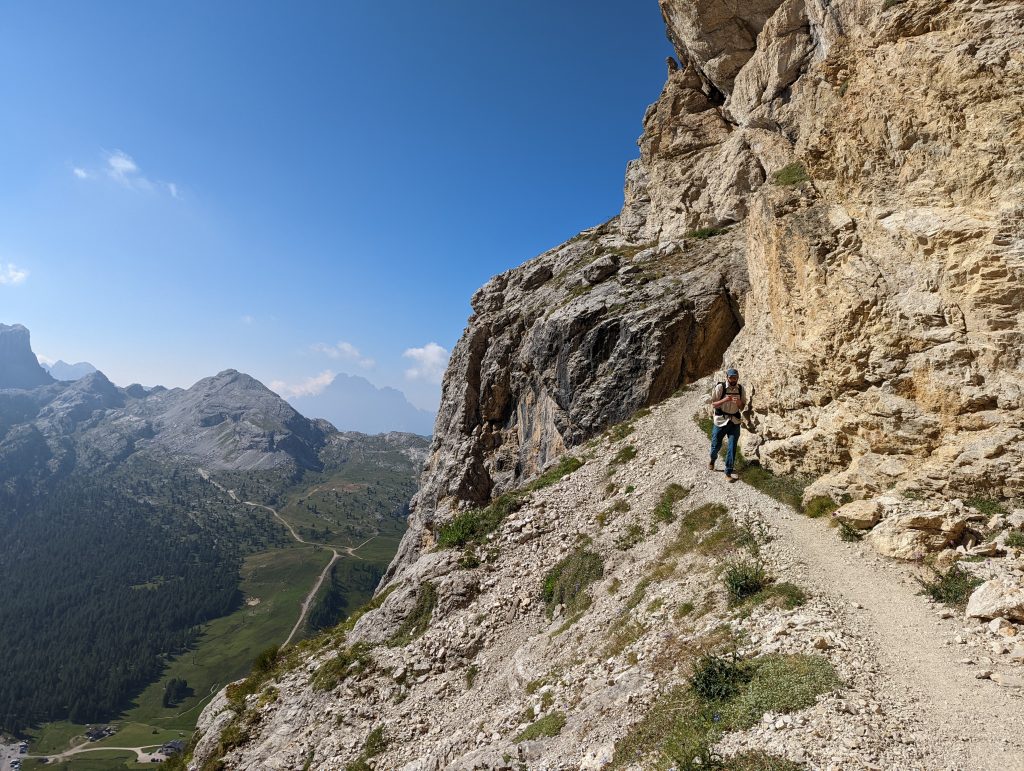
We started down the hike at about 9AM after having a great breakfast at the hut. The first part of the hike might actually be my favorite as the trail follows trenches and cliff bands. (side note, this trail like many in the Dolomites might not be great for people not found of drop offs) After about 20 minutes of mild descent, the trail enters the start of the long tunnel. 

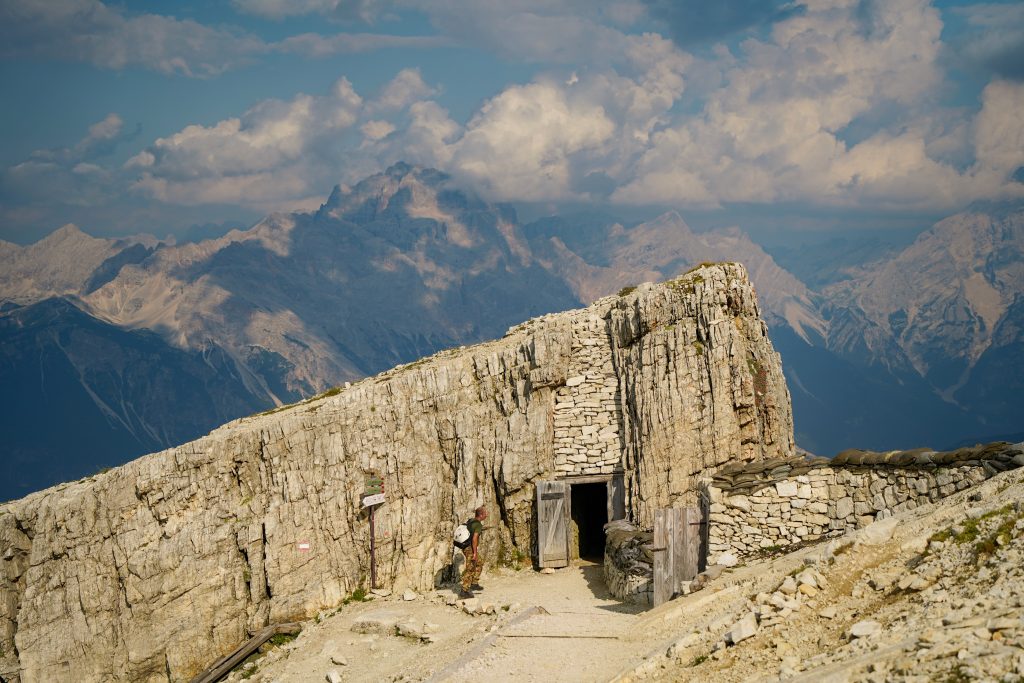
Battlements, cliffs, and trenches along the way to the start of the long “galleria”

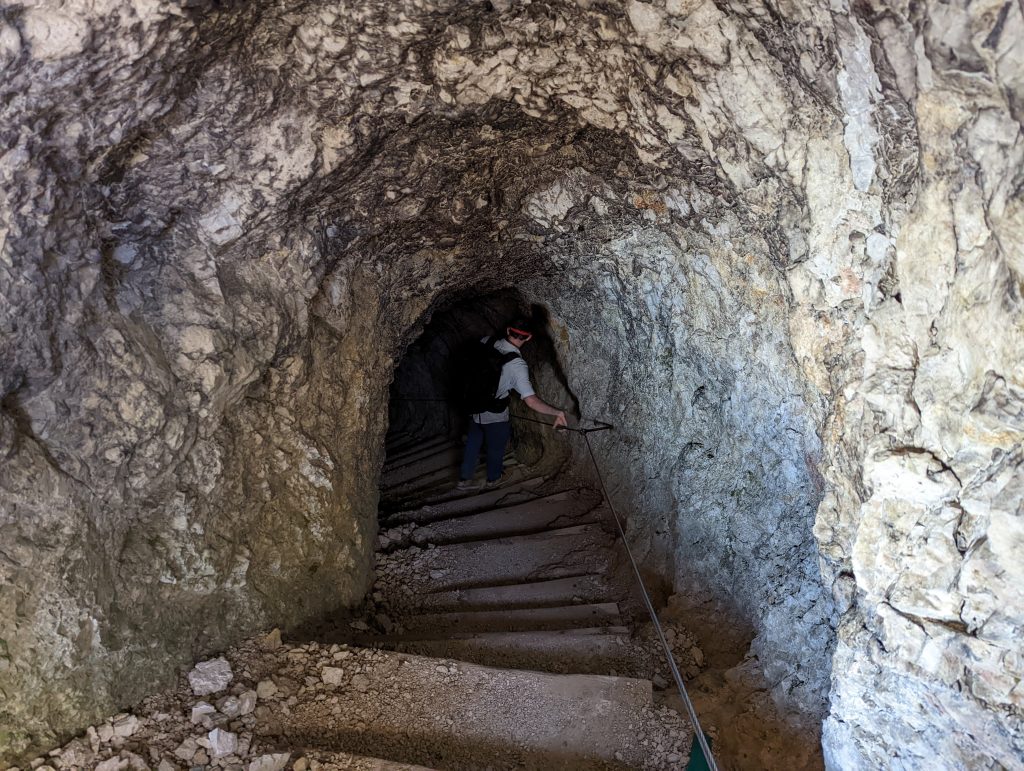
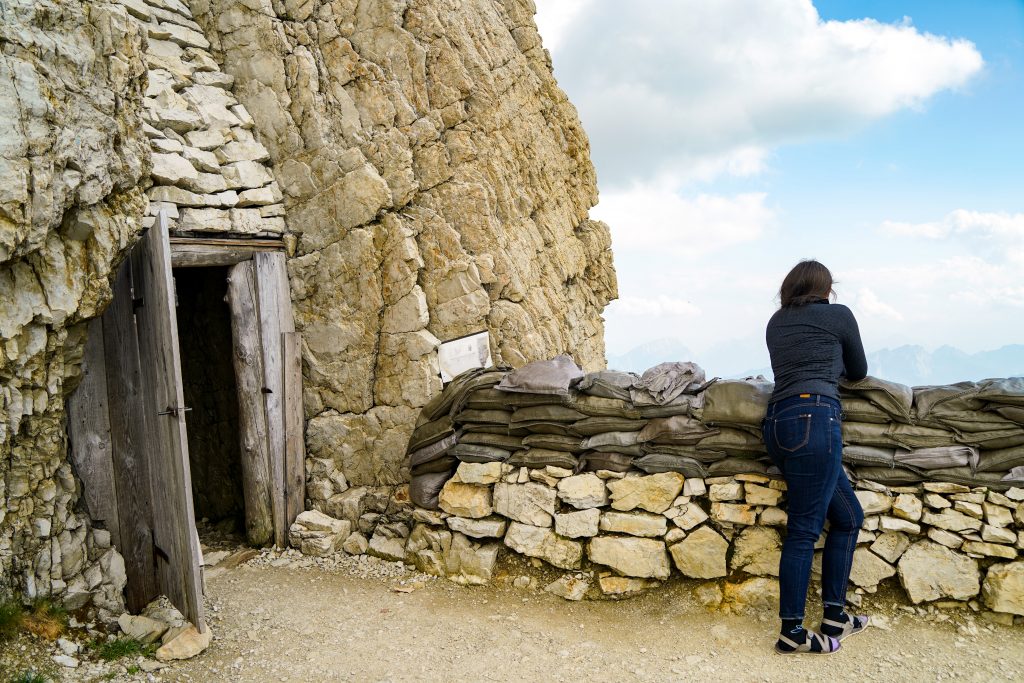
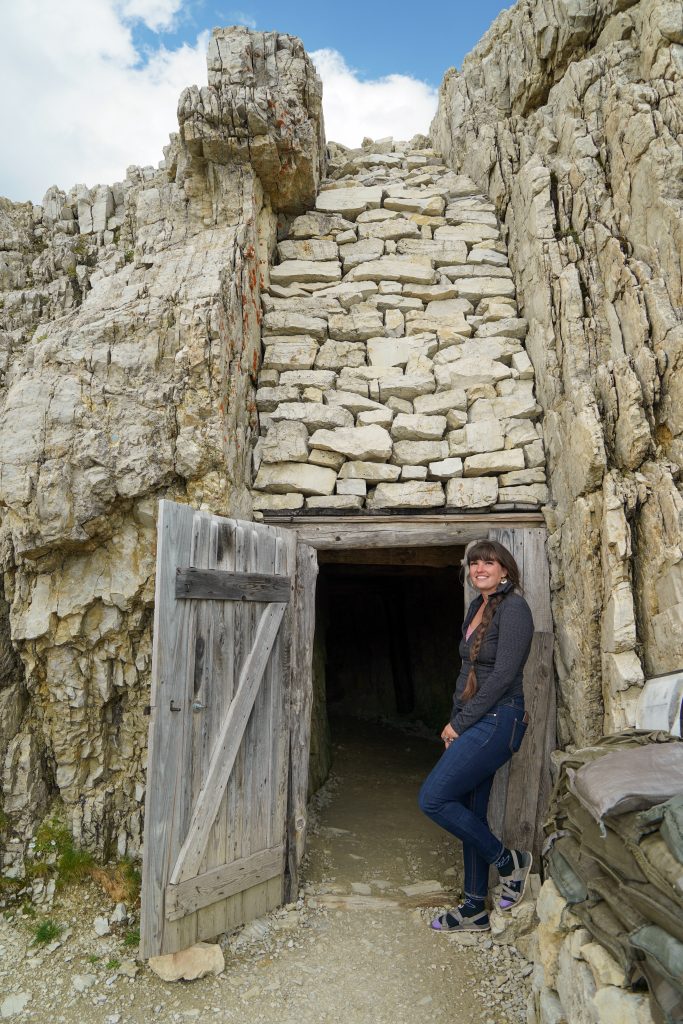
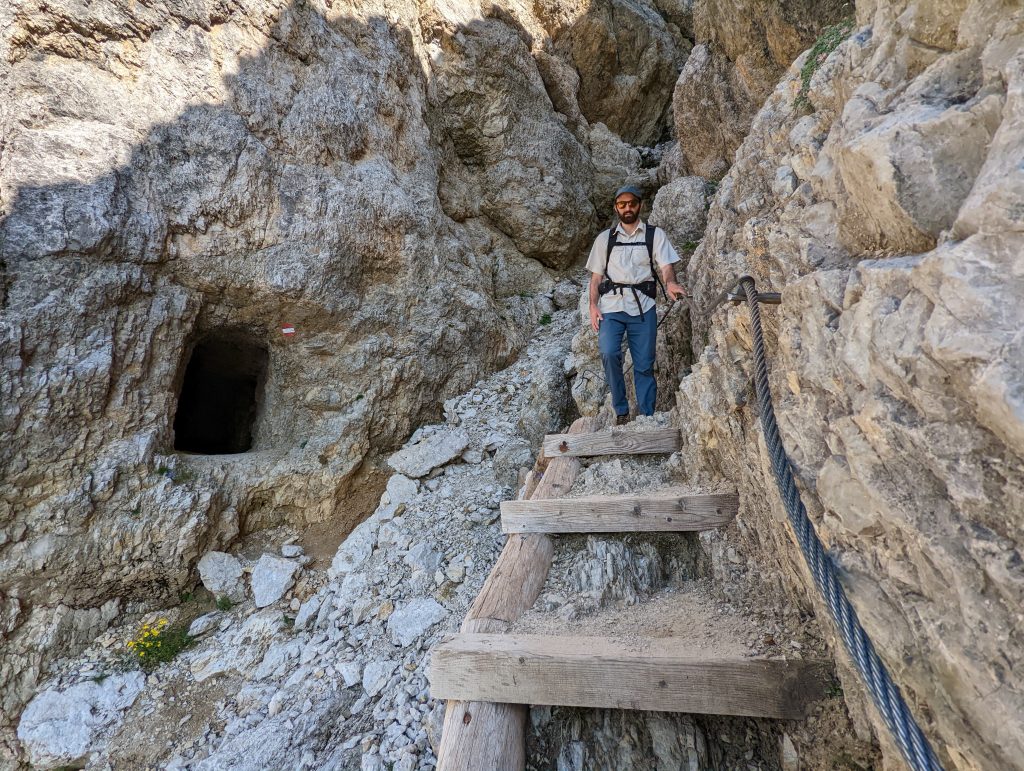
From there it is close to an hour of intermittent darkness. There is one spot not too long after the start where the tunnel forks. Either direction will take you down as they reconnect after a while. (If you really want to see it all, go down one of the forks and then back up the other, then back down which ever one is better) 

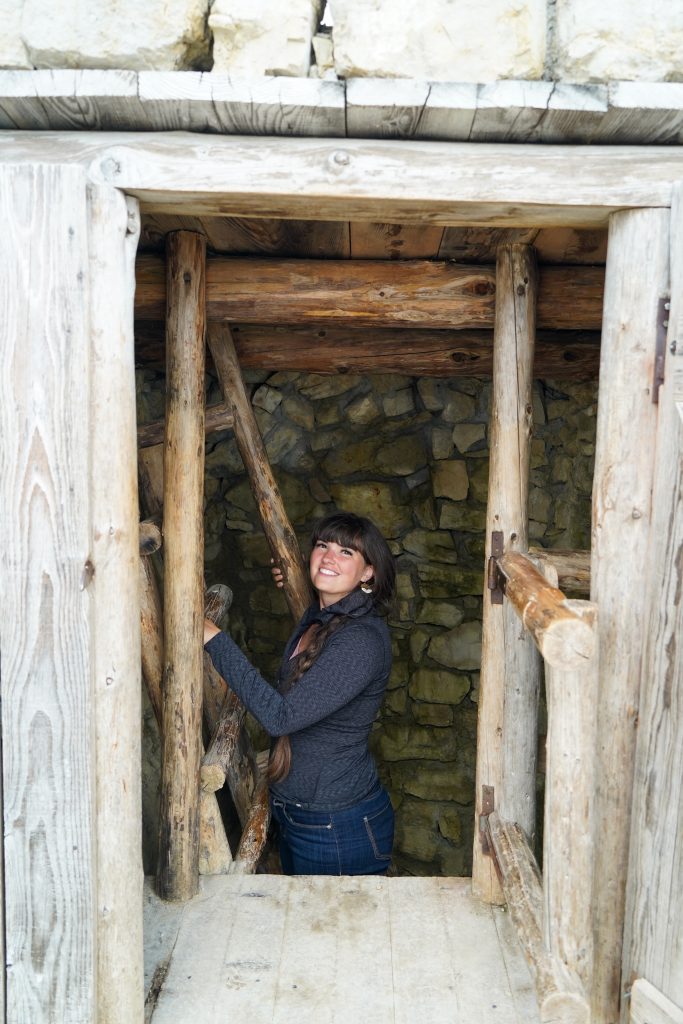
Along the way there are many small side tunnels, rooms, and windows ranging in size. Stop and check these out as you go as they can be really interesting. A lot of the side rooms have informational plaque that explain their purpose such as engine rooms (for the engine that dug the tunnel) anti mine tunnels, and bunk rooms! We tried to take in as much as we could but there is something about being in the dark that makes one…. hurry. 

It must also be said that the tunnels are winding steep staircases. The stairs are uneven and sometimes the ceiling is really short. For that matter I preferred to go down backwards like climbing down a ladder. There’s a steel cable that runs much of the way that I used for support and this way I avoided bumping my head and/ or blowing out my knees on all that descent. There were several minutes at a time where it was so dark, if we turned off our headlamps we couldn’t see our hands touching our noses.

The tunnels were really unique, and we couldn’t imagine the soldiers who built, lived, and fought in these tunnels. Finally, after a tunnel that seems to go on forever, you reach the famous Martini Ledge. Unfortunately, we didn’t bring via ferrata gear- if you do you can explore a lot more of the “open air museum” that is the Martini Ledge. (It was also known as a hanging city for it once housed 140 men plus provided kitchens and many necessities for the whole mountain) Without the proper gear, we continued down the main trail through a few more short tunnels and steeply dropping off trail sections. 

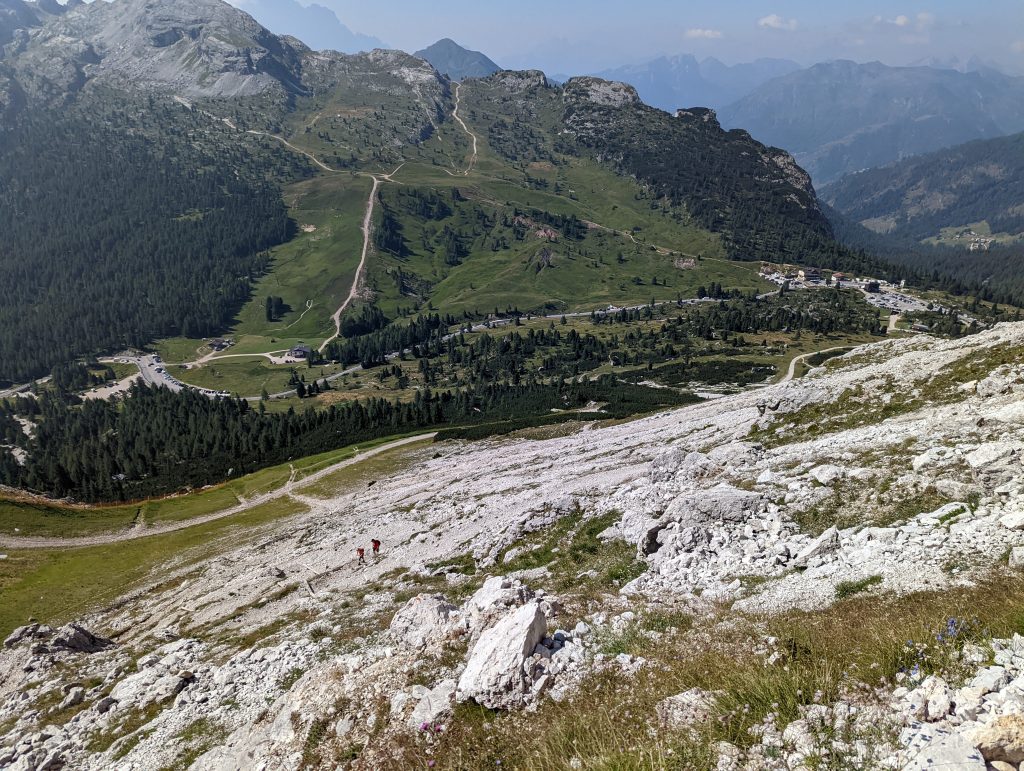
The final portion of trail is just a series of steep switchbacks through fields of shale (a lot of which is actually there from blasting and artillery fire on the mountain) The cable car station/ parking lot is easily visible and easy to navigate to on trails 401/402. Even without a map, it was easy for us to find our way. 

For more photos visit my Sunset and Sunrise Impressions from Mount Lagazuoi post.

How to visit the famous Alpe Di Siusi

Alpe Di Siusi is one of the most famous photography spots in the Dolomites and for good reason. From the golden halflinger ponies, fireweed flowers, lush meadows of grass, and many many cabins dotting the rolling hills – it’s all a compliment to the gorgeous backdrop Sassolungo ridge. It’s also the largest high alpine meadow in Europe so there is plenty to explore. 

How to visit Alpe Di Siusi

There are many ways to visit. When planning your trip also pay attention to signs/ information referring to the area as Seiser Alm. 

By Bus

Seiser Alm Express (Alpe di Siusi Express) bus runs from the village of Kastelruth (Castelrotto) to Compatch (Compaccio) and from there you can take another bus or hike (approx. 60 minutes). The actual bus timetables and all the connections can be found here.

By private car

You can only drive to the small town Compatsch (where we stayed) before 9 AM or after 5 PM and you cannot drive past the numbered parking areas within Compatsch unless you have a reservation for a hut further within the park. If you drive past Compatsch you risk a $112 fine which is not worth it when there’s cheap buses and many beautiful hiking trails to get further out into the meadows. (It’s also not worth risking the fine to drive up the scenic road between 9-5) The closest parking area to the trails is number P4 and all the lots cost the same – 18euros. (If you arrive after 6, the parking attendant leaves and there’s no way to pay this fee) 

By Cable Car

Recommended if you are staying in Ortisei and don’t have a private car to get around. Just keep in mind, the cable cars run limited times making sunset/sunrise photos more difficult to get. 

Ortisei – Alpe di Siusi Cable car information:

Cost:

Cost:
Adults Roundtrip/ one way: 23.90/15.90
Juniors 8-14 years old: 16.70/11.10
Kids under 8 are free
* To view specific timetables and book tickets visit the website here.

About our experience:

After much debate we decided to book a place to stay in Compatsch which gave us access to drive up to Alpe Di Siusi any time after our check-in hour. This way I could get a lay of the land for sunset and maybe even take nice sunrise photos. The apartment that we booked on Airbnb was awesome – we had amazing view from the private balcony and lots of space to relax. We drove up the road about 3:00 and checked in.

After checking the weather I thought sunset would be our best bet so we looked at the bus time table to drive closer to the “photo” spots. Cue naps running a little longer and missing the bus- we had to walk to the photo spots instead. It took about 1.5 hours to get to the area I had mapped out – it was mostly flat walking with a couple more hills at the end. The views were stunning the whole way so ended up not being too upset we missed the bus.

After snapping photos we started the walk back. The buses don’t run after about 6 so we started back just before the sunset actually happened – if we had any hope of eating dinner, we had to start back around 8. That being said I never really stopped taking photos as we walked back.

Our apartment, godsend that it was, had a restaurant/ pizzeria IN it that was open until 10. (otherwise there’s nowhere to eat after like 8/9 up there) The food was fabulous and the cheapest of our whole trip. The next morning the weather was looking very cloudy and I had no desire to walk very far knowing I wanted to hike later in the day so I just enjoyed the views from our balcony before check out.

So all in all staying in Compatsch didn’t impact our Alpe Di Siusi experience that much – We could have easily driven up after 5, taken sunset photos, and then driven back down into town. However the restaurant was great and I loved the views from the balcony! Based on your budget, a stay in Compastch is a great idea to save money on bus fares or cable cars and to experience sunset/ sunrise in one of the prettiest meadows.

Where to stay in Alpe Di Siusi 

Appartamento con vista sull’Alpe di Siusi $$- Where we stayed: highly recommend for the onsite restaurant with great hours, beautiful view from the porch, and overall great space. Just remember linens are not provided….

Adler Lodge Alpe $$$$$ – Expensive but it’s located right at the main view point and is a gorgeous hotel. If you’re on a luxury trip, it would be a dream. 

Icaro Hotel $$ – Similar location to Adler Lodge location and much more affordable- the catch is you have to stay 2 nights. Still worth checking out for the location, beautiful rooms, and incredible pool.

Any number of hotels in Siusi or Ortisei will also provide great places to launch your adventure from.

Photographing the Seceda Ridgeline

The Seceda ridgeline is one of those places in the Dolomites that you’ve seen before online and just have to see for yourself. This jagged wave of mountain is iconic and definitely not to be missed. While it’s not that difficult to visit, there are many options to consider for your trip!

Post Index:

The easiest ways to visit this mountain:

Option 1: Most affordable

Take the Seceda cable car from Ortisei (up and down). 

This cable car way involves a little uphill walking. It is not as easy as the next option but it is cheaper since it involves one ticket and the walk/ “hike” is  very short

Seceda Gondola info:

Click here for updated time schedules and to buy tickets:

2022 costs for reference:

  • Adult/junior roundtrip: $37/$19
  • Adult/junior oneway (up or down) $27/$14
  • Parking cost: $10/day (approx)

*Junior is age 8-16. Children under the age of 8 are free.

Photos from the Col Raisier lift and trail close by on the way to the Rifugio Hut

Option 2: The easiest AND most scenic way:

Take the Col Raiser Gondola then walk a short easy way to the Fermeda chair lift. This chair lift takes you directly to the photo spot. You can take the chair lift back down OR take the trail to Rifugio Firenze. The views are striking the entire hike and it is all downhill (though some segments are steep so if you have any trouble with steep downhill, please know your limits) After a visit to Rifugio Firenze for lunch (or the night!) take the Col Raiser gondola back down to S. Cristina.

Col Raisier Gondola info: 

Click here for updated time schedules and to buy tickets:

2022 costs for reference:

  • Adult/junior roundtrip: $25/$16
  • Adult/junior oneway (up or down) $17/12
  • *Junior is age 6-13. Children under the age of 6 are free.
  • Parking cost: $10/24 hours

Fermeda chairlift info:

Click here for updated time schedules and to buy tickets:

  • Adult/junior roundtrip: $19/12
  • Adult/junior oneway (up or down) $12/8
  • *Junior is age 8-16. Children under the age of 8 are free.

But wait- do you want to visit Seceda for sunset or sunrise?….. Or both?

All of the listed cable cars only run between 9-6 or so depending on the season so to visit during the golden hours, you’ll need to plan a bit more in advance.

Option 1: Sunset (what we did)

Take the Col Raisier gondola during their opening hours and stay overnight at Rifugio Firenze. You must checkin before dinner time. Once you check in at the hut, let them know you won’t need dinner and start your hike up to the photo spot for sunset. More details on the hike below.

OR if you are early enough, you could hike back to the Fermeda chairlift and take that up oneway and just hike back down in the dark…. but you’d be missing some beautiful scenery if you go that route. (Obviously, pack some food for dinner) 

Read more about staying at Rifugio Firenze (and other huts) in my post here.

Option 2: Sunrise

Take option 1 but instead of sunset photos, enjoy a delicious meal for dinner at the hut and instead hike up for sunrise! Make sure to start your hike 1.5 hours before sunrise to be there in time. After you take gorgeous morning photos, you can either take the Fermeda chairlift down by waiting until 9 or hike back down to the hut/ Col Raiser gondola. (which would be much cheaper saving money on cable cars and more scenic)

Option 3: Easiest but least luxurious

Take either of the Seceda cable car options up and down and tent camp at the summit. This way you can be up there for both sunset and sunrise. Please be aware that free camping is frowned upon in the dolomites so don’t set up anything until it starts to get dark and clean up your camp quick in the morning. Definitely leave no trace and be aware that it is usually VERY windy up there with little wind breaks for cover. 

 As you can see…. there’s many options that abound depending on your time, budget, and desire for dirt under your boots hiking. As always, comment on this post with any questions you might have and I’ll be glad to help. 

Details about the hike to Seceda from Rifugio Firenze:

Distance: 6 miles Roundtrip
Elevation gain: 1550 feet
Difficulty: Moderate
Time: 3 hours Roundtrip

Trail Description:

The trail starts behind the rifugio and climbs steeply for the first half mile on loose rocky trail. The view ahead is the same craggy peaks that you’ll see at the end but from another angle. The view behind you will be the rifugio nestled in it’s peaceful little valley. As the trail levels off you’ll start to encounter intersections. You can see where you are trying to go so aim up and to the left of the major peaks in front of you. (Generally if you aim to stay high, that’s the best bet)

These are views around Rifugio Firenze. In the right photo you can see the peaks and the faint trail in the middle heading…. up.

Views along the trail just past Rifugio Firenze. As we reached the junction we saw a cute little family of donkeys.

About half way there you will come across the very obvious  “wing” rocks. In general this part of the trail is so unique and feels like walking through a fairy tale of moss covered boulders and far off views. Just after that you’ll cross through a lovely donkey farm (make sure to always close any gates behind you!) and then the next steep climb will begin.

This time the steep climb is at least more solid as they’ve put mats down on the trail to help protect it from erosion and provide better footing. The view as you climb only becomes more and more spectacular – a beautiful grassy slope with small farm houses and sheds dotting the landscape.

Again you’ll see the Seceda cable car station which is you end goal so just continue picking paths that lead up to it. Most roads lead to Rome in this case, with a more steep one that climbs to the saddle (but doesn’t have much of a view) or a more gradual one that gains it’s way up the back of the cable car. Either will work.

Once you’re on top by the chair lift station, head toward the cross that marks the summit and you’ll see the best spot to take photos from (without a fence in the way) If you are there for sunset or sunrise no doubt you will see other photographers and maybe some campers around as well. Relax and enjoy the incredible view you climbed 1500 feet for (or more if you skipped all cables). Once you’ve taken all the photos you want, return the same way to the hut.

*Also be aware of the seasonal closures for the cable cars as they often close in the shoulder seasons.

* If you were to do this hike without the Col Raisier Gondola, it would add 1.5 – 2 hours of hiking each way. (almost 2000 more feet of gain from the bottom station of the gondola) 

View from the summit left. Views of the ridge from the saddle right.

Final photo dump of photos from the trail: