Something most people cannot miss when visiting New Zealand is Hobbiton, the movie set. It’s known worldwide so no matter where you go- when you tell people you visited New Zealand, you will get asked “Did you visit those Hobbit Holes?” by both fans and not fans alike. That being said, you should plan on whether a stop at Hobbiton is right for you or not. You SHOULD visit it you are
- A fan of the books or movies
- Interested in set design and/or the making of movies
- Interested in a good beer and some likely photo ops.
You should NOT plan a trip here unless you at least fit the bill with 1 of those options. People who DON’T like crowds or on a strict budget may find it busy, touristy, and an expensive expenditure. *
*Just saying how it is.
Contents
- About the Hobbiton movie set
- Options for getting to Hobbiton
- Hobbiton Ticket pricing
- About my tour+ lunch experience
- Hobbiton beverage options included in the tour

About the Hobbiton movie set:
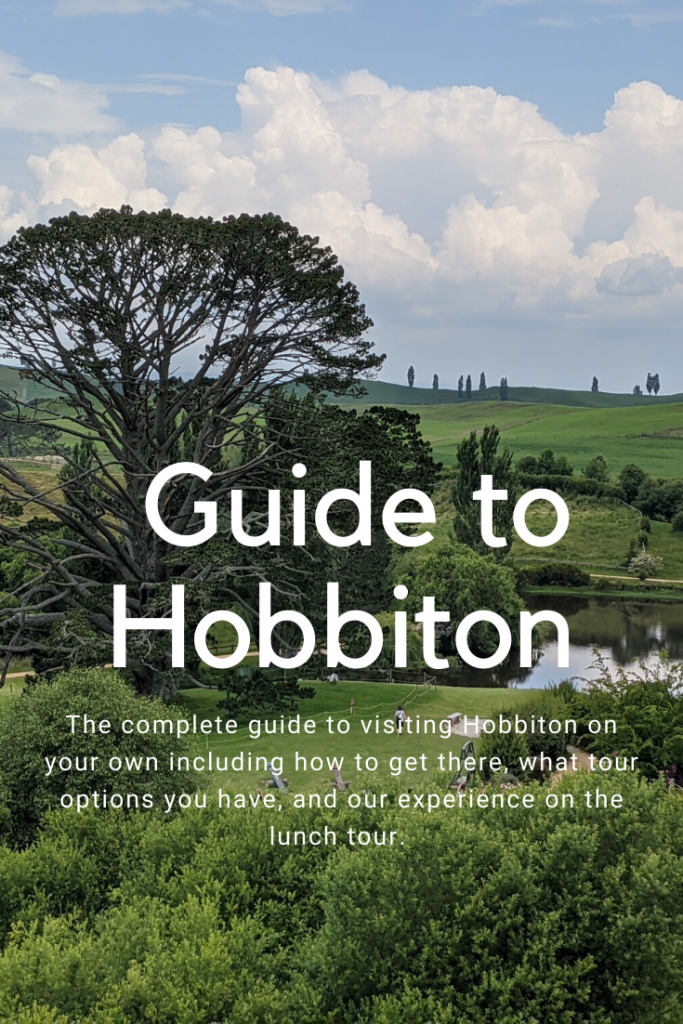
“In 1998, Sir Peter Jackson’s team of location scouts were searching for the iconic rolling hills and lush green pastures of Hobbiton™. An aerial search led them to the Alexander farm, a stunning 1,250 acre sheep farm in the heart of the Waikato. They noted the area’s striking similarity to The Shire™, and quickly realized that the Hobbits™ had found a home.
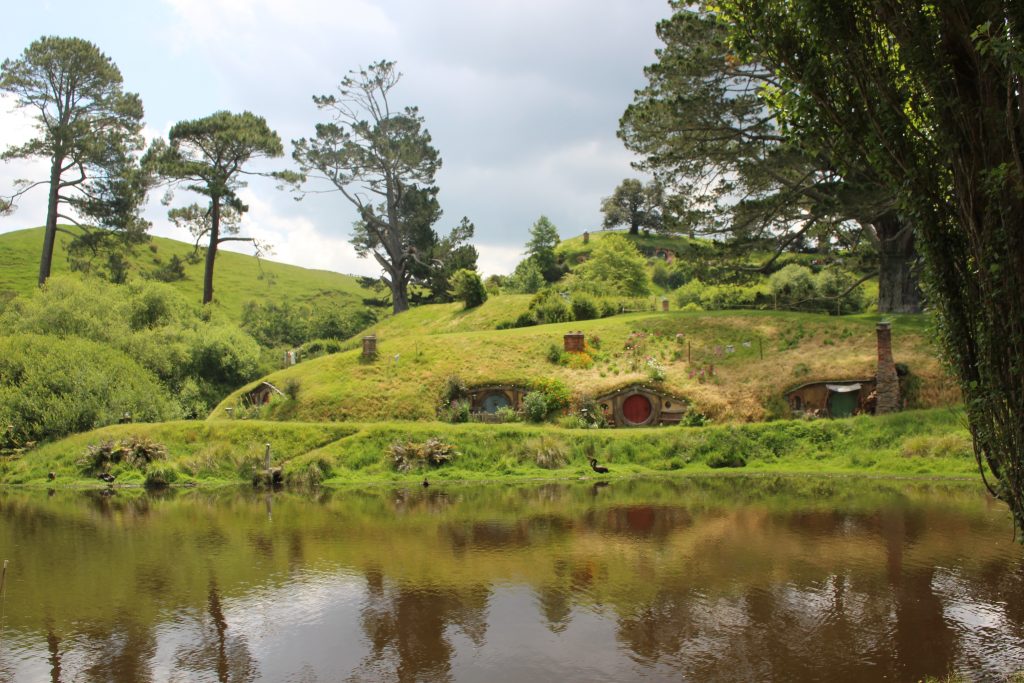
In one particular part of the farm, there is a magnificent pine tree towering over a nearby lake, adjacent to a rising hill. Bag End now sits atop that hill, overlooking the Party Tree, as that pine would later be known. The surrounding areas were untouched; no power lines, no buildings and no roads in sight. This meant that Sir Peter Jackson could leave the 20th century behind, and fully submerge himself in the fantasy world of Middle-earth™.
In March 1999 the crew began the nine month quest to bring the ideas for Hobbiton to fruition; help was provided by the New Zealand Army, and soon 39 temporary Hobbit Holes™ were scattered across the 12 acre plot used for the set. Secrecy was key, and strict security measures were put in place by the production company throughout construction and filming. Filming commenced in December 1999, and it took around three months to get a wrap on The Shire.
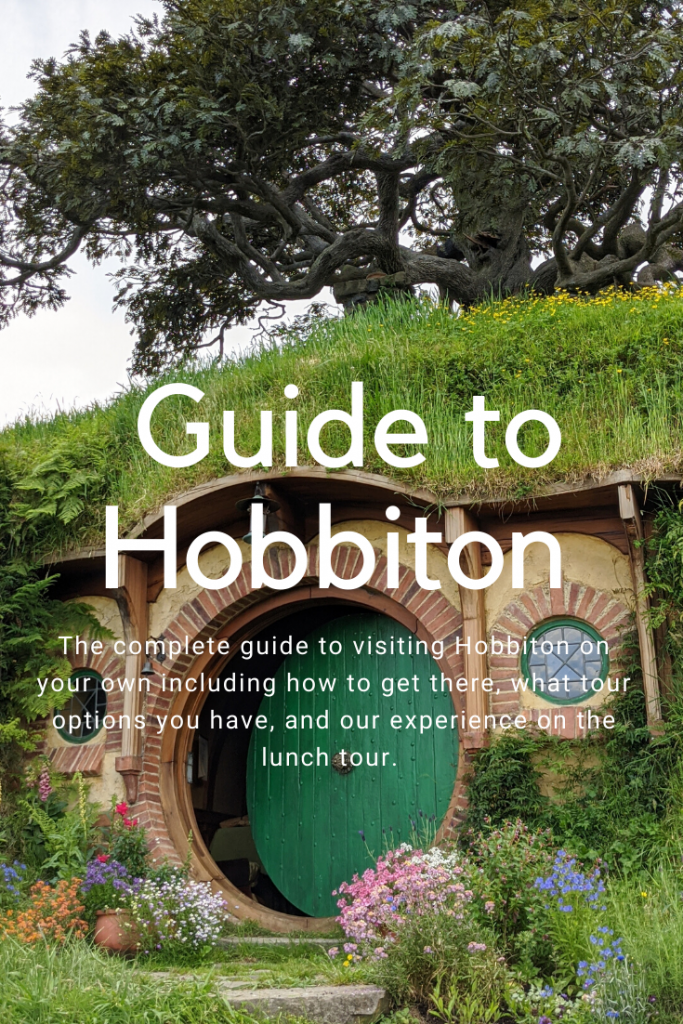
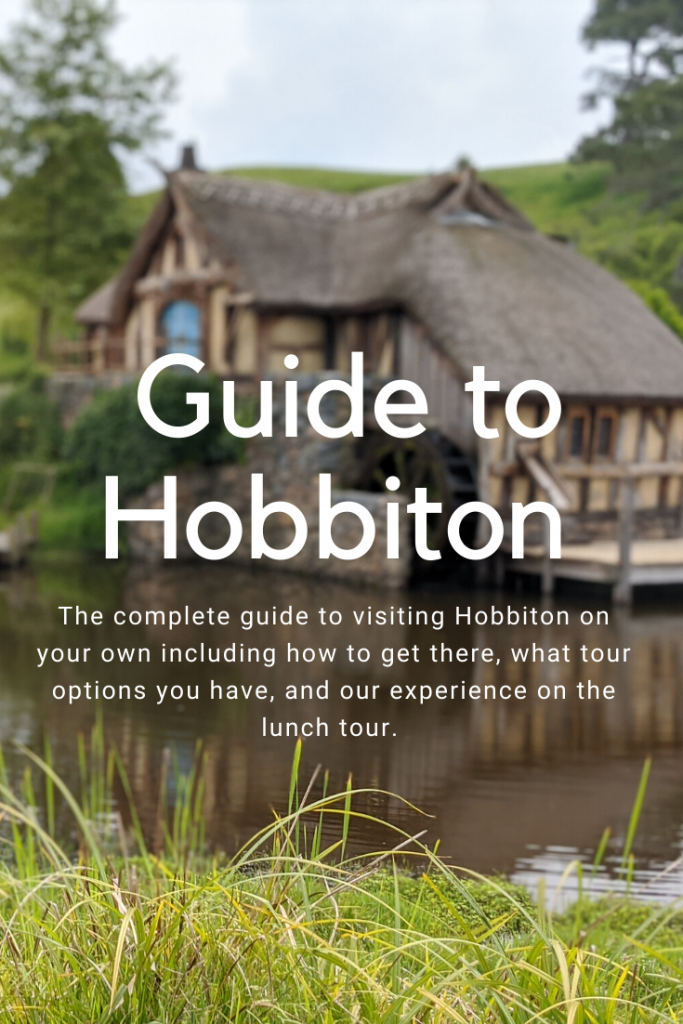
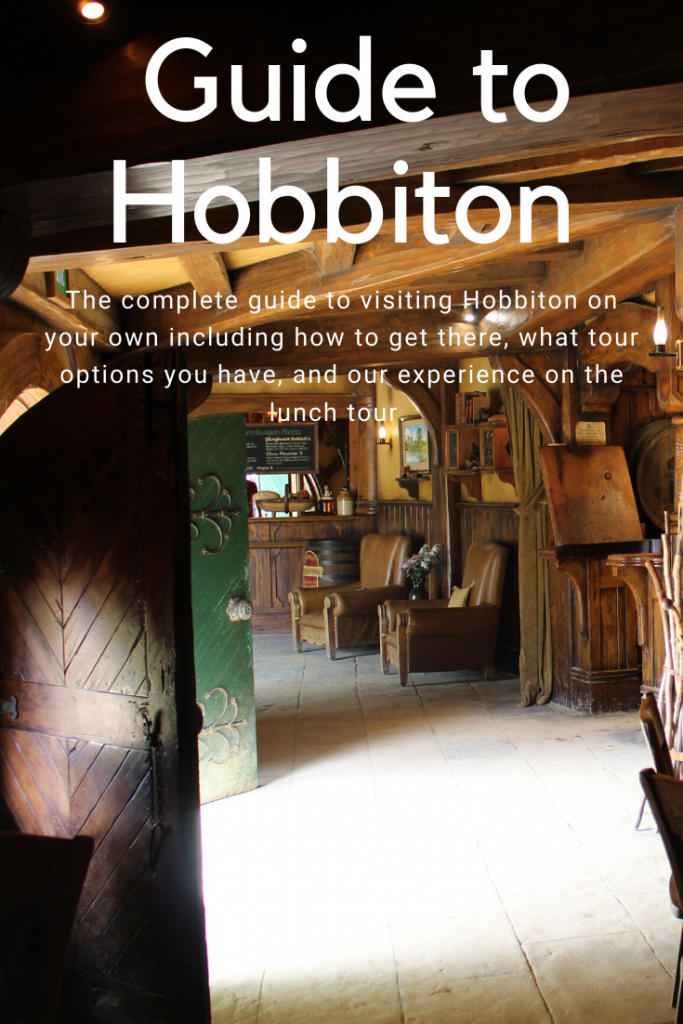
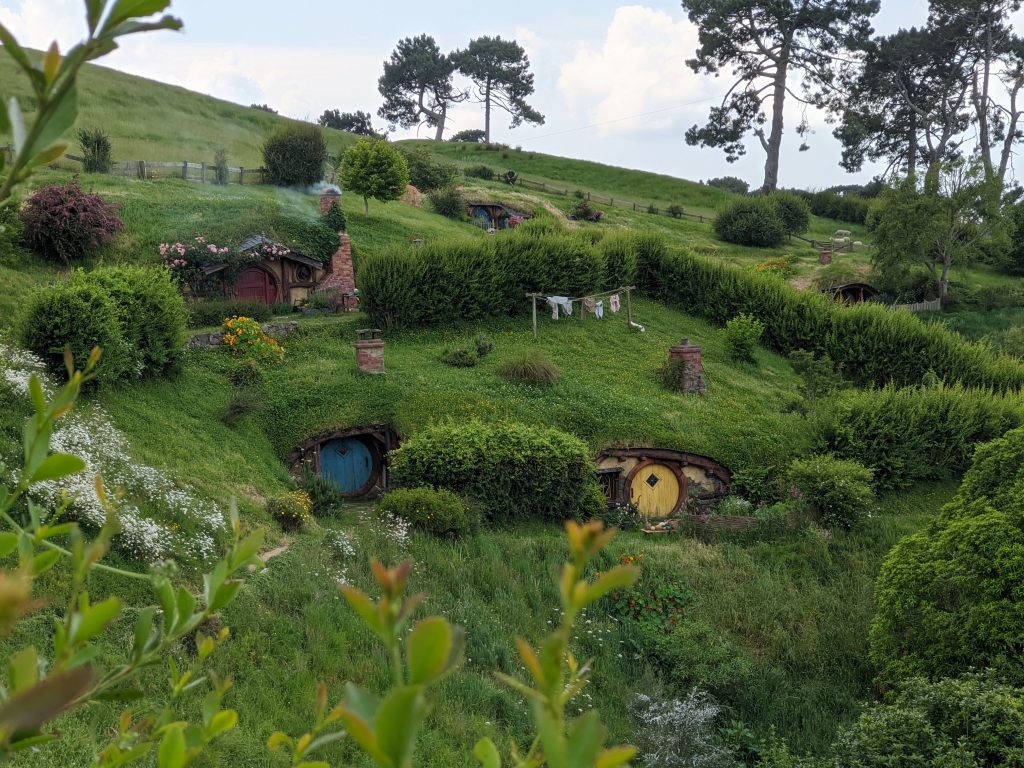
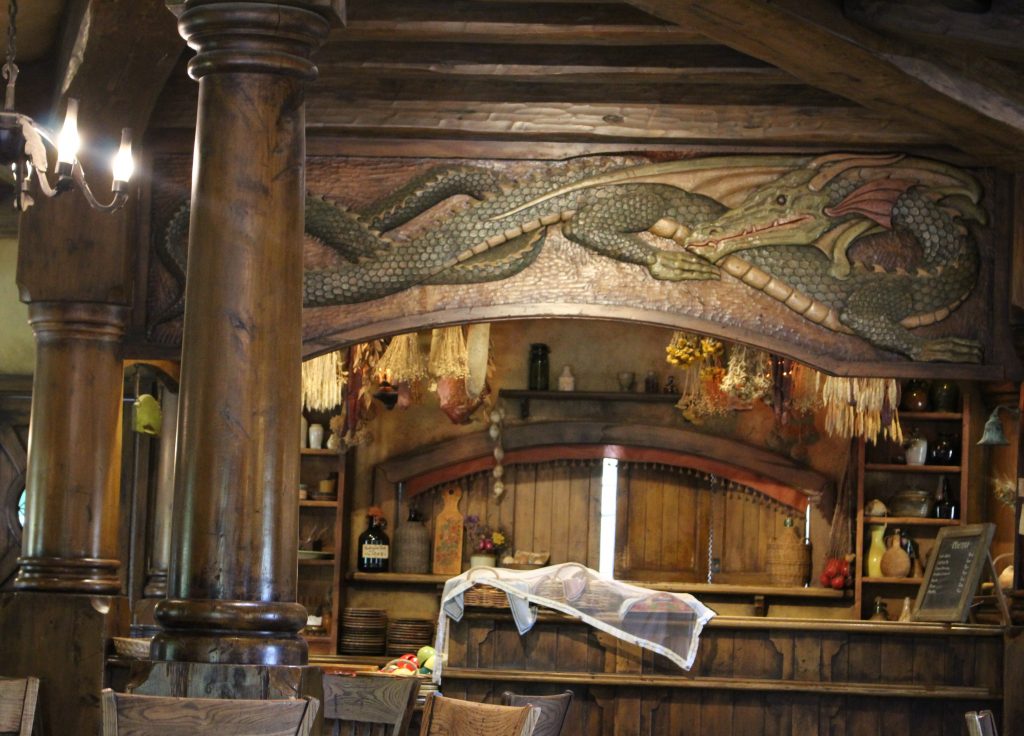
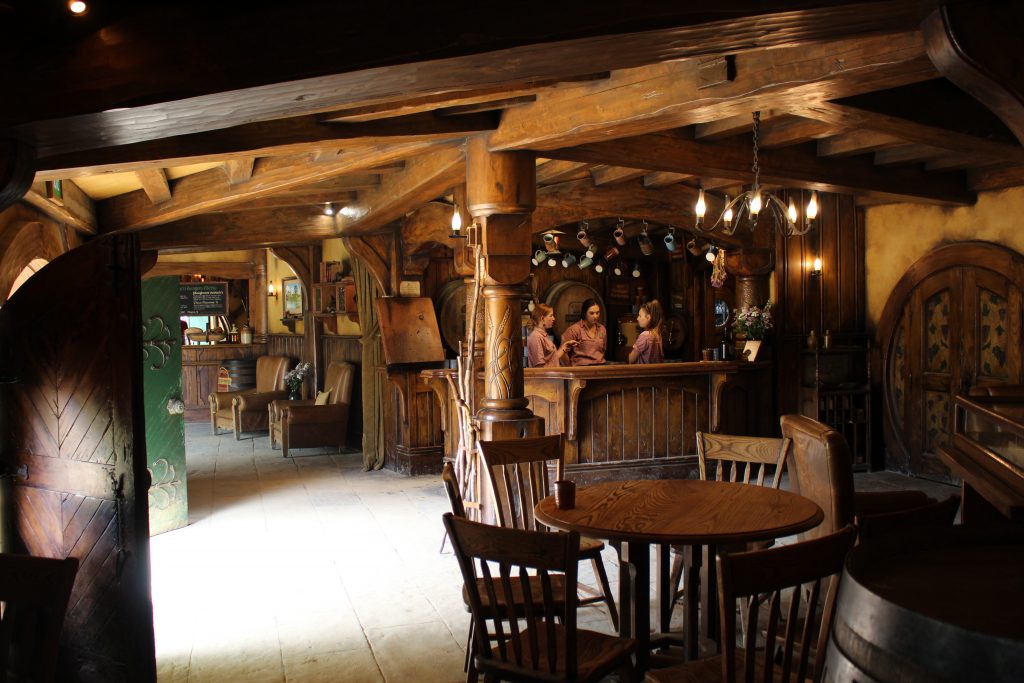
In 2009, Sir Peter Jackson returned to film The Hobbit trilogy, and he left behind the beautiful movie set you’ll see today; 44 permanently reconstructed Hobbit Holes, in the same fantastic detail seen in the movies. In 2012 The Green Dragon™ Inn was opened as the finale to the journey. Guests now finish their Hobbiton Movie Set experience with a refreshing beverage from the Hobbit™ Southfarthing™ Range. There’s an abundance of movie magic nestled inside the fully operational farm.”
Options for getting to Hobbiton:
- Private car- Simplest option in my mind- the tour departures are cheapest if you can drive yourself to Hobbiton. It is just over a 2 hour drive from Auckland and very close to other popular destinations in Rotorua.
- Take a bus from Auckland to Matamata where there are Hobbiton tour departures that can be booked as a combo with your Hobbiton entrance. (Bus fares are around $40- book in Intercity.com)
- Book a tour within Auckalnd to transport you to your Hobbiton tour. (most expensive- least flexible option)
Since the absolute best way to get around New Zealand is driving yourself, this is the method I’d recommend. Once you get to Hobbiton you have still more options:
Hobbiton Set Tour booking options
- A 2 hour movie set tour Adults (17years+) : $84/ Youth: $42 *
- The 2 hour movie set tour+ lunch Adults: 120/ Youth: 78 *
- The 2 hour movie set tour+ dinner+ lantern lit walk second tour (only offered select nights during the week) Adult: $192 Youth: 152.50 Child: $100
*All tours come with a complimentary drink and free time at the Green Dragon after your walk. There is also a café at Shire’s Rest where you park and where all the Hobbiton tours depart from.
*Children 8 and younger are free but must be accompanied by a paying adult and have a ticket
*You CANNOT see the Hobbit holes without booking a tour.
About our experience:
I did the simple 2 hour tour on my last visit 5 years ago so this time we spiced it up by booking the set tour+lunch combo. (I would’ve booked dinner but it was only available certain days of the week and didn’t align with our schedule)
We drove from Tongariro in the morning and got to the Shire’s Rest about 45 minutes before our departure. We checked in at one of the many kiosk desks to exchange our online vouchers for the physical tickets and then spent some time milling around the gift shop. About 10 minutes before our tour departure (1 PM) we lined up in our designated queue to be first on the bus and waited for our departure.
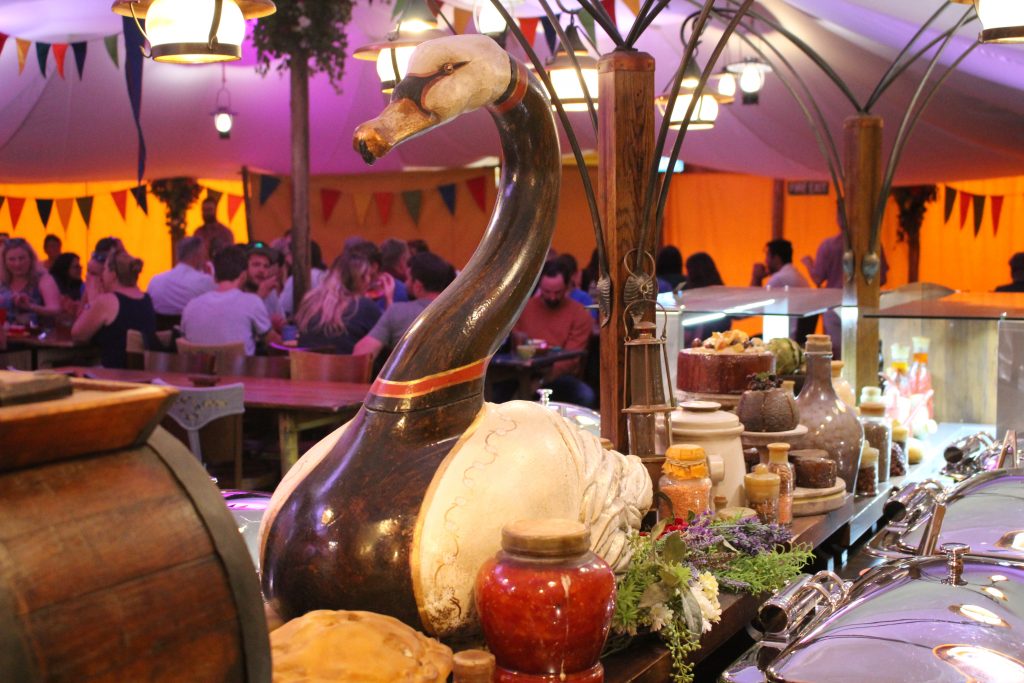
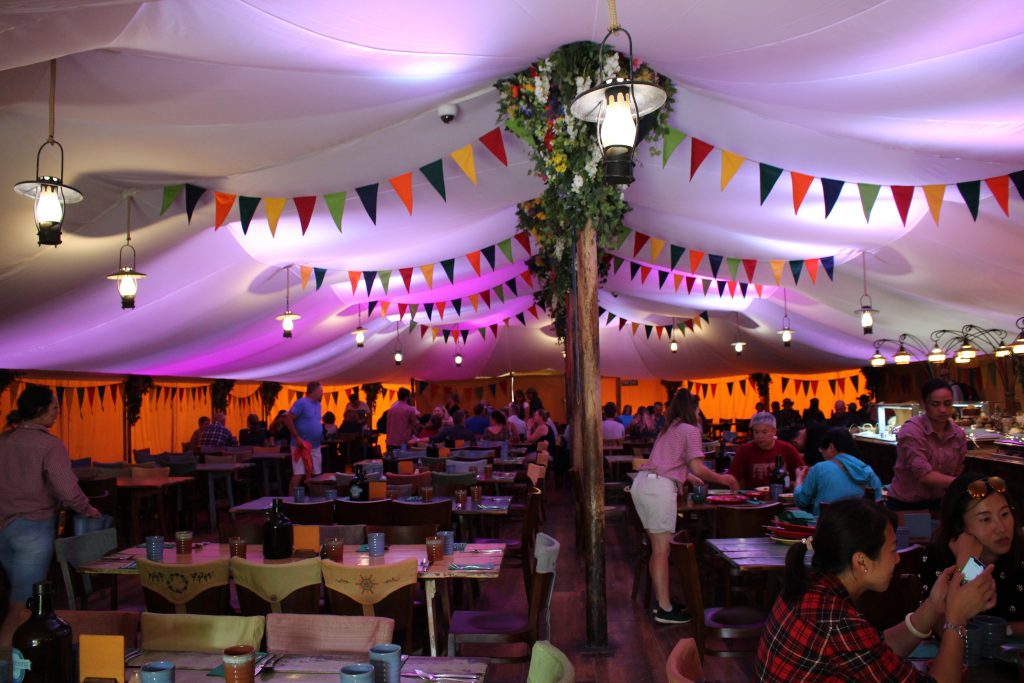
The lunch portion
Once you board the bus, it’s a quick 10 minute drive along a beautiful road to Hobbiton. For the lunch tour, they lead us down to their party tent (which is right near the Green Dragon Inn) and we were seated at our specific group tables. We had about 45 minutes to eat once seated and they designated an order to lining up to go down the buffet line which was all rather efficient. Once everyone was seated with their food, you were more than welcome to go back for seconds and there was plenty of food. The options were NUMEROUS but my favorite things were the roasted potatoes/ veggies with herbs, slow roasted beef, tomato and vegetable curry, and marinated chicken. They also had a selection of deserts, tea, and coffee available after the main courses. The only other beverage available during lunch is water.

All in all, I’m a slow eater and so only having 45 minutes to eat semi stressed me out and once we had food, both Braden and I were 100% business at consuming as much food as quickly as possible. I am happy to report that everything was absolutely delicious and we have no regrets about spending a little more on lunch that day.
The touring portion
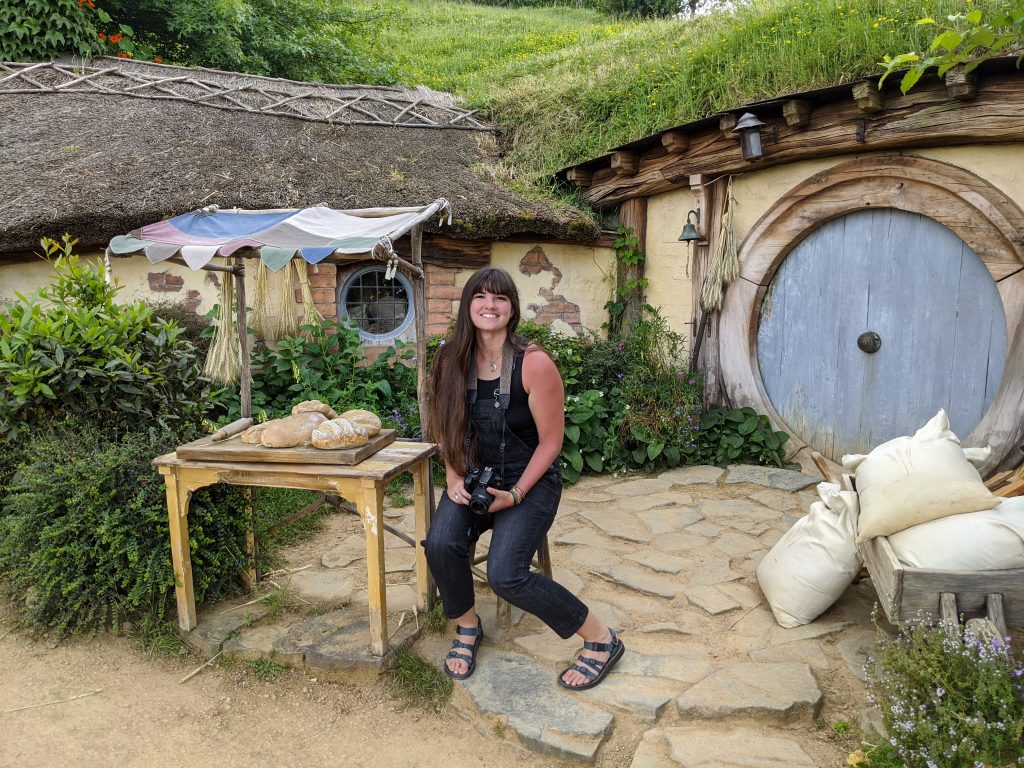
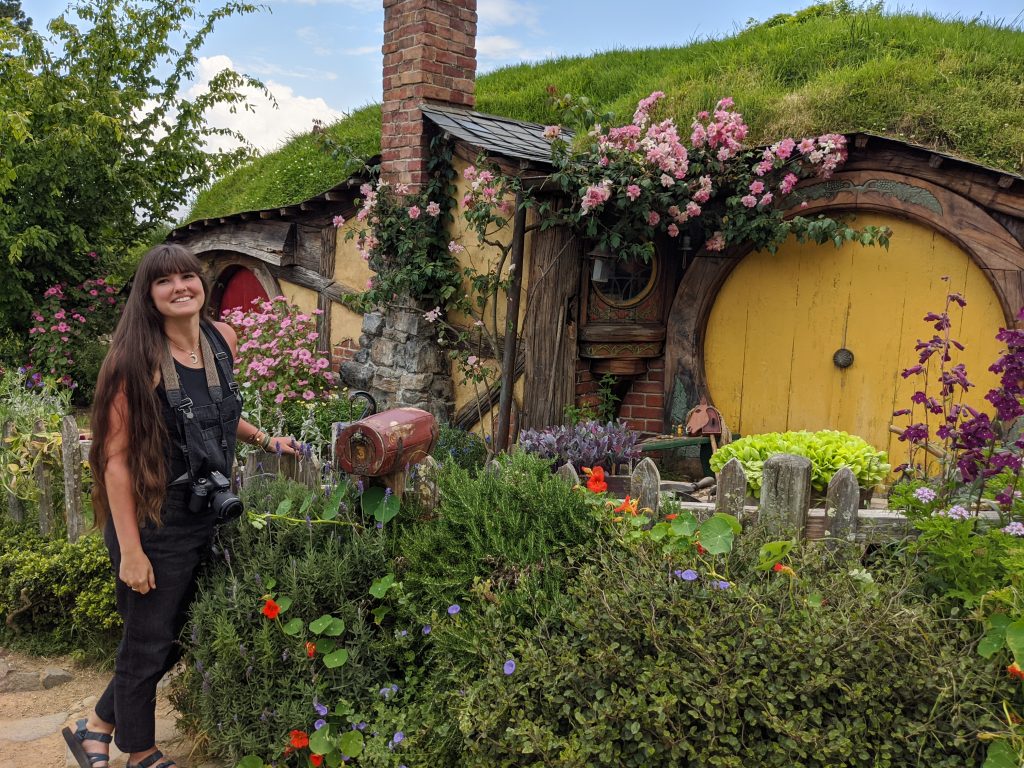
After everyone was finished and we had all gathered outside, we began our walking tour! The tours seemed to be spaced about every 10-15 minutes and each tour group is easily around 30 people which makes for A LOT of people milling about. The guides are all very good at getting people to move along while still stopping at all the “must get the shot” spots. In general, we would stop and learn a few facts, take a few photos, and the guide would start slowly walking on. Then people would trickle after getting their own shots and we’d all be stopped where the guide stopped next.
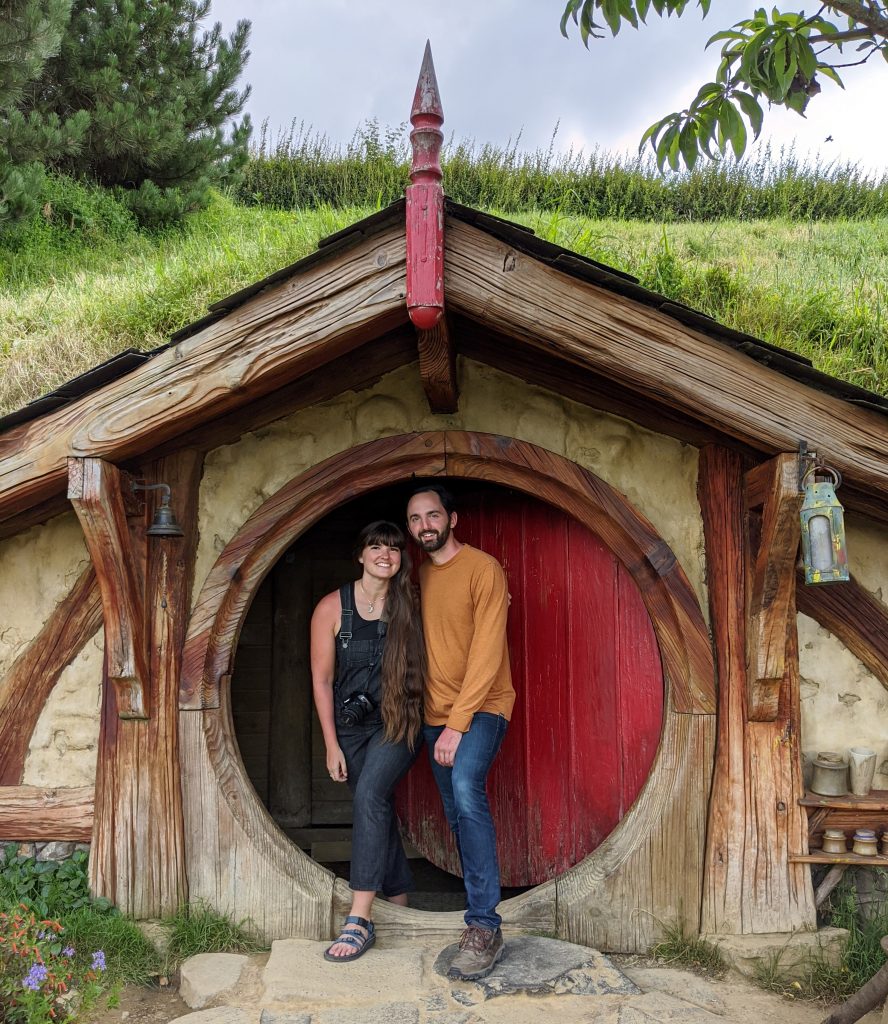
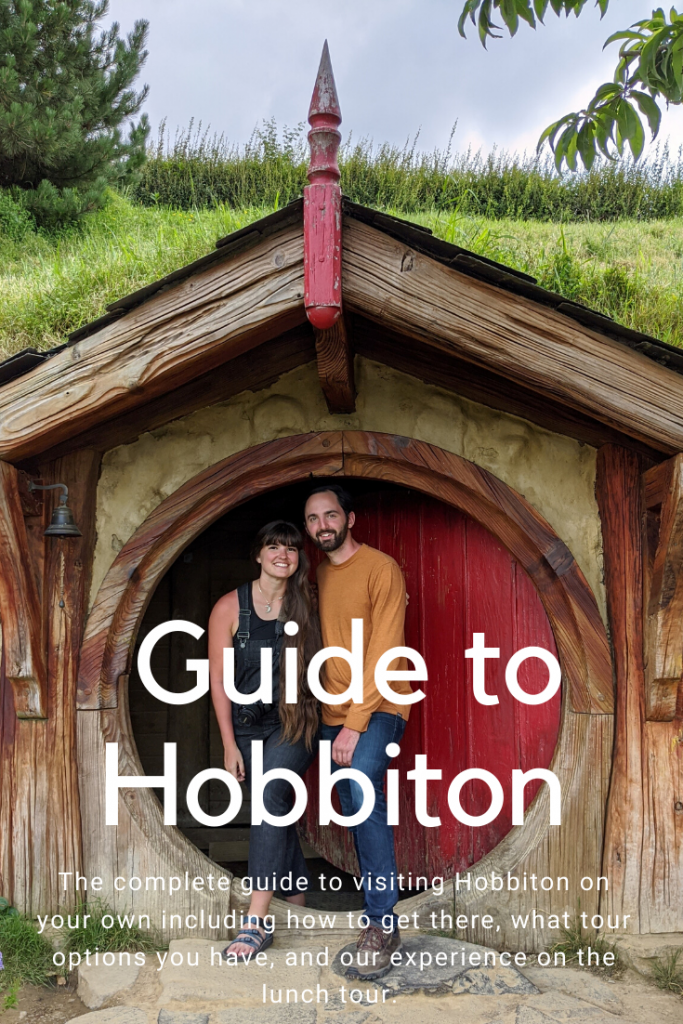
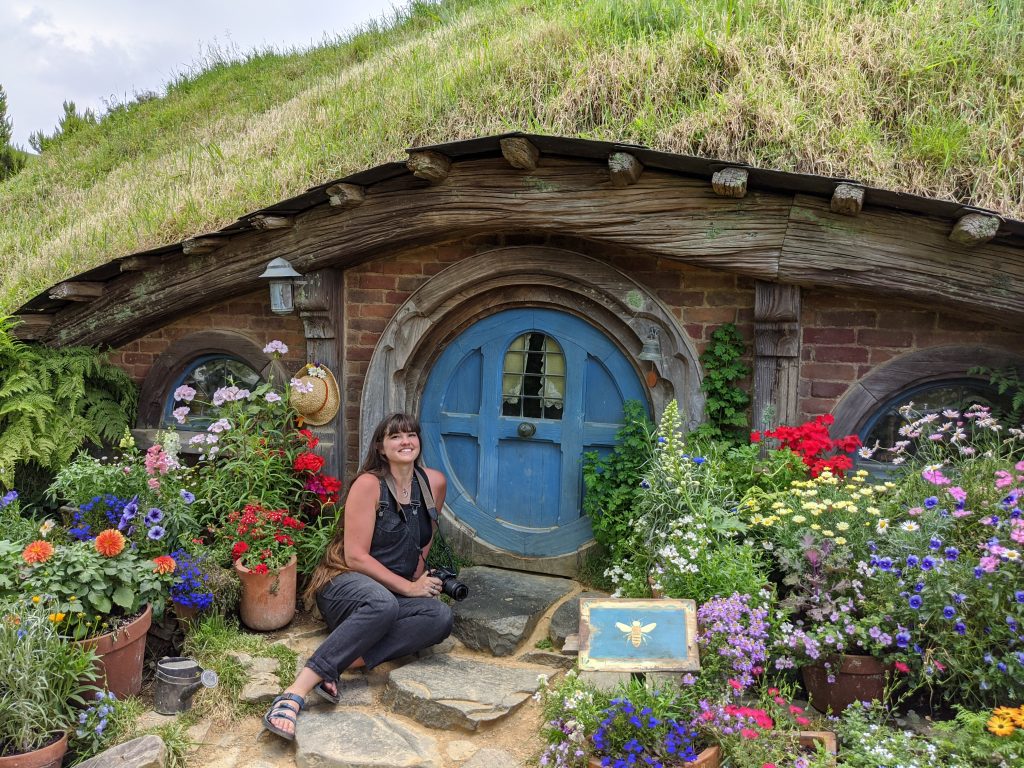
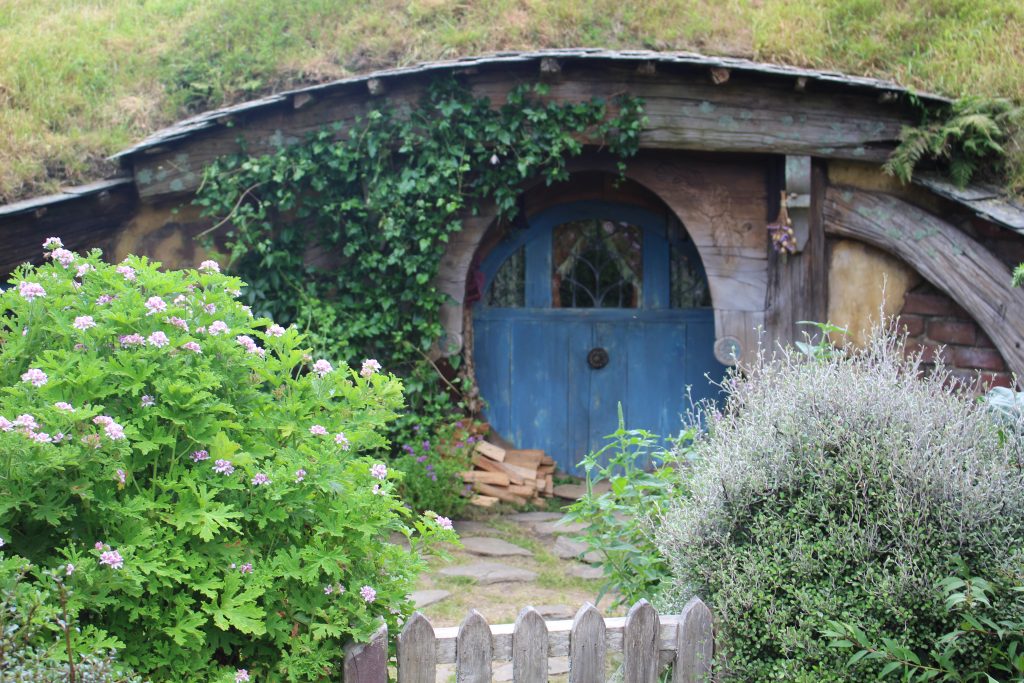
It was actually quiet impressive how efficient the tours ran and all the guides seemed to be excellent at communicating and directing. There were 2 spots along the route that EVERYONE who wanted one got a photo (the guide offered to take the photos). These were at the red door (where you can actually open the door and peak inside) and Bag end. The rest of the walking tour the guides ask you to move along and not try to get a photo with every single Hobbit hole. (there are a LOT).

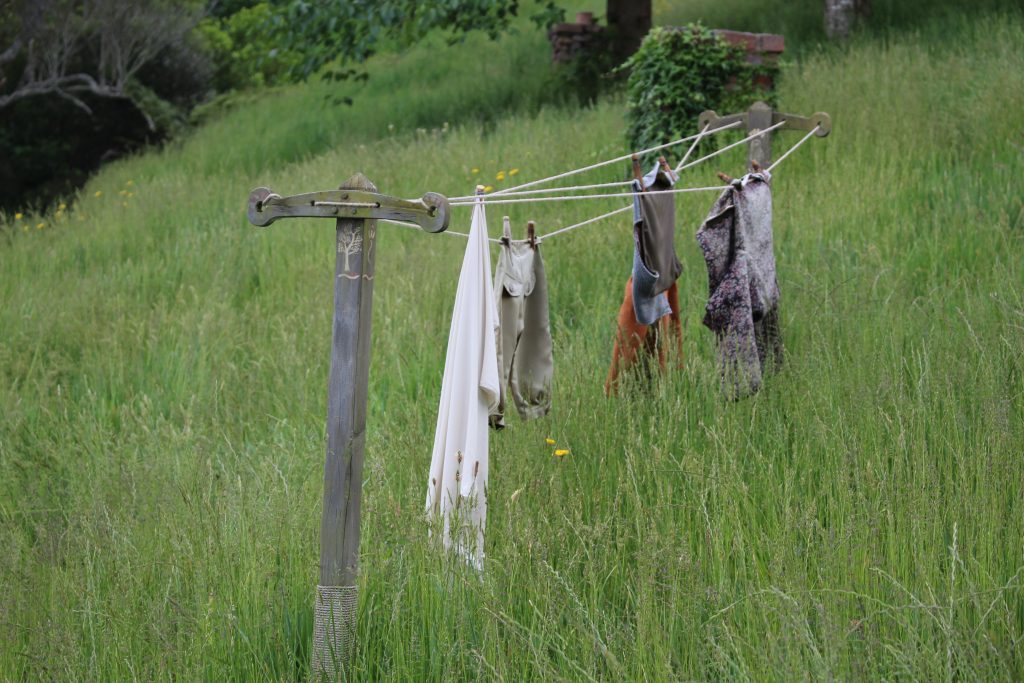
At each stop you learn about specific scenes filmed in that spot, some of the building process that went into the visible props, and some of the Hobbit characters that resided in each particular hole. You learned a little bit about the Hobbit’s lifestyle (as described in the books) which was great and I found everything to be on par (since I had just read the books again before leaving for our trip.)

The finale
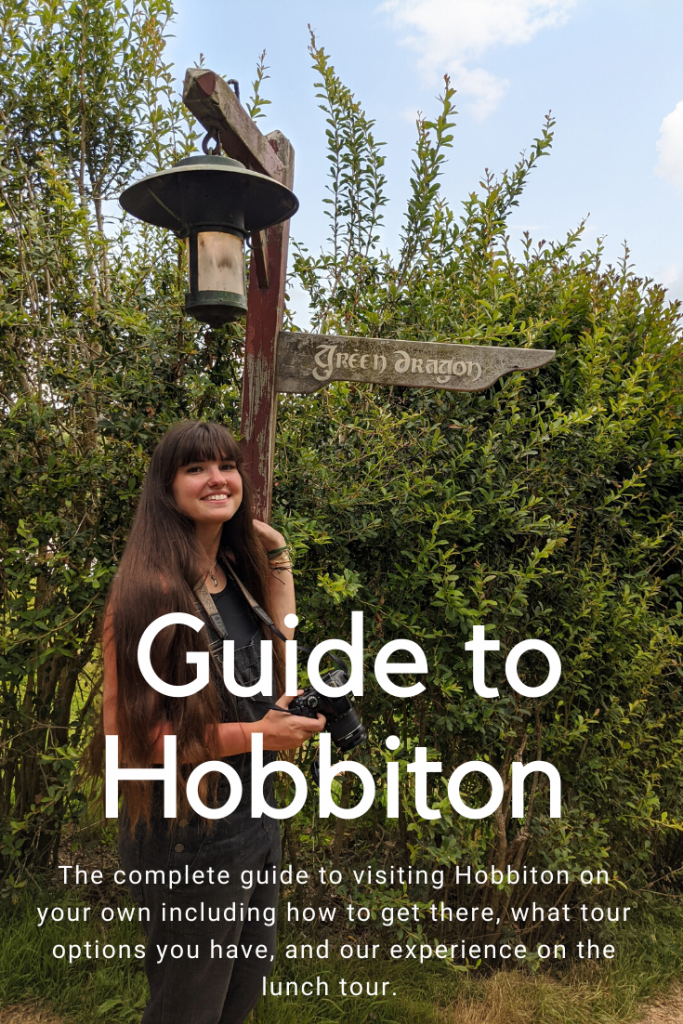
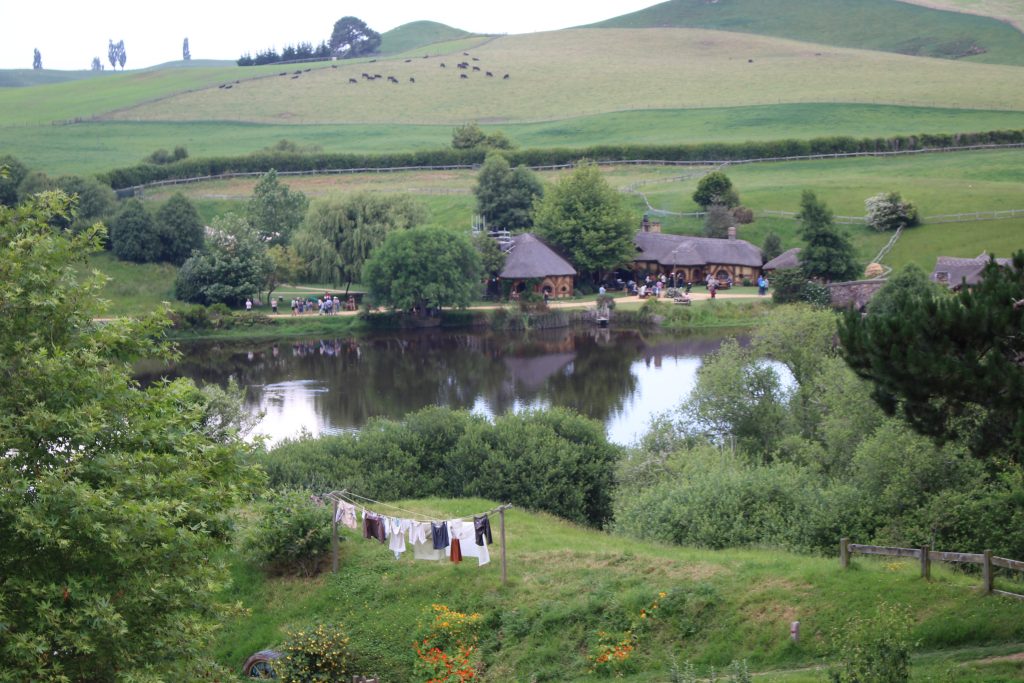
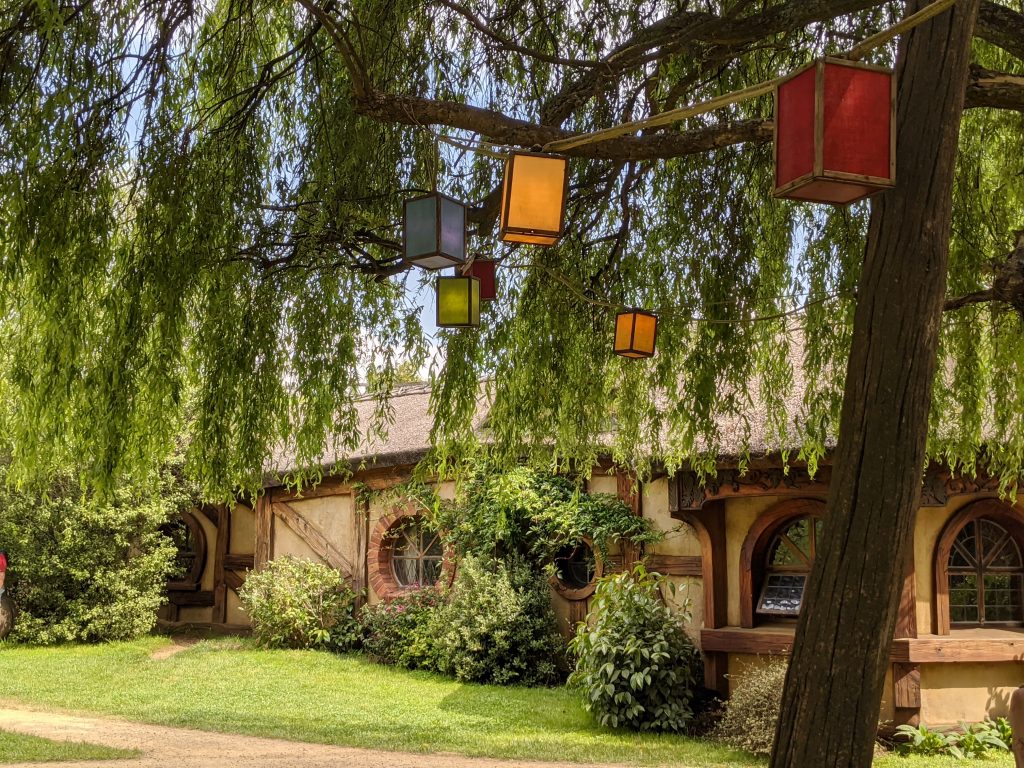
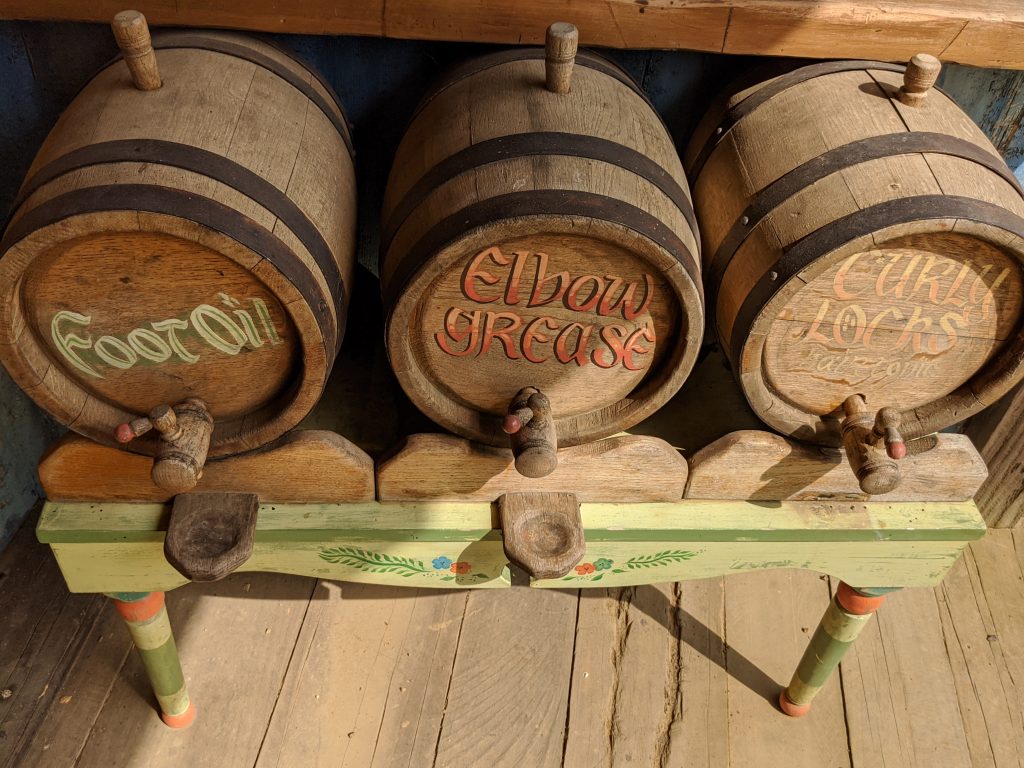
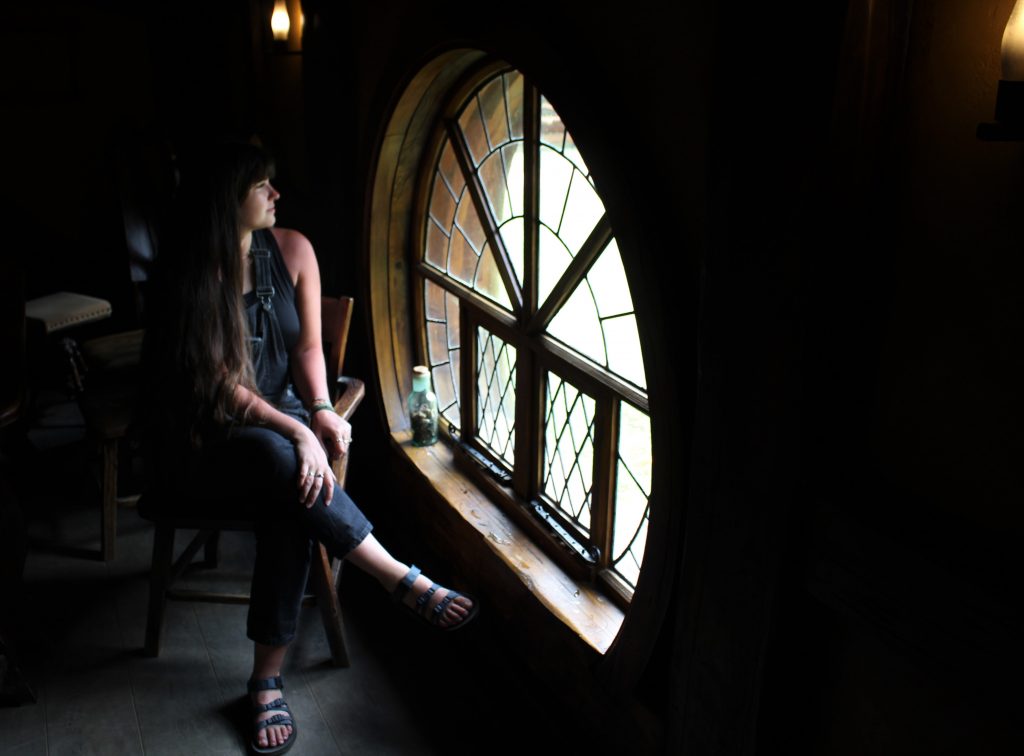
The other notable stops are at the bottom of the hill (in the “community”) and by the party tree. From there we walked a short 5 minutes or so through some pretty gardens and woods to the mill and Green Dragon. You’re rewarded then for making it through all that walking with your choice of 4 beverages and anywhere from 20-40 minutes to hang out. We had the latter so plenty of time to drink and admire the details that went into the Green Dragon and mill.
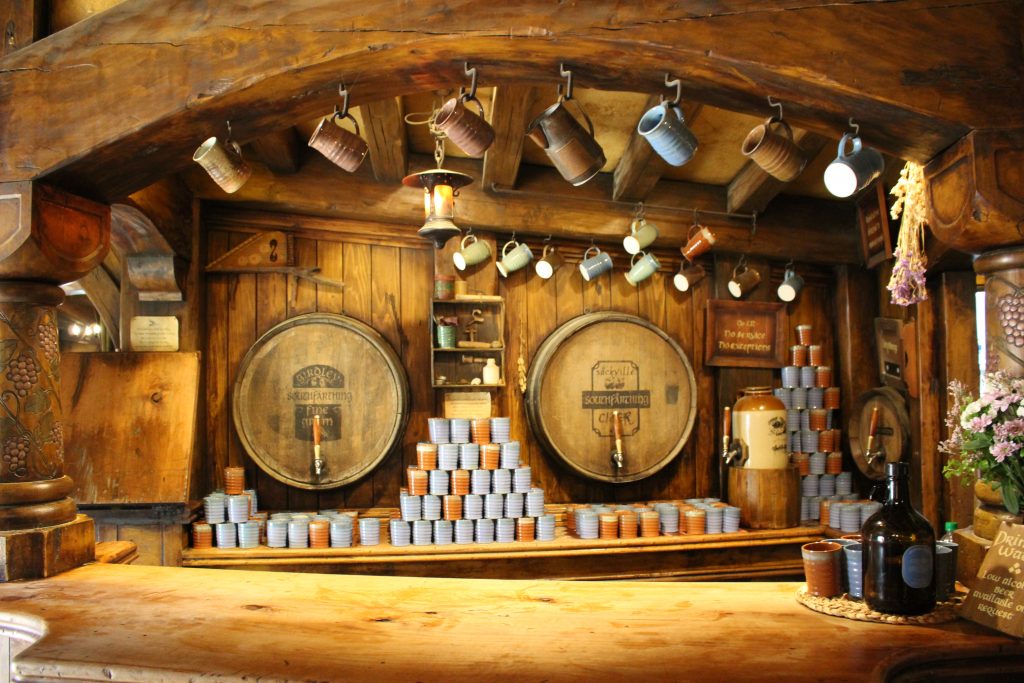
Hobbiton beverage options are:
- Nonalcoholic Ginger Beer- tried on my first visit to Hobbiton and remember it being delightful
- A traditional English Ale- haven’t tried but sounds good. It’s a roasted chocolatey sort of brew.
- A Fine Grain Amber Ale- tried this round and it was QUITE good. The taste is light, malty, and sweet. Very little bitterness or hops.
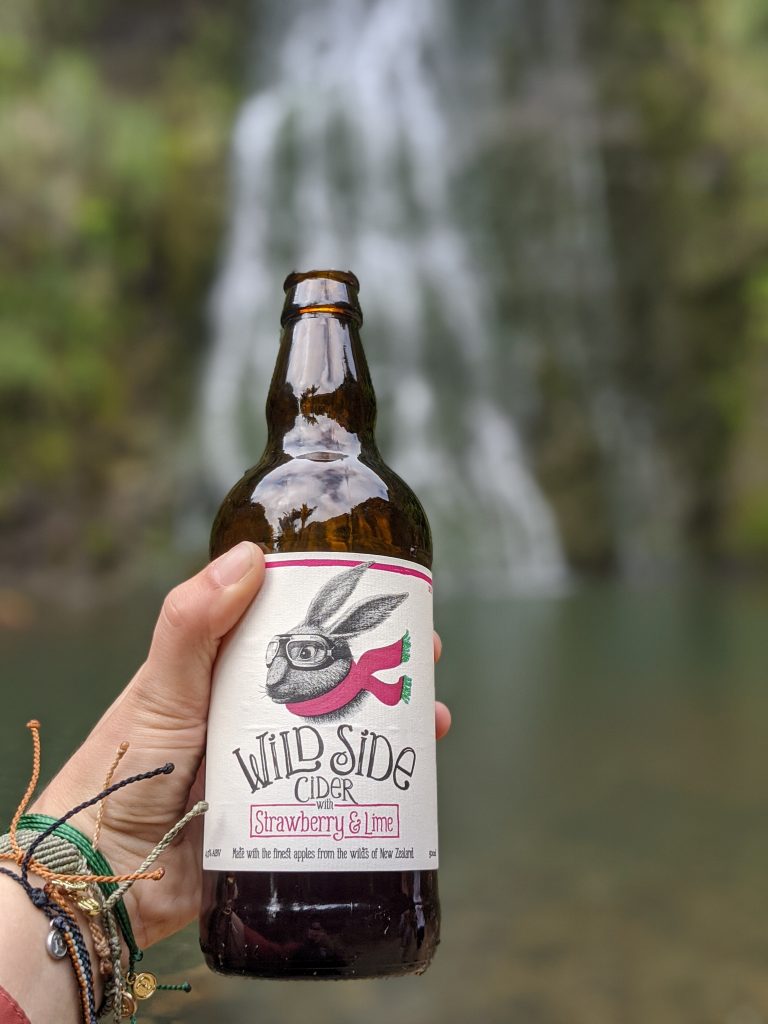
- The Sackville Cider- Excellent- tried this and both Braden and I agreed it was great. It’s a more tart and refreshing cider as opposed to a lot of the overly sweet ones you get at the store.

Note: There are 2 restrooms around the Green Dragon (one of which is IN the Green Dragon) so apart from when you are wandering around the Hobbit Holes (approx. 1.5 hours) you have access to facilities.
At a specified time you meet back up with your same tour guide just outside the Green Dragon and walk back to board the bus for a 10 minute ride back to the car park.
Wrapup
So in review, I would recommend doing the lunch or evening tour as I thought the food was great and it was fun having a little extra time around the site. Just visit without the meals if you are on a budget though and you’ll still have a great experience. If you are a fan of the fantasy and not of the crowds- fear not. While it is busy, they have these tours down to an efficiency that really impressed me and I never had to stress that much about getting the photo I want or having to wait for people to move. All in all- awesome experience, and a must do if you enjoy LOTR, movie making, and cool photos 😀
Pin me: