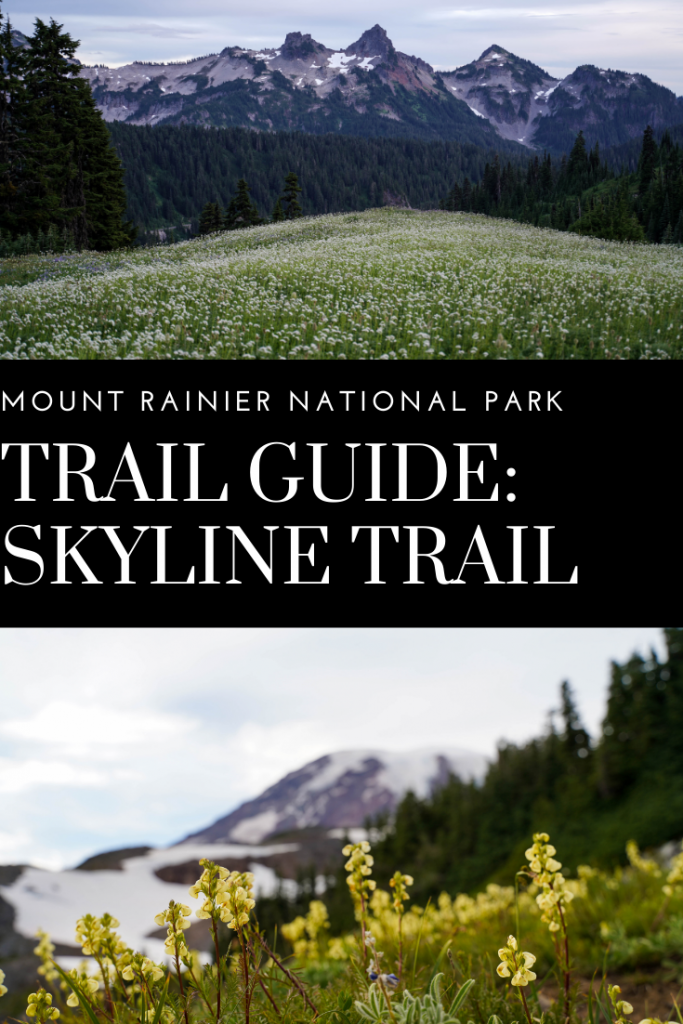
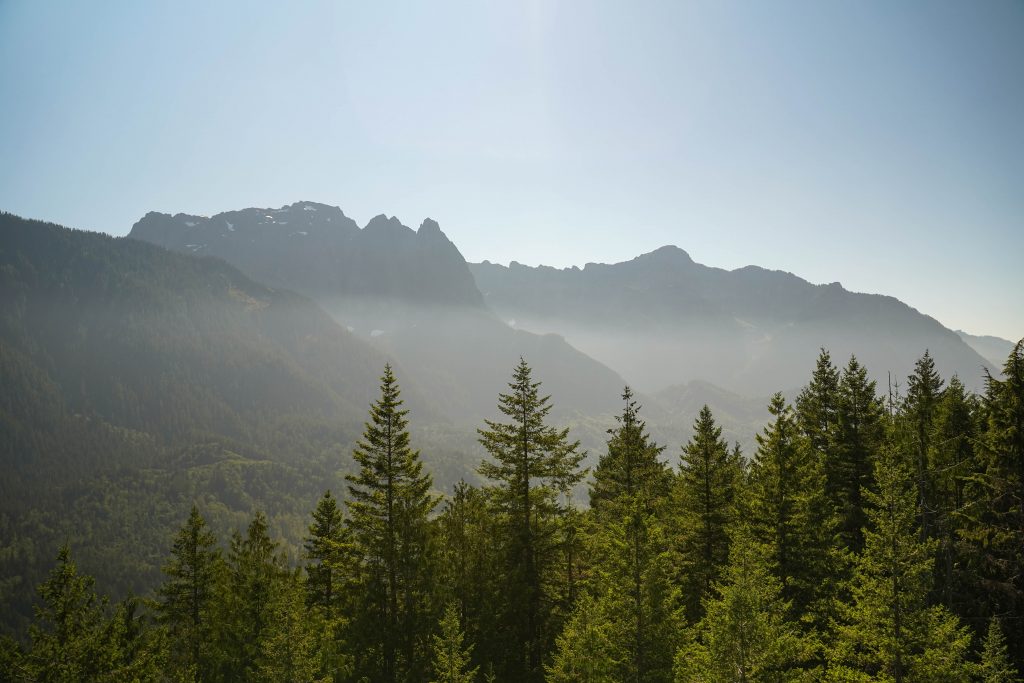
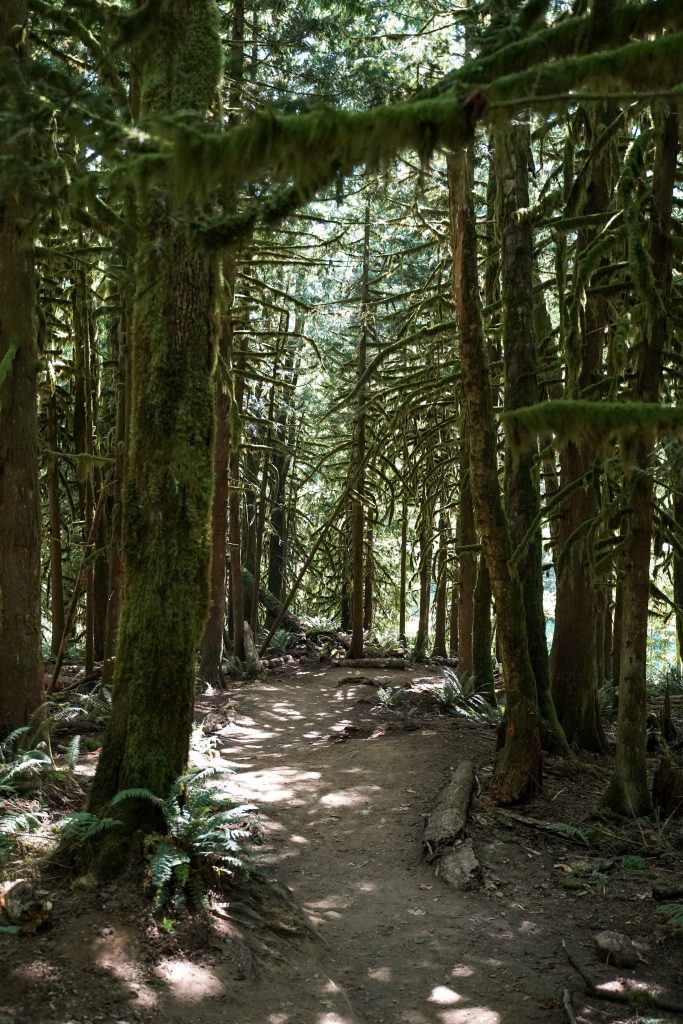
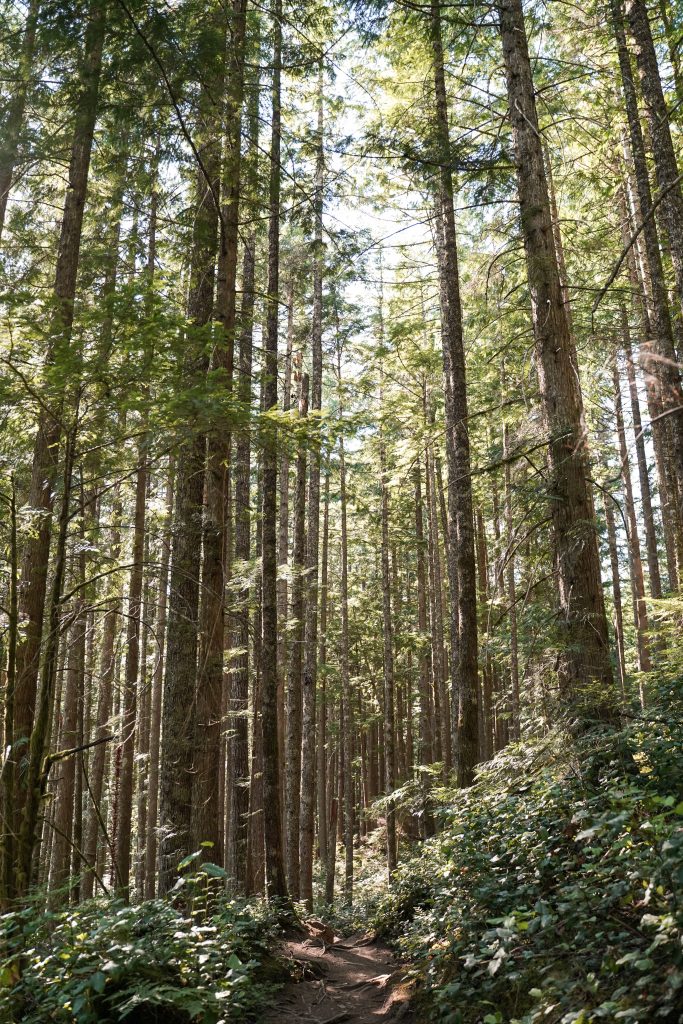
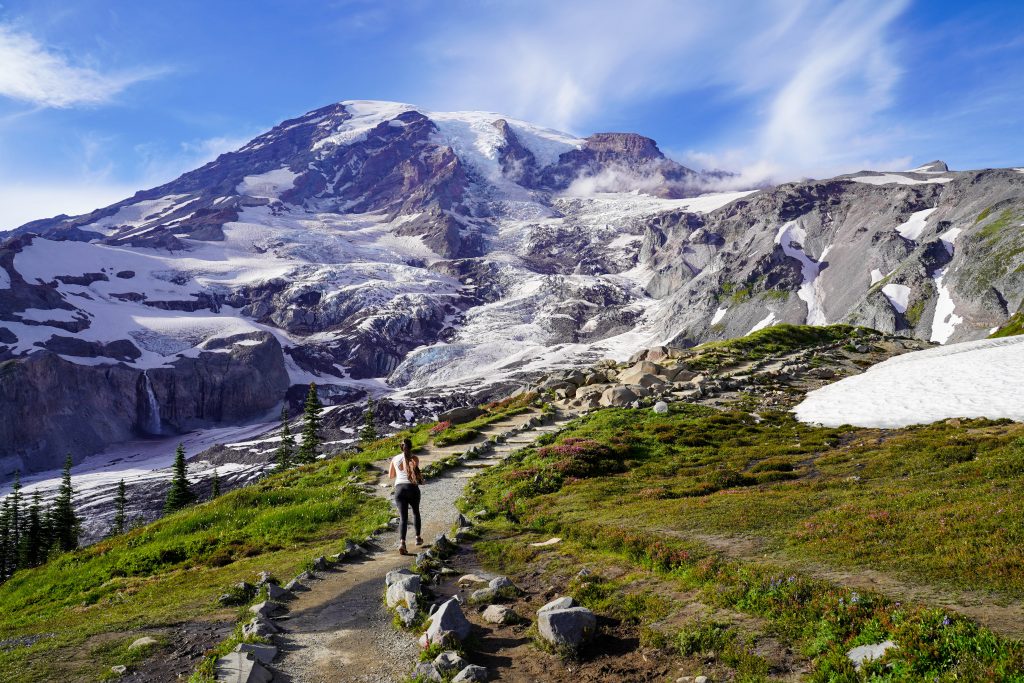
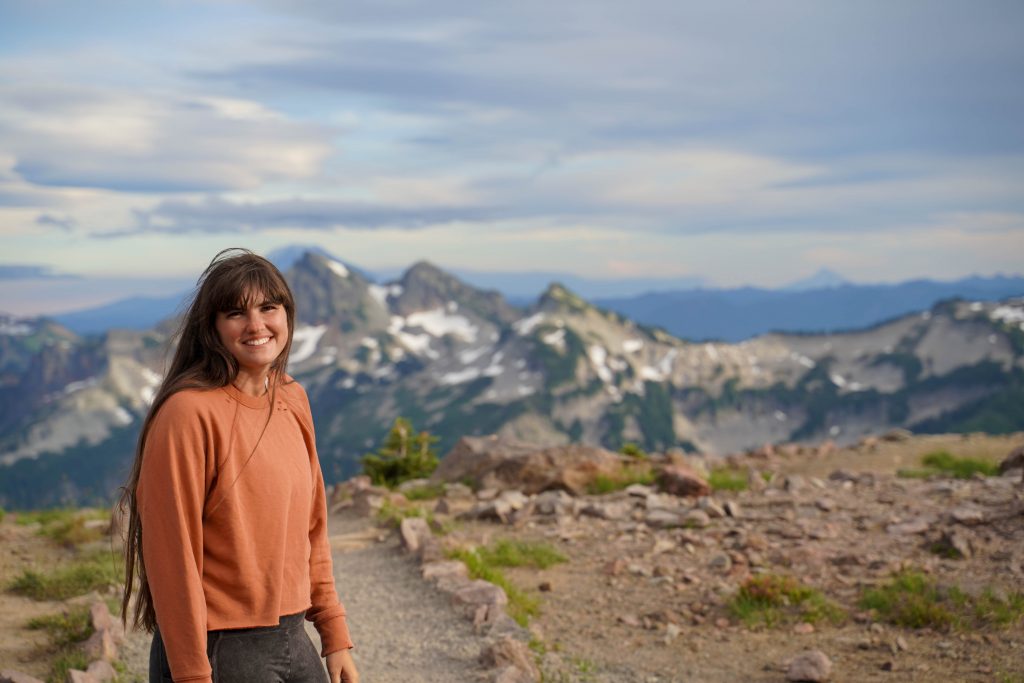
This trail is hands down the best trail we hiked in 2020 and one of the top trails I’d say I’ve ever hiked. Very few views bring tears to my eyes and this trail did just that. From 10 minutes into the hike until the very end I couldn’t believe my eyes. There were at least 5x more wildflowers covering this mountain side than I’ve seen anywhere even come close to, soaring mountain ridges and peaks as far as you can see, 300+ foot waterfalls gushing from glaciers, marmots for miles, and of course the imposing Mount Rainier itself looming over you as you climb. If you only have time for one hike in Rainier National Park or hell if you only do one hike in Washington state, go for this one.
Trail Details:
Distance: 5-6 mile loop
Elevation gain: 1,680 feet
Difficulty: moderate
Time: 3 hours
Fees: The fee for Mt. Ranier NP is $30 or included with a National Park Pass.
Facilities: Bathrooms at the visitor center (at TH) and at Panorama Point
When to hike the Skyline Trail:
Early August through September/ early October. This trail takes a VERY long time to thaw and in fact the lower skyline trail was still closed due to sketchy ice crossings so we had to take the high skyline trail (not a problem anyways). If possible, plan your trip for August so that the entire loop is open and safe and the wildflowers are at their peak.

*Special tip: go in the evening for less crowds and absolutely stunning lighting. We started at around 4:30 PM and the beginning of the trail was a little crowded (still not bad for a NP) and there weren’t many people at all along the rest of the loop.
Trailhead directions:
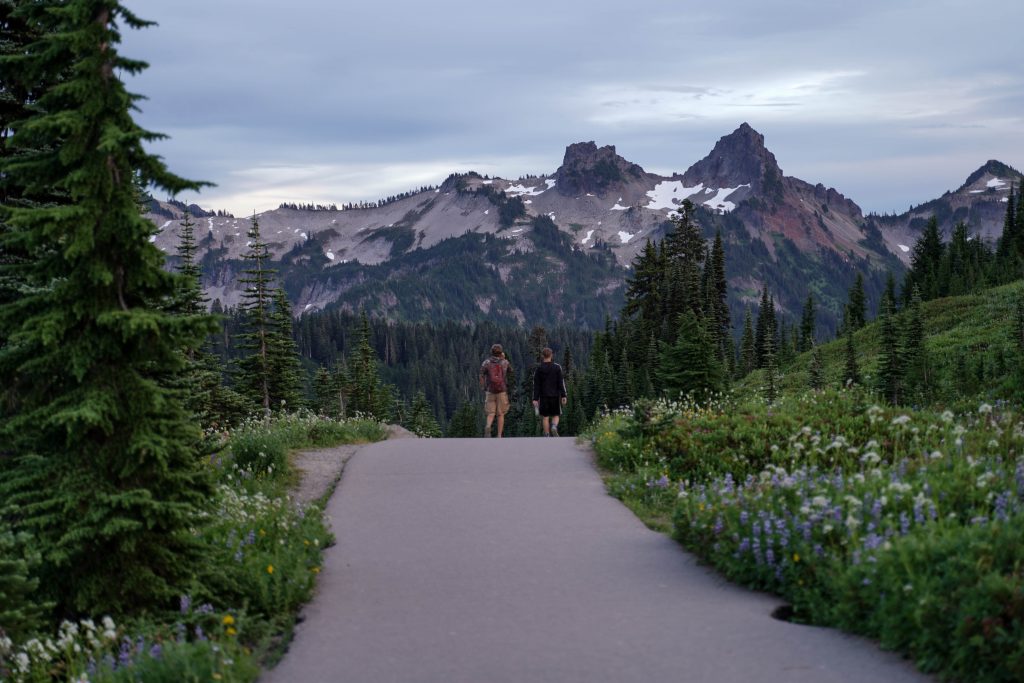
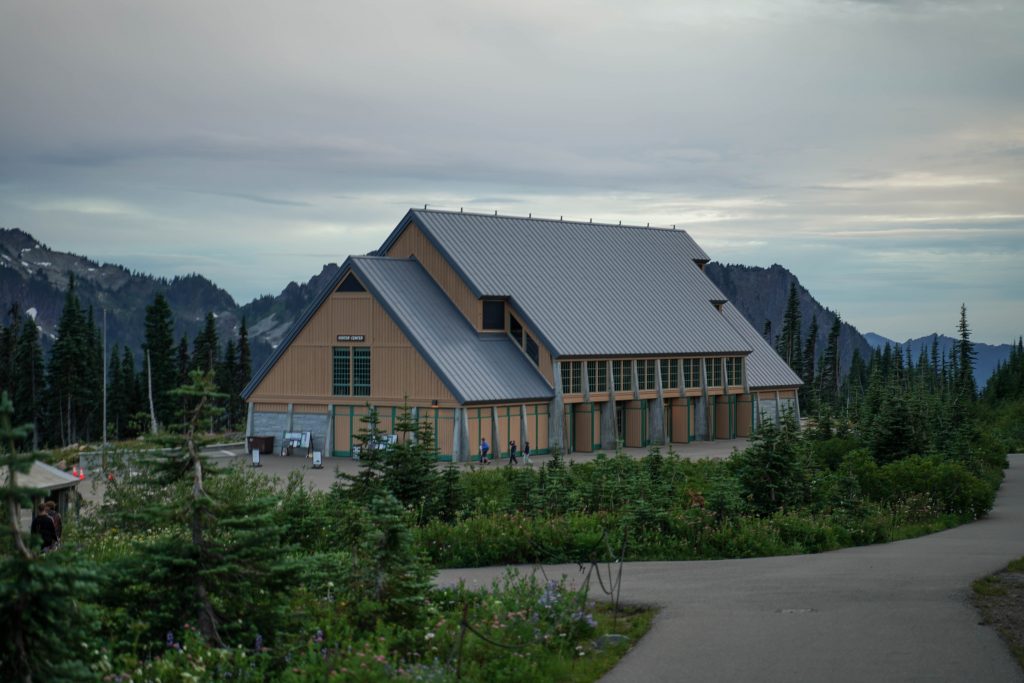
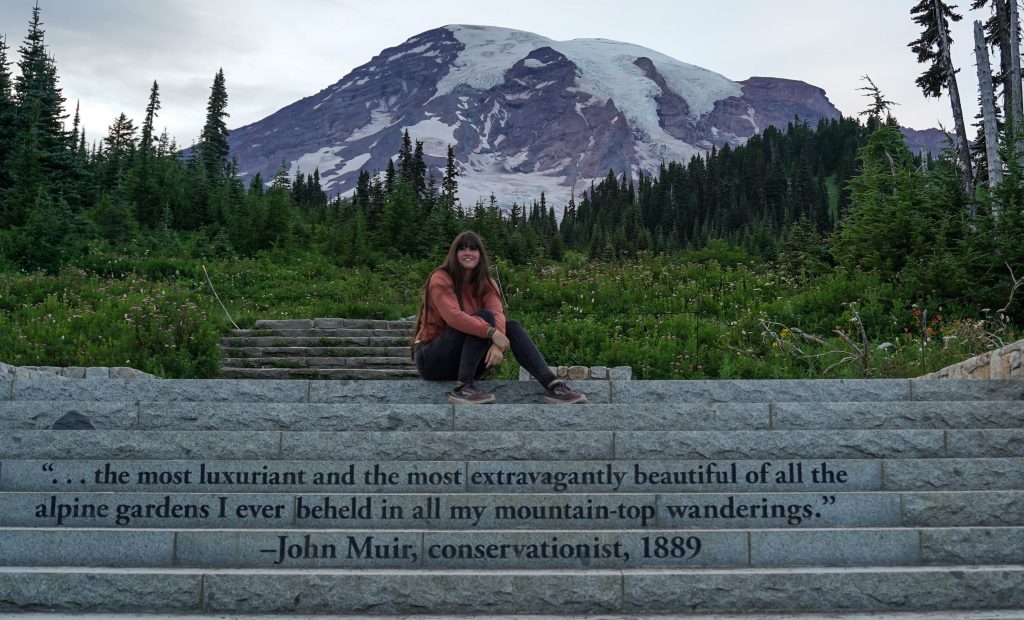
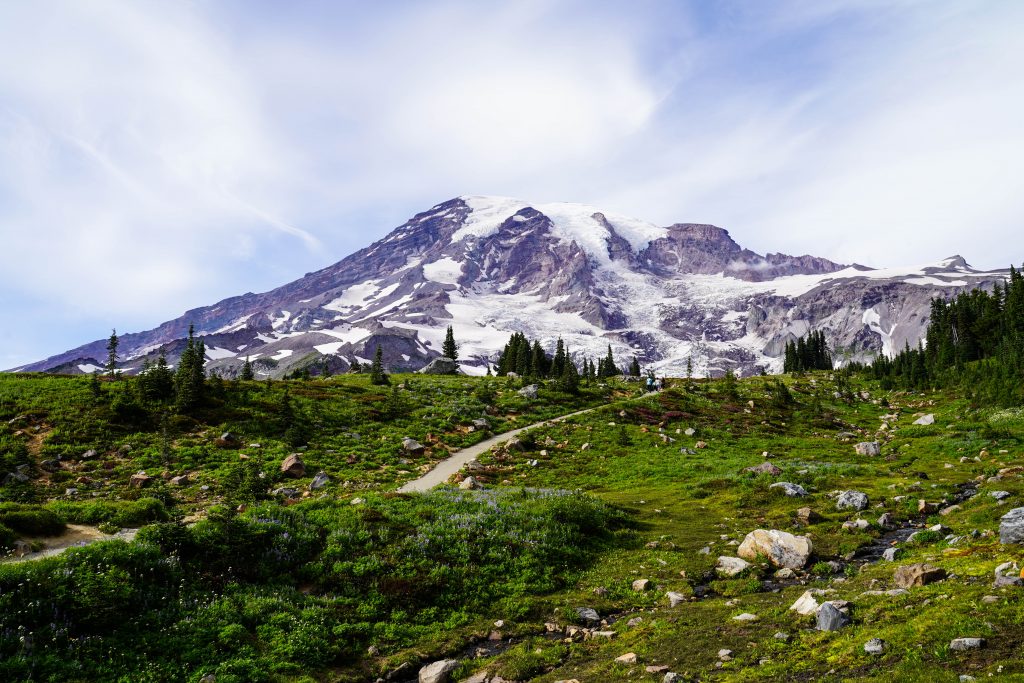
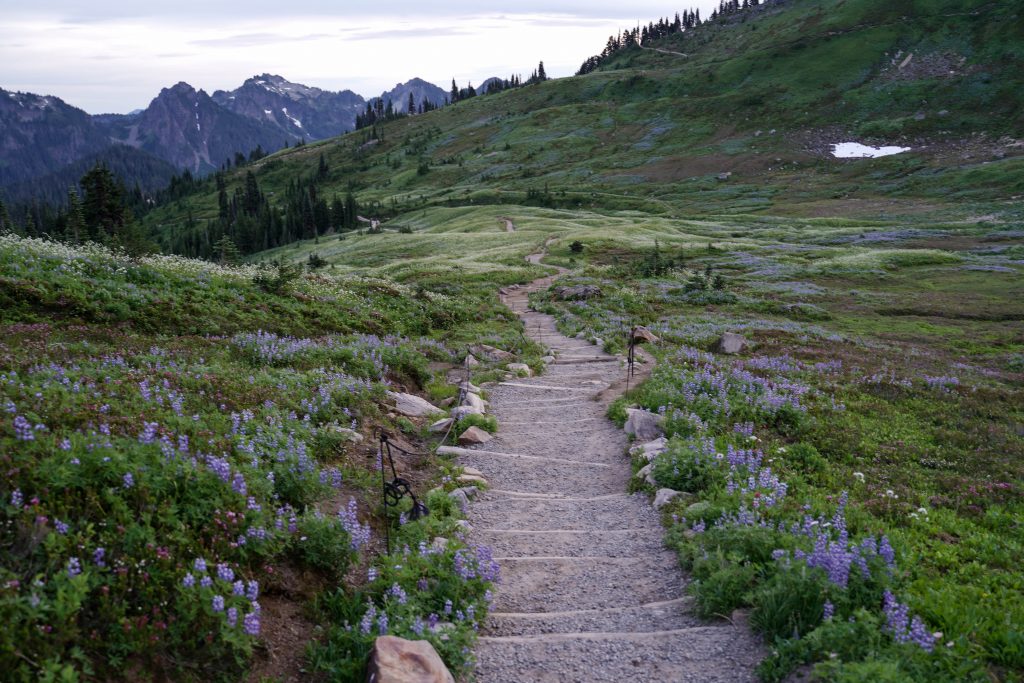
The trail starts behind the Paradise NP Visitor Center and is easy to find. From Ashford, WA, drive and park anywhere in the massive lot for the visitor center. Take the John Muir quoted stairs up and head to the left following signs for Skyline. I highly recommend hiking this loop in the clockwise direction so follow signs left instead of right. The first portion of the trail is STEEP but paved and is shared by multiple trails so don’t fret if it feels very busy.
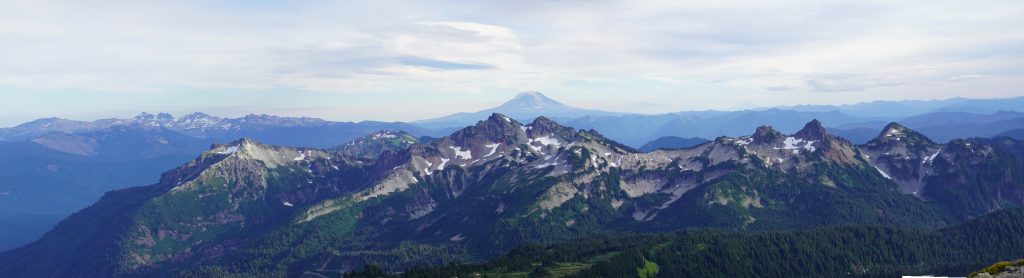
Skyline Trail description:
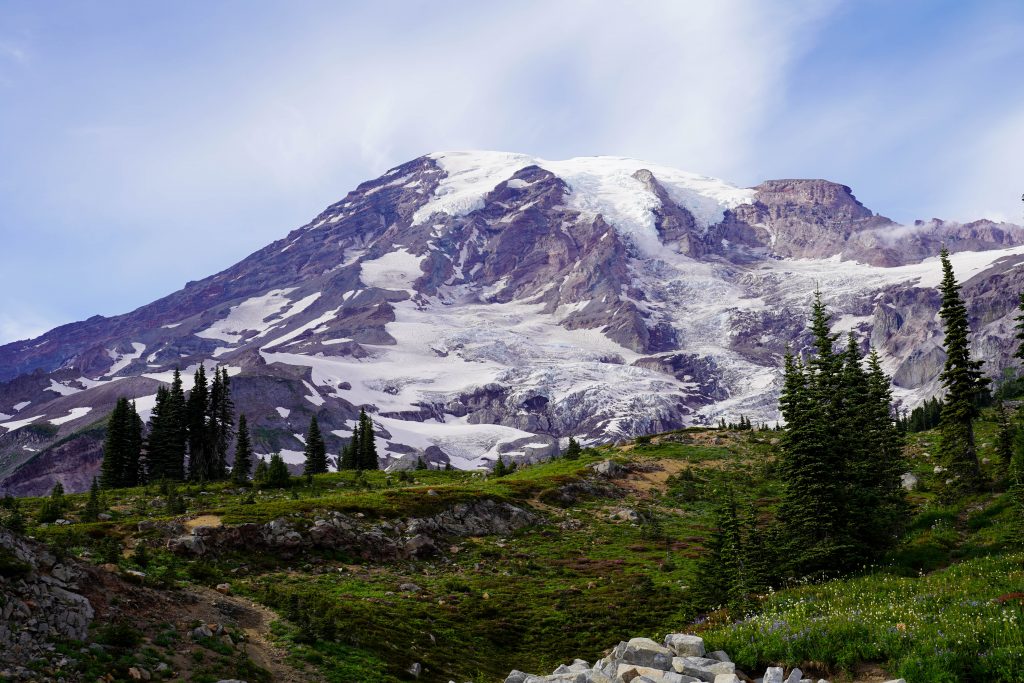
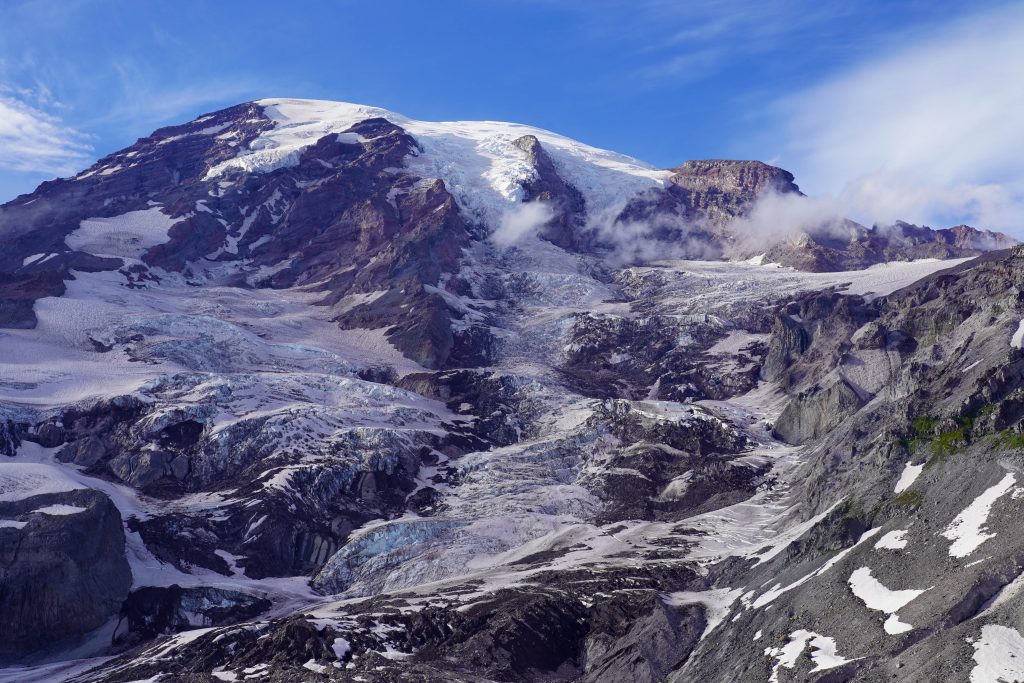
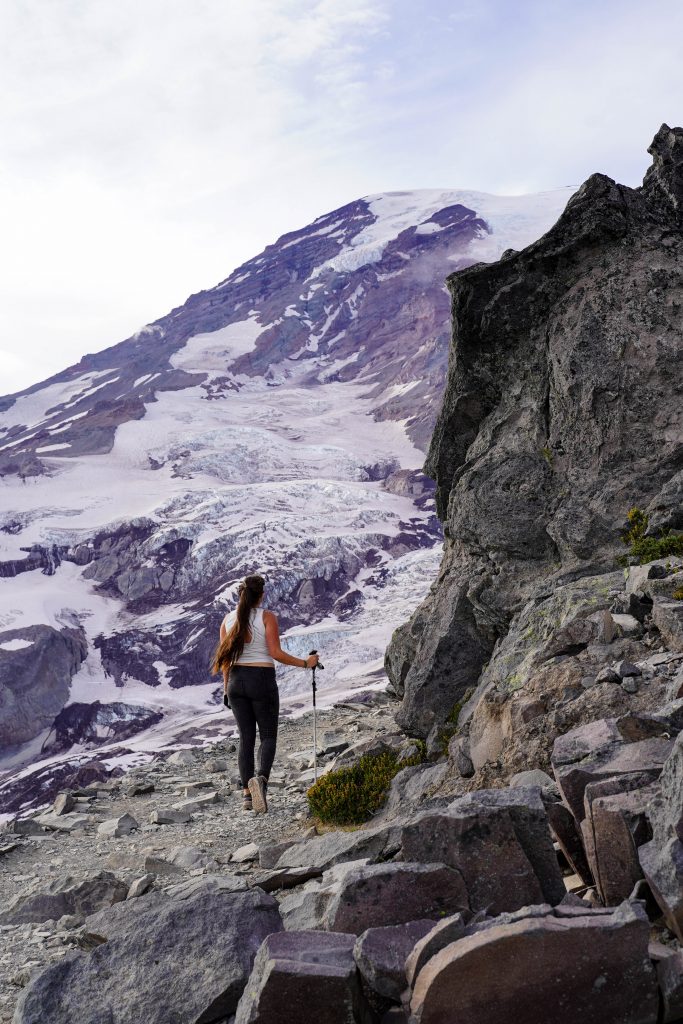
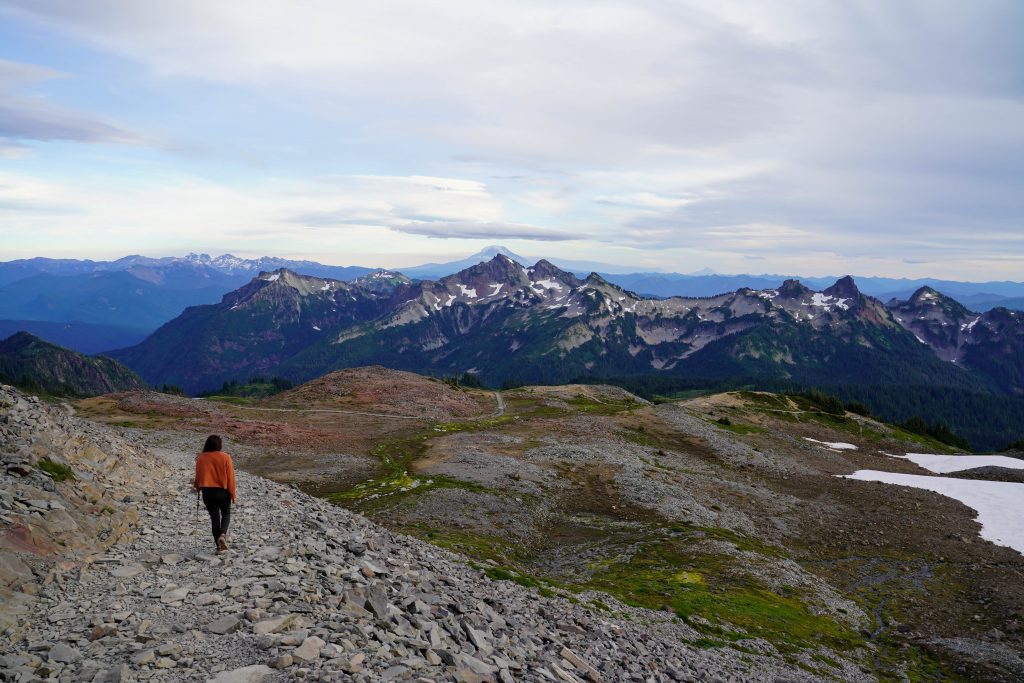
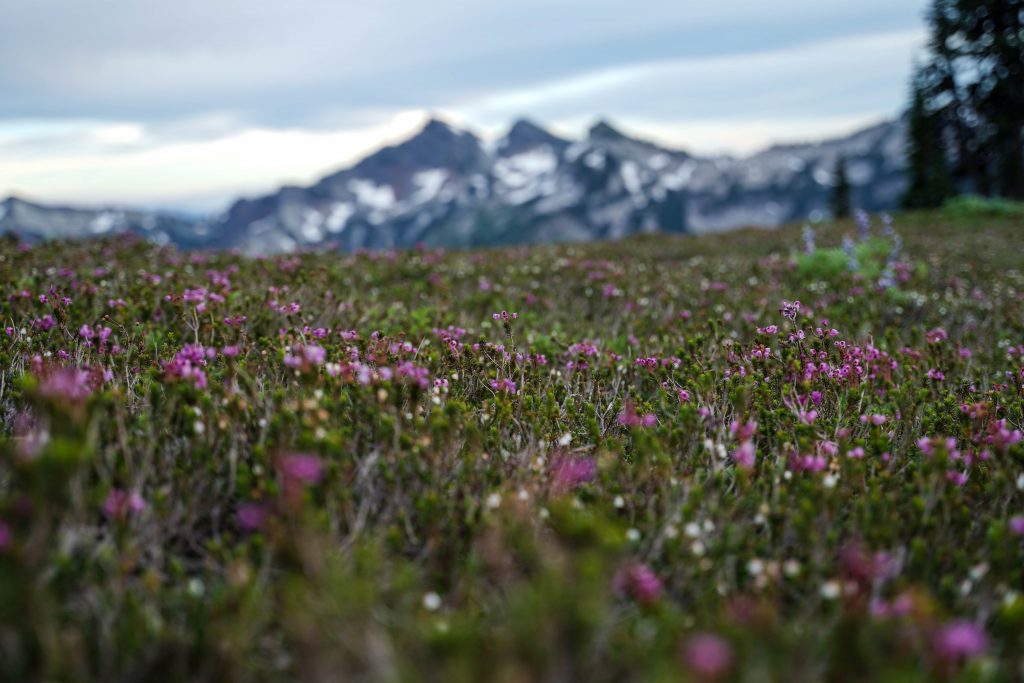
The first 0.5 mile or so is paved and steep. Don’t worry though. While your heart rate and sweat rate maybe high, you will be amazed at the blanket of wildflowers surrounding every trail bend and the views of Rainier only get more impressive as you climb. Eventually other trails like Glacier View will branch off to the left. Keep right and the pavement will turn to dirt as you start up the skyline trail. The wildflowers continue to amaze as you climb and you’ll start catching glimpses of dozens of waterfalls cascading from the glaciers on the mountain.
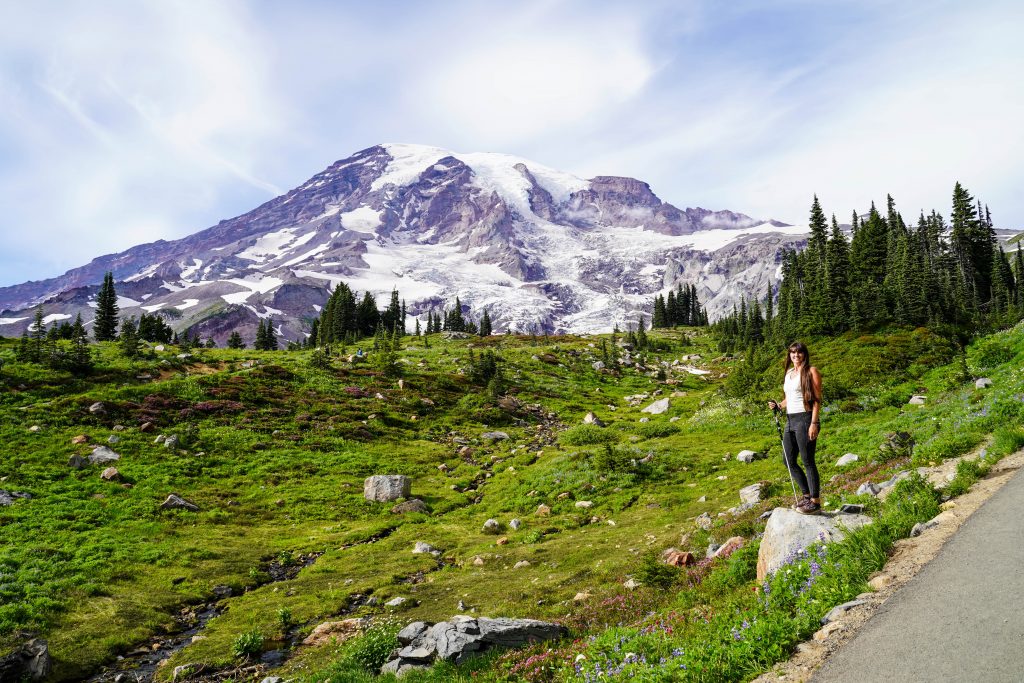
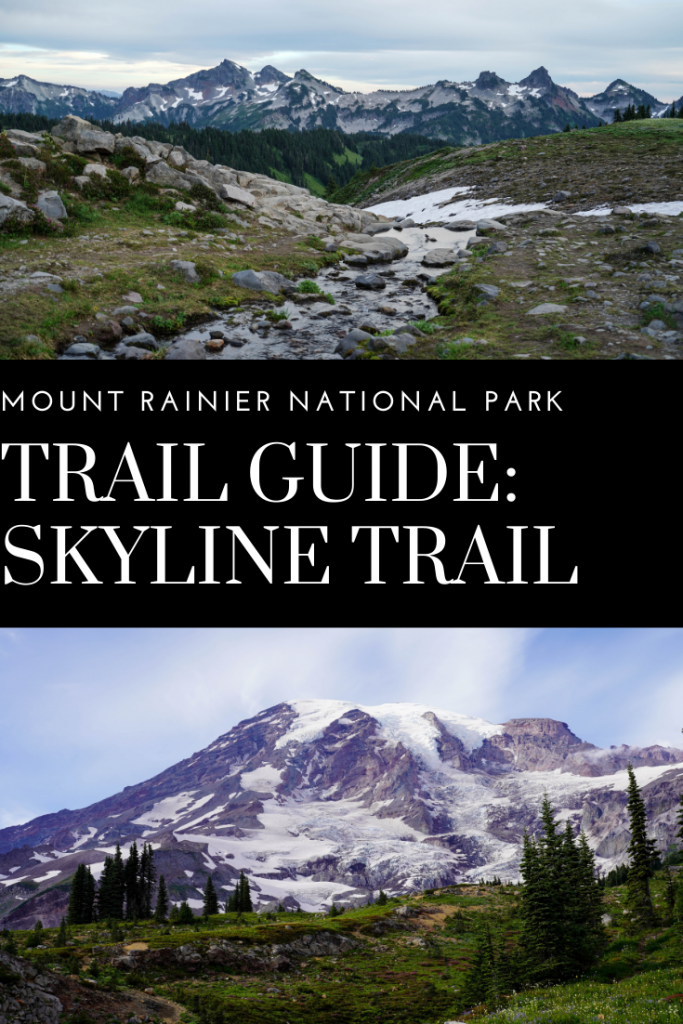
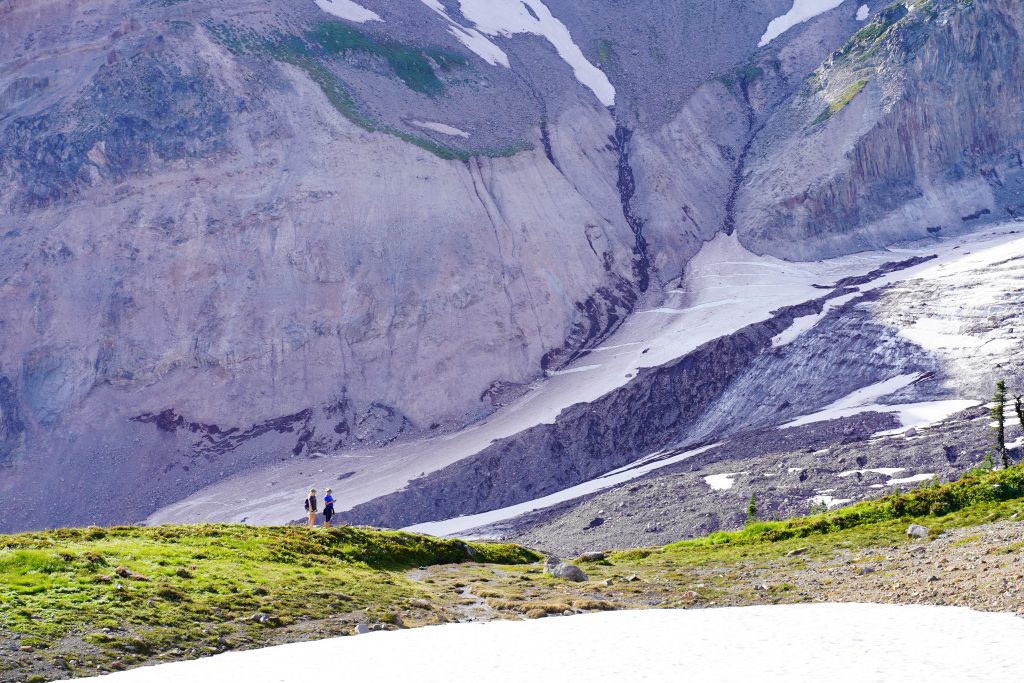
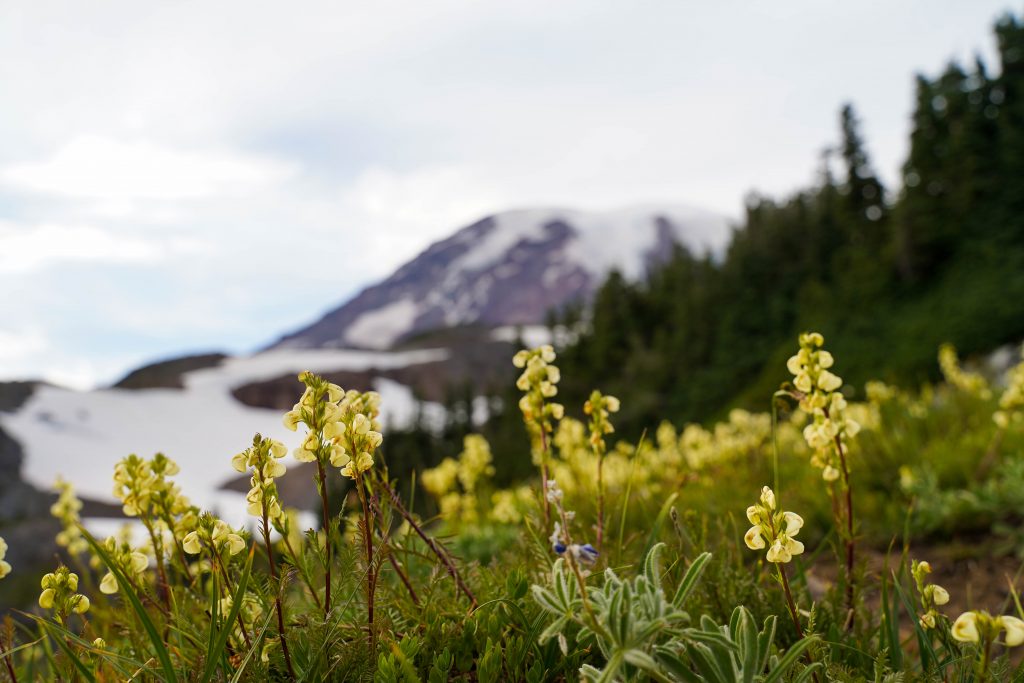
Keep an eye out as well for the mischievous marmot. They. were. everywhere. You’ll be able to see where the glacier view trail ends and the glacier begins as you readily climb above that glacier terminus. Here the views of the mountain are the most incredible. While all the glaciers we saw in the N. Cascades were undoubtedly impressive, nothing really compared to how close you come to the glaciers along the Skyline Trail.
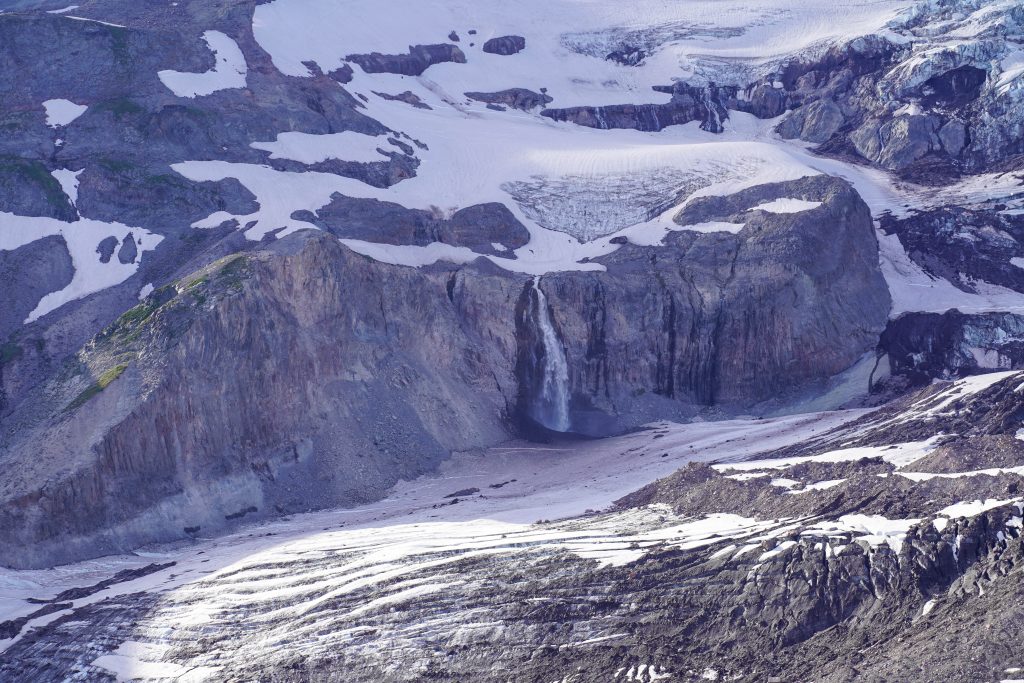
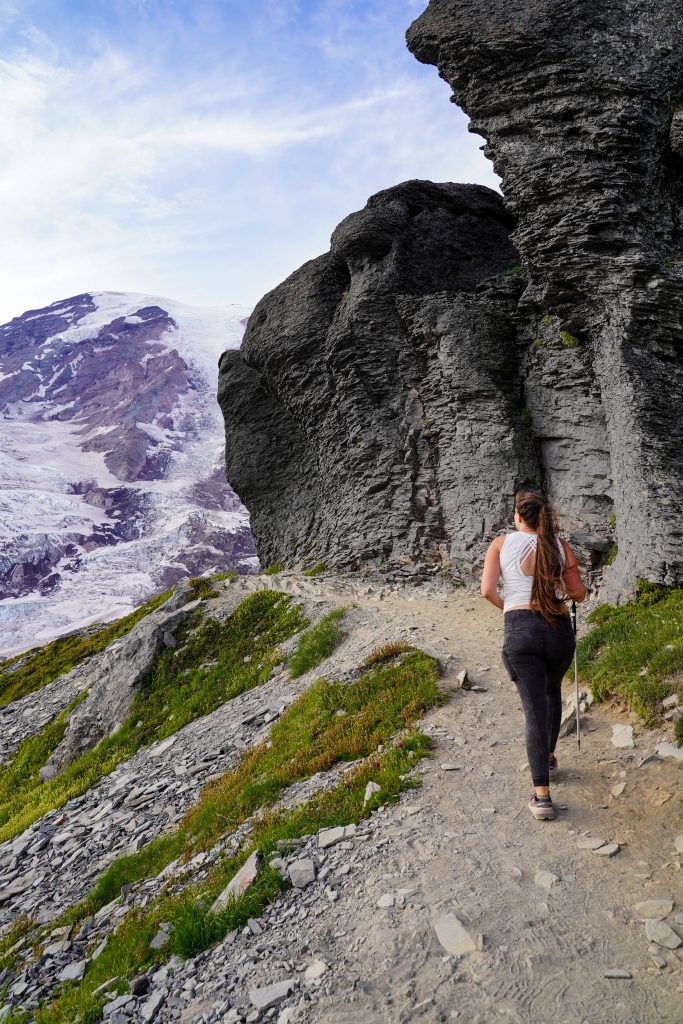
The hike post Nisqually Glacier turn off
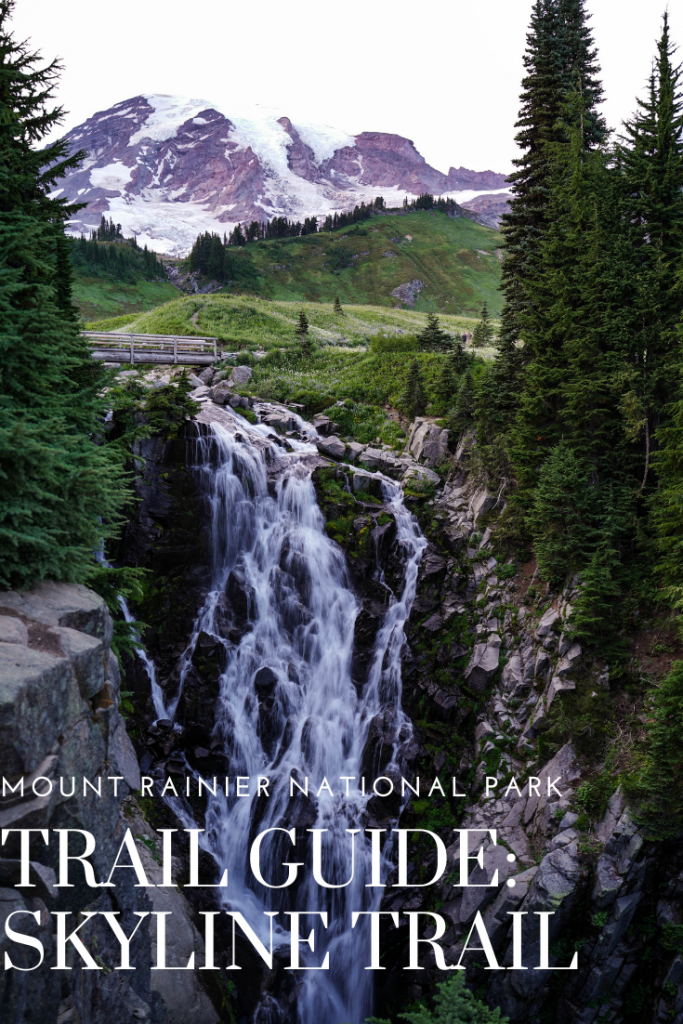
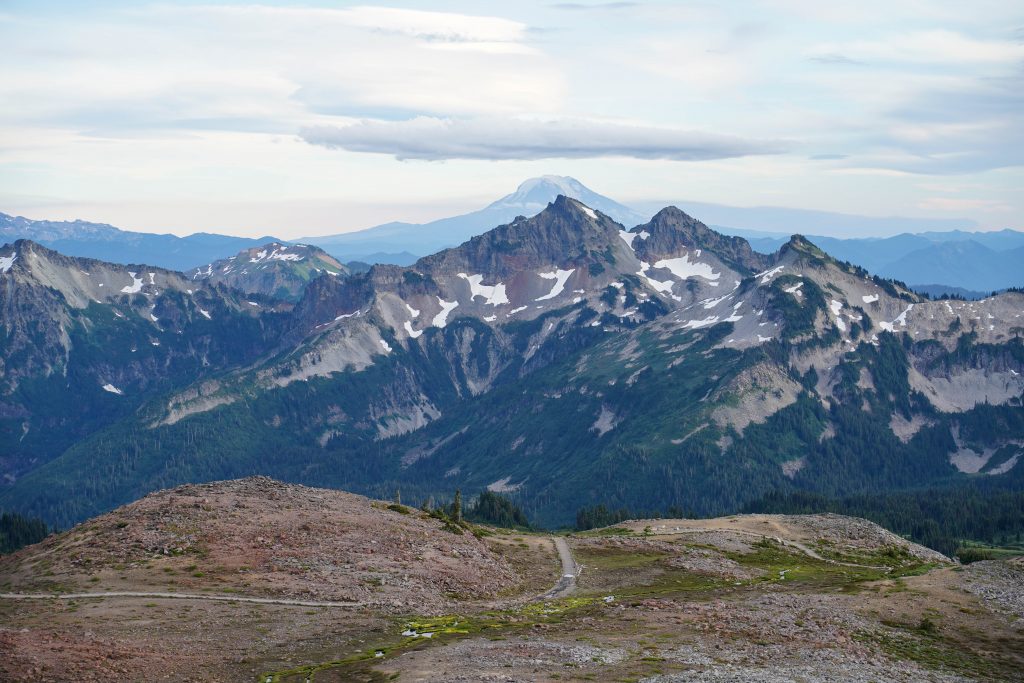
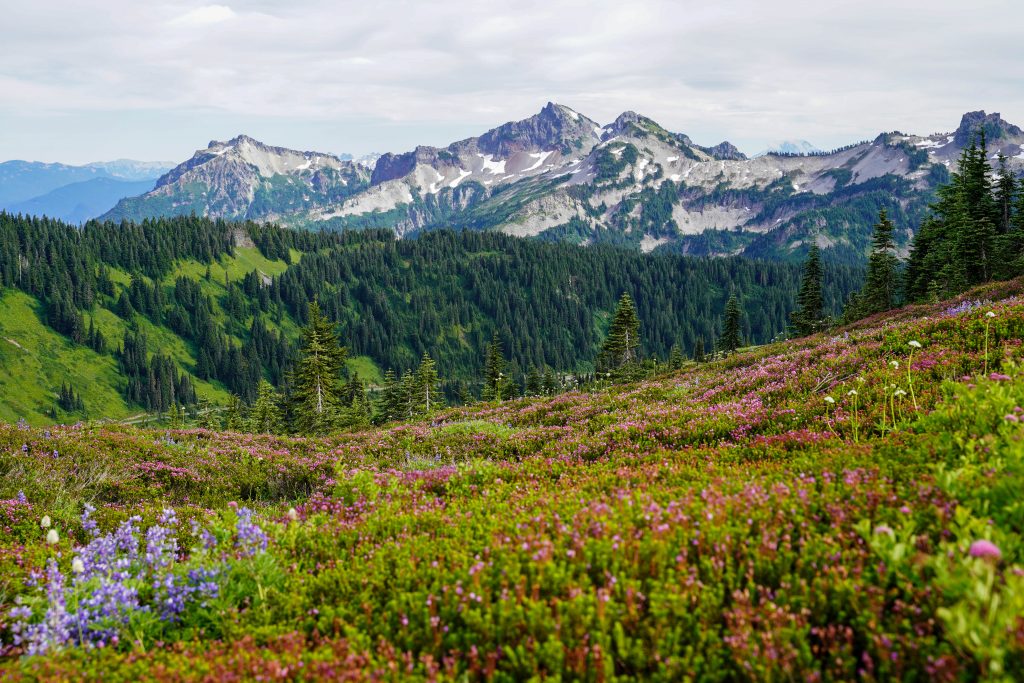
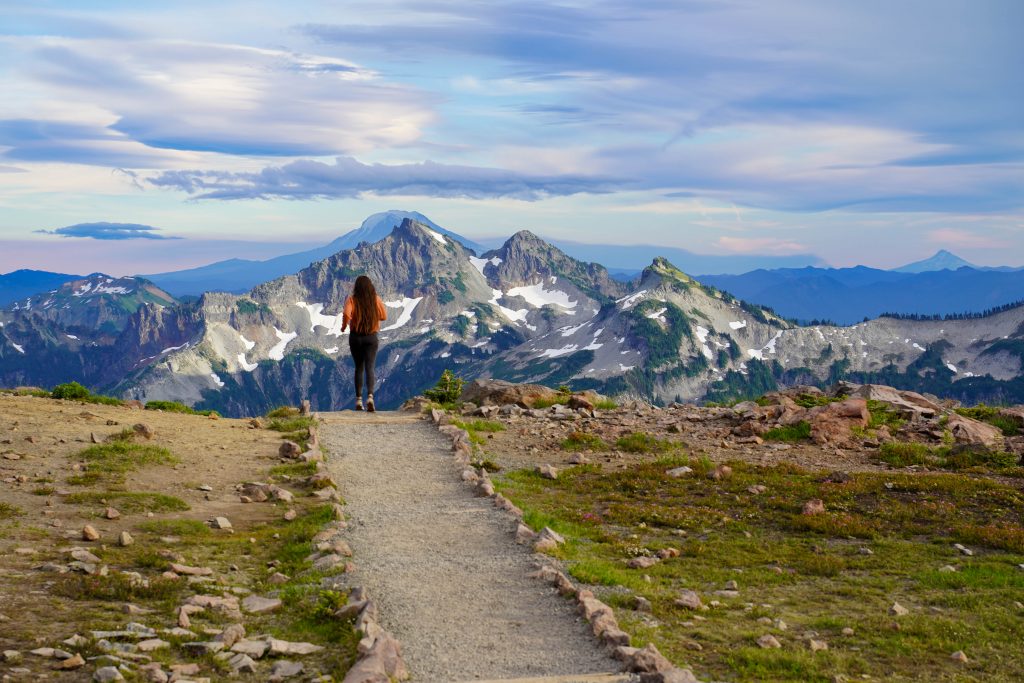
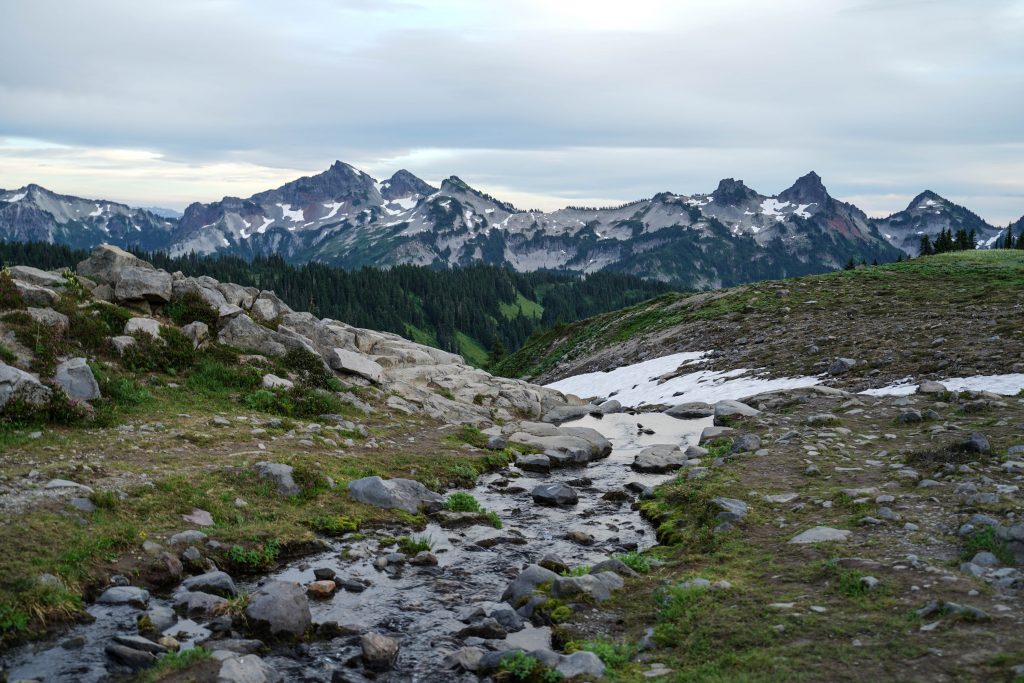
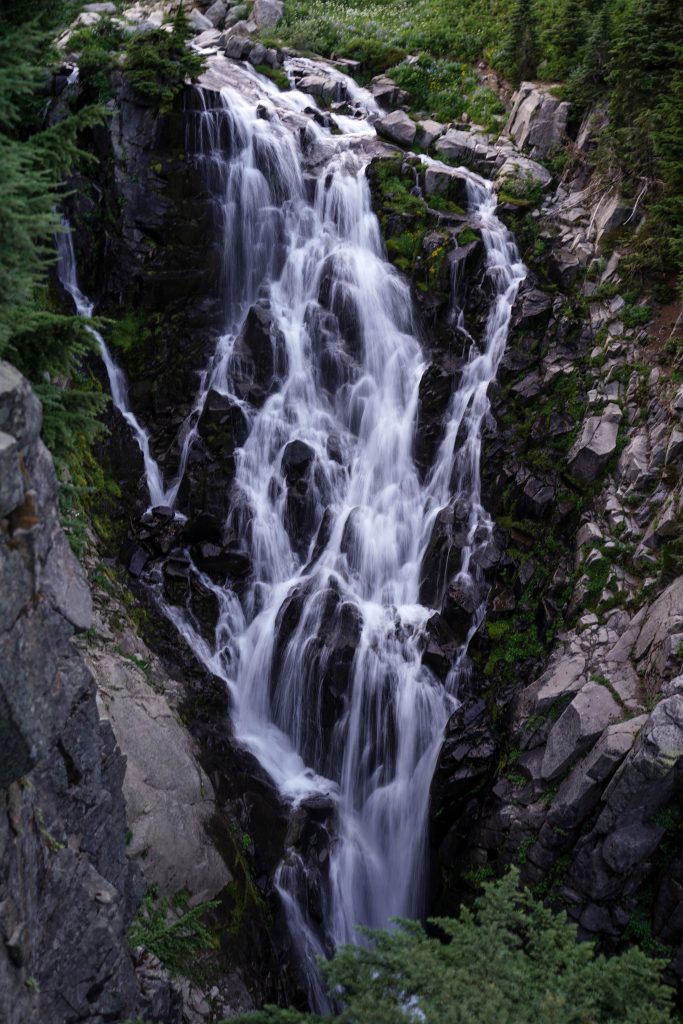
In the not so far distance you can see (and hear) the incredible Wilson Falls which are just over 300 feet tall falling from the glacier of the same name. The trail will give you a short break from the climb and turn you away from the mountain towards the other impressive view and what I actually think of as the skyline.
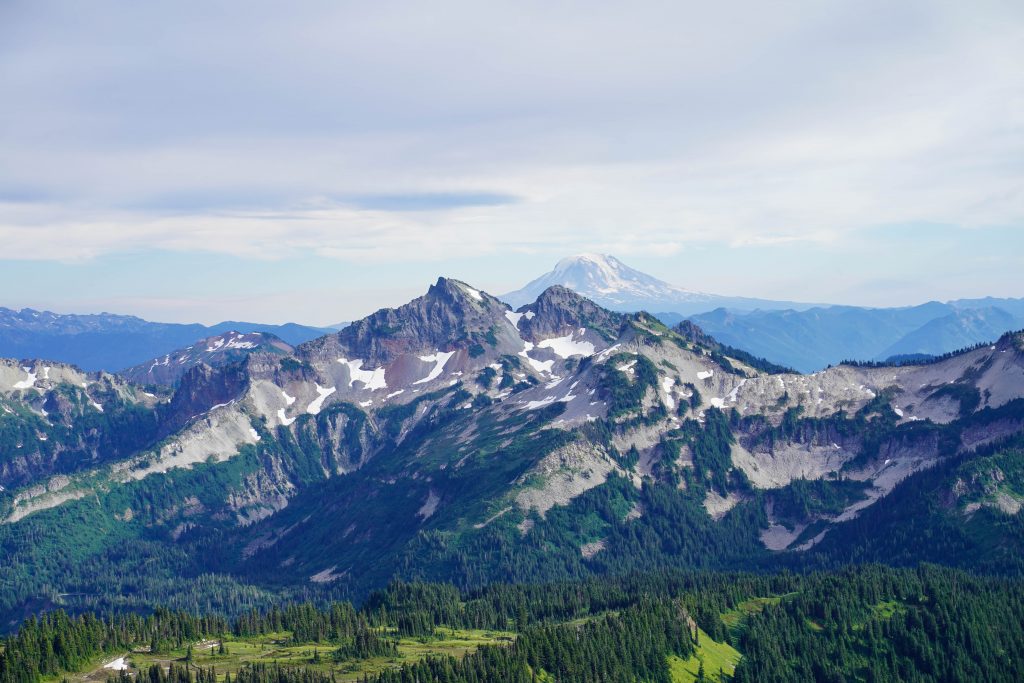
There are conical mountain peaks in all directions and incredible shaped ridges just across the way. A small trail will branch off on the left but continue straight as the trail takes a couple stairs and starts climbing again.
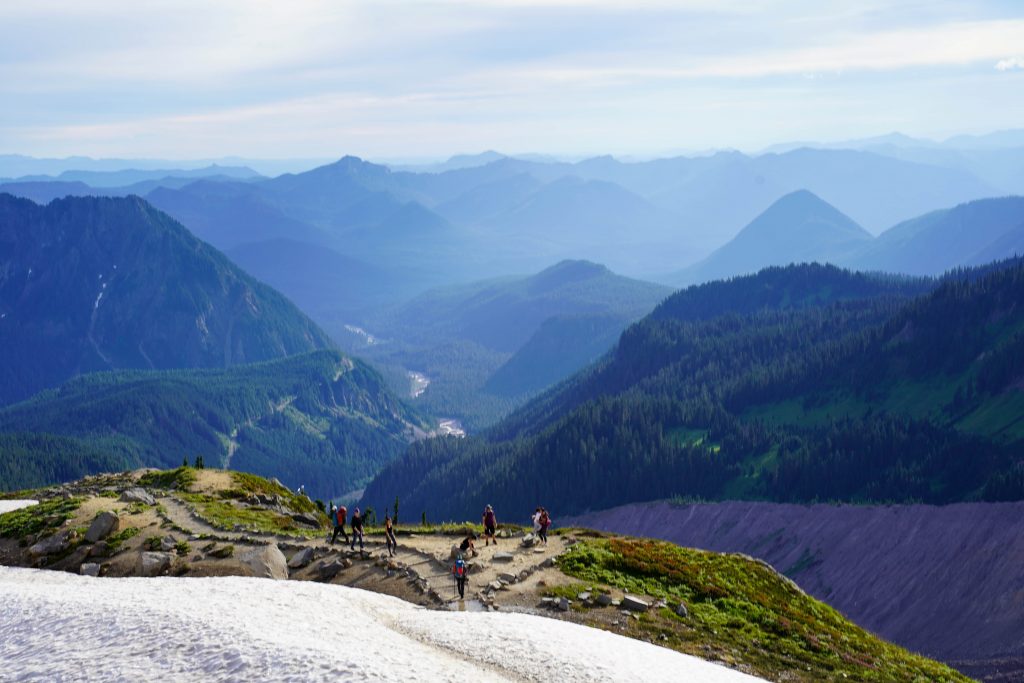

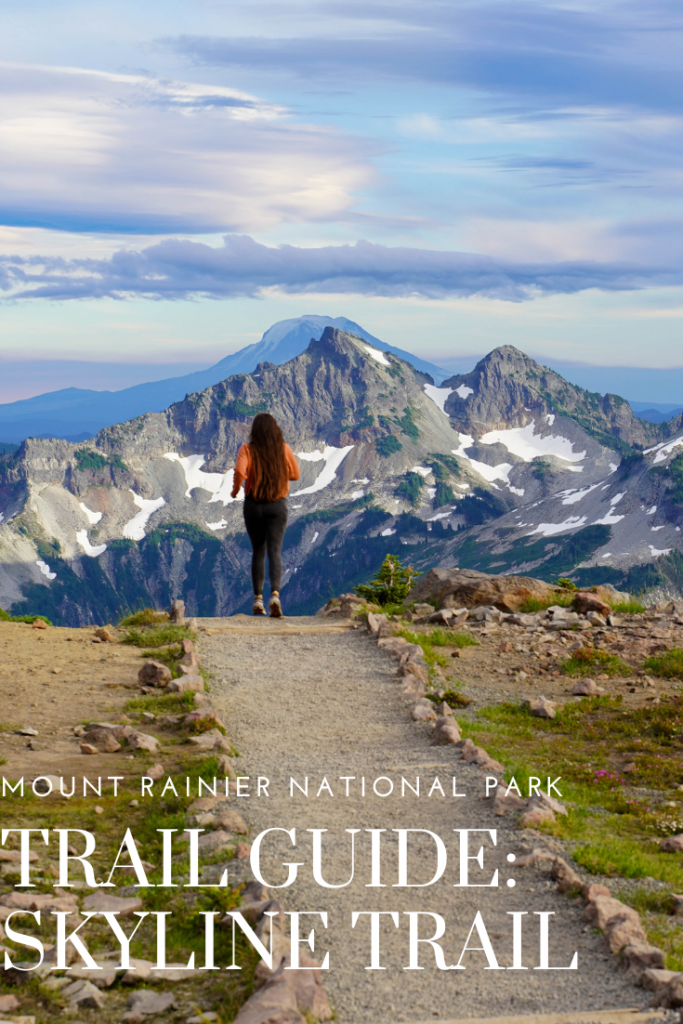
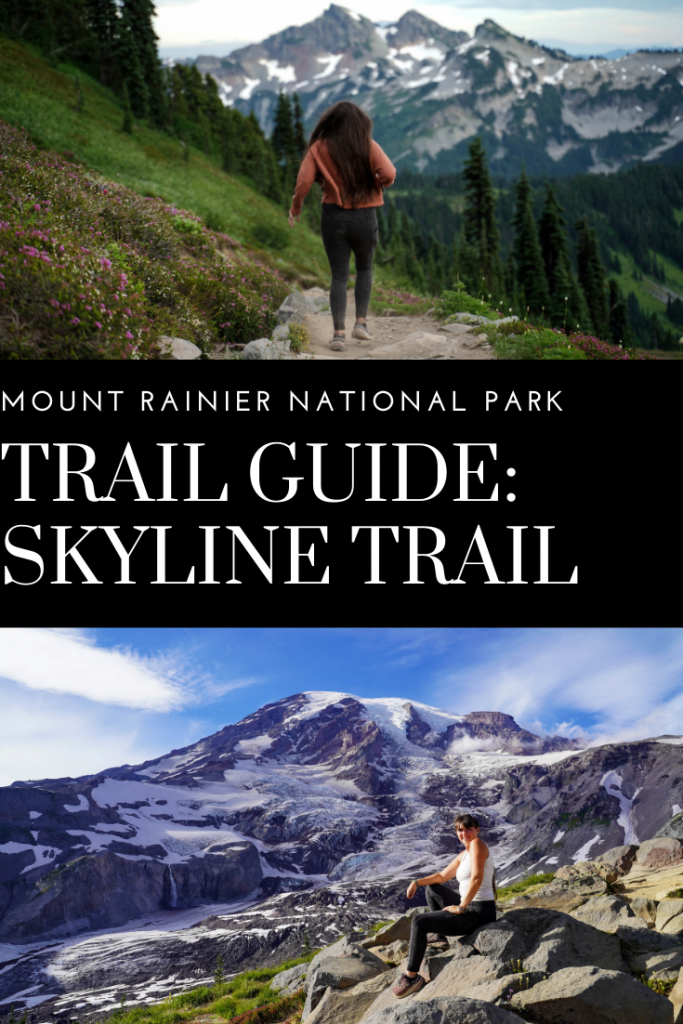
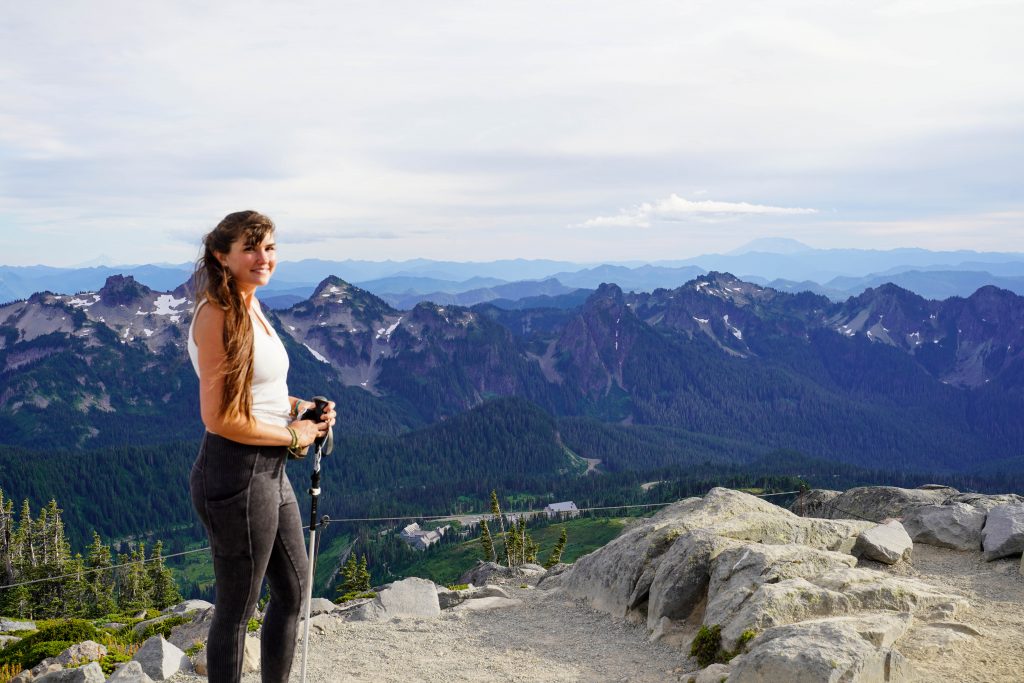
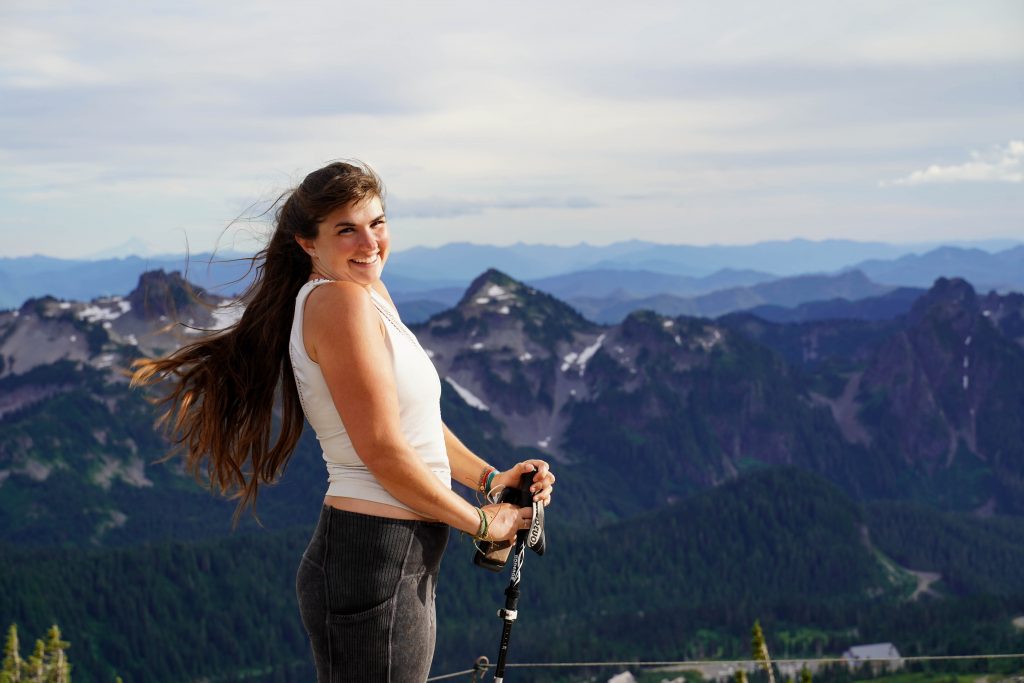
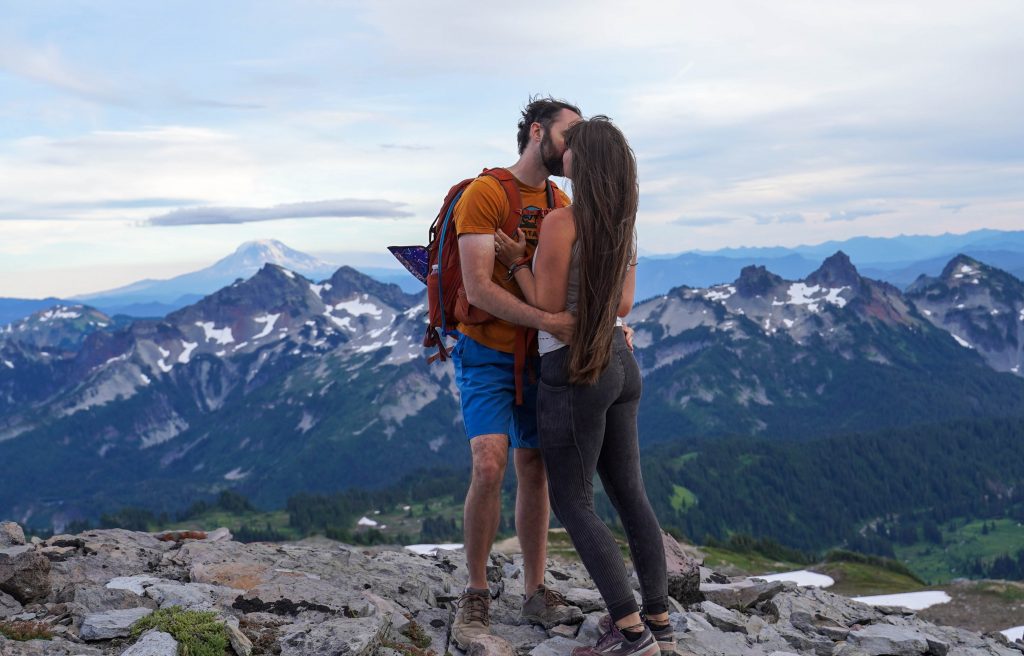
Just after the iconic (but short) stairs section of the hike you’ll reach Panorama Point. Again this is one of the most beautiful views I’ve ever seen in fact I may just have cried a little bit at this spot as I just couldn’t take it all in. (I’m pretty sure Braden got sick of hearing “I can’t handle this’ and “I can’t even”)
Panorama Point
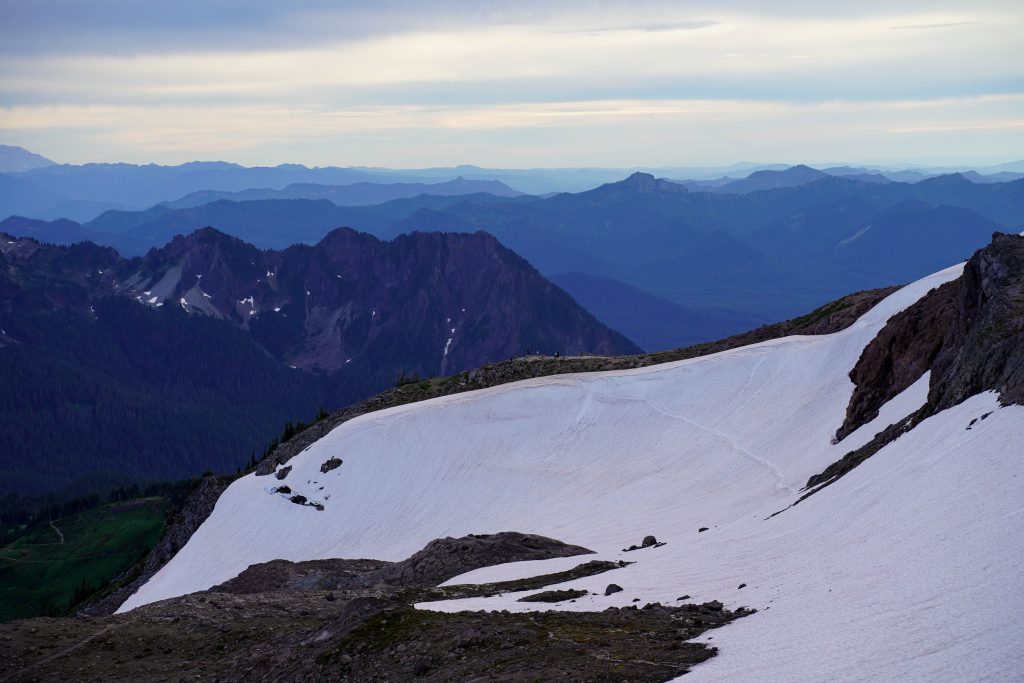
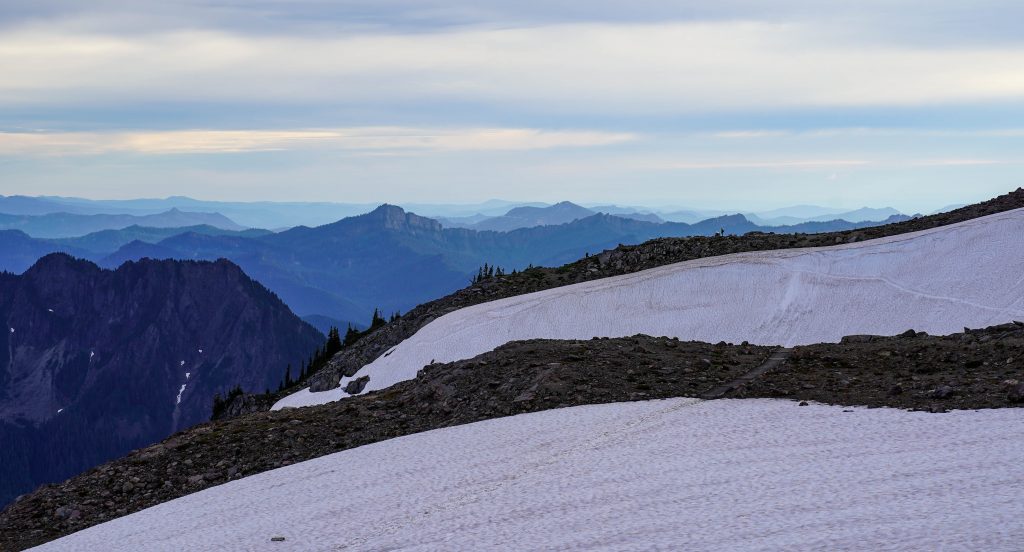
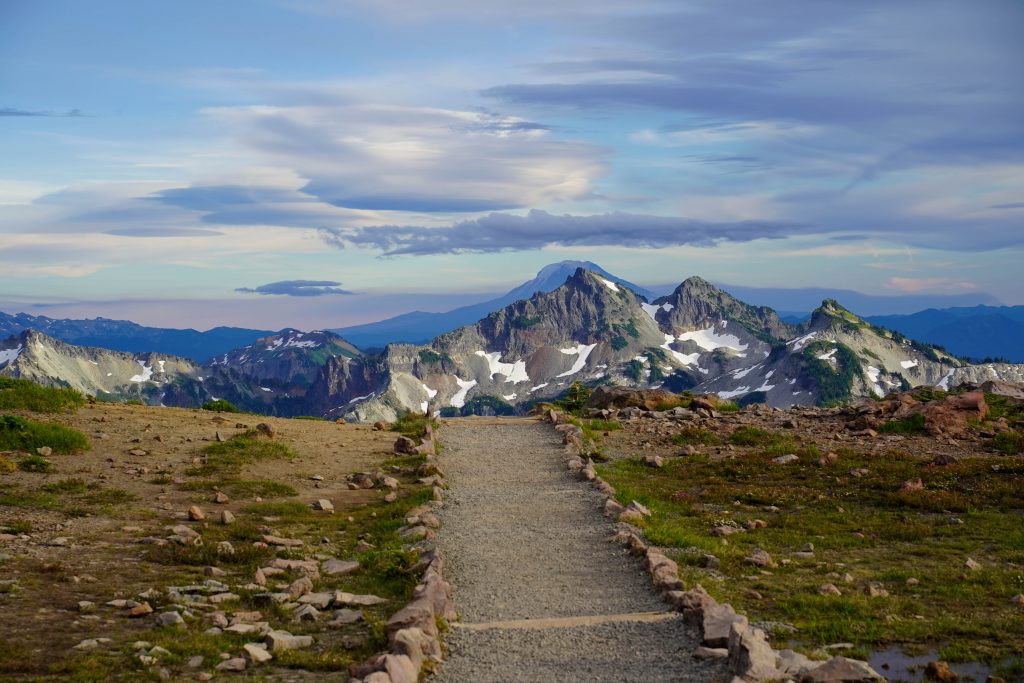
At panaroma point, you will sometimes have options. There is a trail that cuts right across to where you start descending; however this trail sometimes never thaws and the snowy trail can disguise many hazardous conditions such as unstable ice and glacier river ice bridges. If the trail says closed, believe it. It is only another 200-300 foot climb until you are done climbing and the next uphill section is pretty cool.
At this point you likewise “might not even” and could be skipping up the trail like I was….. so what is 300 more feet of climbing. In fact I never wanted to go down, instead I wanted to bask in the beauty that was 360 all around me.
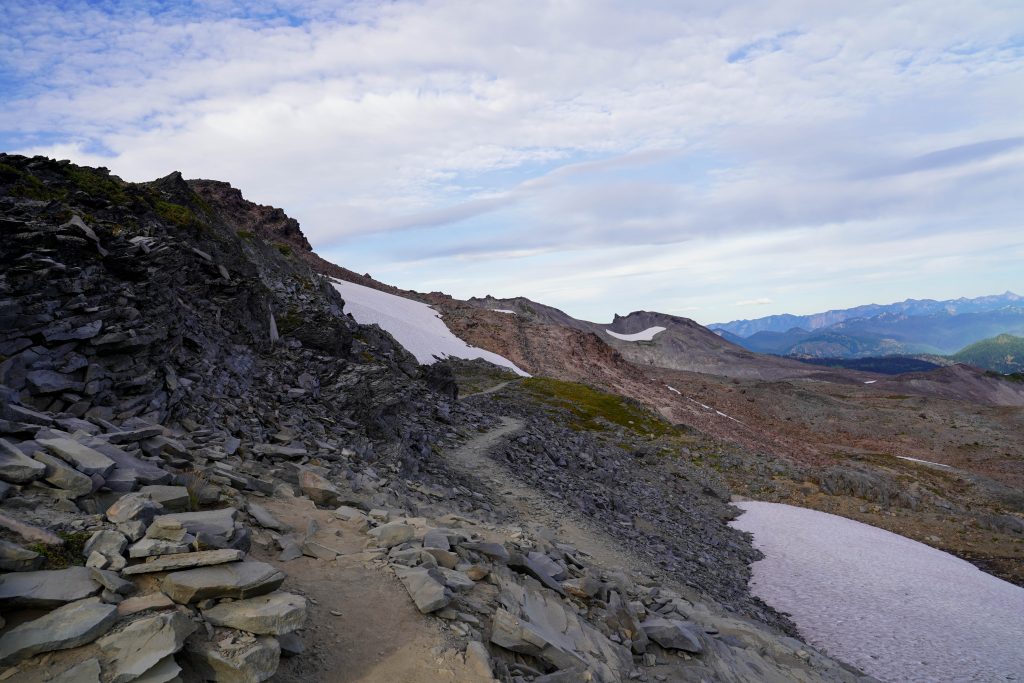
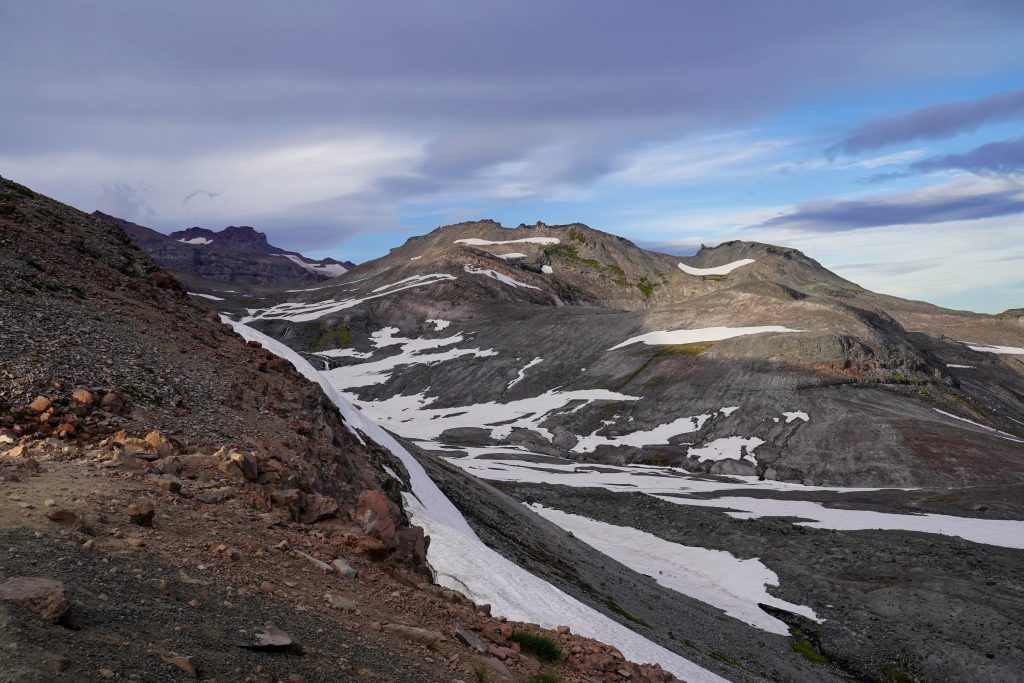
The next little bit of climb also introduces you nicely to the volcanic terrain. The terrain becomes less dusty and dirty and turns to black rocks and cliffs (surrounded by ever present snow fields which make quite the contrast)
The return hike
Now you will have finally reached the end of the climb and can start descending. You can just about see the entire trail down from the vantage points up there. After 30 minutes or so of descent you’ll reach another trail option.
You can take the Golden Gate trail (a more direct and steep but beautiful trail.) Or you can take the full skyline route which goes near the Paradise Glacier hike turn off and adds about 1 mile. We were running out of daylight so we opted for the shorter Golden Gate trail.
ZERO regrets.
The Golden Gate Trail
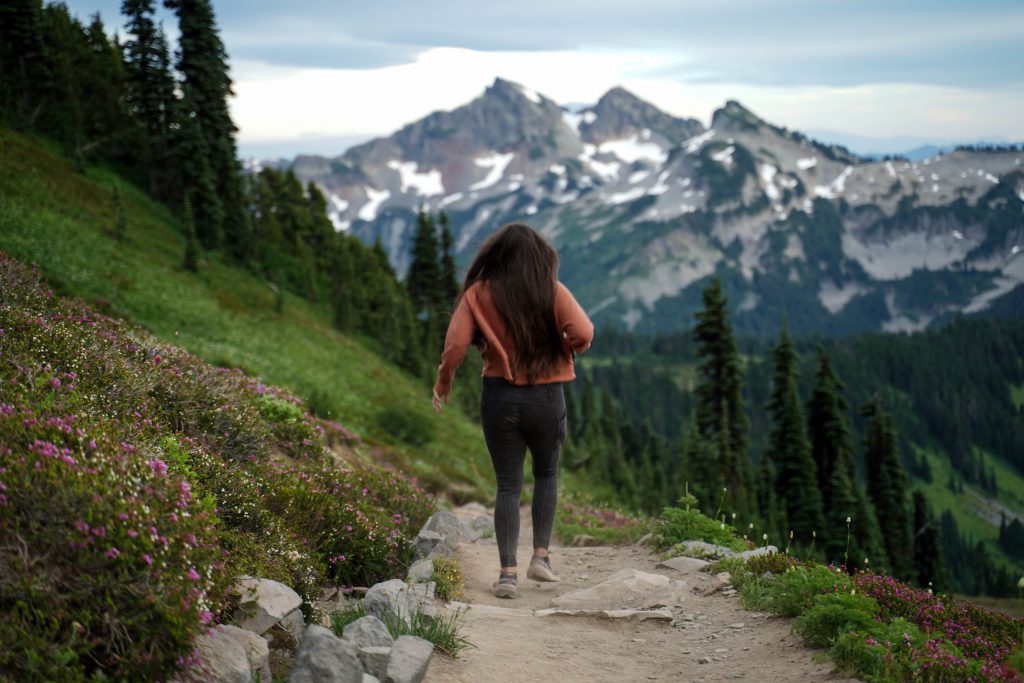
The trail switchbacks down in even more glorious series of wildflower meadows than you start out in and has 2-3 visible waterfalls the entire way. We only saw a few people but saw at least 20 marmots and 1 billy goat. It. was. glorious.
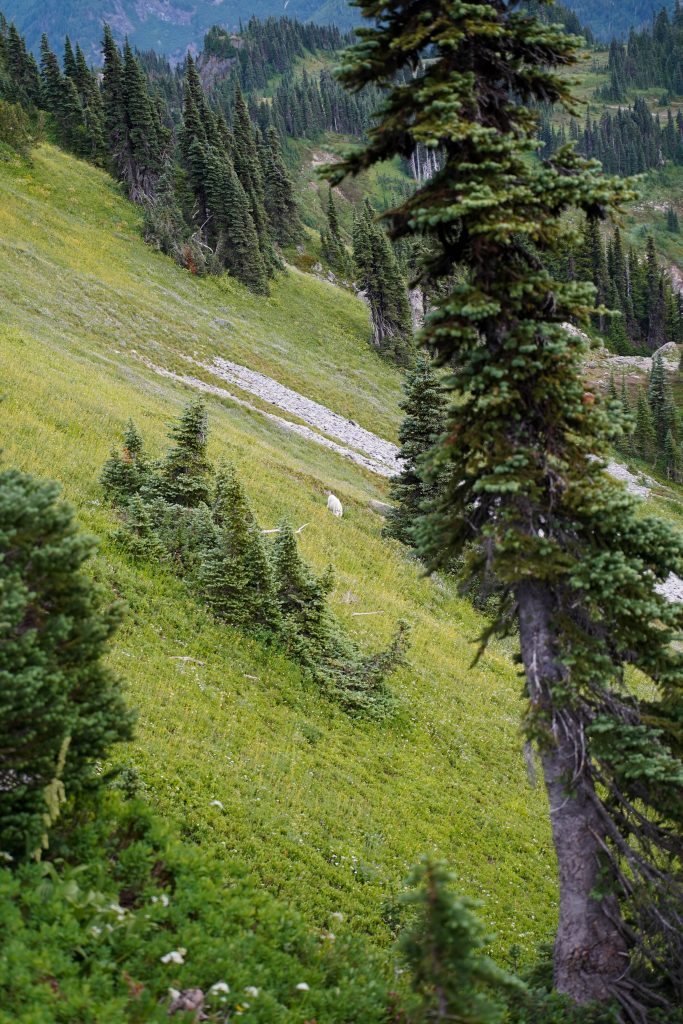
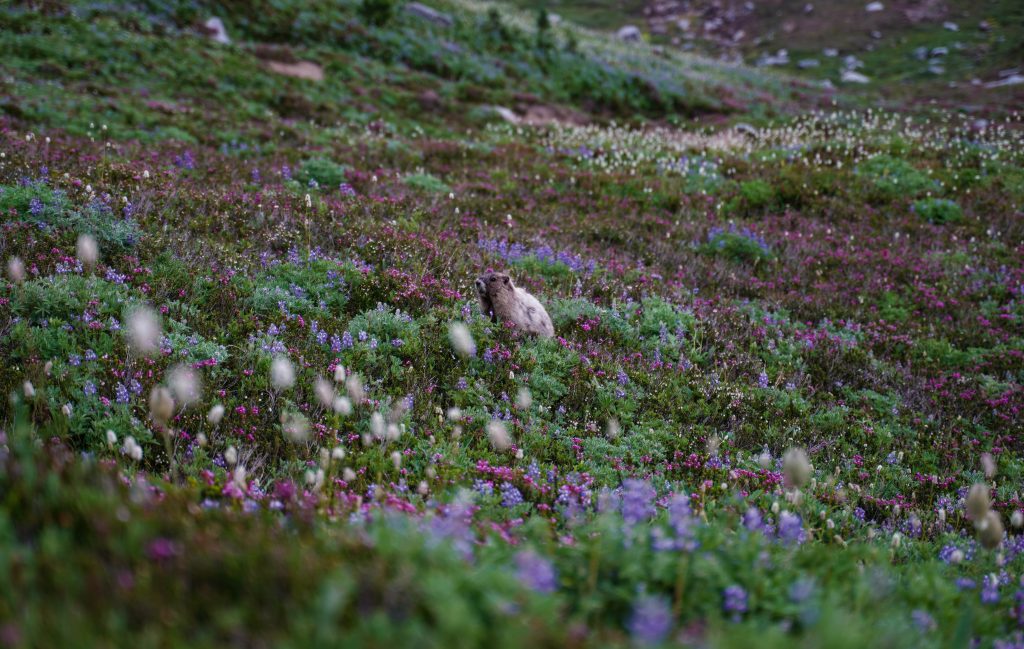

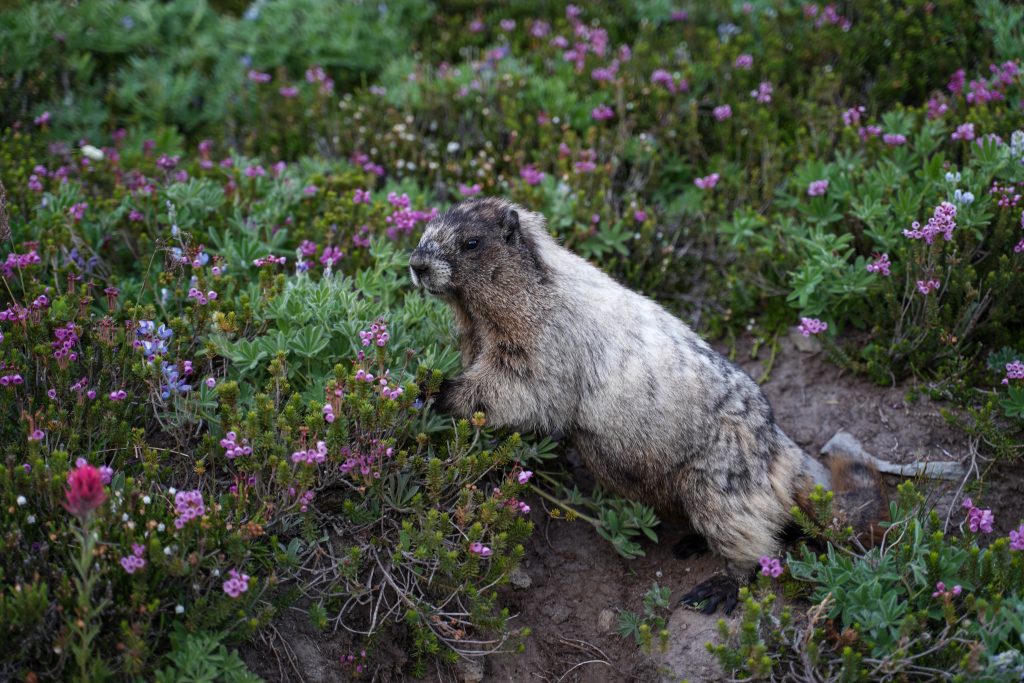
The marmots unfortunately target my favorite wild flower- Indian Paintbrush but there were still plenty of flowers to go around. Again I was positively skipping when normally at this point in a “moderate” trail I’d be ready to be done.
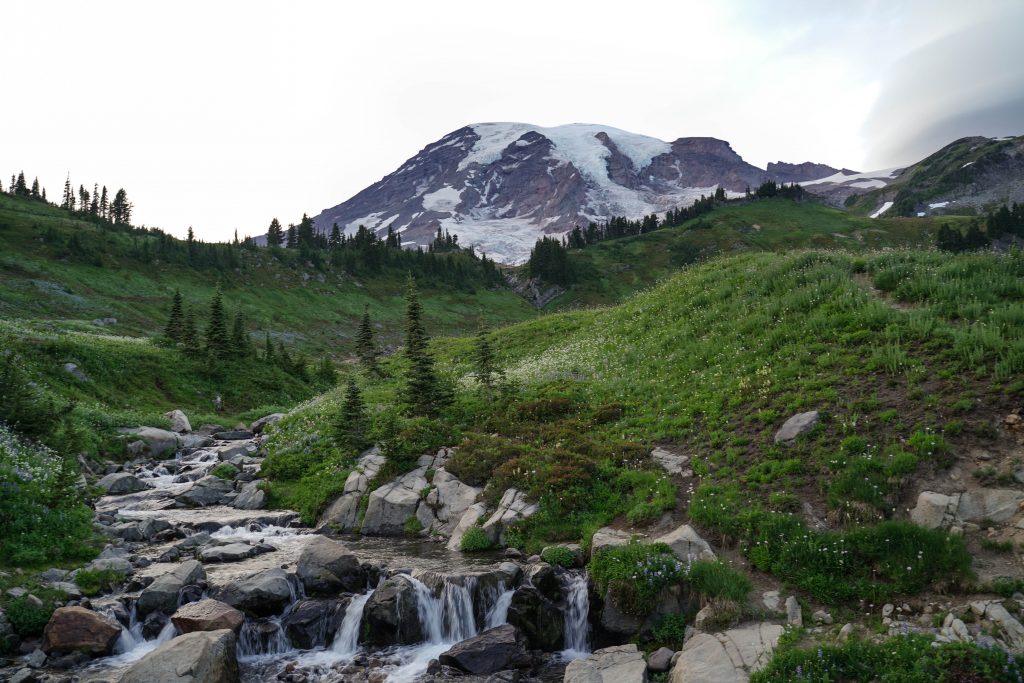
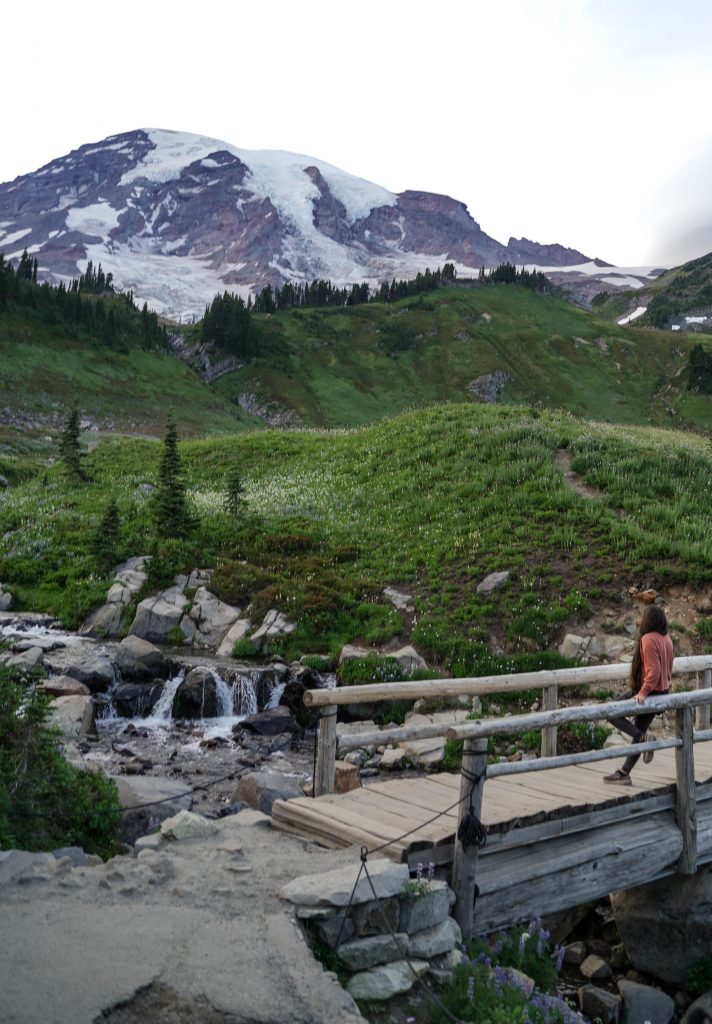
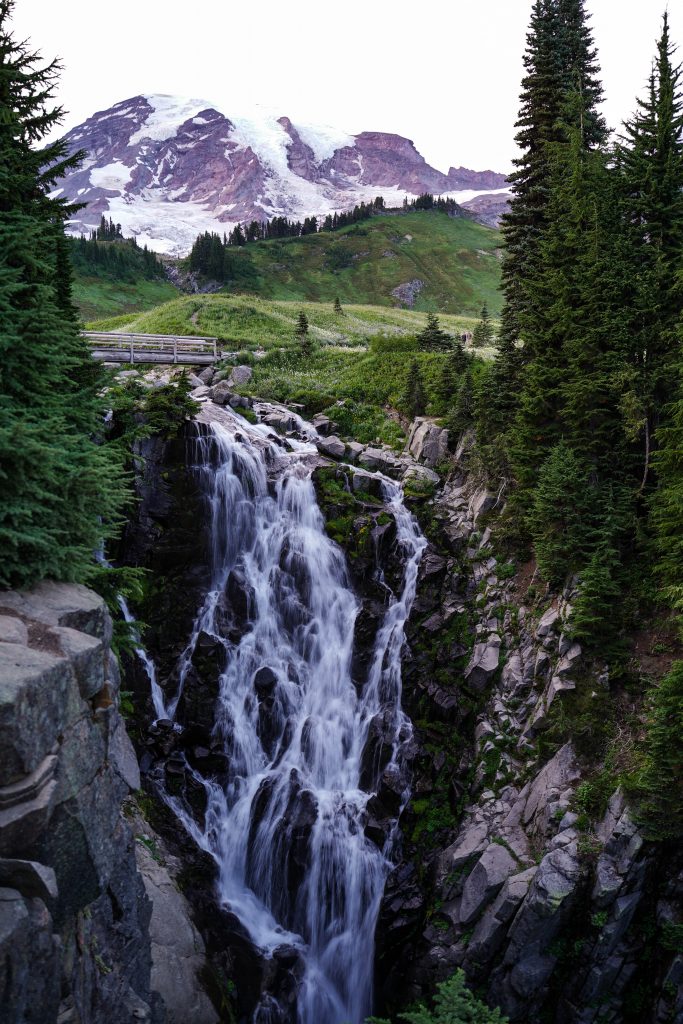
Myrtle Falls
I still wasn’t ready to be done and I maybe never will be. (take me back!) After the short switchbacks the trail mellows out and crosses a bridge which looks down on the stunning Myrtle Falls and UP at the incredible Mt. Rainier. The trail once again changes to pavement here and I highly recommend going down the short little detour to the Myrtle Falls overlook.
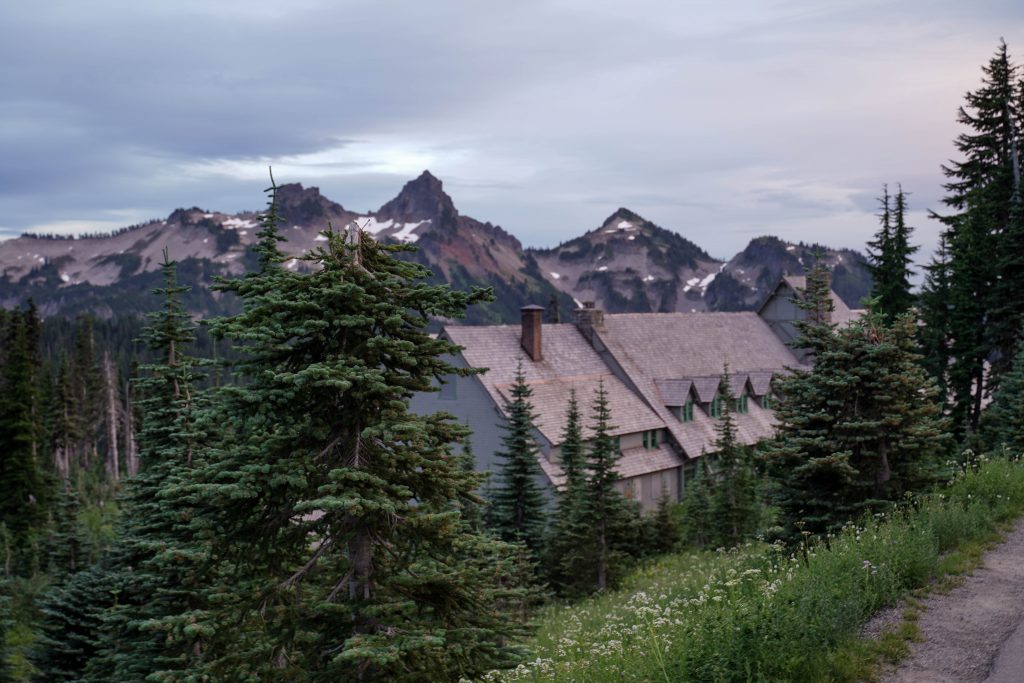
After the falls, you continue straight along the paved trail eventually catching glimpses of the National Park Inn and then the visitor center. The loop completes right at the same Muir stairs you started from.