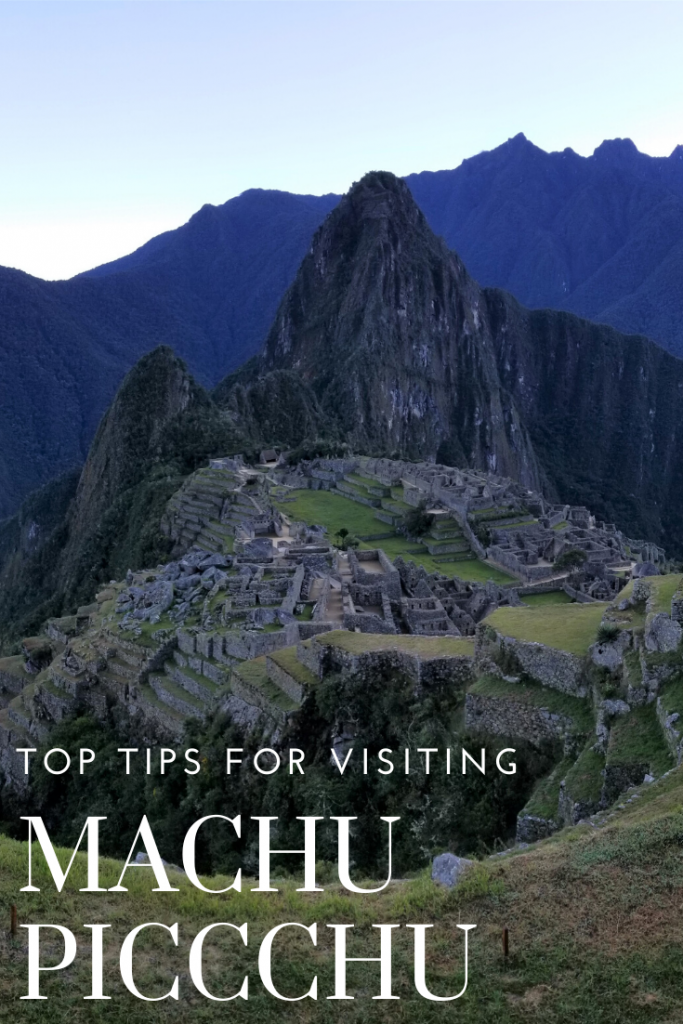
A visit to Machu Picchu seems to be on everyone’s bucketlist, as it should be. The ruins incredibly sacred, scenic, and unlike any other in the world. It’s nestled high in the mountains amongst the Andes glacier topped mountains and low valley jungles. Whether you decide to do a trek in or a hike once you are there, here are some basic thoughts for planning your trip:
Tips for visiting Machu Picchu
- Purchase your entrance tickets at least 1 month in advance, 3 months if you want to hike Huayna Picchu during the high season. You can purchase them here for the best rate. (use Google translate if needed)
- Purchase your entrance tickets for a 6AM start so you can be among the first into the site.
- Purchase your BUS tickets for the ride up the night before your visit so that you can get in line at 4:30 AM the day of and be ready to go.
- Don’t hike up from Auguas Calientes! (unless you really want to) It is a very steep trail with BIG steps up and traverses the same path the bus takes (so you don’t get any different perspective) Even the most fit people in our group got to the top very out of breath and sweating.
- DO get a mountain hike ticket! This ticket gets you 1 re-entrance (the normal MP ticket does not allow for re-entry so if you get hungry or need to pee… you’re outta luck)
- Dress in layers. It is COLD in the morning but gets very hot during the day. Dress accordingly.
- Pack a snack. As previously stated, there’s no re-entry unless you have a mountain ticket.

Our Experience
We were up at 4 and heading out of our hostel with our guide and group by 4:30 to the bus stop. We got bagged lunches/breakfast from the tour company as our last remaining meal provided by them. By the time we got there (about 4:40) the line was already formed and we were maybe 1-2 bus loads from the front of the line… By 5 AM I’d say the end was 10 bus loads back.
We were stationed right outside some convenience shops which did open their doors early for the queue of people. We sat on the curb in our line spot, some of us cracking into our bag of snacks for some breakfast. Around 5:30 the bus officials came by to inspect both our bus tickets and entrance tickets against our passport. (Make sure you book your tickets under the same name) and by 5:40 the buses were rolling up to start moving people up the mountain.

There were at least 10 buses in droves and we were quickly shepherded onto the bus with our group. The ride lasted about 20 minutes and the first half was pretty dark, but twilight illuminated the views for the 2nd half. At the top we got in line to wait the 5 minutes or so we still had before they opened the gates, and our fellows who hiked up met us in front of the line.

We shuffled in showing our tickets a second time and were among the first people into the site so we immediately headed up to the terraces to get the best view. We took a couple shots of the group in a couple good locations before settling at the top of the terraces with our guide to learn some history.
Most of what we were told were things we actually learned from either the Sacred Valley tour or the day before at Llactapata and it lasted about an hour. I wish we had walked among the ruins for our tour but that is a 1 way journey… so unless you have a re-entry ticket, you don’t want to walk around down there until you are ready to leave.

Crowds moving in to watch the sunrise

It WAS one beautiful sunrise- definitely worth the early morning

Around 7AM we said goodbye to our guide and snapped a few more photos of llamas enjoying all the vantage points we could of the terraces before heading up for our hike to Machu Picchu Mountain.

So many llamas


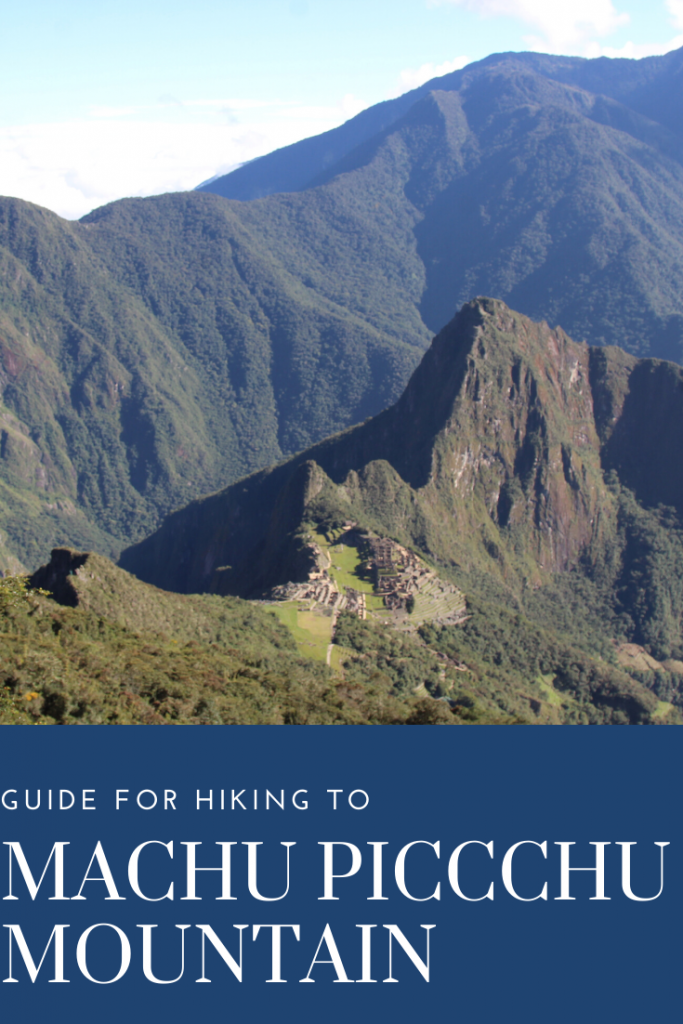
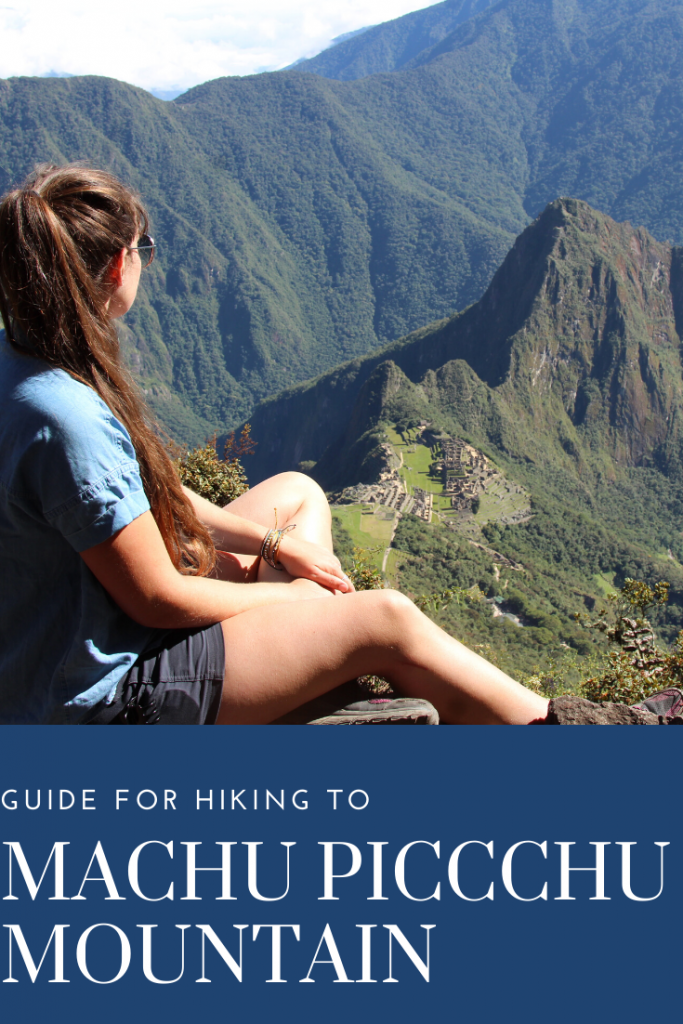
Machu Picchu Mountain
Now onto the hike which was challenging. I’d say it probably is less so when it isn’t on the heels of a 4 day trek, but it is steep and long. About double the height of Huayna Picchu, this trail takes around 1.5-2 hours to climb at a moderate pace. Expect it will take 3 hours round trip. We checked in at the gate to the start of the trail, showing our tickets once again and signing a registrar. As this trail was really more stairs than anything else, we decided to hike at our own pace and do our own thing for it. (my hiking partner got up to the top in probably an hour or so while it took me 1.5)
I’d say I’ve never seen so many stairs in my life (but that would be a lie after hiking around Mt. Huangshan in China)

How the majority of the climb looks

There are pretty spectacular views as you go. Pictured above is the ridge we climbed over the day before with Llactapata hidden in the clouds and the Llatapata resort seen in that cleared space just below the middle of the picture.

The best part is every couple of flights you get another astounding view down on Machu Picchu. Once you get close to the summit, it takes you around the back which doesn’t mean less stairs, but it does give you a bit of a break on steepness, and makes cresting out on top that much more spectacular

First view of the summit from the stairs

Looking down on the river bend we walked the day before

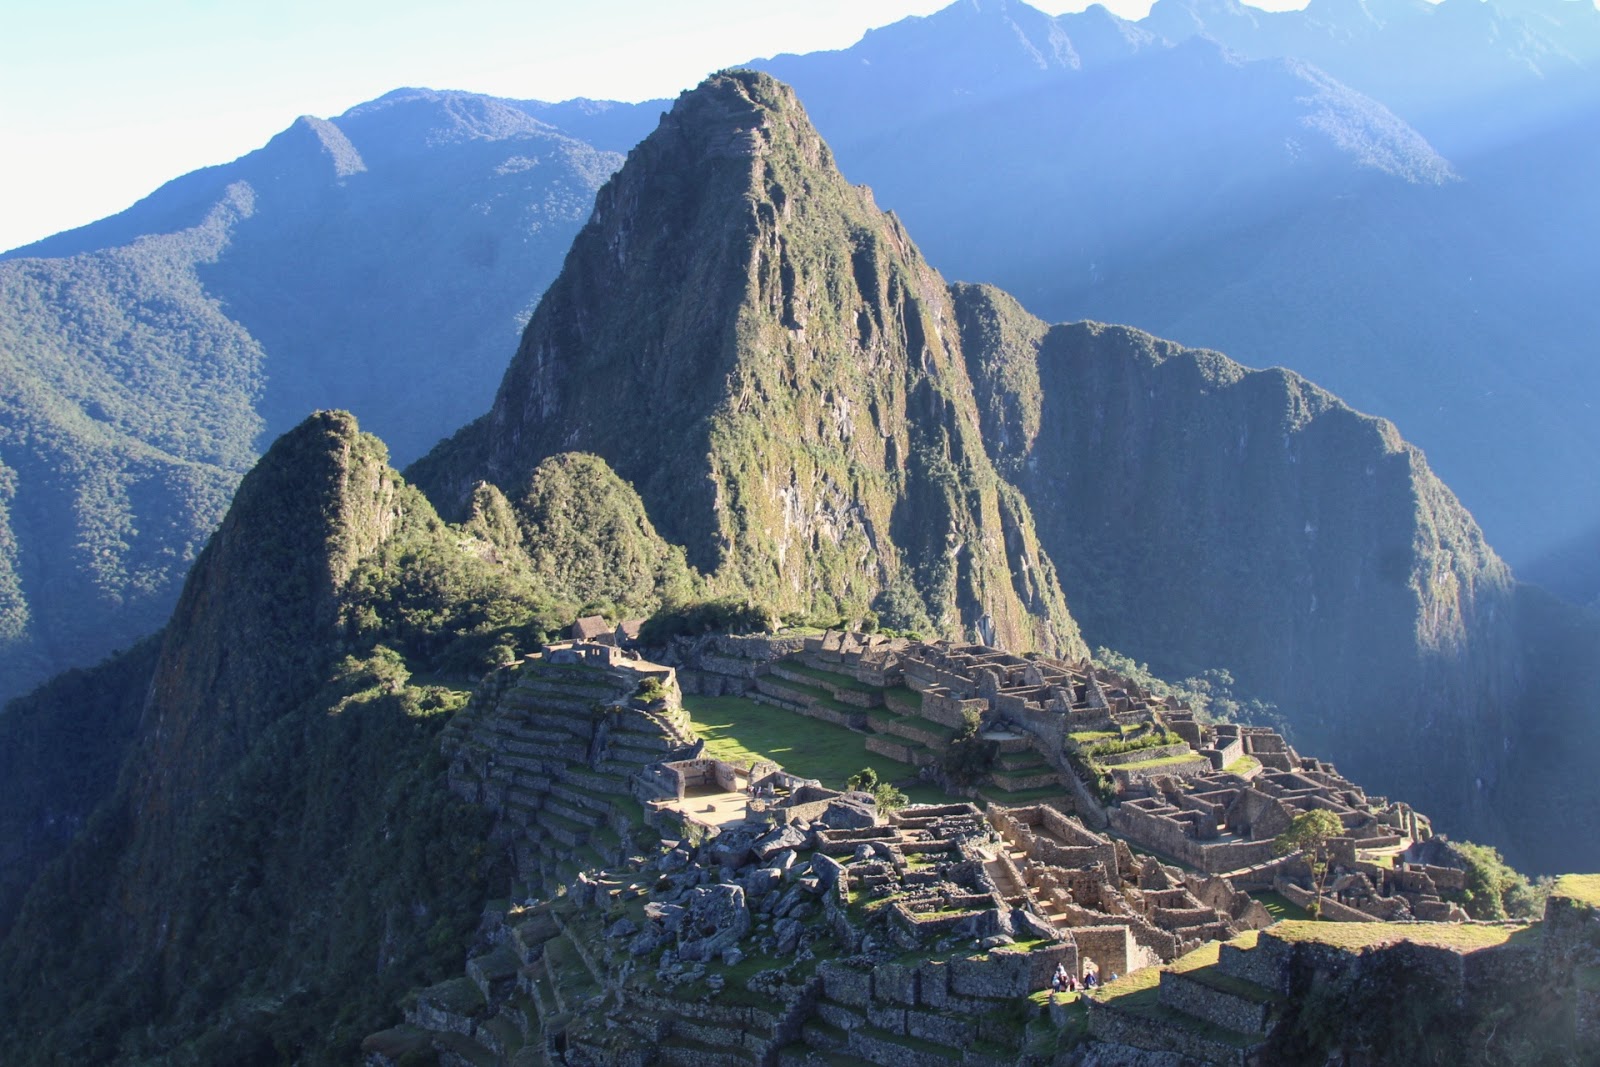
Awesome views of Machu Picchi and Huayna Picchu

Above the ridge line from the previous days climb but still a little ways to go

The trail has frequent drop offs… Keep that in mind if planning to do this hike and don’t have the head for heights

Finally on top!
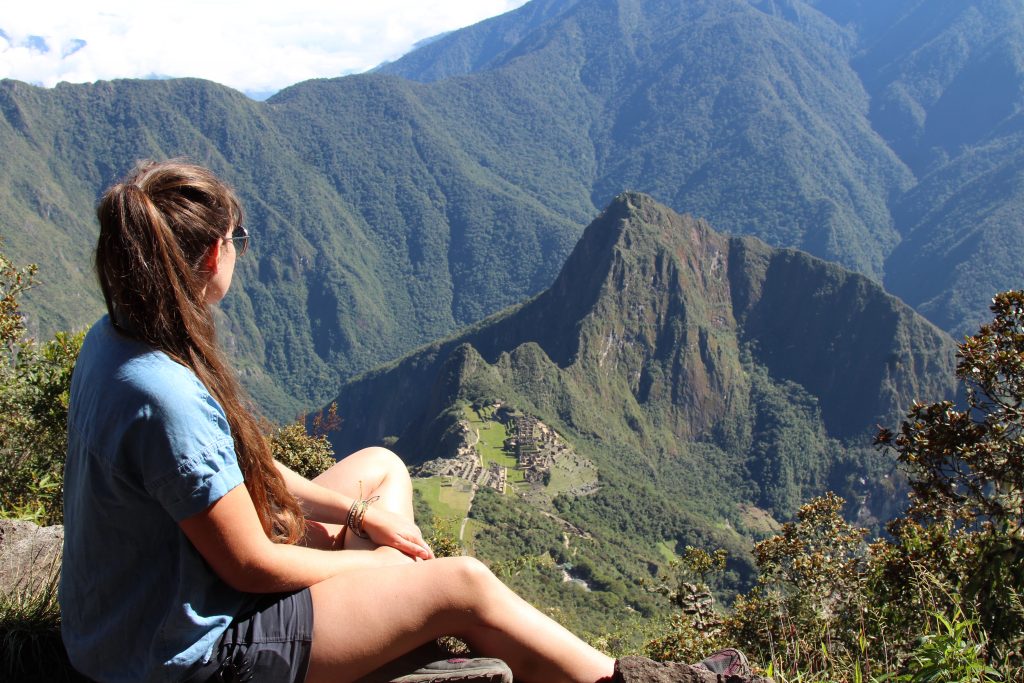
On top the view down to Machu Picchu is amazing, but the best part really is being above the clouds and at the top of the world. Across nearby ridges you can see the top of Salkantay Mountain poking it’s head up (amazing to think we started our trek on the far side of that mountain) and the ridge we climbed to visit Llactapata. The entire bend of the river is laid out and it is so much easier to see just how nestled among mountains the Incas built their temple. It certainly provides a post card view from the top.
There’s a lovely little hut for getting out of the sun and a summit sign to pose with. I spent about 20 minutes trying to de-sweatify, taking in the views, and sharing the largest avocado I’ve ever seen with generous fellow hikers. After about 20 minutes, my friend and I headed down hoping to have plenty of time to check out other parts of the site. It took about an hour to get down (making it well and truly 3 hours RT for me. I am perfectly average on the hiking scale! Woohoo!)

The top of Salkantay Mountain! We started our trek on the far side of that mountain!


The trail down with steep drop offs

Once we got down from the hike, we were shocked by the loads of people meandering around so after a quick break in the sun, we decided to head out through the ruins where you guessed it, even more people milled about!
There were loads of guides with 15+ people groups randomly stopping to point things out in narrow corridors. It. Was. Stressful. And in the end we mostly just wanted to get out of there instead of being able to enjoy the peace and tranquility of what should be exploring stunning architecture and ruins.
My advice for dealing with the crowds
In a perfect world, I’d take 2 days to see MP- 1 day to get up early and get there first things so I can then explore the ruins on my own at 6:30 AM (most people don’t head down there as it is 1 way to the exit) maybe even climb Huayna Picchu since you get to walk through the ruins on the way to that mountain. And then I’d plan a second day to climb MP mountain.
I have heard that if you don’t need to catch a train that day, the place empties out a lot an hour or 2 before close so you might also be able to have some peace then if you use you MP mountain re-entry.

So. many. people


It was cool to explore the ruins themselves. It would’ve been nice to have a personal guide walking around pointing out specific structural intricacies that we may not have learned on previous tours.


Magic floating building. The Incas were magicians.

My last glimpse of the mountain as we exited the site.

The exit is definitely a la Disneyland. There was a long line for the bus (took about 30 minutes), it was hot, and people routinely tried to cut in line. Again you had to have your ticket and passport out for inspection before getting on as well. The bus ride itself was much more scenic this time since it wasn’t as dark and Aguas Calientes is a fun town to explore in the afternoon.

Grilled Alpaca, quinoa, and my signature banana milk shake for lunch
Once you’re finished with your Machu Picchu adventure, pick a spot for lunch, enjoy the street performers that seem to be everywhere, and wander the charming streets of Aguas Calientes.

Bonus: If you do a trek into Machu Picchu, then you get to experience the train back to Ollantaytambo/ Cusco for your first time and it is MAGICAL.


All in all- a Salkantay trek is an incredible trekking experience and Machu Picchu the most awesome finale! I will do a summary post on all 5 days of our trek soon but for now, I hope the Salkantay Trek has earned it’s spot on every reader’s bucket list.
Machu Picchu Day Costs:
Breakfast: Included in Salkantay Trek Tour
Return bus ticket from Agua Calientes to MP: $25
Machu Picchu entrance + MP mountain $40
Guide in MP (included in Salkantay Trek tour which was $405)
Lunch in Agua Calientes at Munaycha $17
Gelato in town: $3.75
Snacks and water purchased from shops: $13.50
Taxi to hotel from tour office in Cusco $13- $3.25 pp
Hotel near Cusco airport (with included airport shuttle): $57- 14.25pp
Total Costs for day at Machu Picchu: $116.75
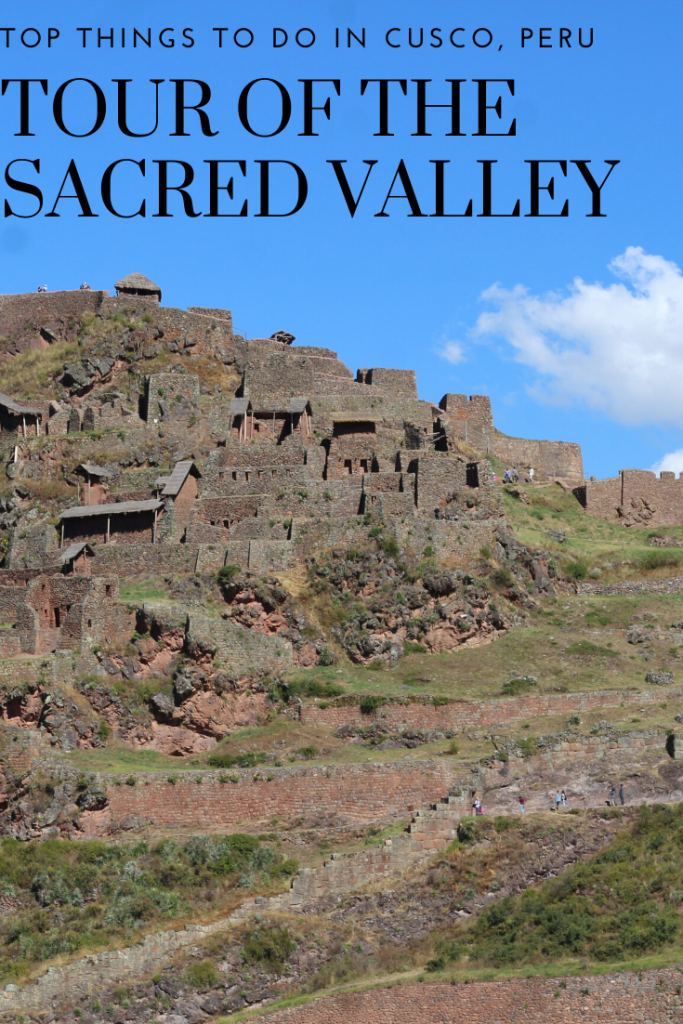
Pin me:


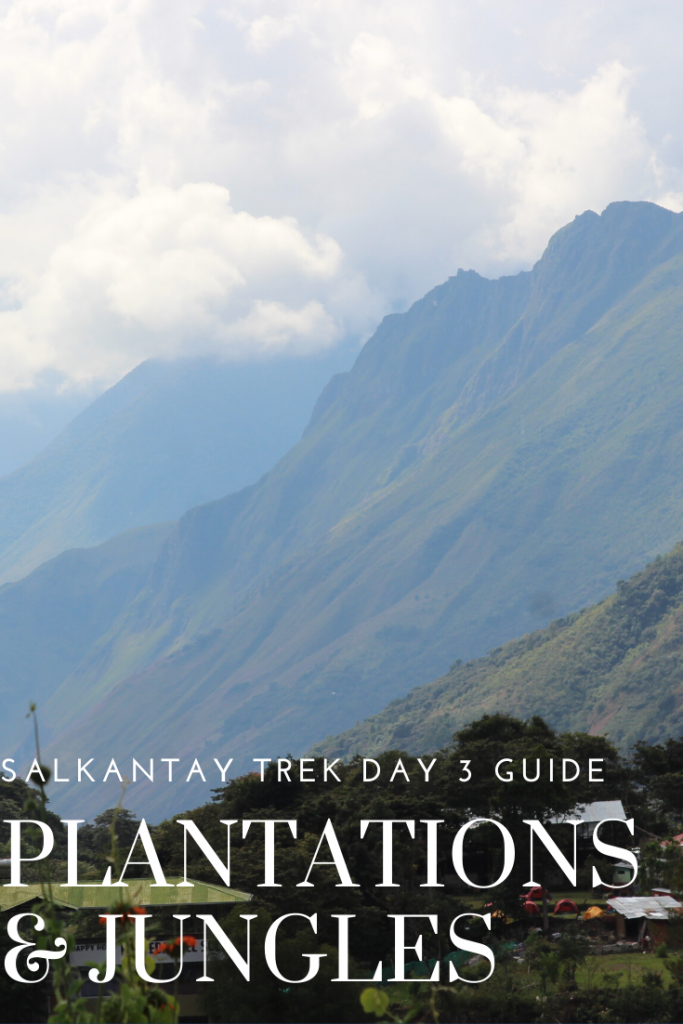


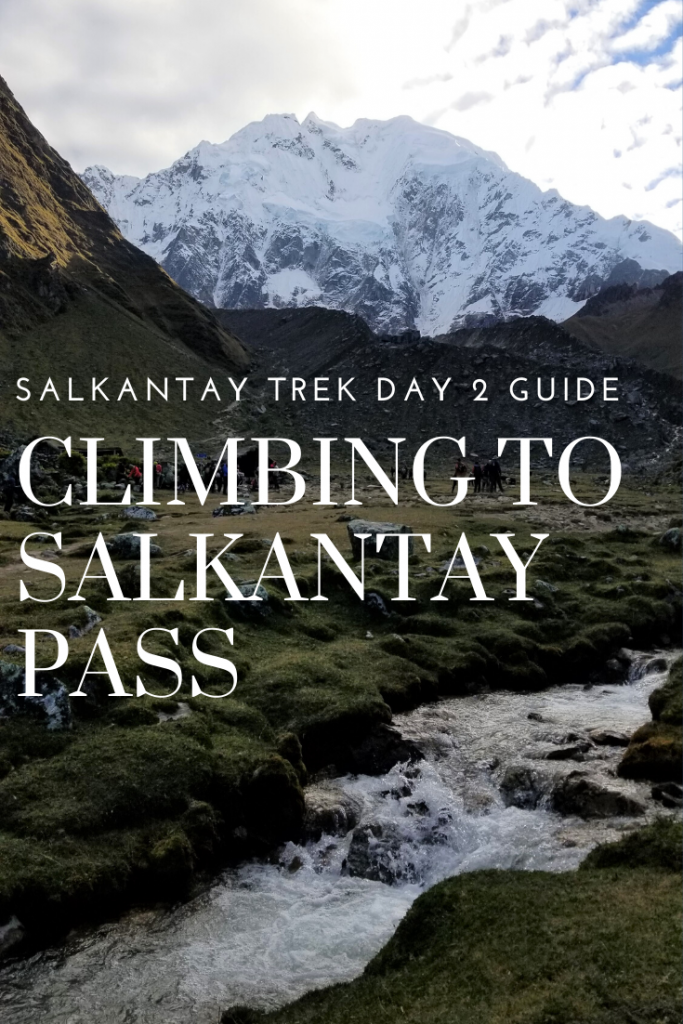

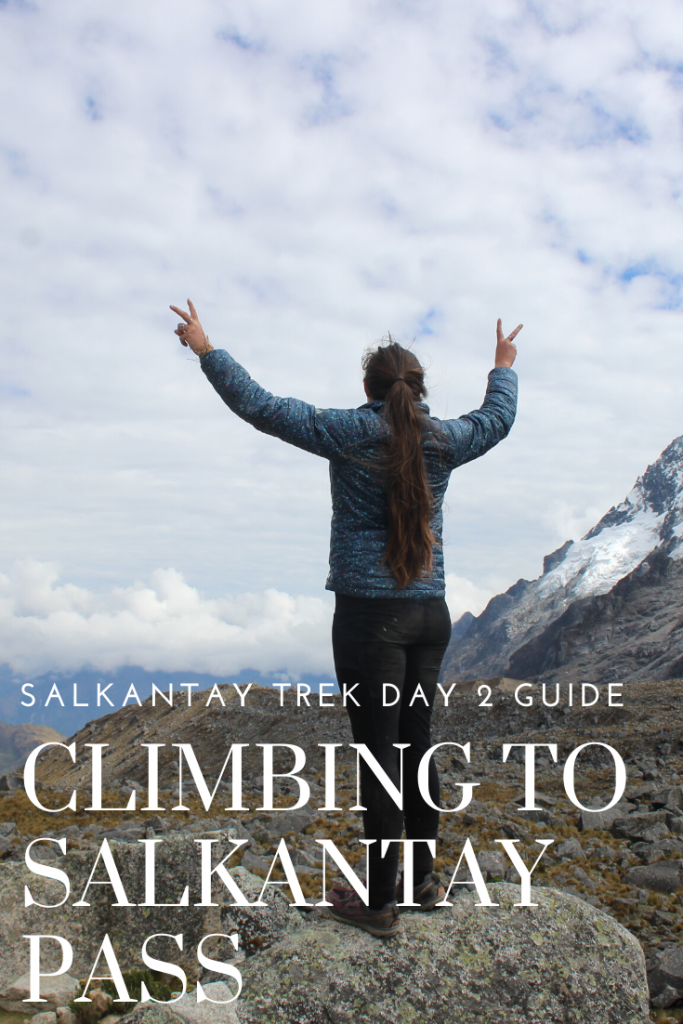


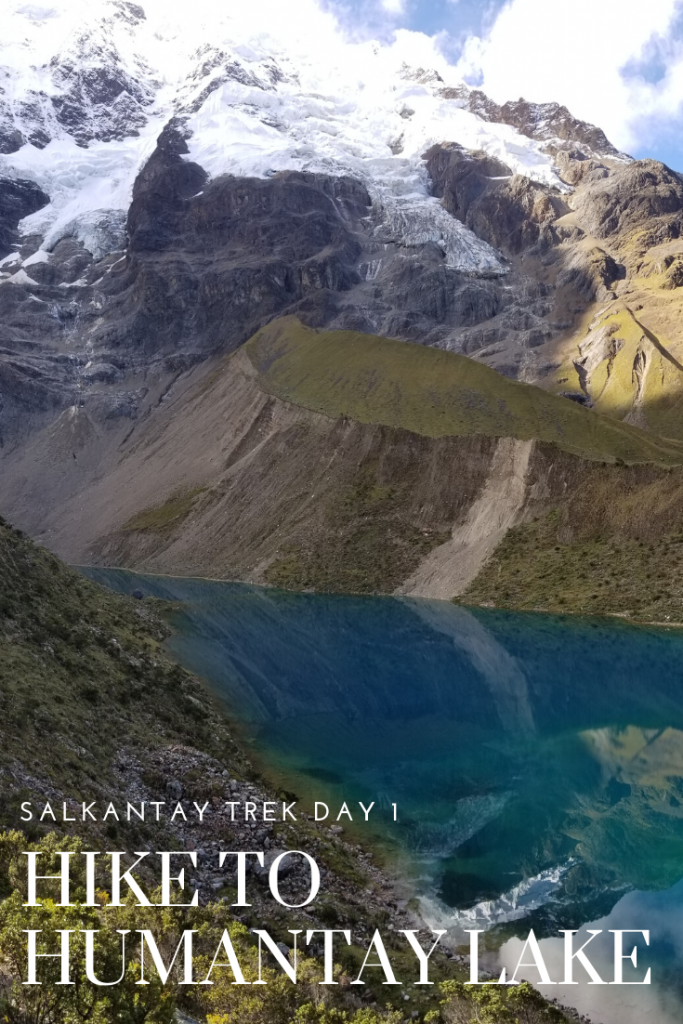
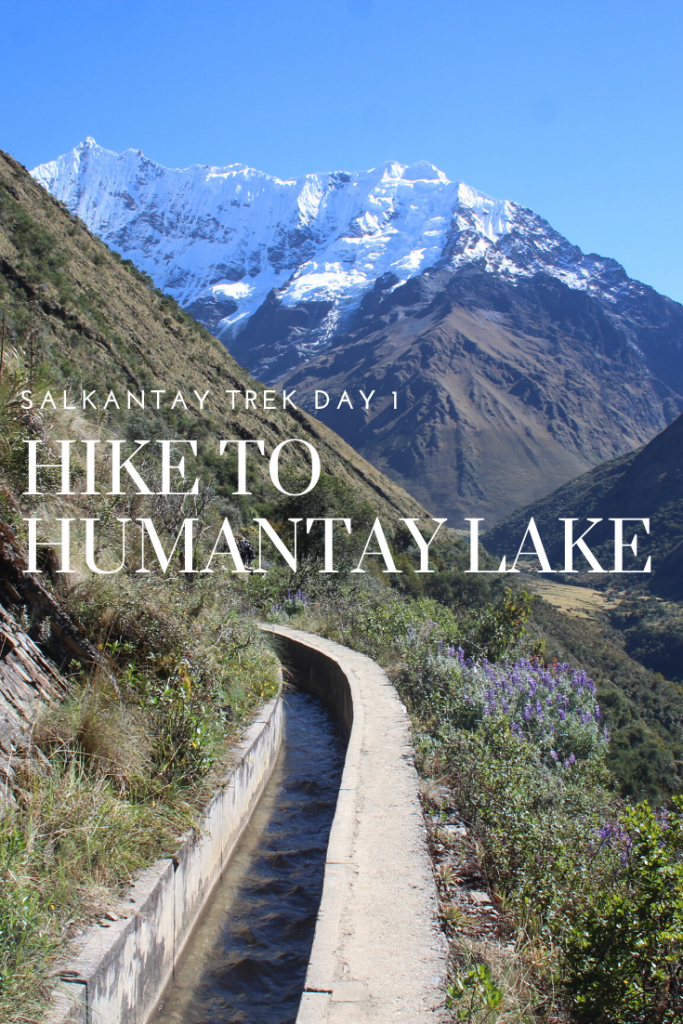


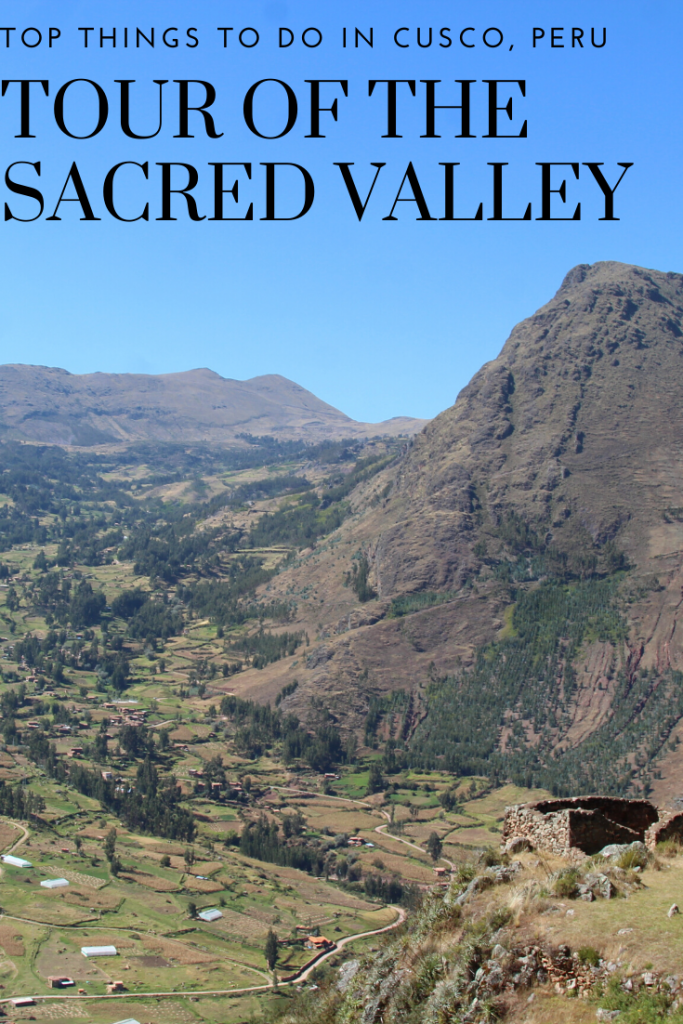
 Pin me:
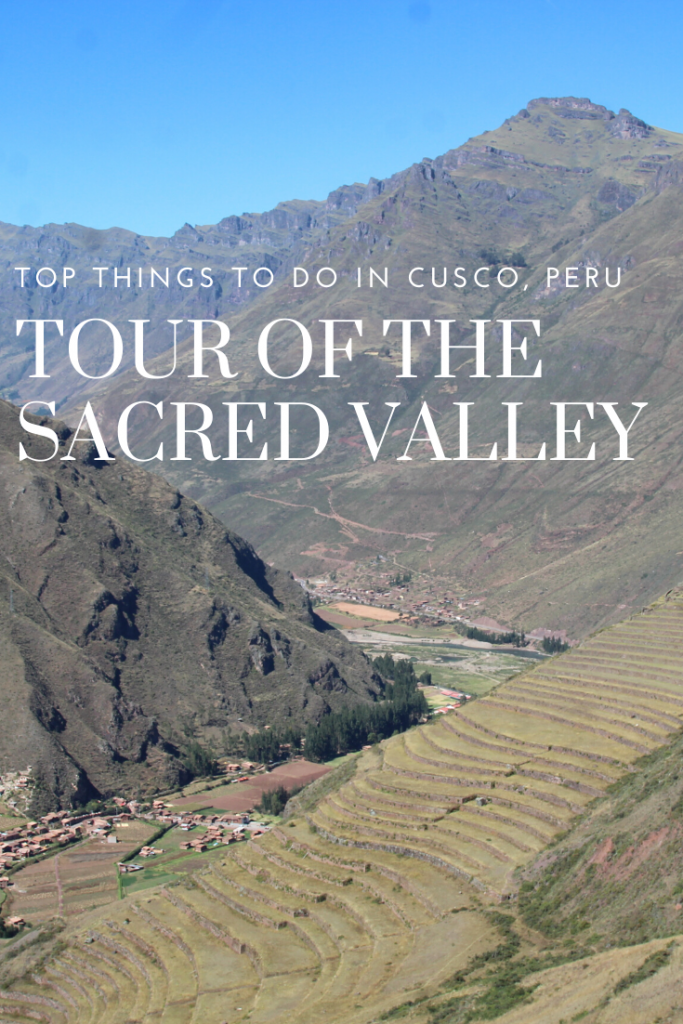