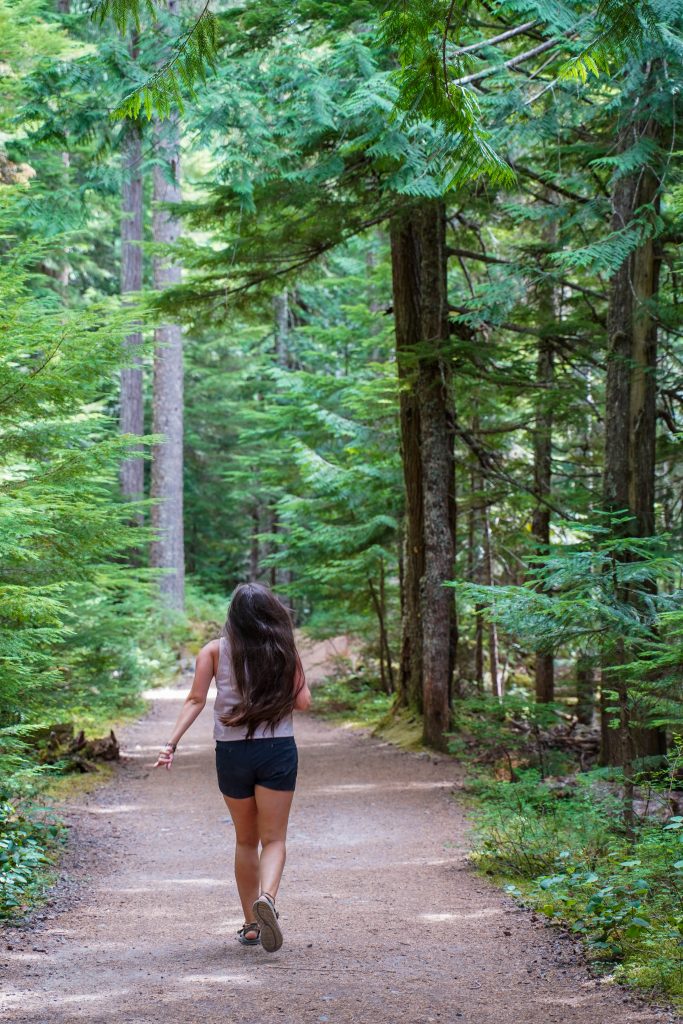
I’m going to be honest, if you are visiting Mount Rainier for views of Mount Rainier, this trail isn’t for you. If you are looking for a pleasant easy walk in the woods surrounded by tpwering Cedars and a bit of informative flora plagues, than sign right up. If you are staying in the more centralized Rainier region of Ashford, WA- this trail maybe a bit of a drive for you but it is at least scenic one. I highly recommend this trail on an overcast or rainy day or for young or old hikers looking for an easier trail.
About the Grove of the Patriachs:
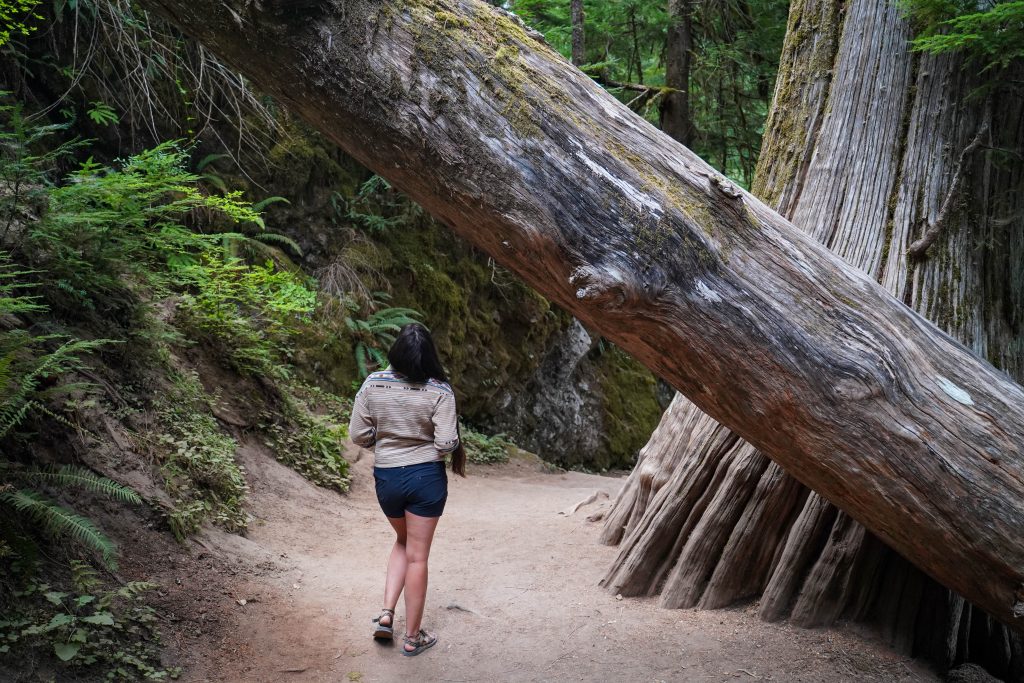
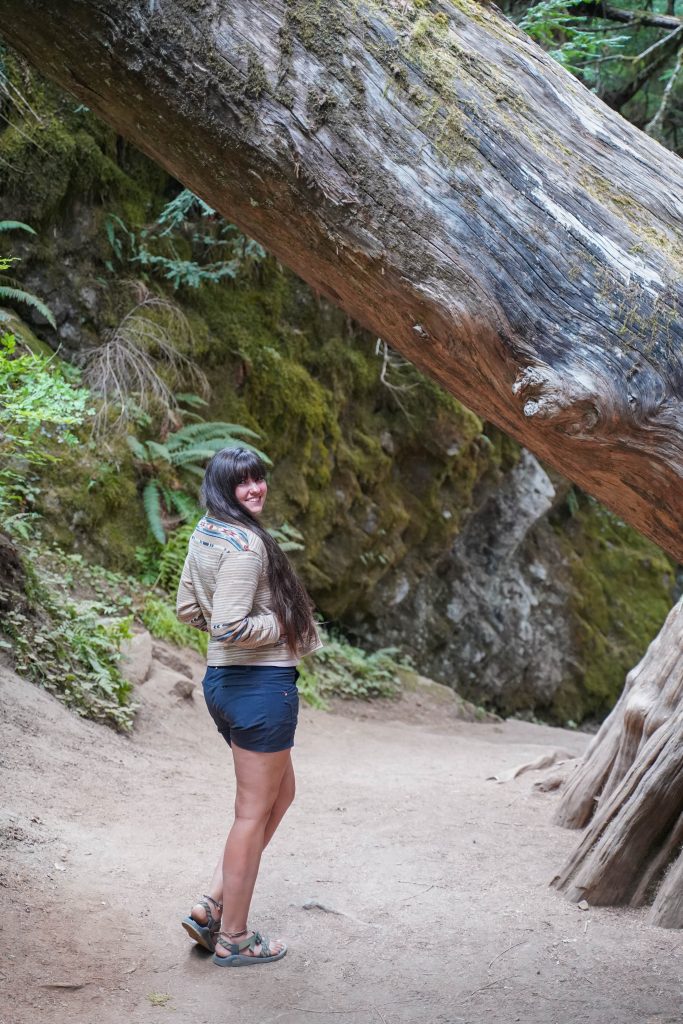
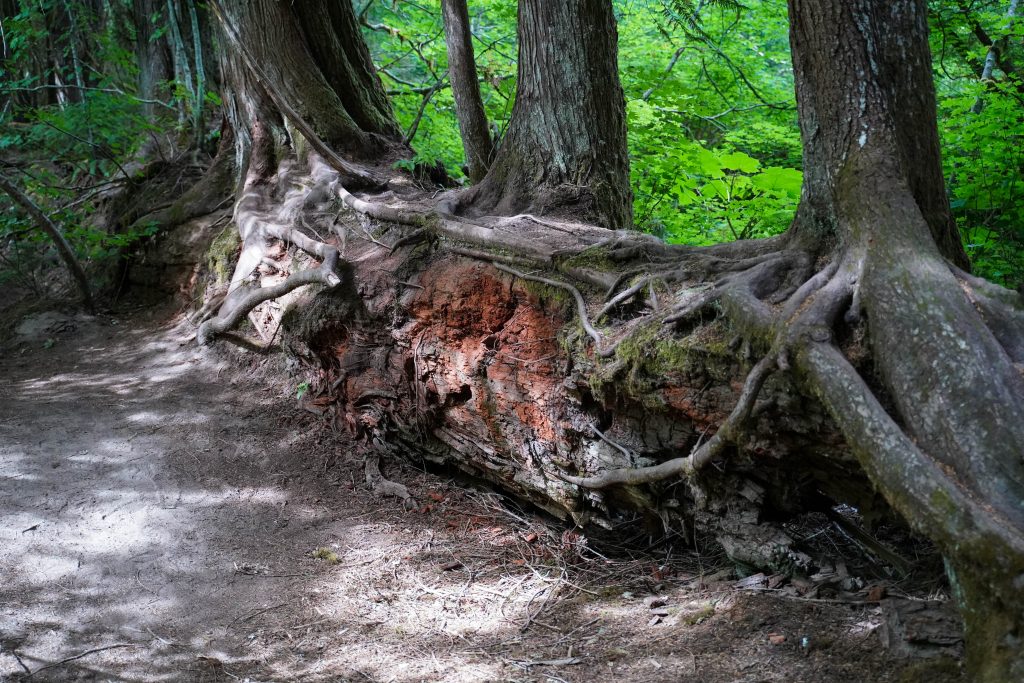
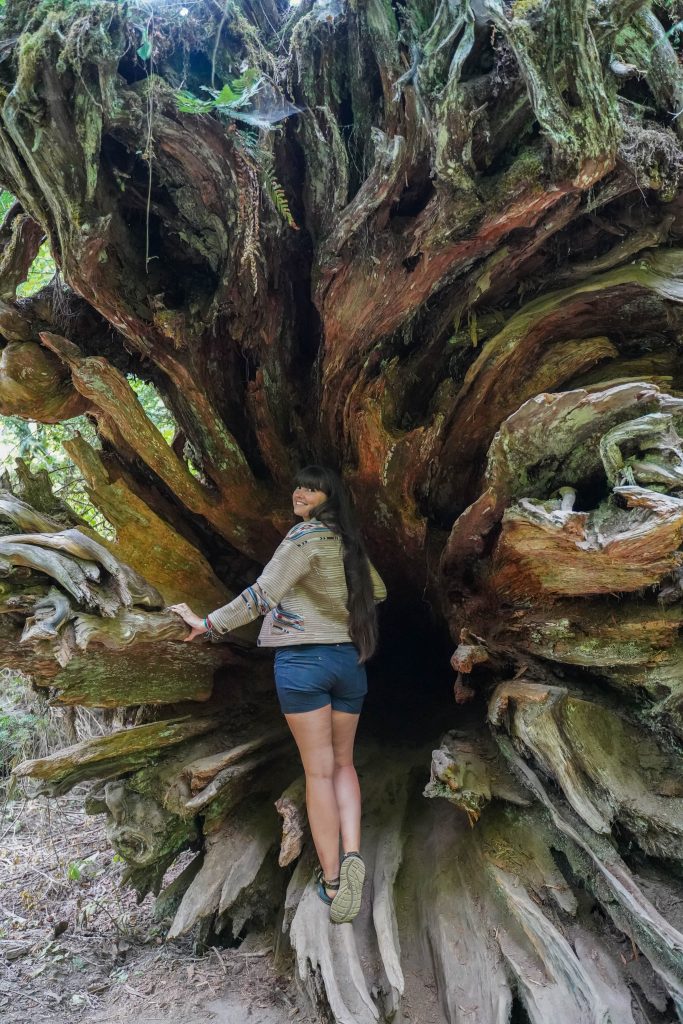
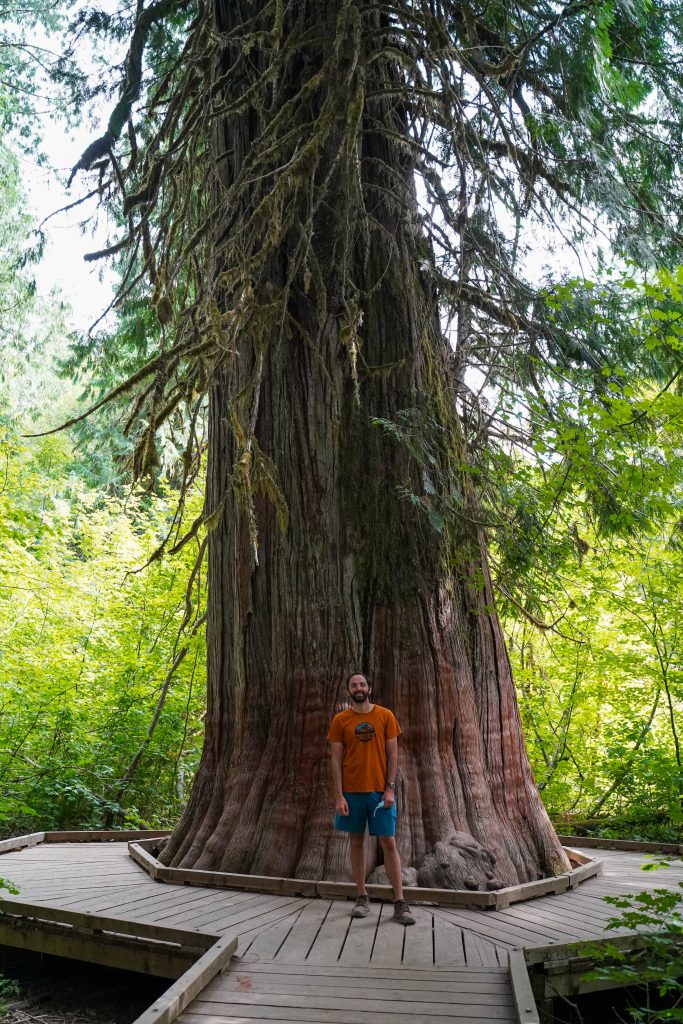
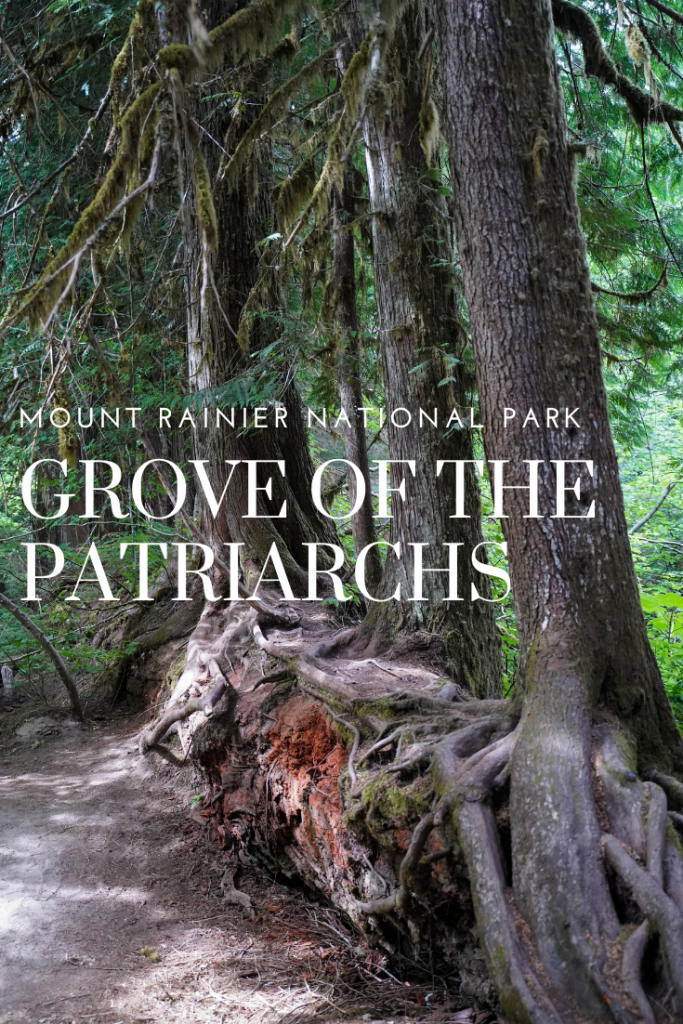
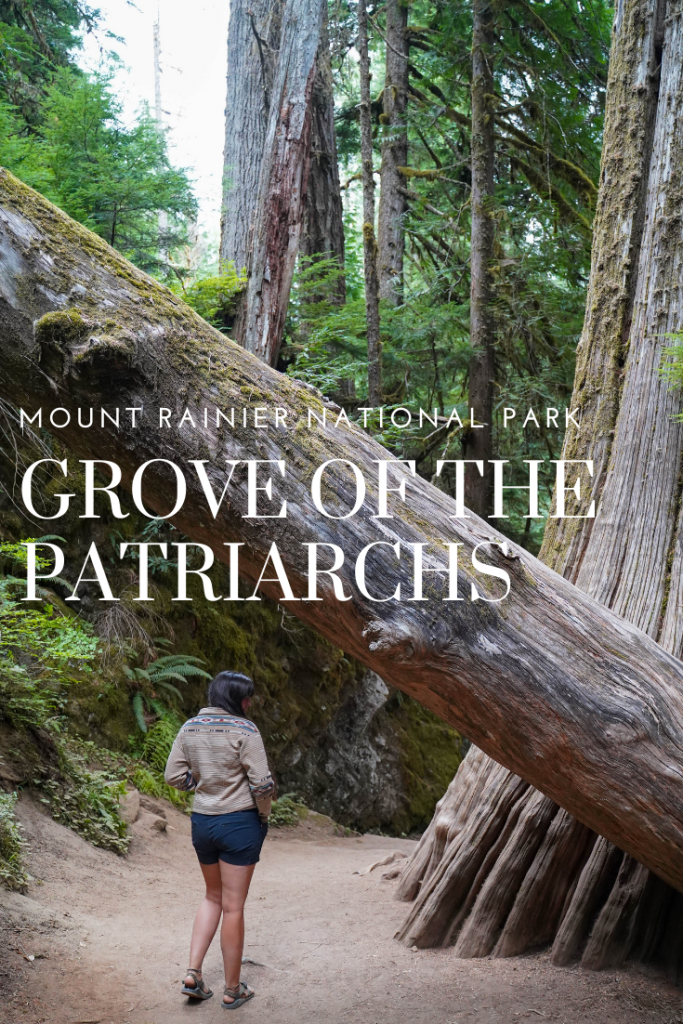
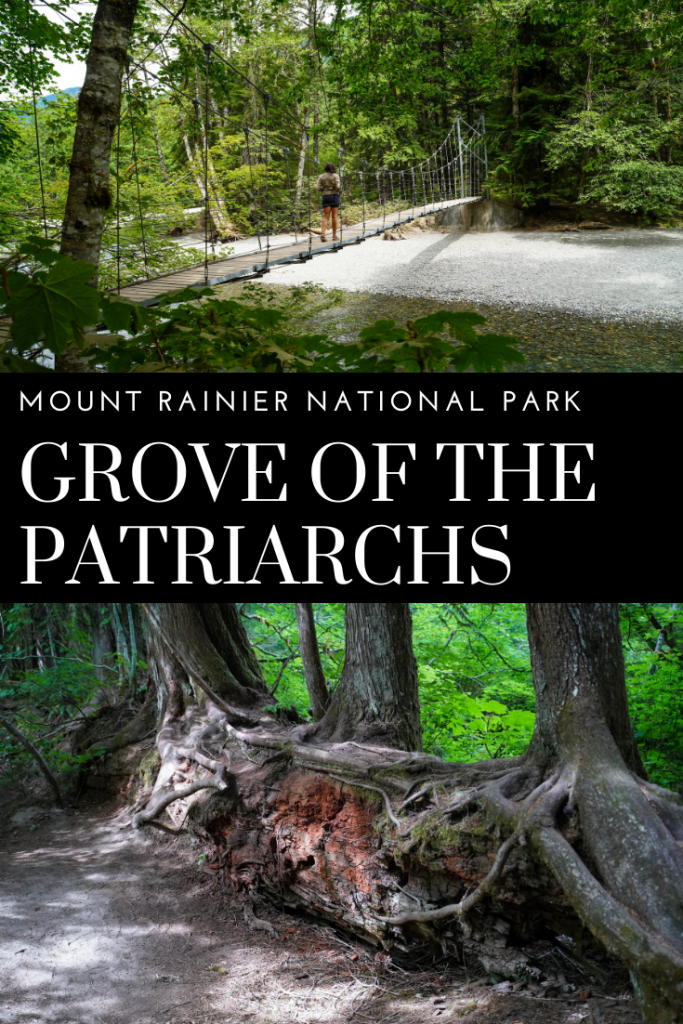
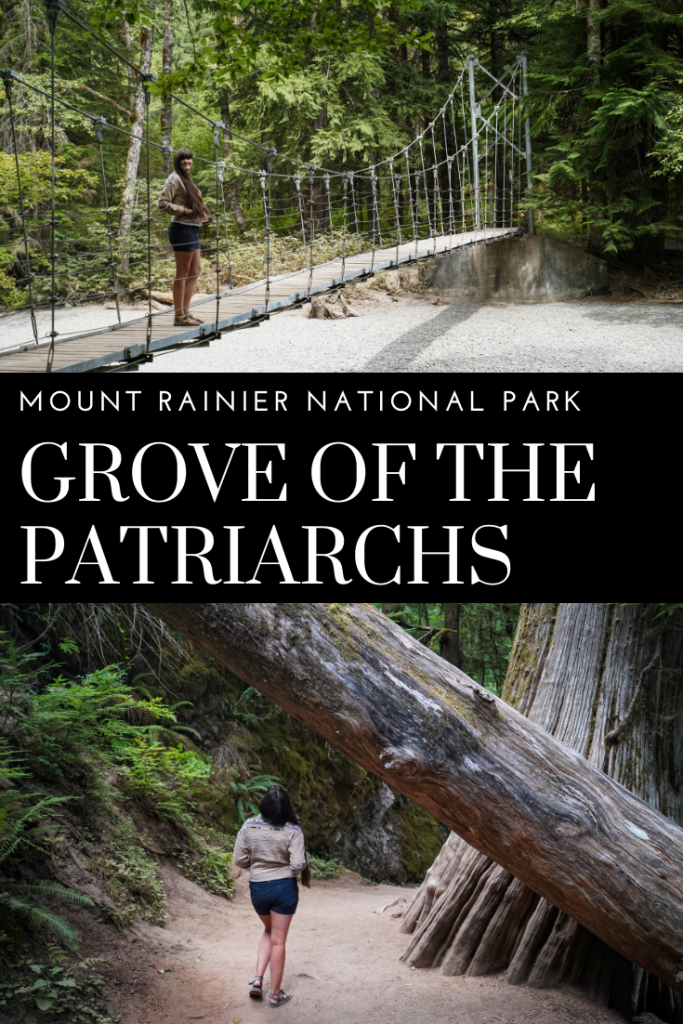
The trees along this trail are some of the largest and oldest in Mount Rainier National Park (with several over 1000 years old) Many trees are more than 25 feet in circumference and the “Big Cedar” highlight is almost 50 feet around. Several info plaques describe the trees and other growth along the trail and of course my favorite always comes down to “nurse logs” where youngers trees sprouted from a felled older tree all in a straight line.
Fees: Within Mount Rainier National Park so fee is $35/ car or free with the National Park Pass
Trailhead:
The trailhead is located along Stevens Canyon Rd (closed in Winter) which connects Paradise/ Ashford parts of Mount Rainier NP to the SE side of the park. The drive from Paradise is very scenic with nice overlooks and viewpoints (including Reflection Lake). If driving from Paradise, the trailhead will be on your left with a small parking area that fits about 10 cars. Street parking is available if the small lot is full but with a few trails starting here, it can get busy.
Trail description:
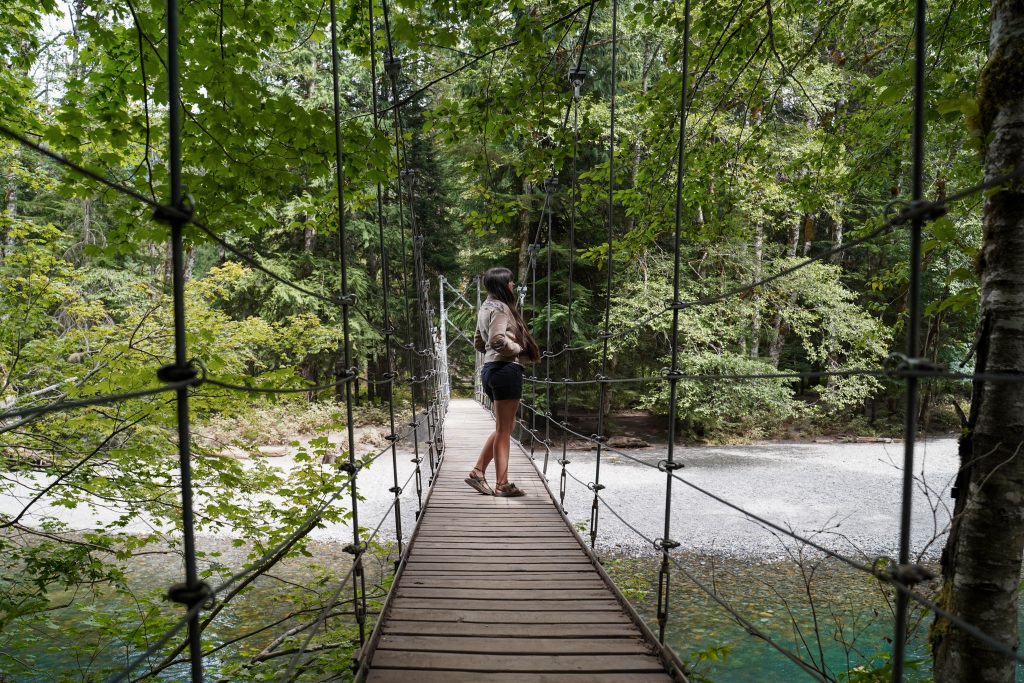
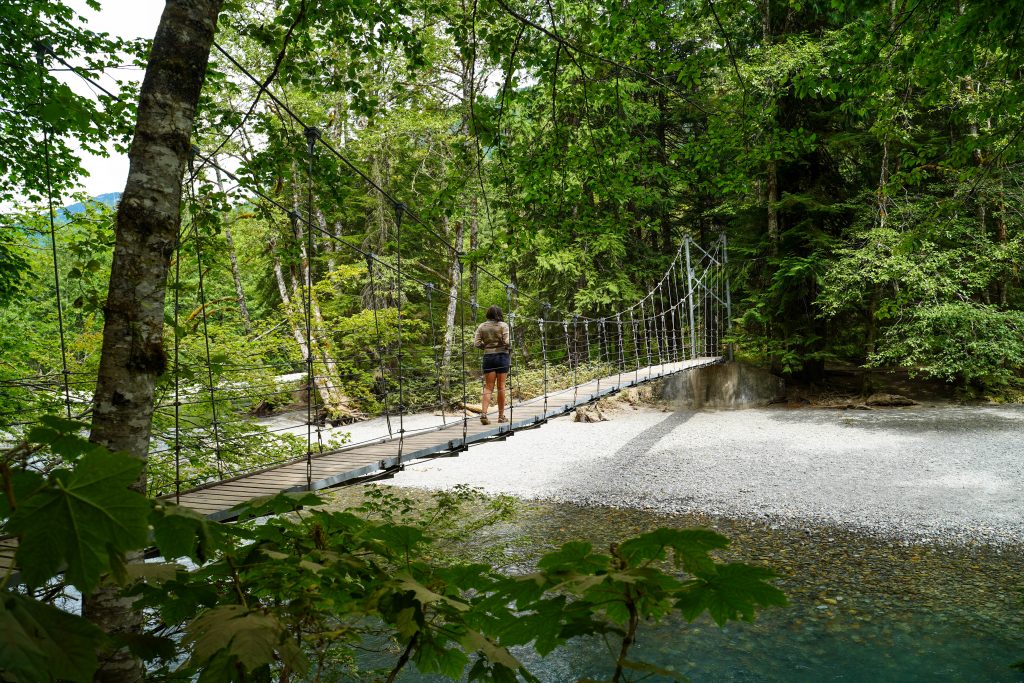
The trail surprisingly isn’t super well marked with its name but starts right next to the bathrooms and follows the East Side trail before it splits off to the right to cross the bridge. There’s a trailhead sign but it serves all the trails so is also not very evident. Follow the trail about 0.3 miles and you’ll see the trail split to the right shortly followed will be the suspension bridge.
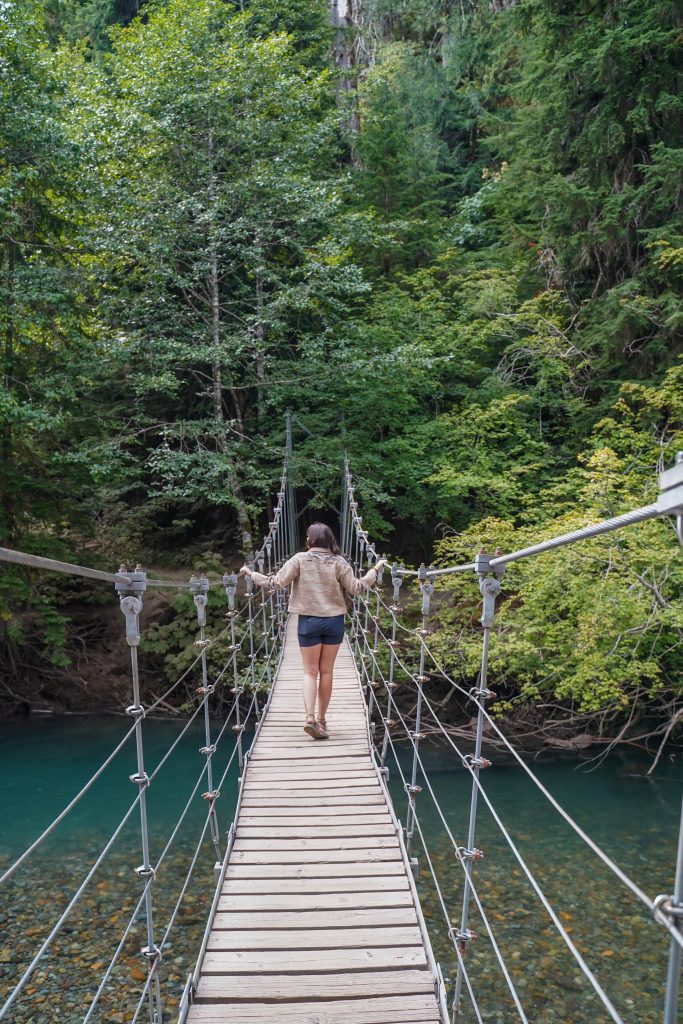
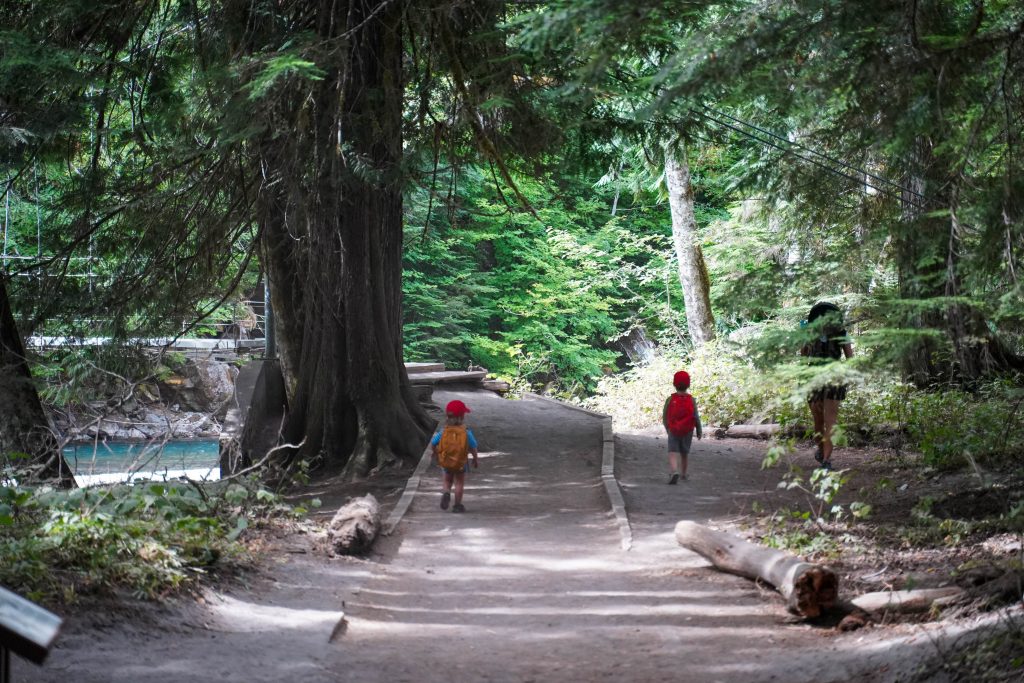
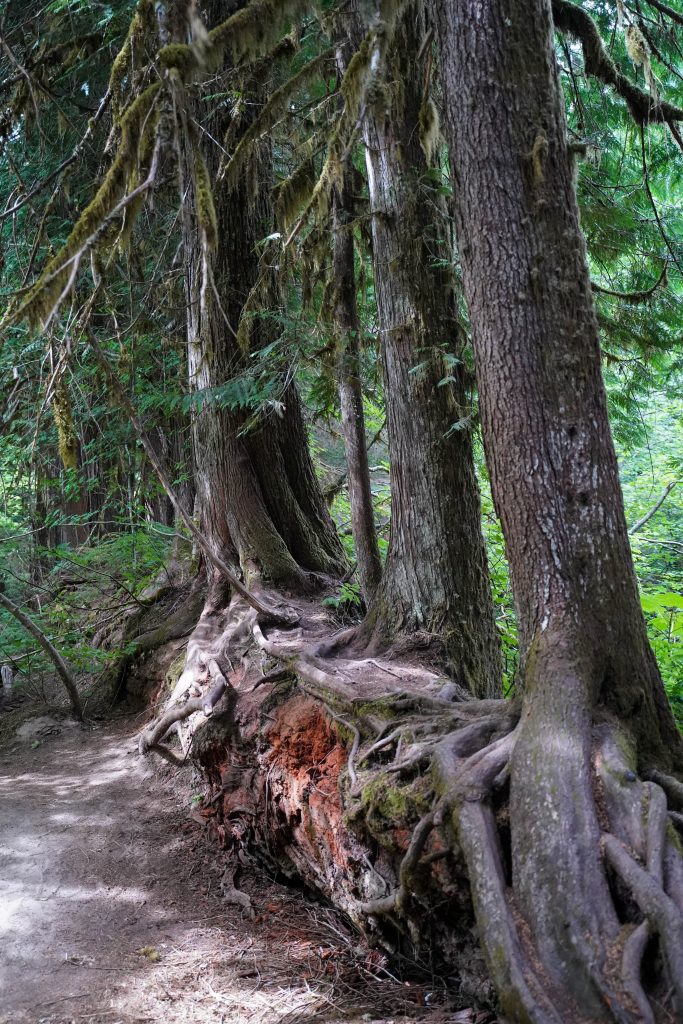
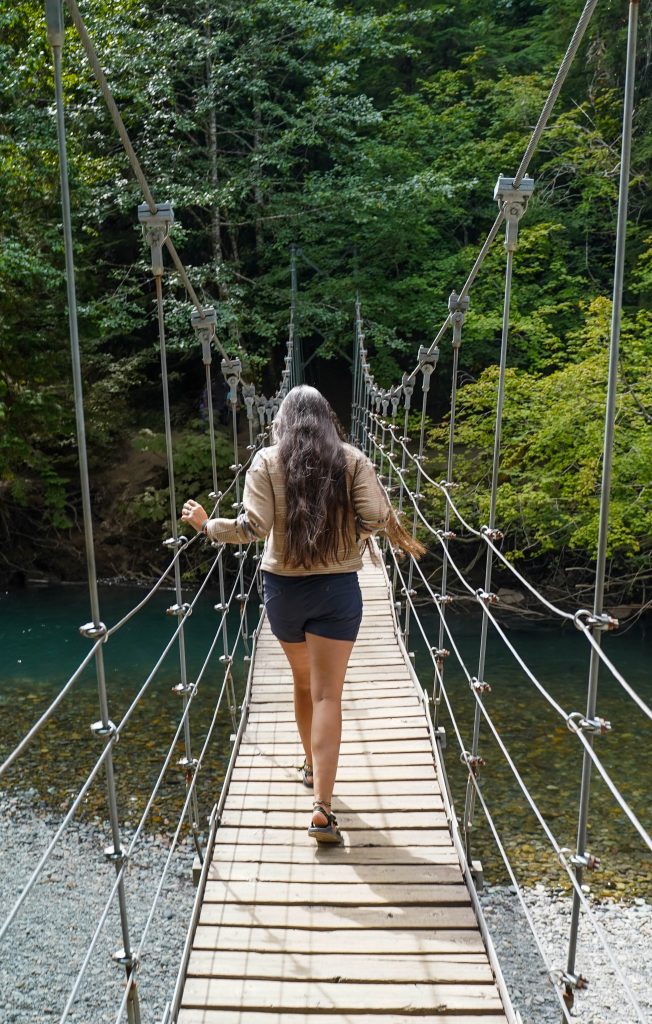
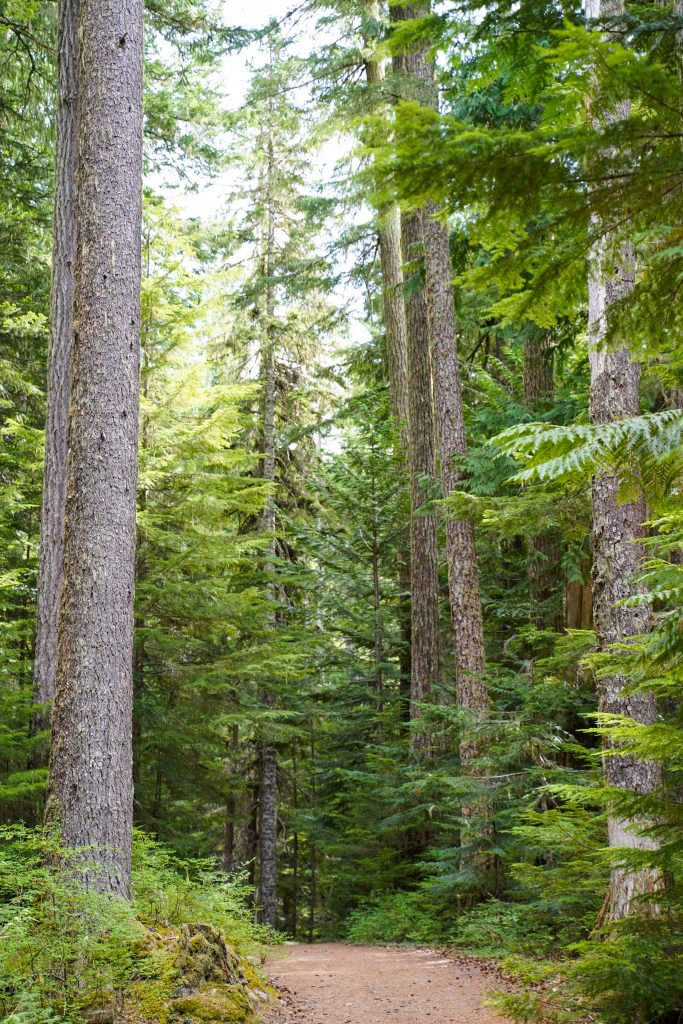
Cross over the suspension bridge and follow the short loop trail around all the towering Cedars. The “Big Cedar” and a couple very impressive nurse logs are the highlights of the loop for me.
When we visited in August it was quite busy with cars parked along the road but we managed to snag a parking spot in the lot. There were lots of families along the trail but there were spots we could space out and feel a bit of solitude.
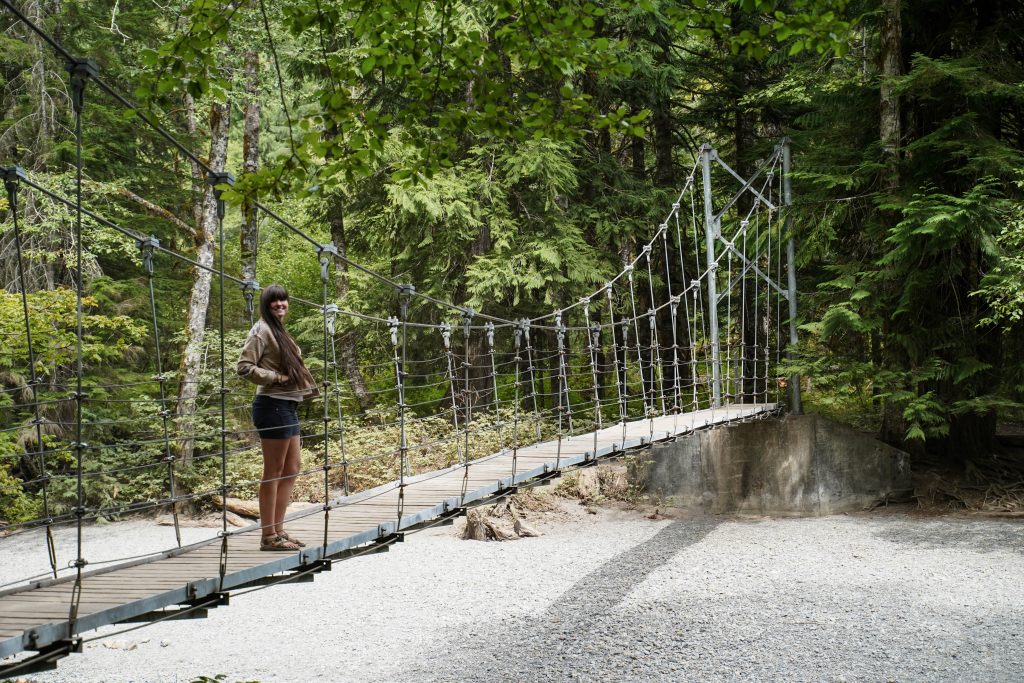
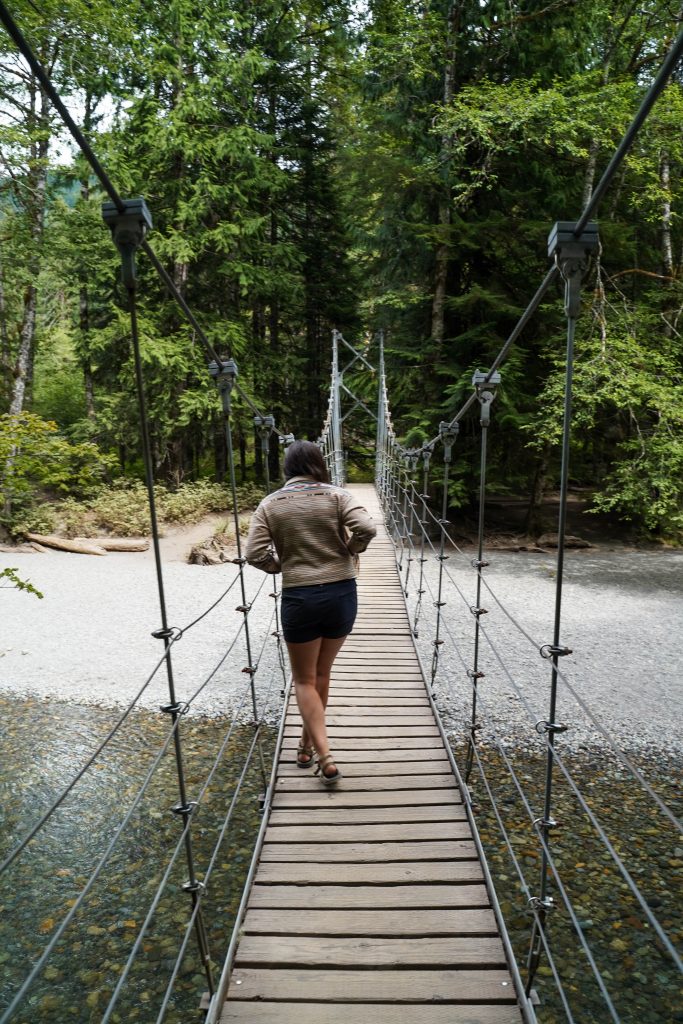
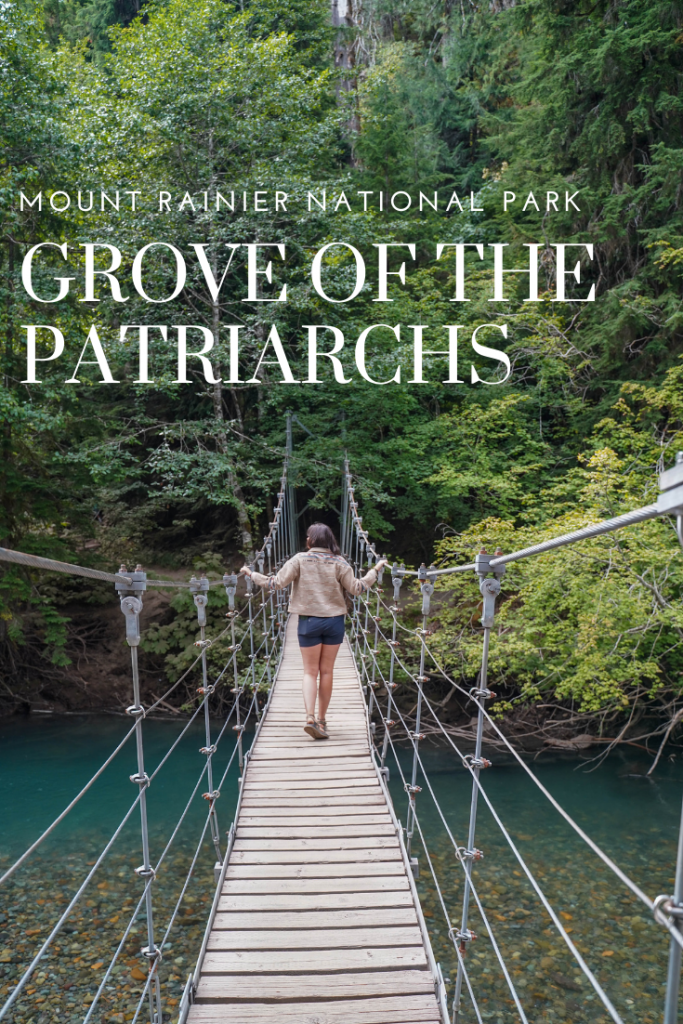
The suspension bridge was a “true” suspension bridge in that it swings and moves as you cross it. The railings are high enough it isn’t too scary, but use caution if you have issues with balance or vertigo.
That being said we loved the bridge and the beautiful blue glacier river that runs under it- the towering trees, and peaceful little walk. All in all for our rainy day in Mount Rainier region, we happily chose an easier trail to explore and wander on.
When we visited Mount Rainier we were certain we’d end up with at least a day or 2 of rain (after all, why would you name a place Rainier) and so I knew in order to see the Skyline trail in its full glory, I’d give it the best chance possible with… a couple days visit. It turned out that our first day driving down from North Cascades NP was the best weather we were going to get- So we hit the Skyline trail the very first evening in town. Our second day was rainy (not surprised) and overcast with almost no views of the mountain. So the challenge was- where to hike?
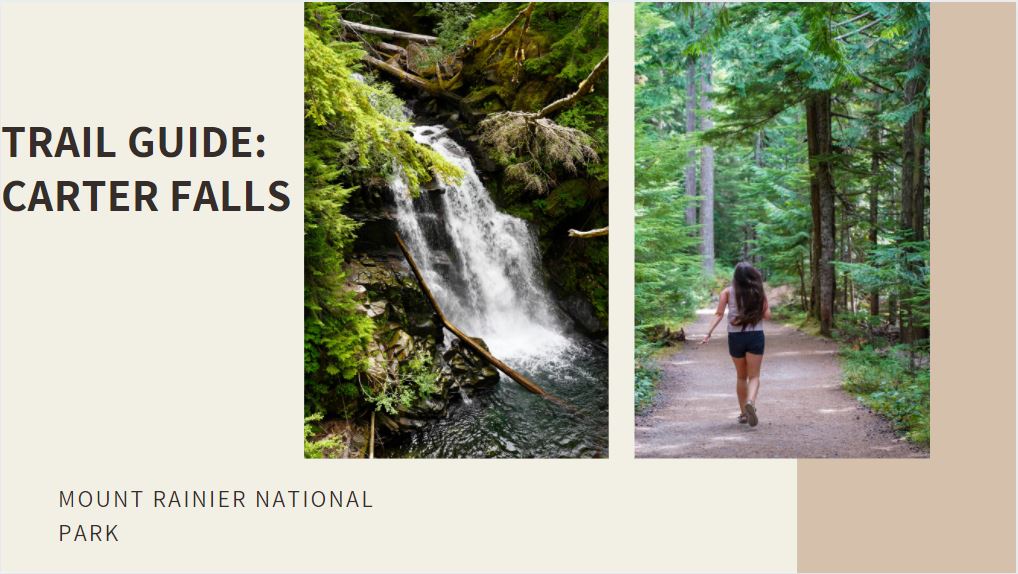
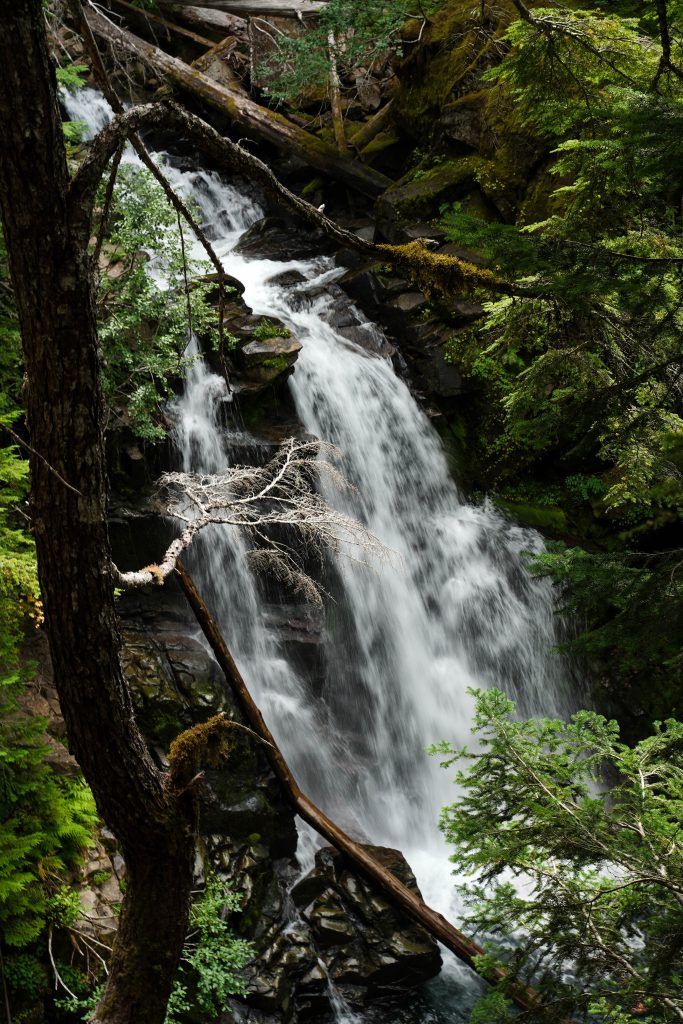
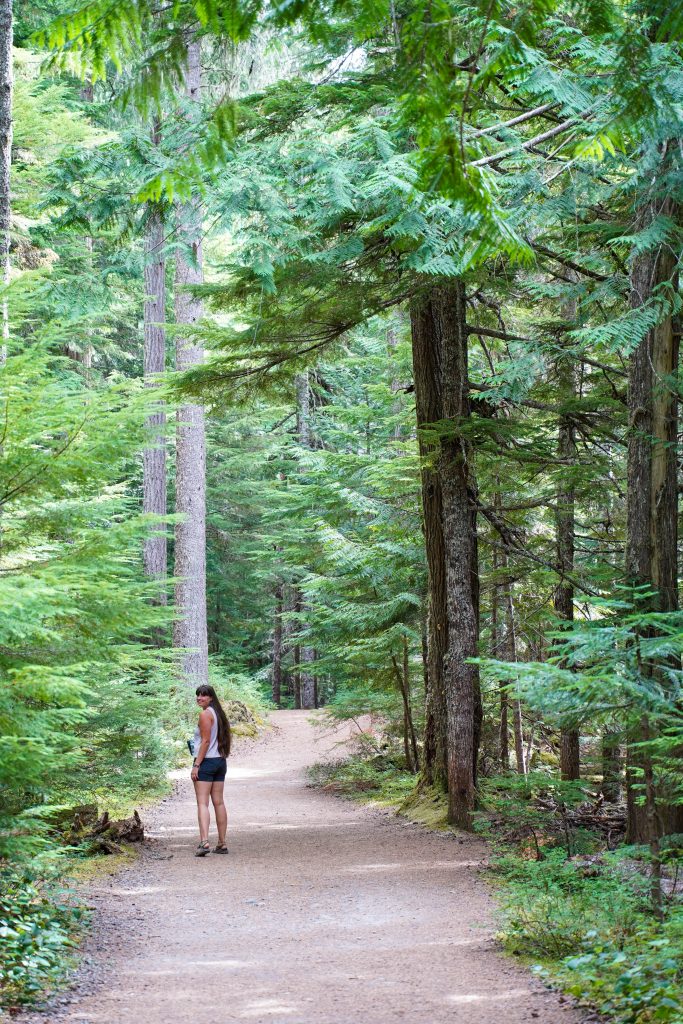
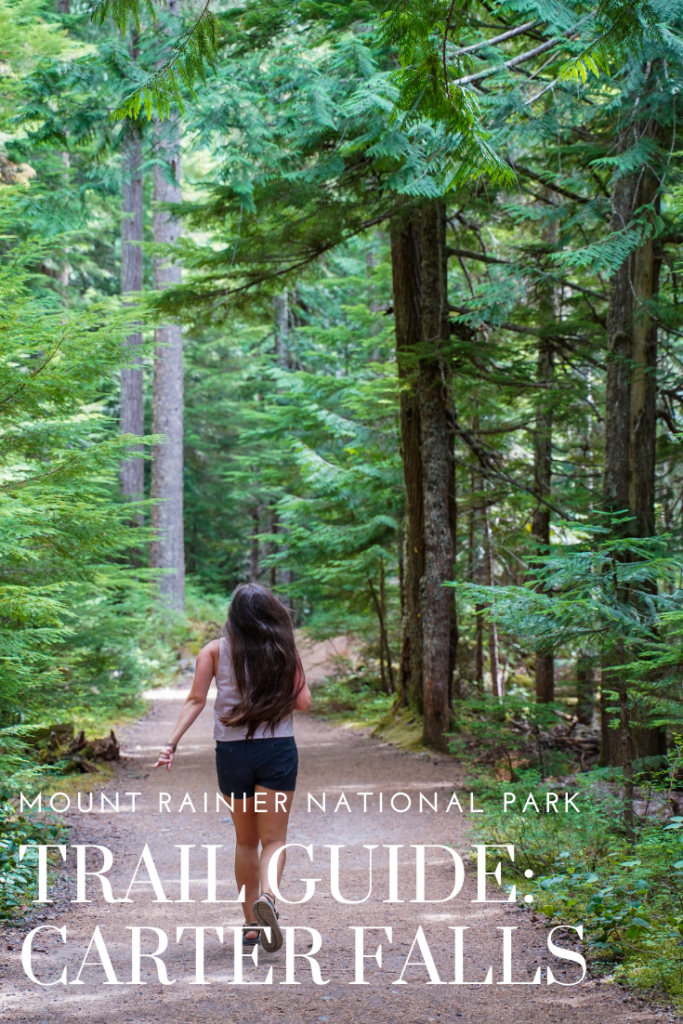
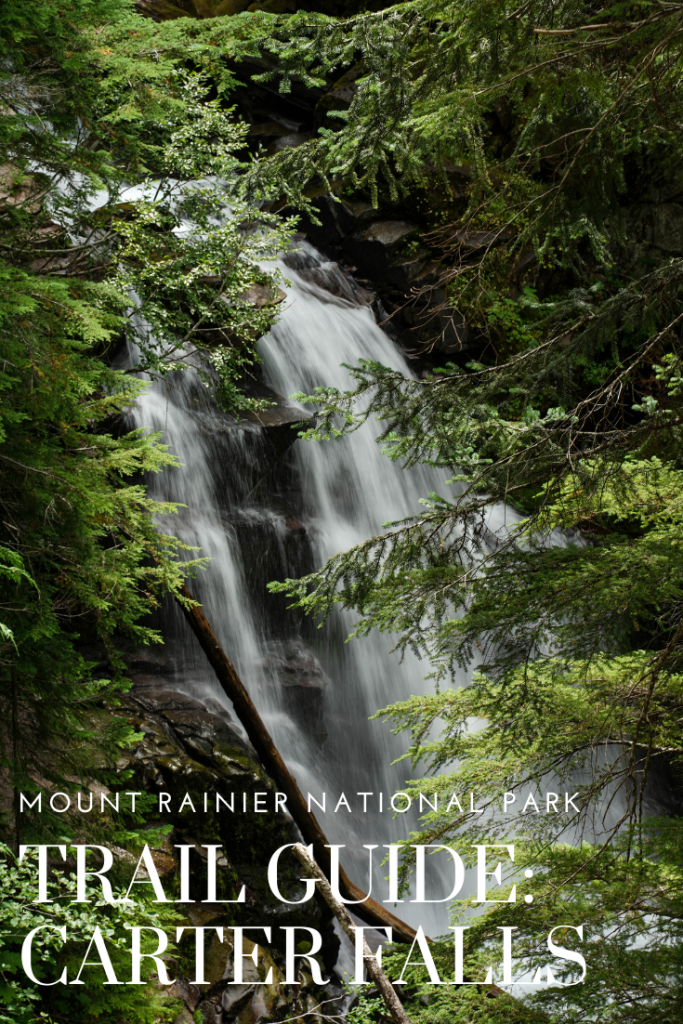
Mount Rainier has a number of amazing shorter day hikes and site seeing spots with the hike to Carter falls being just one of them. The hike was longer than we thought it would be but with almost an entire day to burn, we happily plodded along a winding trail through beautiful forest and ending at a secret cool little waterfall. Bonus points- we get to say we hiked a section of the famous 93 miles long Wonderland trail.
Fees: The trailhead is after the Mount Rainier NP fee booth. Fees for the park are $25/car or included with an American the Beautiful (National Park) Pass
Trailhead directions:
The trail starts from a large pullout on the right off the Paradise Road 8.4 miles from the Nisqually Entrance to Mount Rainier NP. The pullout is just before Cougar Rock Campground which will be on the left so if you see that campground you just missed it.
Trail description:
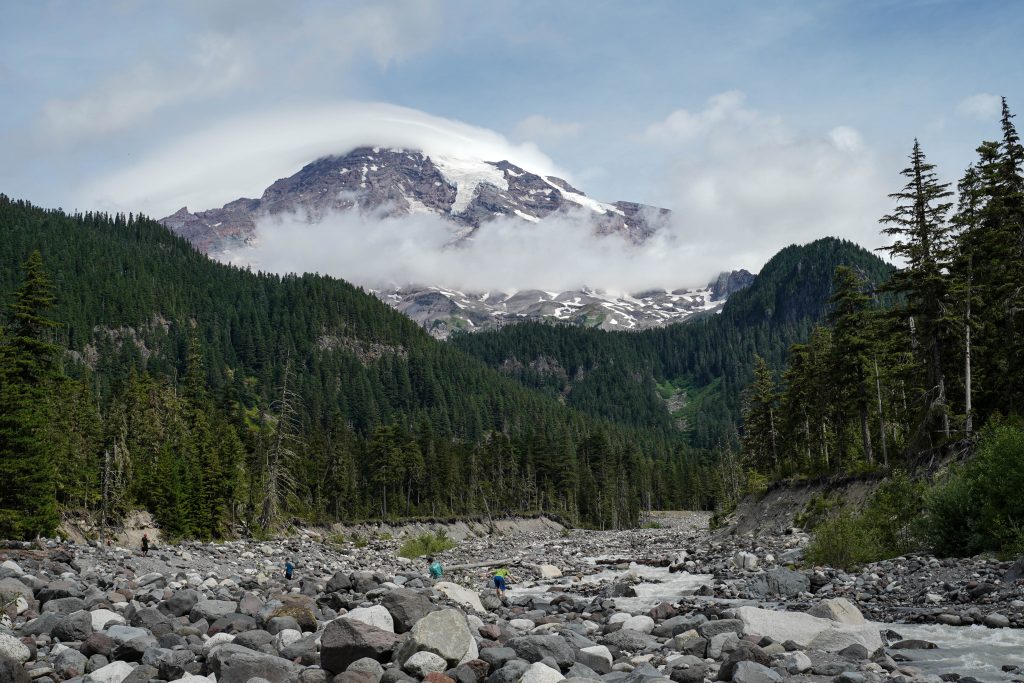
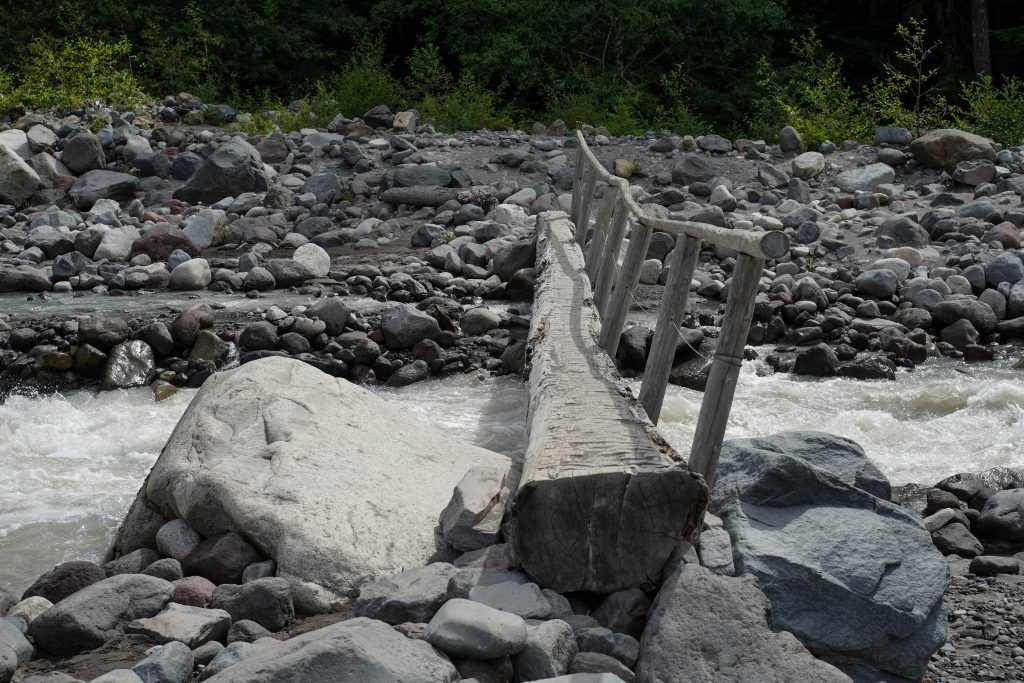
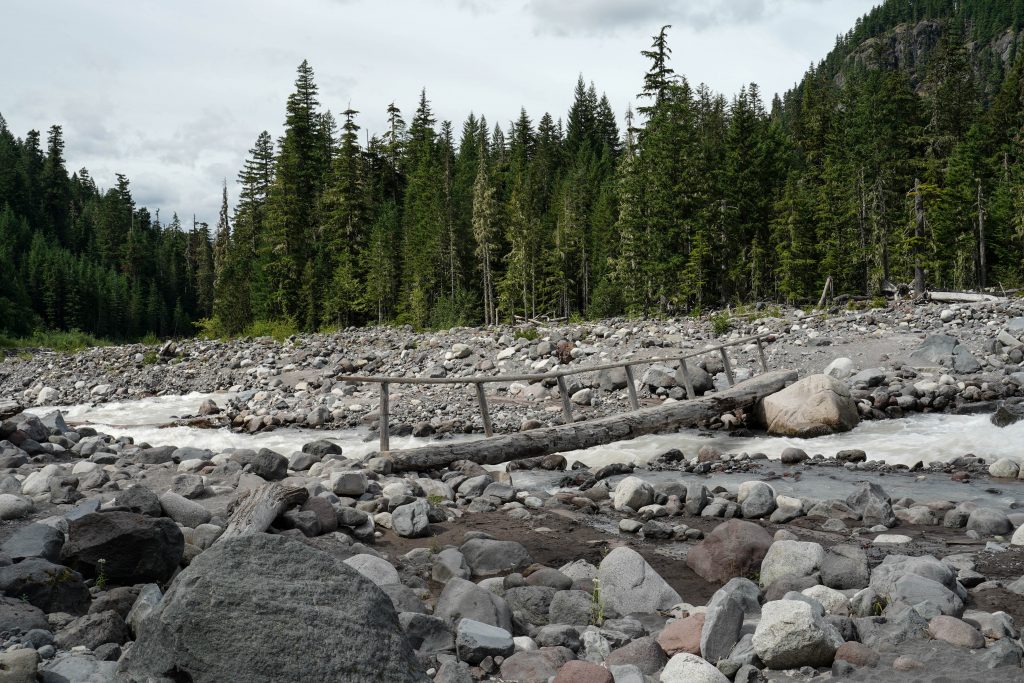
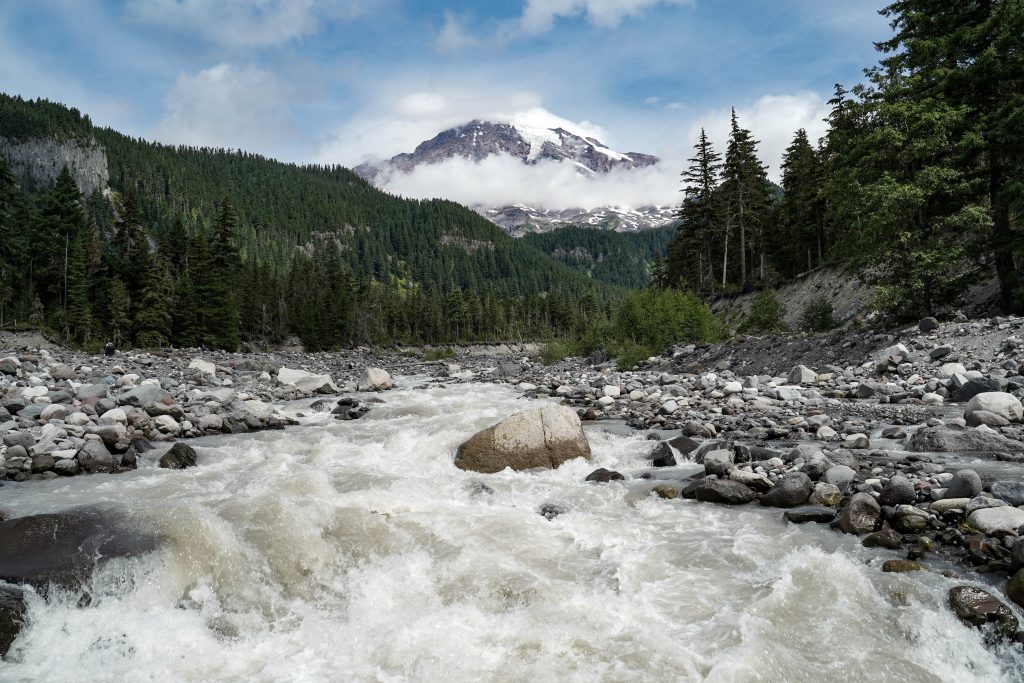
The trail starts from a pretty non-descript trailhead and descends down a steep bank onto the Nisqually River bed. Here is the best view of the mountain from the trail (if it isn’t overcast). Cross over the many small rocks and locate the bridge that will bring you across the water channel.
The trail continues along the famous Wonderland Trail route which is great bragging rights to say you hiked some of it.
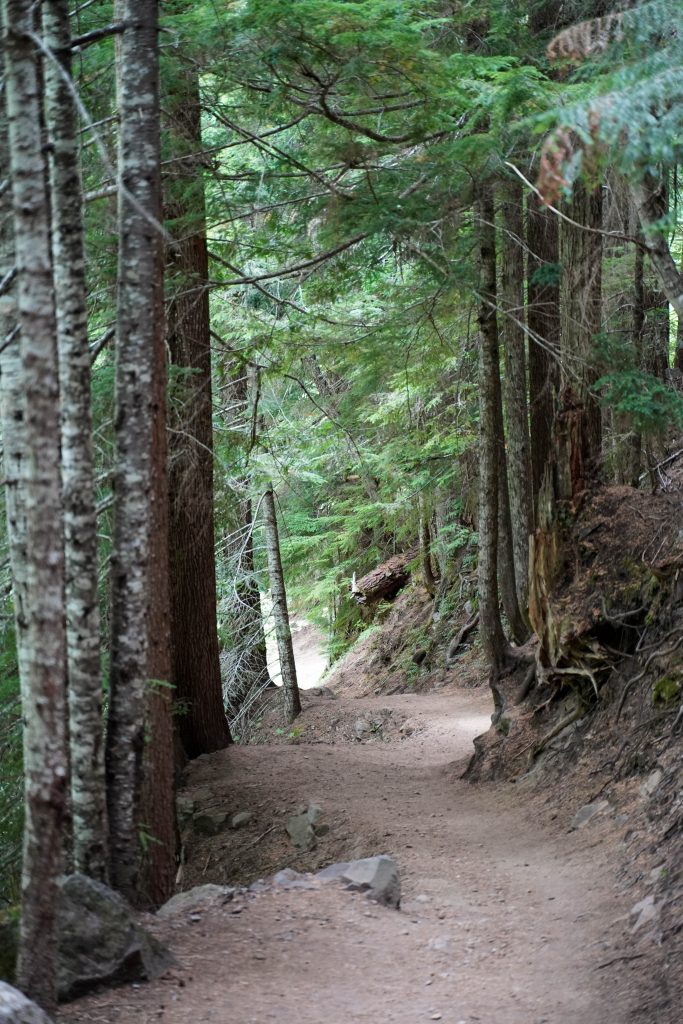
After crossing the Nisqually river, the trail will start a slow climb up towards the falls. Most of the trail follows the Paradise River (smaller flow) with a few access points you could stop in to cool off on a hot day or let kids play. While the trail sign at the start claims only 1 mile each way, don’t be deceived. That 1 mile mark will come and go with no signs of getting any closer to the falls.
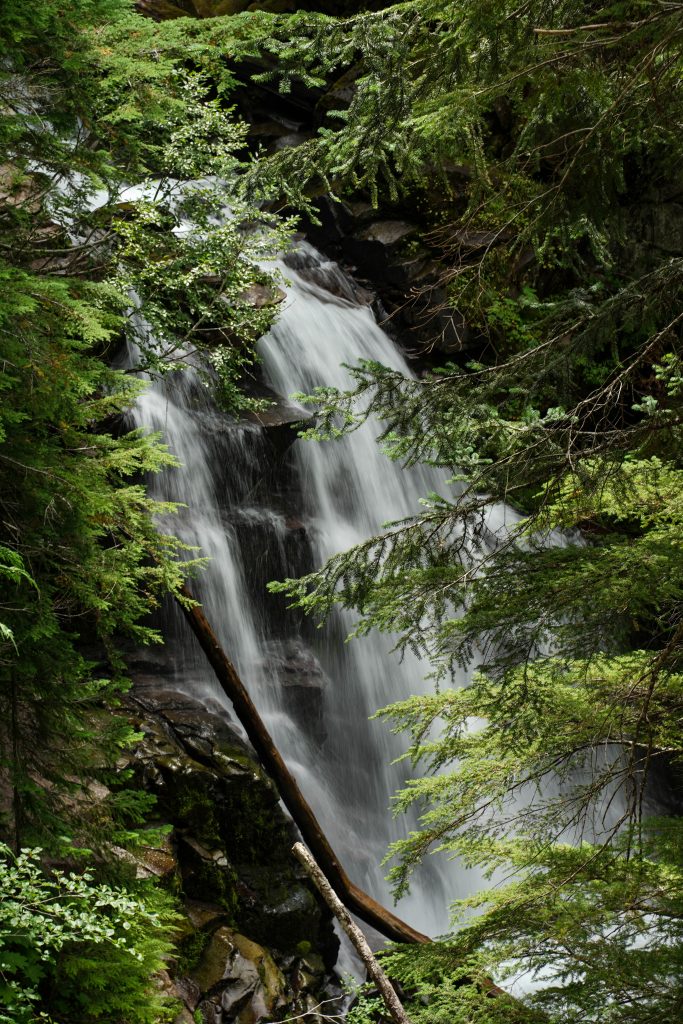
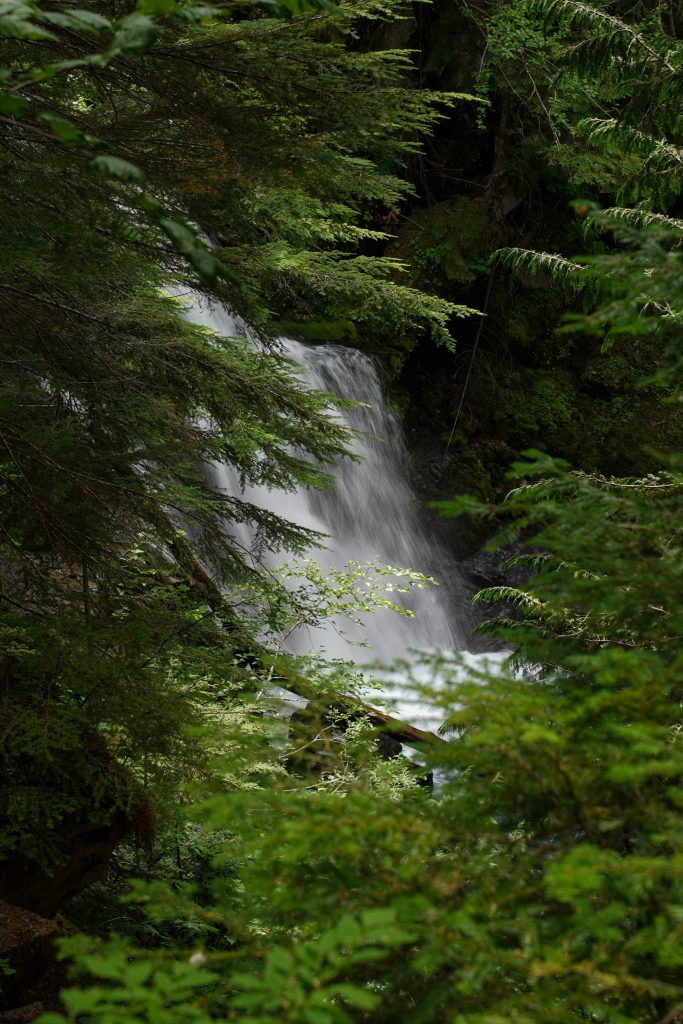
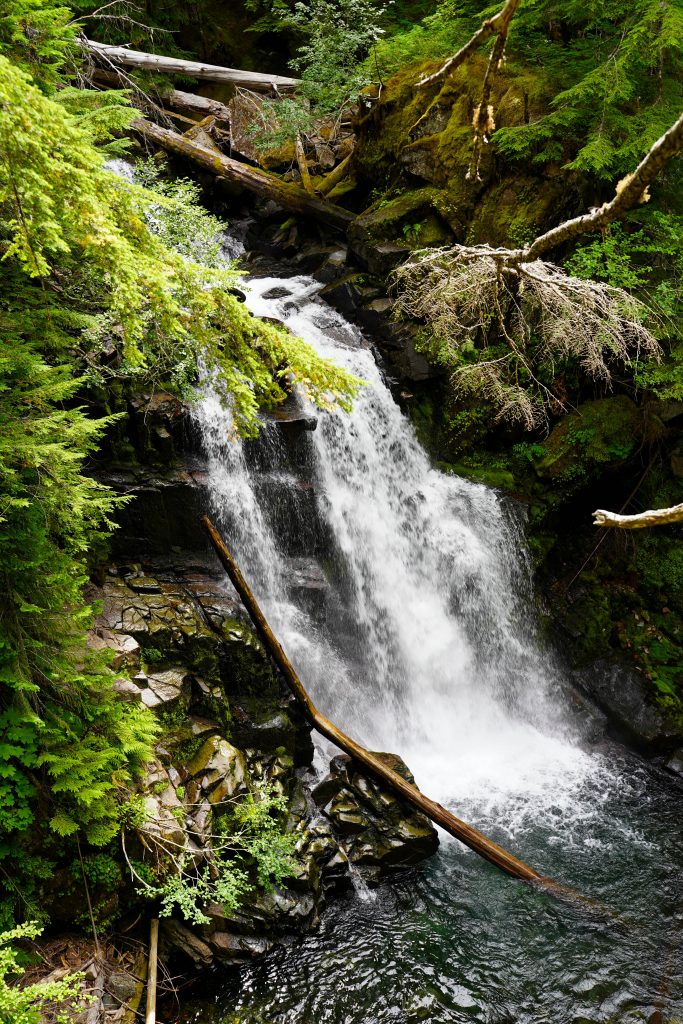
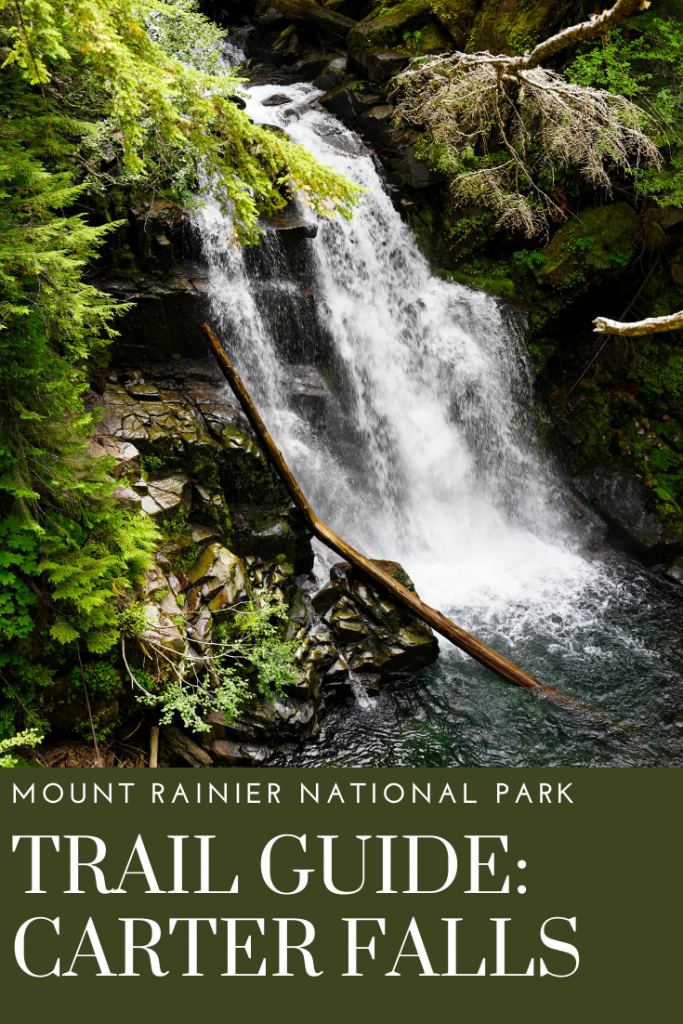
If you keep plodding along though as we did, there’s plenty to enjoy along the trail with beautiful flora and views of the Paradise River. Eventually you’ll hear the falls and arrive at a fenced overlook of them.
They are a little obscure to see but the lighting through the trees makes for great photos. While they aren’t the most impressive falls in Mount Rainier National Park they are far less visited even on a busy day and a great trek with less than amazing weather. After spending some time enjoying the falls, head back down the trail the same way you came or continue another 1.5 miles or so to Narada Falls.
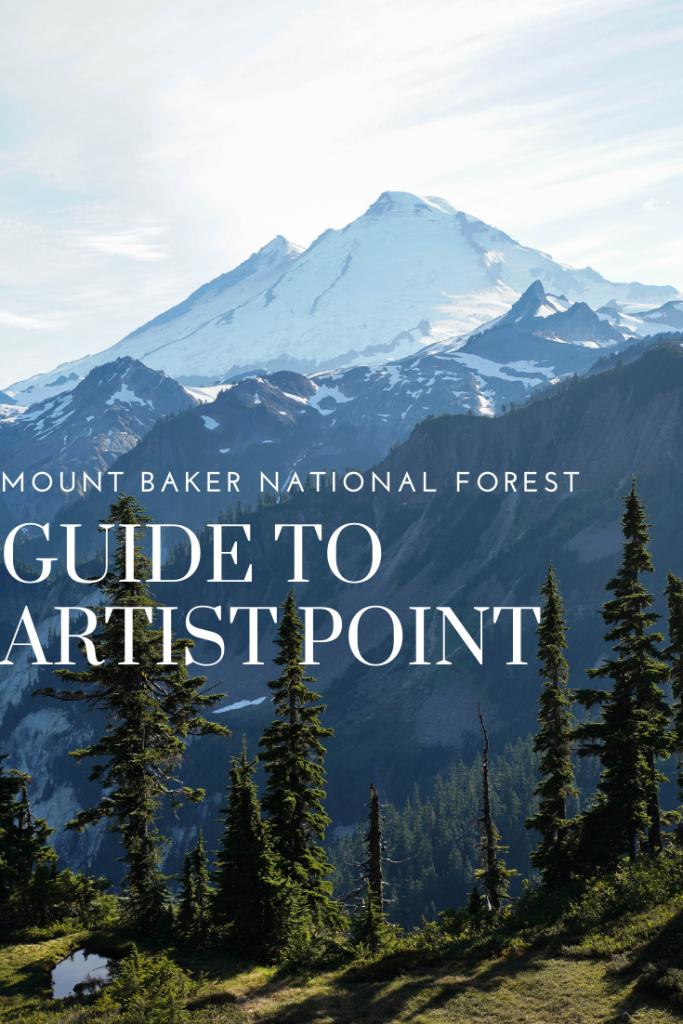
Sometimes from the embers of burned and broken dreams, comes a phoenix of new plans and new ideas. I’m constantly reminded when travelling of how some things just can’t be planned for (no matter how hard I try) and how compromise with one’s travelling companions is just part of the whole experience. Our visit to Artist Point in the Mount Baker Wilderness is an example of both scrambled plans and compromise- an example that yielded a romantic evening and stunning photos at that.
While we HAD planned to spend the entire day and night at Park Butte lookout, another group beat us there (by 30 min) so we were left with the option of trying to camp outside the lookout or hiking down early and looking for other options to finish out our day. I am not going to lie, I was desperate to stay up there. Braden however, was keen on hiking down early and looking for a last minute hotel. We spent several hours deliberating and talking with other hikers at the lookout before coming to a compromise of hiking down at noon, driving to Artist Point (which I’d never even heard about in my research before the trip), and finding a hotel. It meant a LONG day since we started at 5AM and would add at least 3 hours of unplanned driving to our entire trip. It. Was. Worth it.
When to visit Mount Baker National Forest:
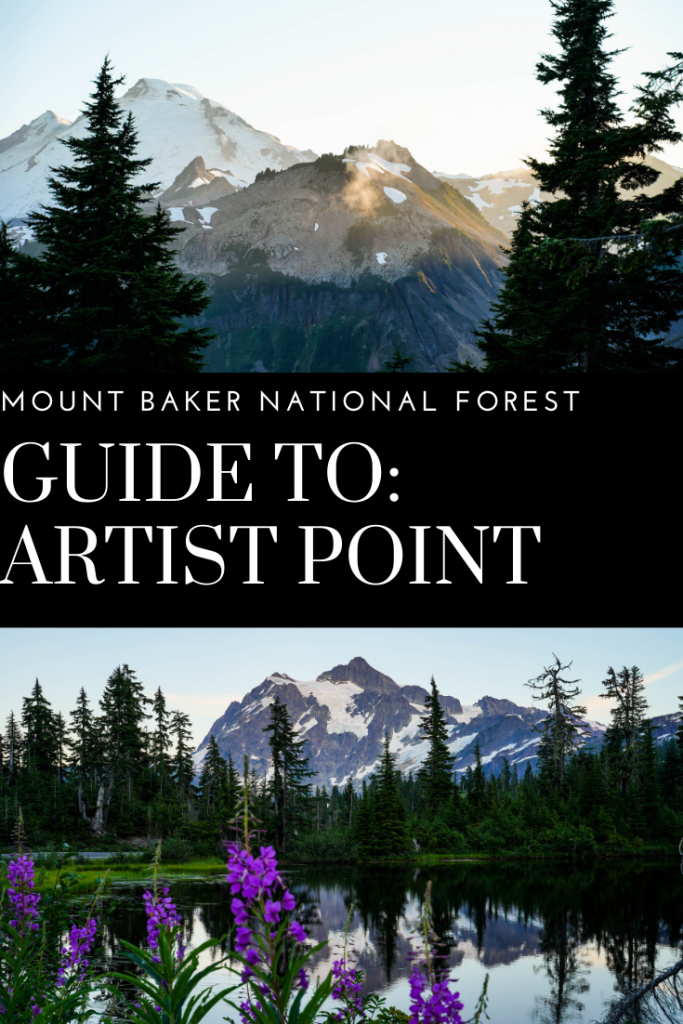
The road to Artist Point isn’t even accessible until late July/ early August so I highly recommend waiting until at least August or going early September if you want less crowds. The stream crossings will also be slightly less dangerous (still need caution) later in the summer. Otherwise crowded or not, summer is a fabulous time to visit to see the glorious meadows or wildflowers and have the best luck with weather.
Fees to expect when visiting:
Several trails within the national forest/ wilderness area require a $5 recreation fee (per car/day – usually in cash paid at the trailhead) or proof of a national parks pass/ NW Forest pass. Artist Point is very close to the Heather Meadows Visitor Center where you might be able to pay your fees and/or buy a pass but at least in Covid 2020- it was not open.
Best hikes in Mount Baker National Forest:
Top hikes for everyone:
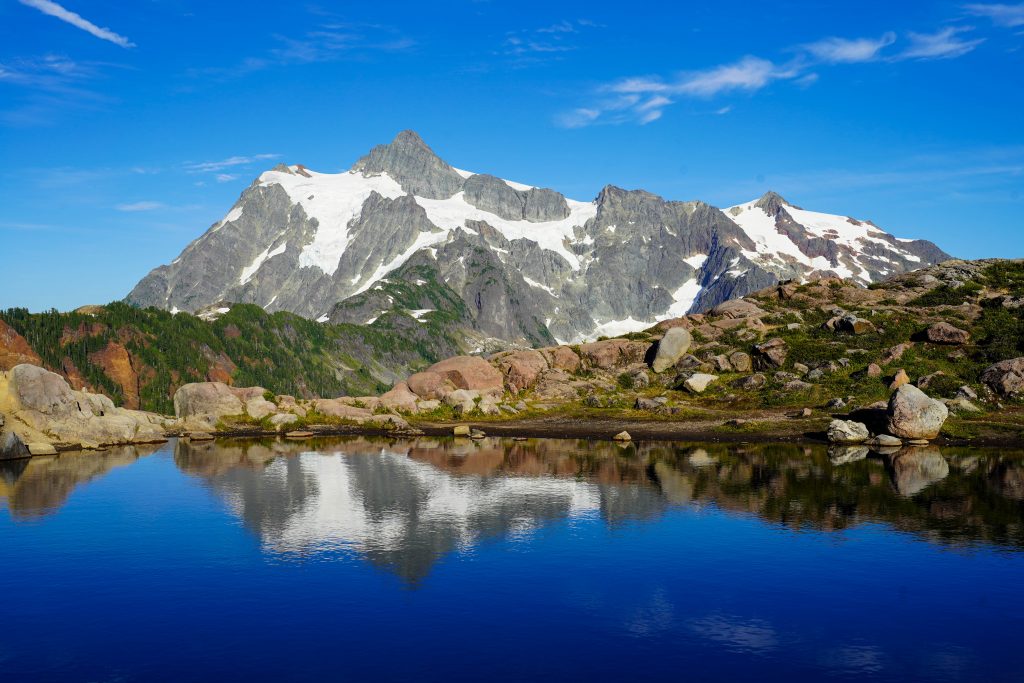
Huntoon Point
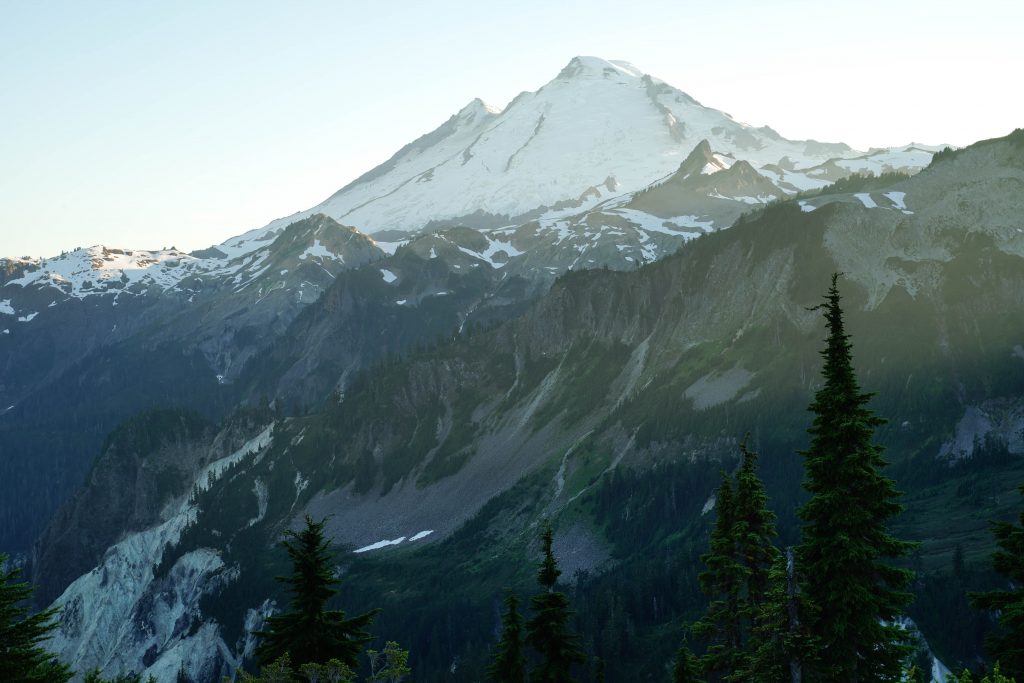
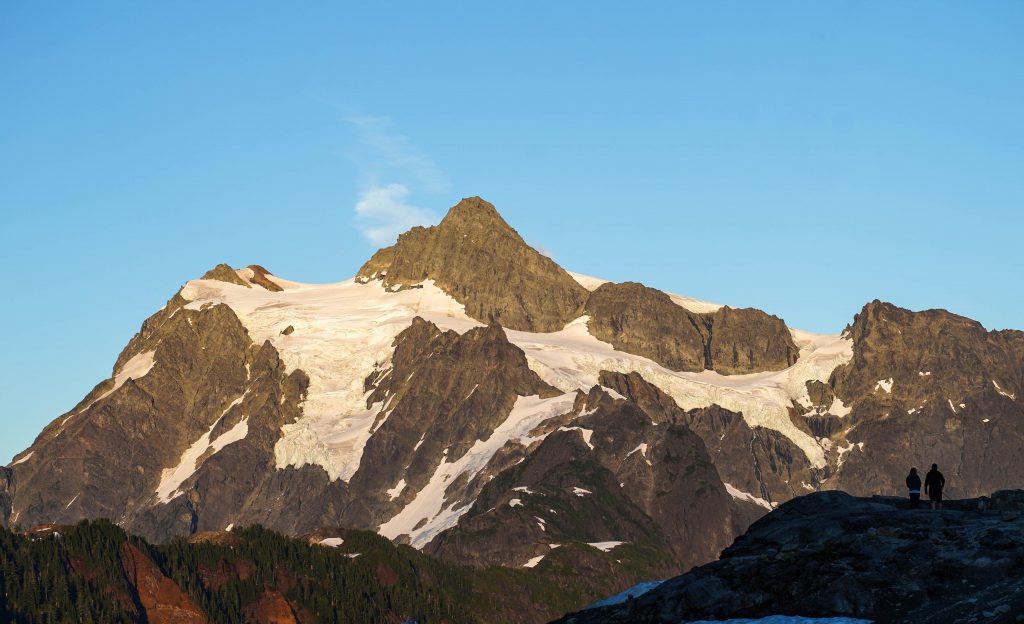
Since we had little time on our last minute visit, we opted for this trail and were so happy we did. It has beautiful views of both Mt. Baker and Mt. Shuksan (especially in the evening) and beautiful reflecting pools as well. The beginning of the trail was busy but we eventually found solitude further along- enough so that we brought our backpacking meals along with us and had a very scenic dinner. This trail is well maintained, easy to follow, and while it has a little “huffing and puffing potential”, it is short and sweet making it the best bang for your buck.
If you have plenty of time in the area but are still looking for easy hikes, Bagley Lakes Loop will fit that bill nicely. Not only are loop trails the best (so nice having new scenery the whole time) but this trail features not one but 2 beautiful lakes, mountain views, and in the summer: bundles of wildflowers.
Distance: 2.2 miles Elevation Gain: 259 feet Difficulty: Easy
Winchester Mountain Lookout:
If Parkbutte lookout is a little daunting but you want to experience a historic lookout with cooler views of Mt. Baker- look no further. This trail does still have some decent climbing but is much easier/ and shorter by comparison. It also features views of the stunning Twin Lakes where the trailhead starts from. While this hike doesn’t start from Artist point it does branch off Mt. Baker Highway as you reach the other main Artist Point attractions and would definitely be worth a visit. Just make sure you plan enough time for the road and drive something a little higher (SUV) if you have it.
Distance: 3 miles Elevation Gain: 1300 feet Difficulty: Easy- Moderate
Top hikes for experienced adventurers:
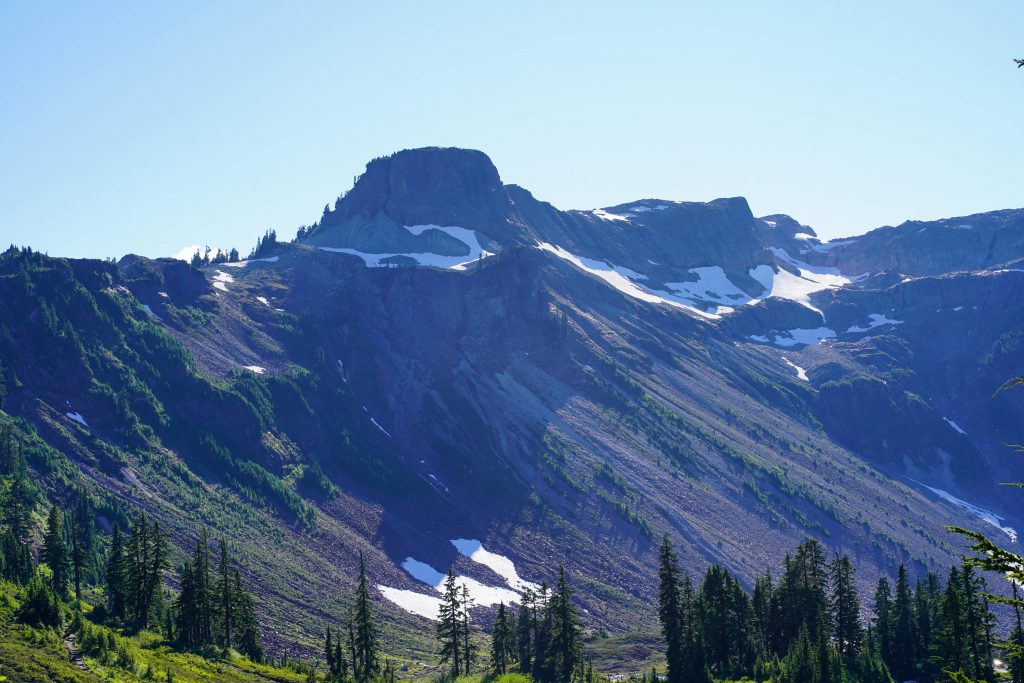
Table Mountain Trail
This hike isn’t actually all that hard but should not be attempted by anyone with a fear of heights. This trail continues past Huntoon Point up to the visible and quite unique Table Top Mountain. Go later in the season for sure to avoid tricky snow crossings that will exasperate the height concerns. Otherwise I highly recommend this for an adventurous, less busy addition to a short visit.
Distance: 3 miles Elevation Gain: 692 feet Difficulty: Easy
Ptarmigan Ridge
What must visitor’s to the area consider a must do, this trail sees many visitors but maybe not so many that make the entire trek and also starts at Artist Point. It’s a longer hike with a good amount of climbing but otherwise not very technical and features more panoramic views of the Mt. Baker valleys. It offers great up close views of Mt. Baker and starts from the Artist Point parking lot. Follow it as long as you wish, it would make a great addition to the shorter Huntoon Point.
Distance: 11.5 miles Elevation Gain: 2,480 feet Difficulty: Moderate/ hard
Heliotrope Ridge
This trail is at the top of my list next time I’m in Washington and offers superb up close views of the Coleman Glacier. It is actually the approach for popular Coleman Glacier climbing routes so it takes you right up to the glacier, although caution is warranted: If you do not have the equipment or experience with glaciers, do not approach the bottom of the glacier. Coleman glacier is very active and changes can happen very quickly with fatal consequences if you are in the wrong place at the wrong time. The viewpoint of the glacier from the trail is reason enough to experience this trail.
Distance: 6.5 miles Elevation Gain: 1,800 feet Difficulty: Moderate
*This is another trail that doesn’t start from the Artist point area but instead has a rough road spur off of the main Mt. Baker Hwy.
Must See Views near Artist Point:
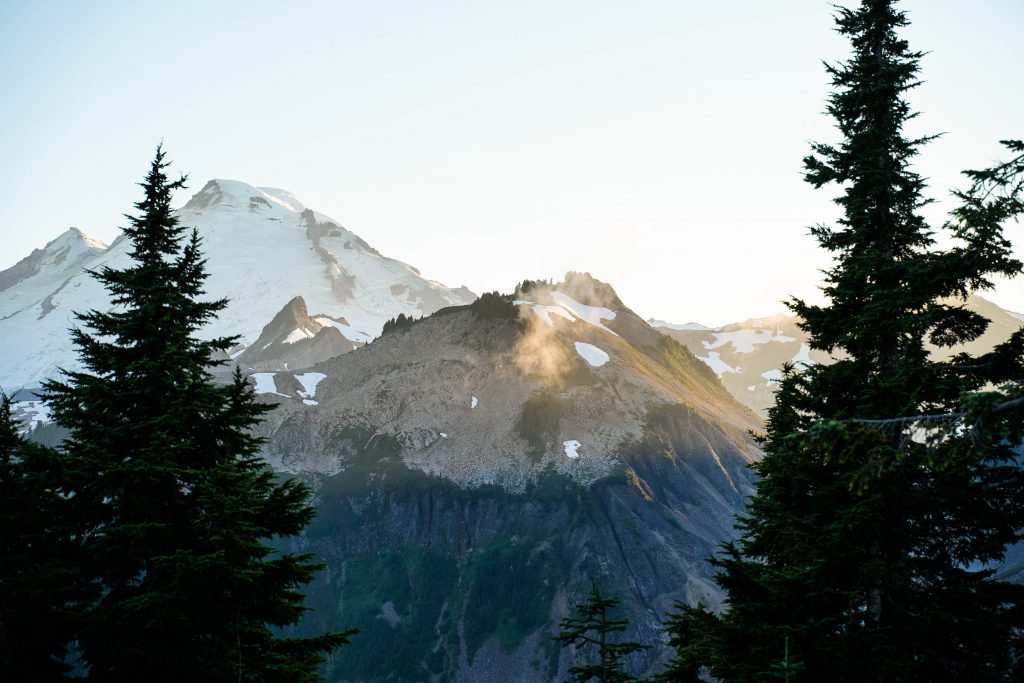
The view from Artist Point itself
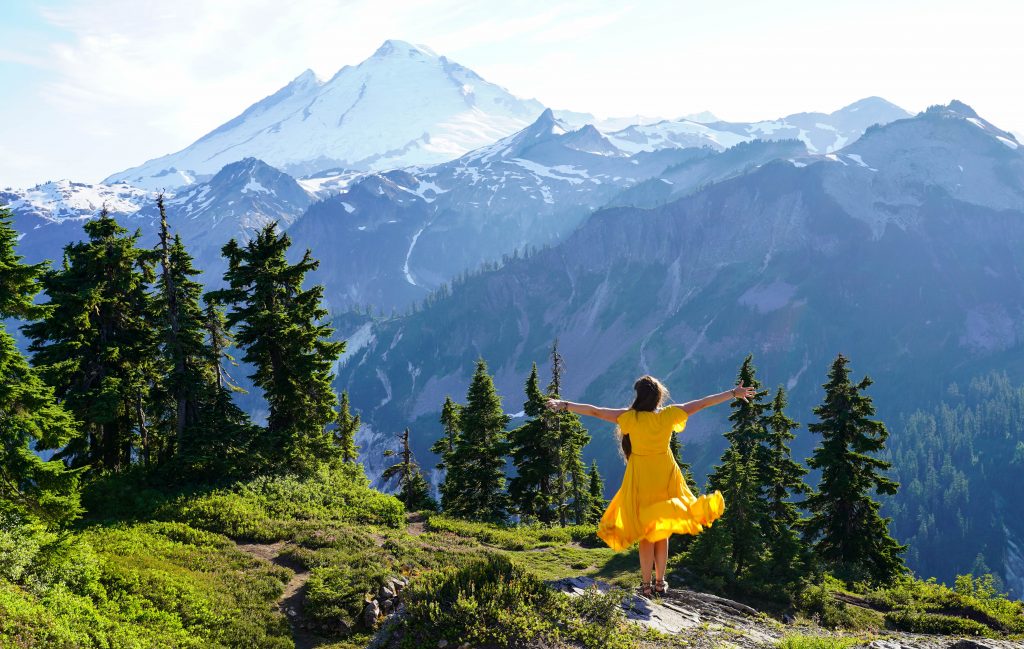
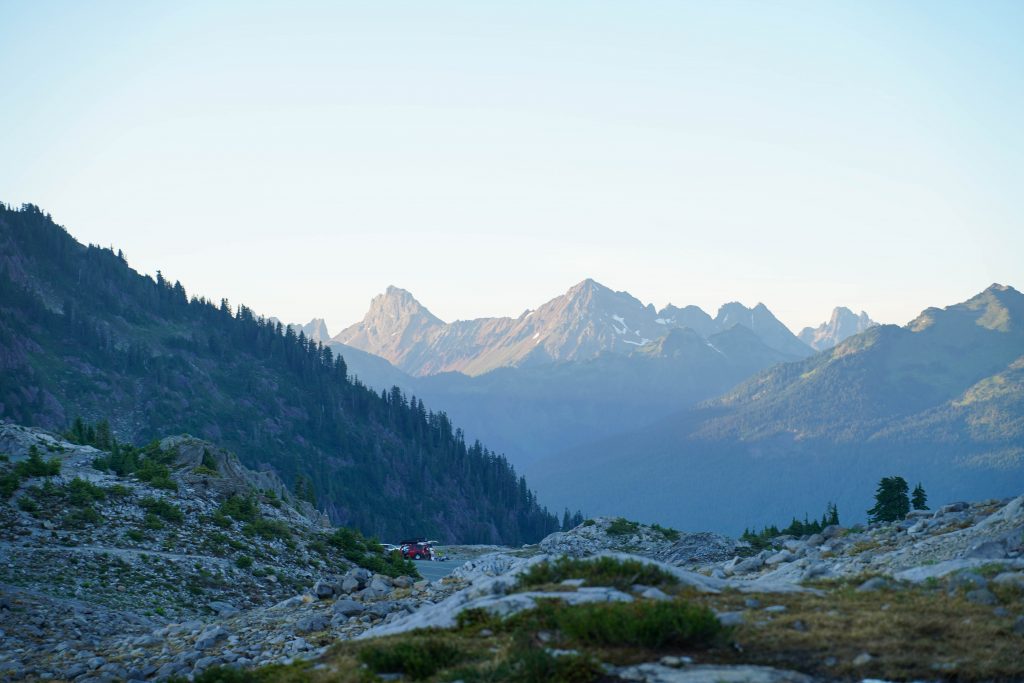
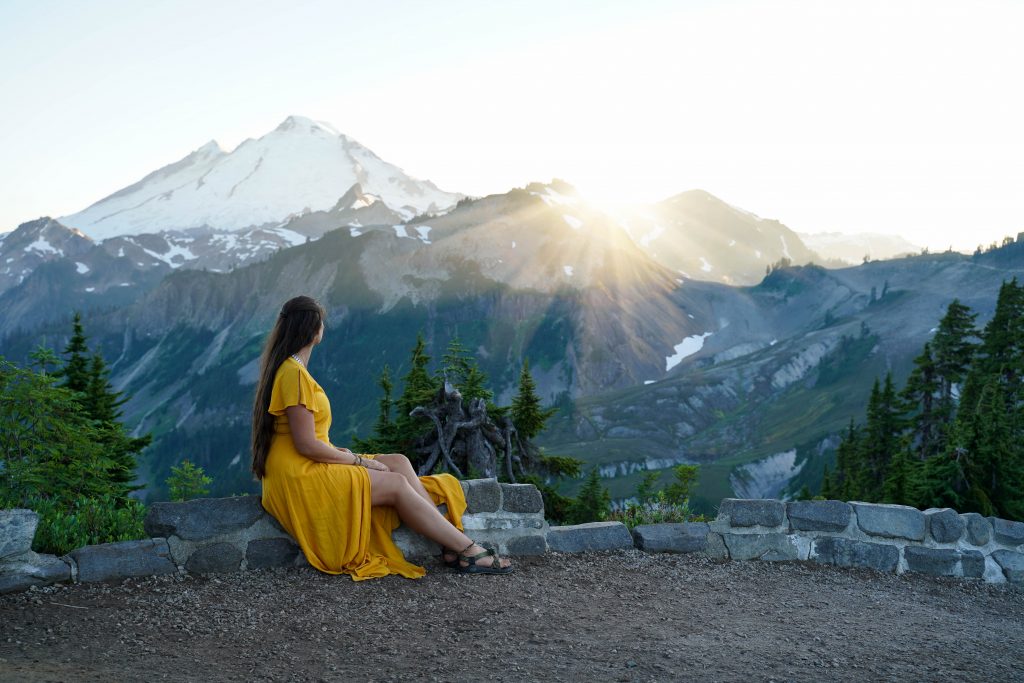
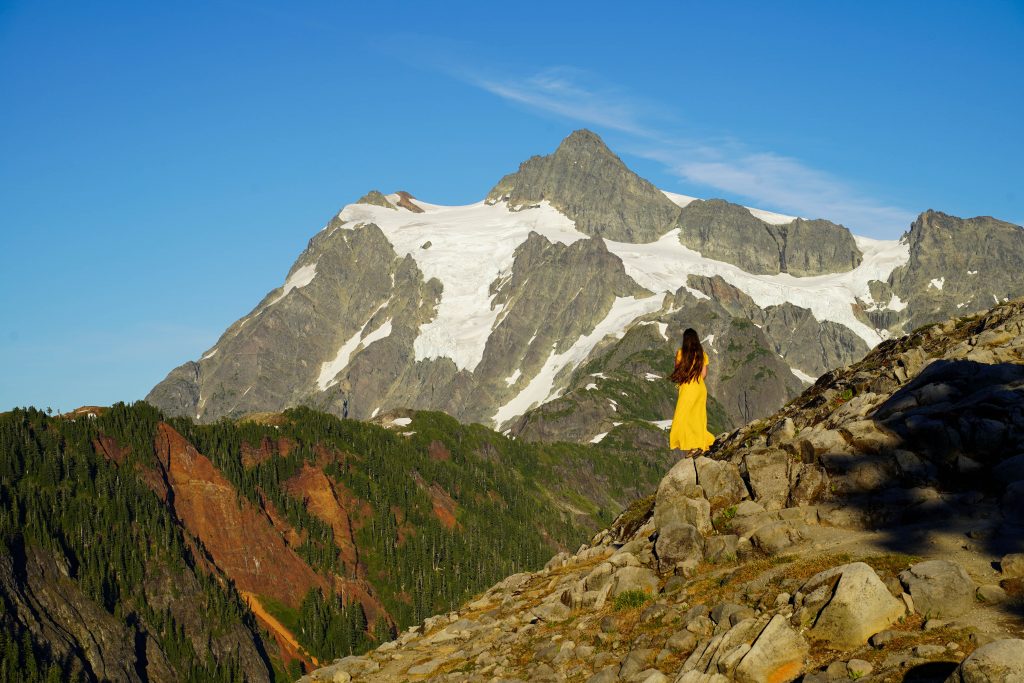
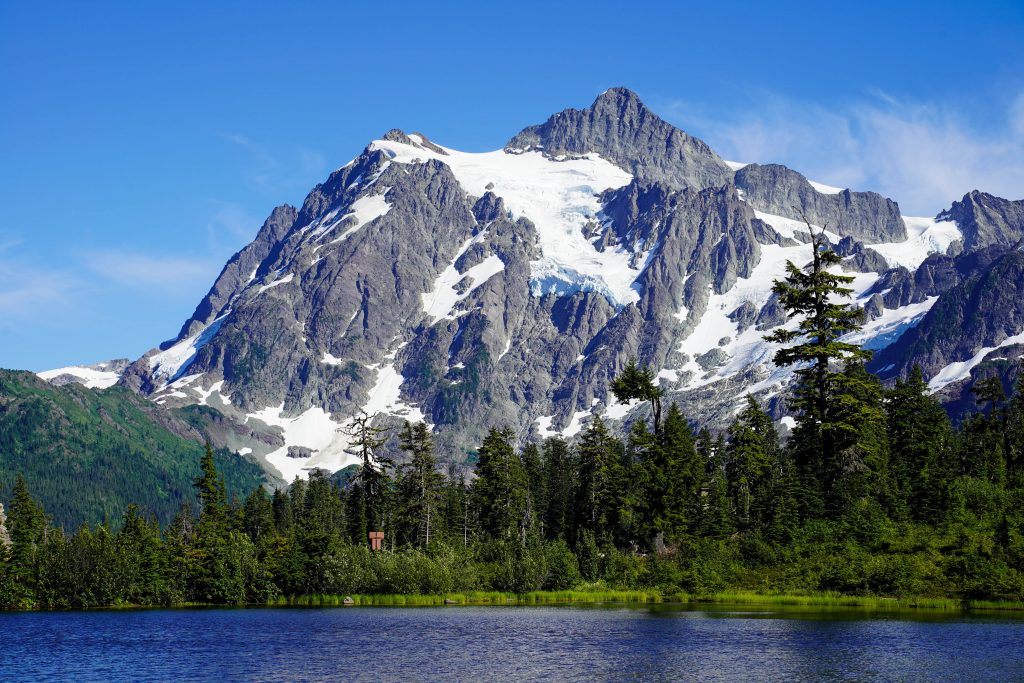
Again the view from Artist Point/ Artist Ridge whether you hike or not, is SO worth the drive. You don’t need to be fit or have hiking gear- just the time and car sick pills if you have that tendency to make your way up past the Mt. Baker ski snowfields to one of the best views in Washington. From the ridge, you’ll have unparalleled “drive-to” views of both Mt. Baker and Mt. Shuksan.
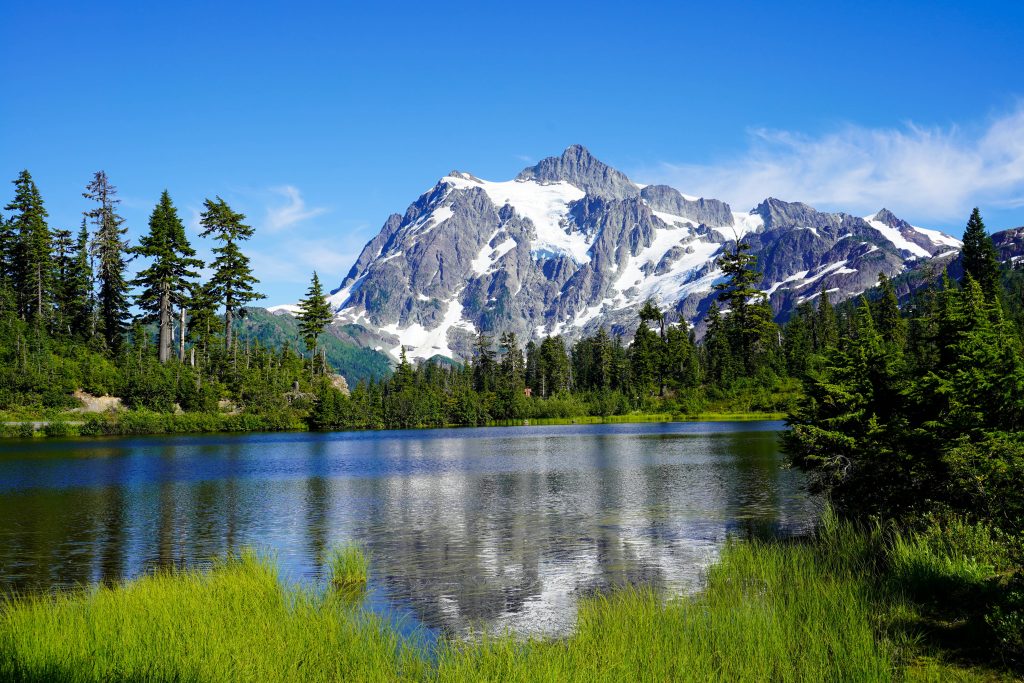
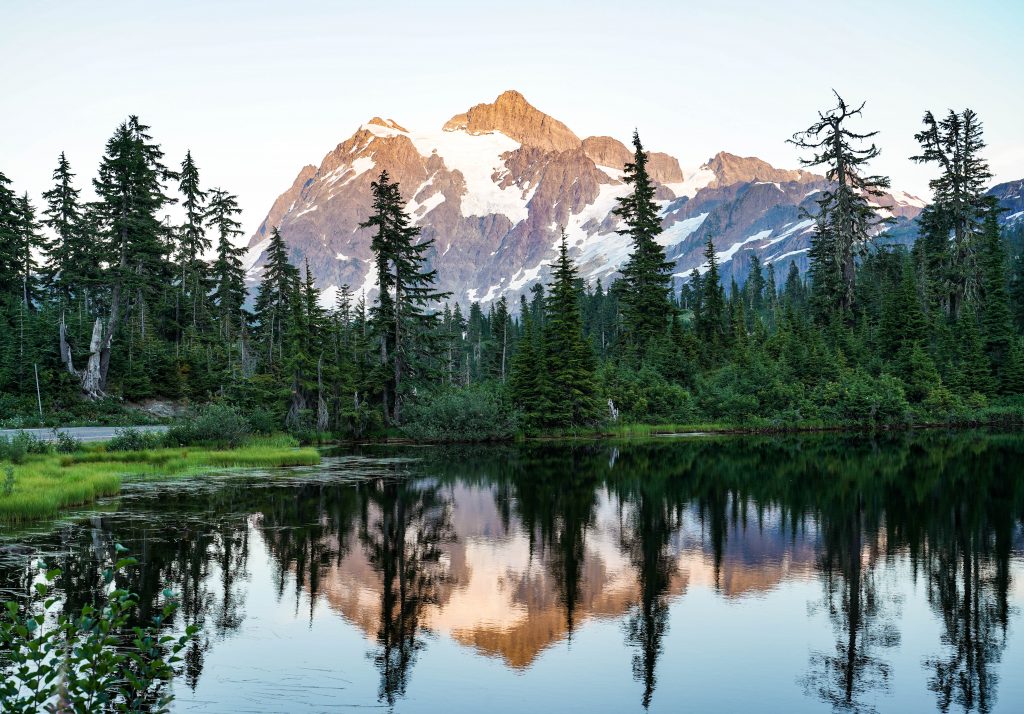
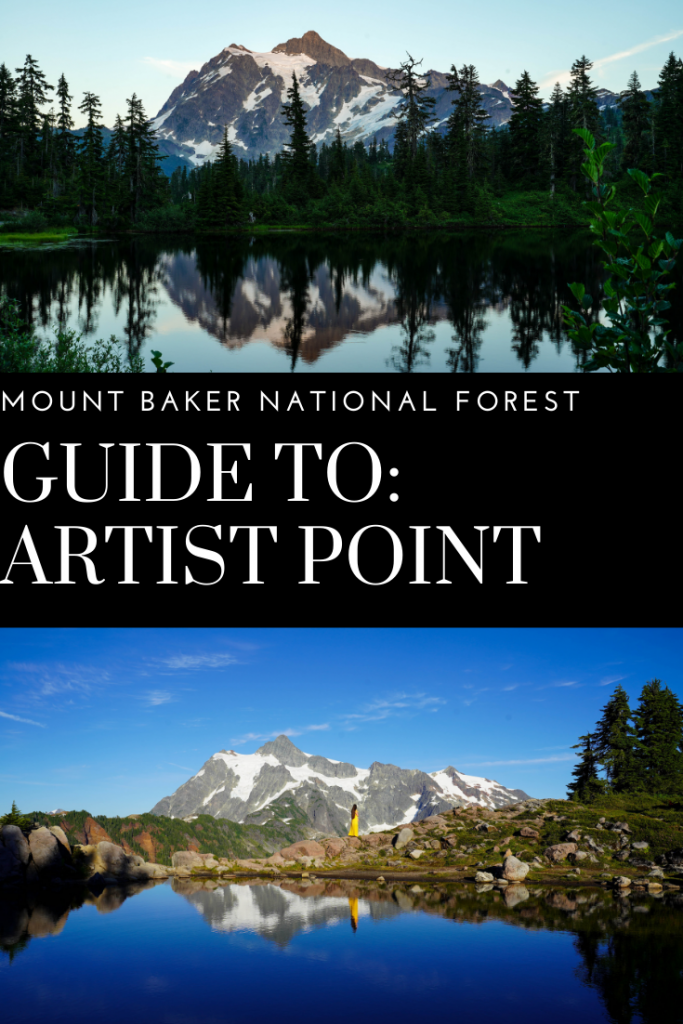
Picture Lake
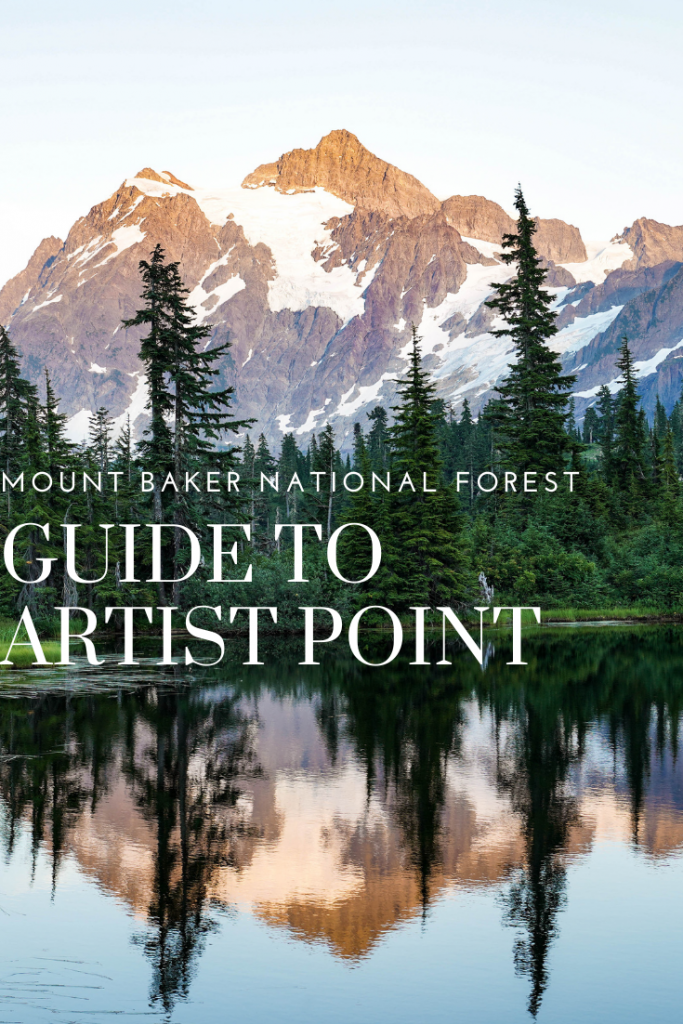
We were told it wasn’t worth driving all the way up just for Picture Lake if the road to Artist Point was still closed, but I might disagree. Considering the drive is lovely and there’s other small hikes (like Bagley Lakes) that are before the road closure, Picture lake is absolutely worth seeing- especially if you are a photographer. There’s a short walk encircling the lake and nice wildflowers to frame your shorts. It’s a great place to spend a few calm minutes and considering how easy a stop it is, there’s hardly any crowds.
Our experience at Artist Point:
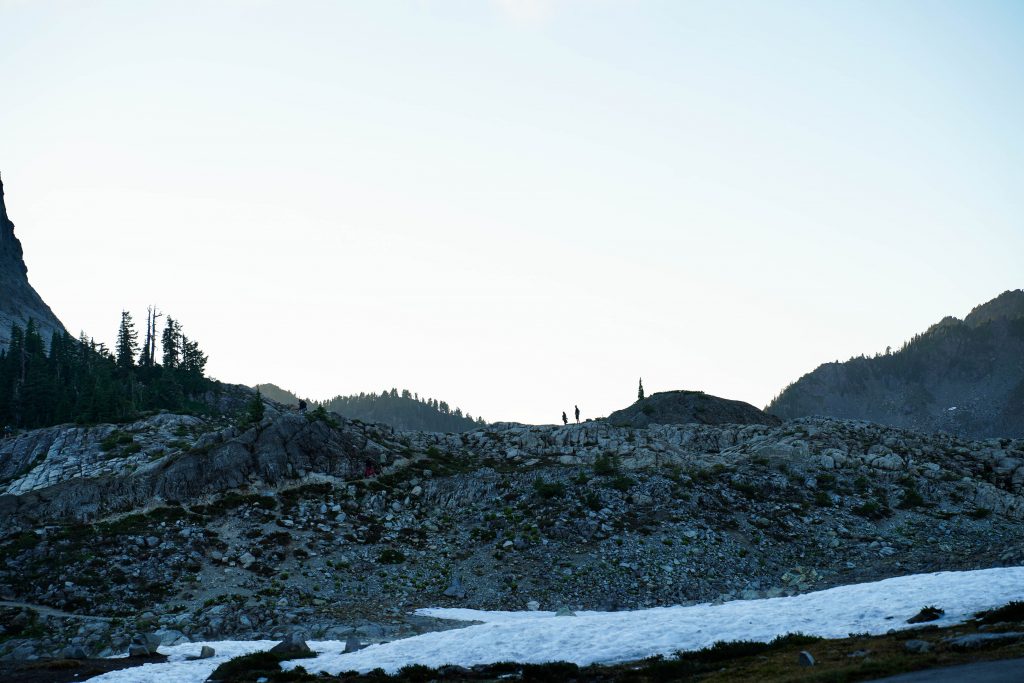
Considering we had zero expectations and hadn’t even know about the Mount Baker Hwy drive and Artist Point before it was recommended to us, I’d consider our experience a smashing success. While we left Park Butte disappointed and the drive up to Artist Point was exhausting (remember we woke up at like 4:30AM) we found ourselves absolutely entranced with the easy views along the road. We only had a couple hours in the evening so we did the walk around Picture Lake and the hike to Huntoon Point.
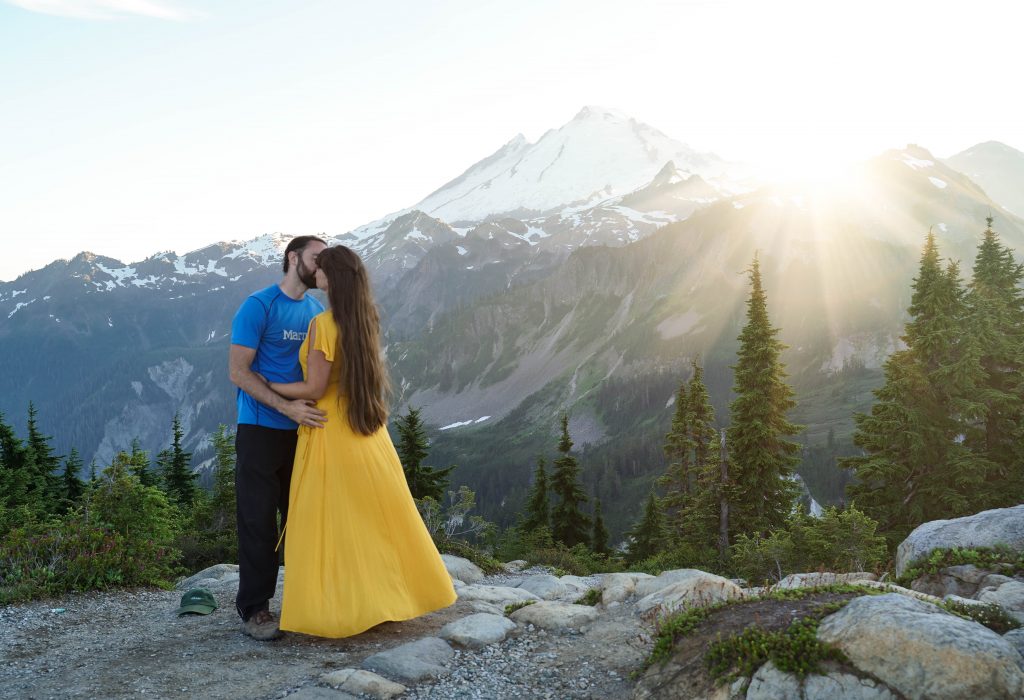
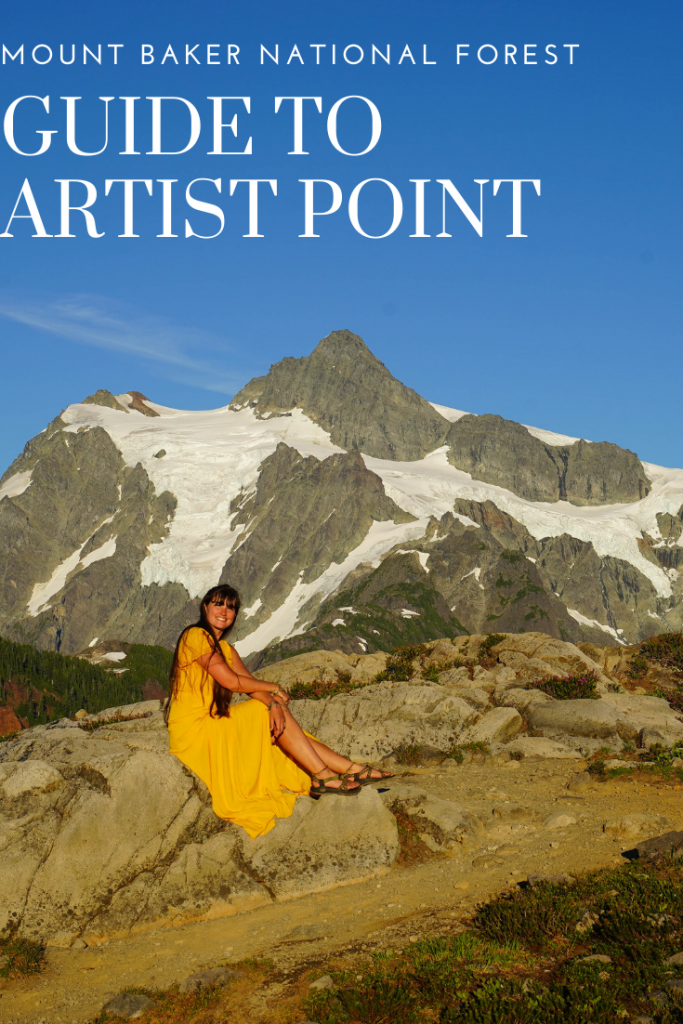
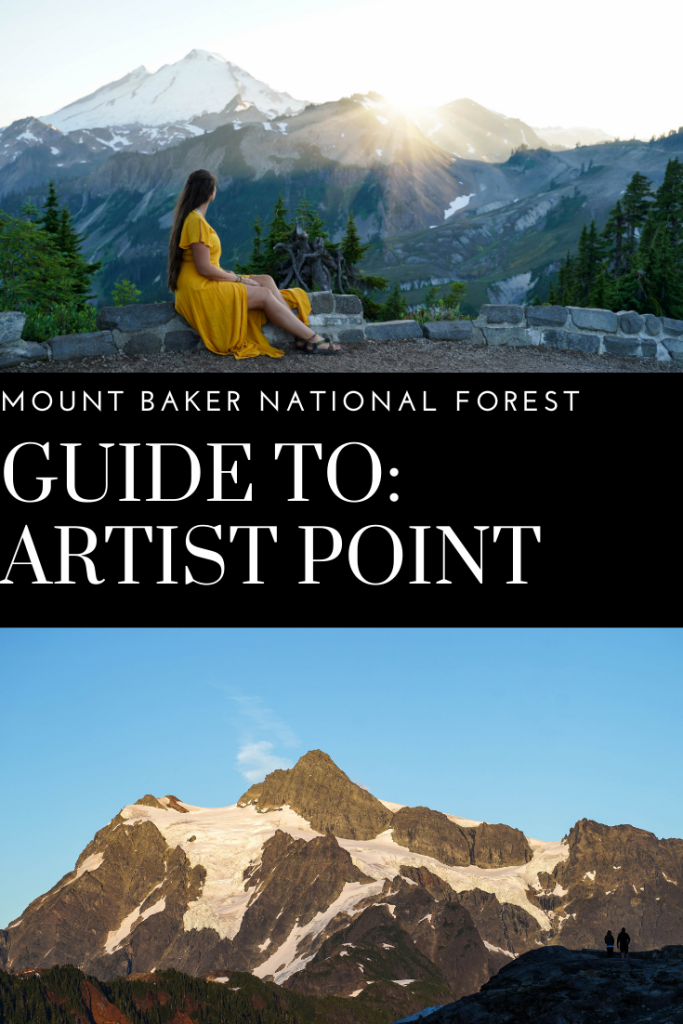
Part of our compromise in leaving Park Butte was Braden agreed to a mini photo shoot with me! So photo shoot we did: I busted out the old tripod, changed into my favorite golden dress and we explored along Artist Ridge. We found some great little ponds for reflections, got eaten alive by mosquitos, and enjoyed an easy backpacker meal with amazing views.
Where to stay near Artist Point:
Unless you can camp or can snag one of the fantastic few rented cabins along Mt Baker hwy, the closest towns with readily available hotels is either Bellingham or Mount Vernon. Both are a far drive off from all the trails mentioned here so I recommend camping or looking for your lodgings very early on.