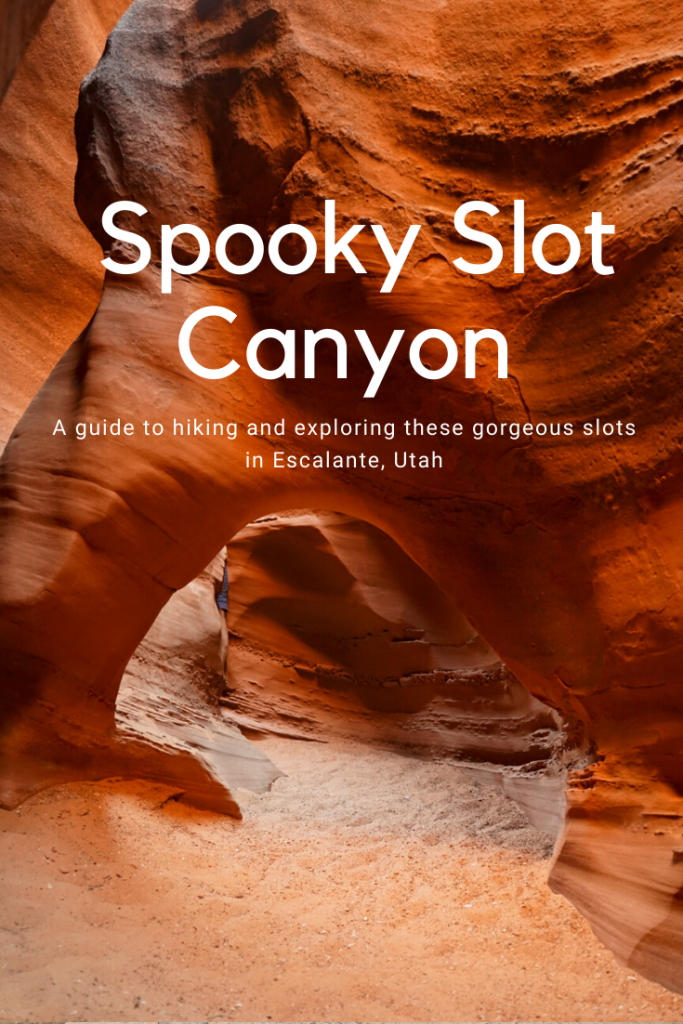
These 2 slots are not only some of the most photogenic non-technical slots you can hike to, but they are also the first slot canyons I ever explored (and my first hikes in Escalante to boot!) While once upon a time they were relatively unknown and less accessible due to the dirt road from hell, now you’ll find a full parking lot by late morning on any weekend. They are a MUST do for anyone wanting to experience scenic slot canyons and visiting the Escalante area.
Trail details:
Distance: 6 miles RT
Elevation Gain: 700 feet throughout the hike (you only really notice it on your hike out to your car)
Time: 3-5 hours
Difficulty: Easy- Moderate
Pets?: Allowed but NOT recommended especially for big dogs
Fees: Free
Trailhead Directions:
From HWY 12, turn onto Hole in the Rock Road and drive for 26 miles where you’ll see a left turn onto BLM Rd 252. Drive another mile to where the road ends in a loop parking area with pit toilets and a trail sign.
While this road is definitely not pleasant (read washboard bumps and large gravel for over an hour) any car can make it as long as the road conditions are dry. Just drive slow and take your time if you have lower clearance and DO NOT attempt to drive down Hole in the Rock road if rain is in the forecast or if the road is wet/ snowy.

Tips for the best hiking experience
- Start as early as you can- preferably by 8 AM. Not only will this allow you to miss most if not all the crowds but it will help you beat the heat. It gets VERY hot out there.
- Pack lots of water… but in as small a bag as you can. These canyons are tight and you don’t want to lug a big pack through them.
- Don’t wear your nicest hiking clothes or bring your brand new hiking pack. The sandstone walls are TOUGH on gear and clothes.
- Hike up Peekaboo and down Spooky. Not only does this help with the flow of traffic (it is very difficult to pass people in these canyons) but the climbing sections are easiest this direction.
- Pre-load the trail map in all trails or download it if you have pro. The loop can be challenging between the 2 canyons so it helps to have the trail map to ensure you are on the right path.

Where to stay nearby:
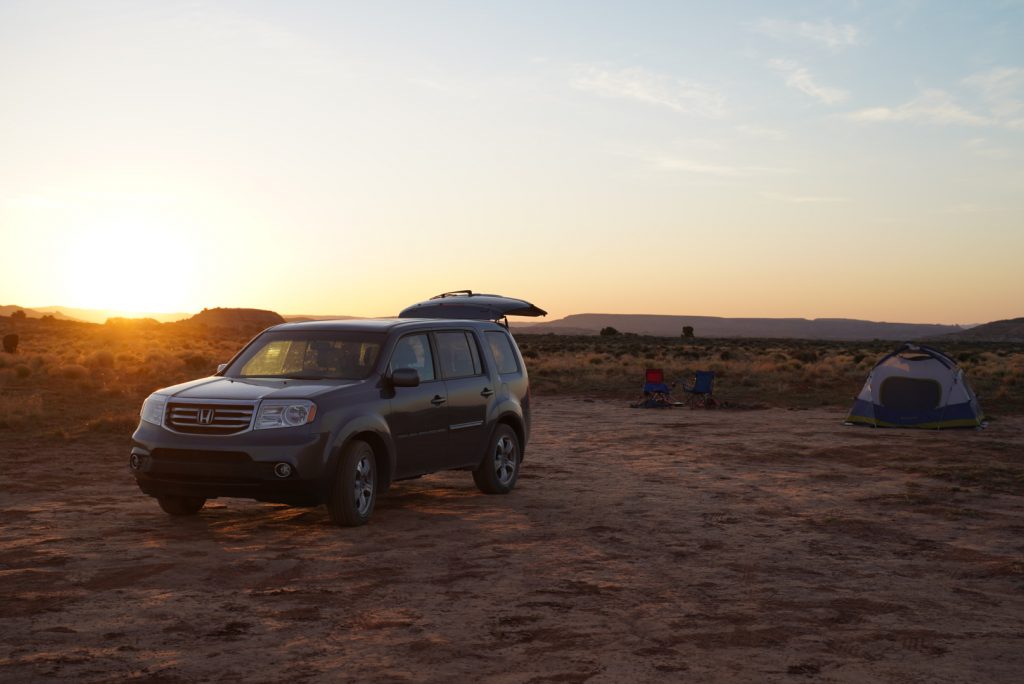
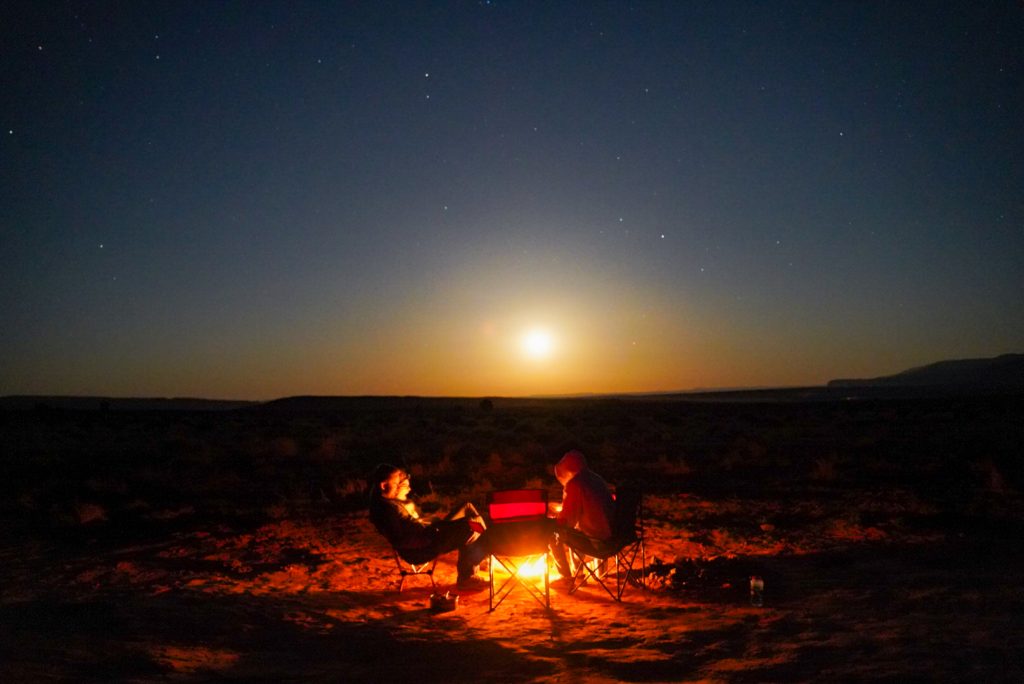
Primitive camping/ boondocking is allowed anywhere off Hole in the Rock Road and is free. The most popular spot is about 0.5 miles from HWY 12 where there is a lot of flat space to bring trailers/ RVs/ other rigs out to park. There’s also a dumpster for trash at this lot but no restrooms. Otherwise you can camp anywhere there is a pullout big enough for you to get off the road without trampling plants. We camped at the overflow parking for the TH which is a huge area only 0.25 miles from the TH. (You can’t camp AT the TH) Remember pack out what you pack in including all trash, ESPECIALLY TP.

If camping isn’t your thing, there’s a Motel and excellent RV park in Escalante that has cabins at a great price called Canyons of Escalante RV park. I’ve stayed there many times and have always had a fantastic stay.
Our experience on the hike
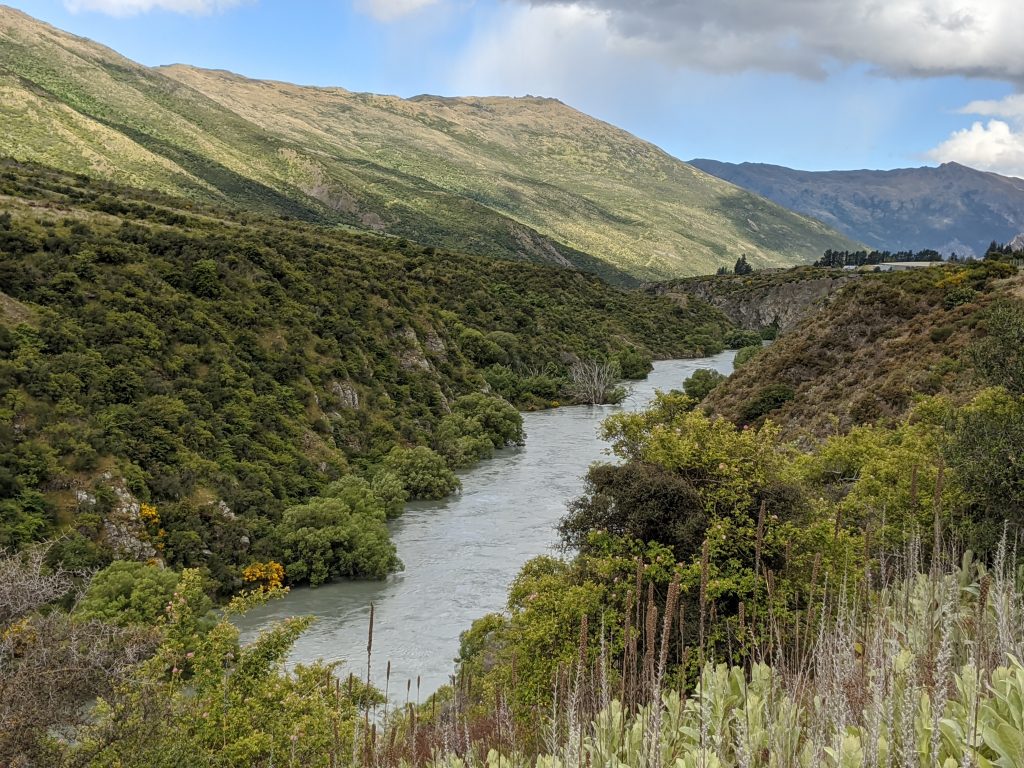
Since we camped nearby we were on the trail by 8 AM and were the 3rd car/ group to start. (This was on a Saturday morning so timing was important) The beginning of the trail is about 1 mile of flat hiking following the rim below the parking area. The views are expansive of MANY canyons in the area and is beautiful but exposed with no shade. (this is one place I’d hate to hike in the late afternoon)

After about 1 mile we descended the steep slickrock down to the canyons base. Be careful in your route finding down the slick rock and watch for cairns to guide you.
Once down, we saw the trail to the Dry Fork Narrows on the left but decided to skip for now as our goal was to beat the crowds. Once we passed the dry fork narrows, we immediately saw the 10 ft. climb up into Peekaboo. We found it to be pretty easy with the small steps ground into the climb but it could be challenging for little kids who can’t reach each step.
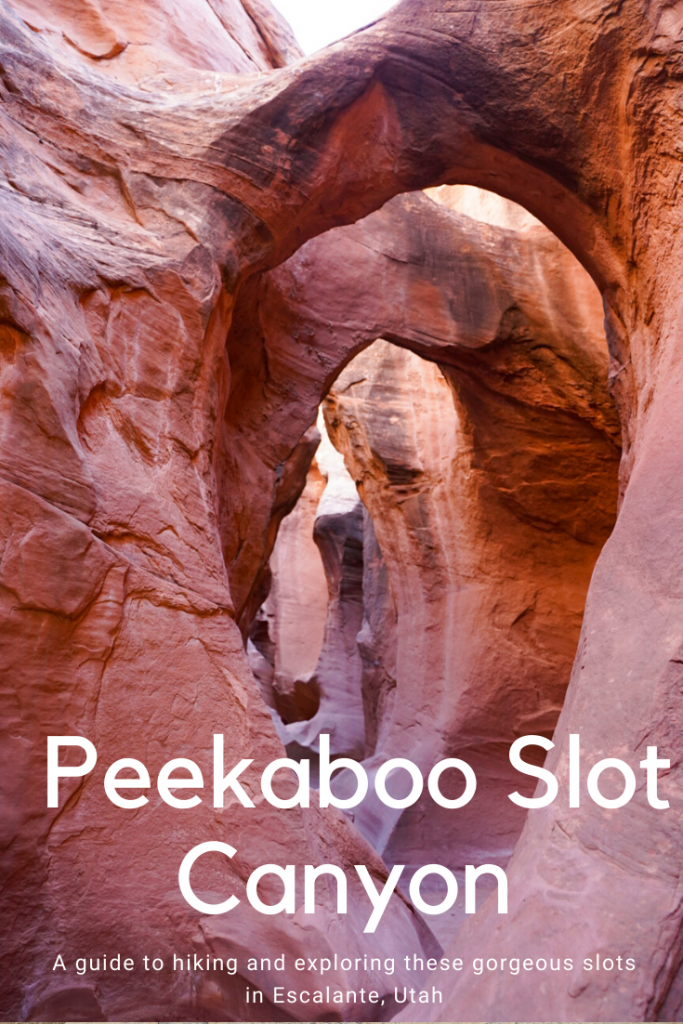
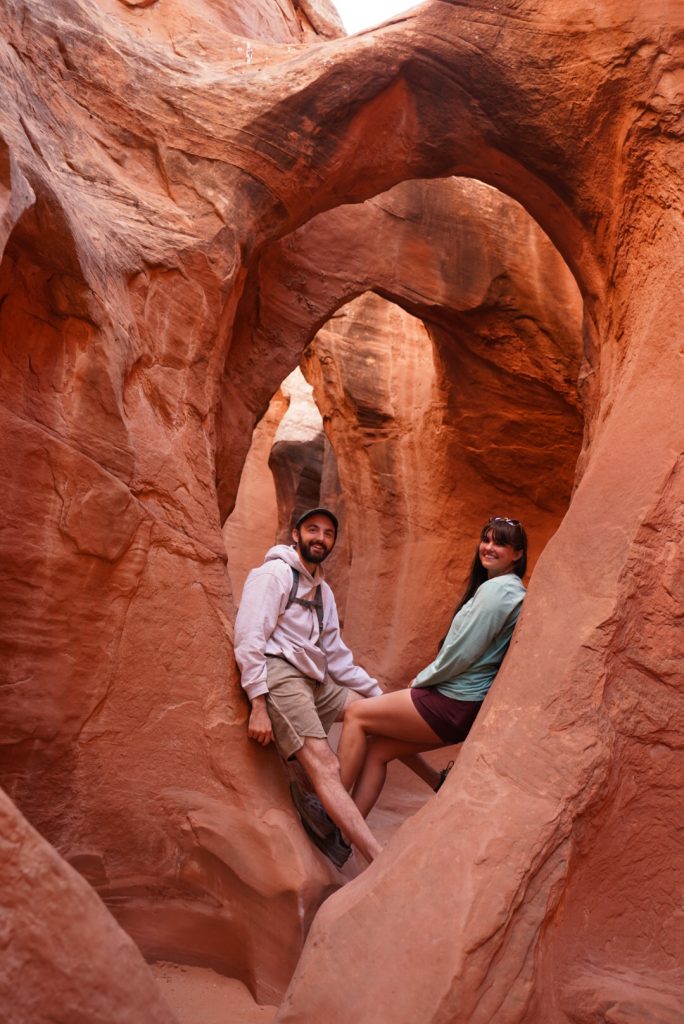
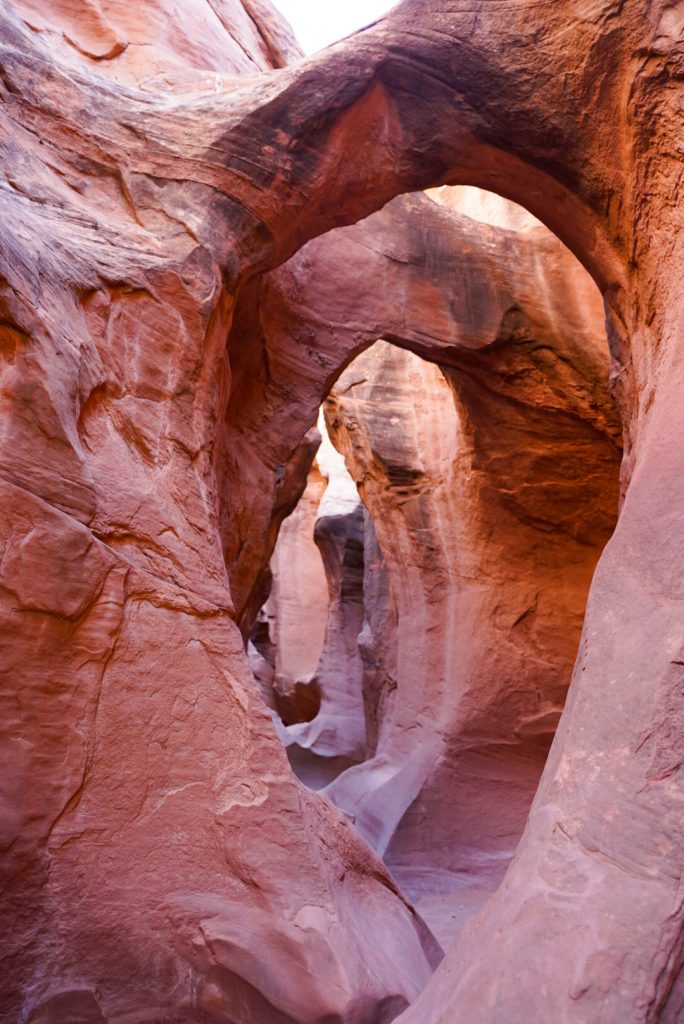
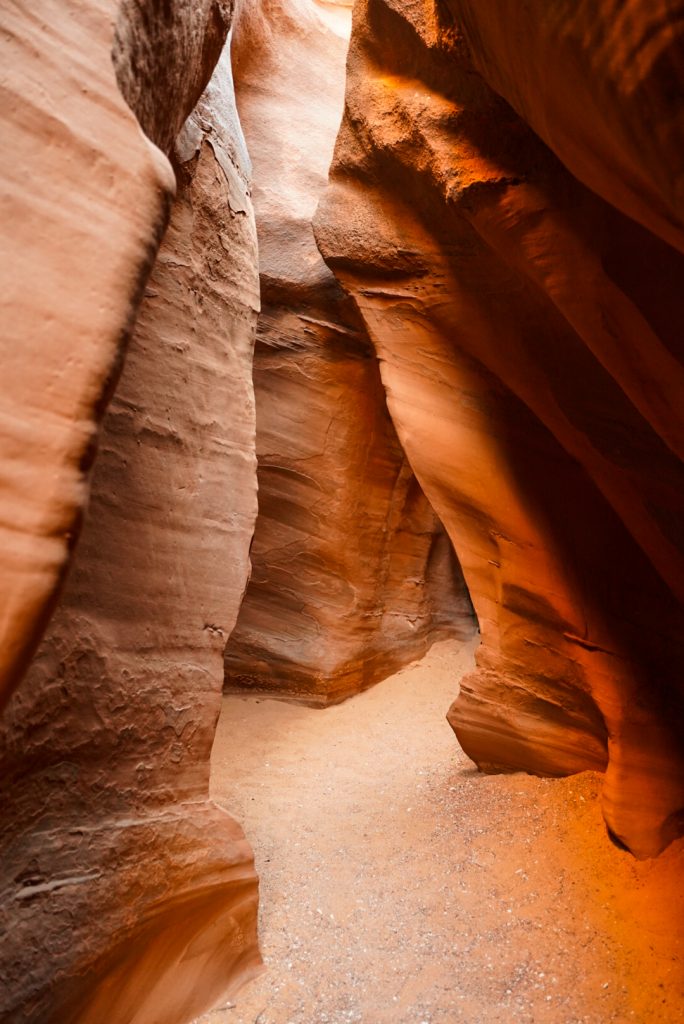
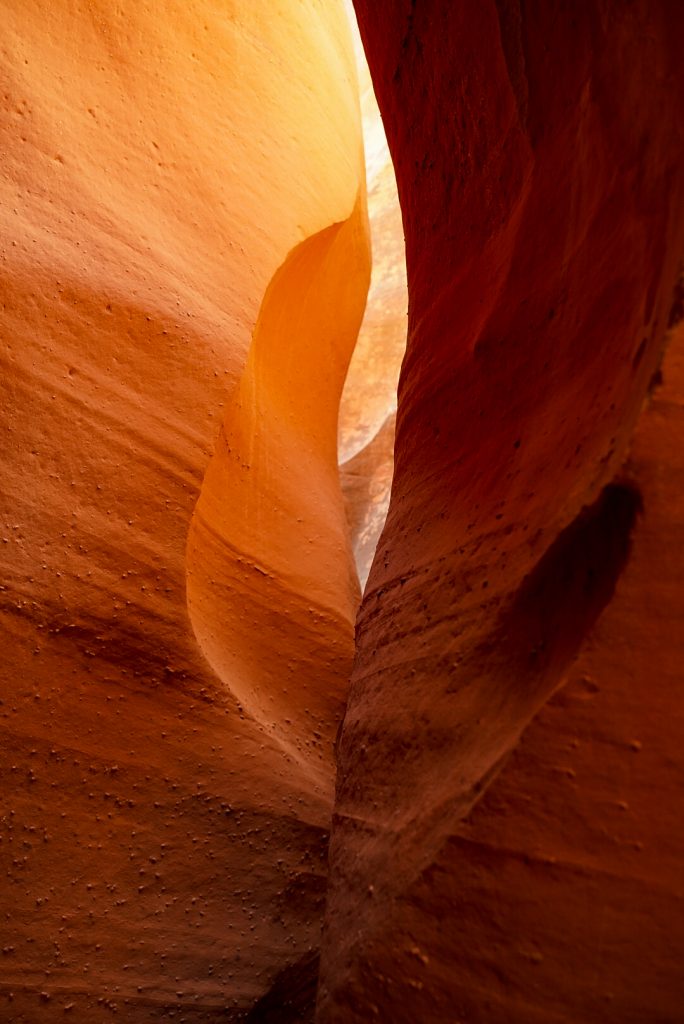
Peekaboo Canyon
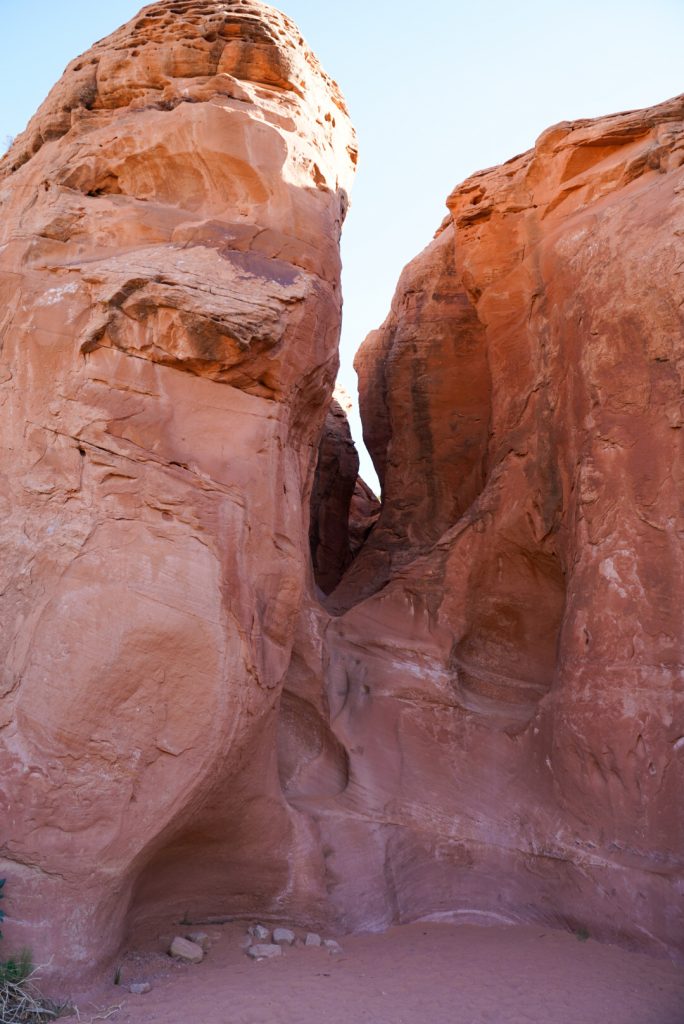
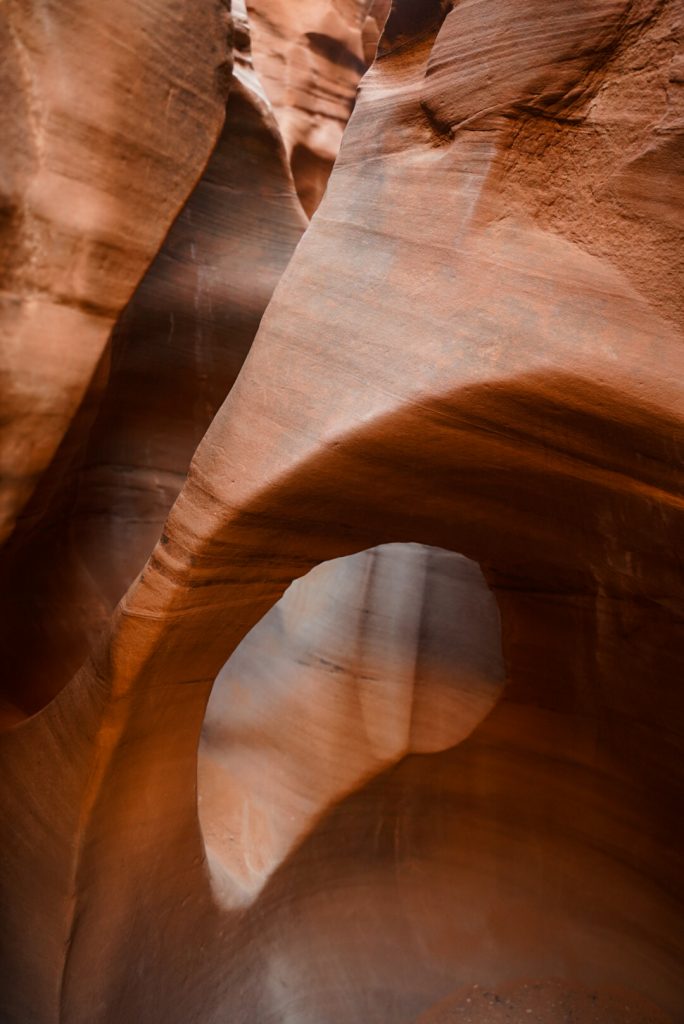
Once up the climb into Peekaboo is the most iconic section of this whole trail with the double arch. We only saw 1 trail runner in this section who passed us otherwise we took our time taking lots of photos in this section.
The Peekaboo slot is very short so after the iconic arches, the trail slots up into a skinny shallow canyon, widens, then slots again for another 10 minute stretch before ending at a tree where the canyon is gone and you’ll see a large wash. We initially missed the turn off to go on the loop here and headed up the wash 5 minutes before I checked the map and realized we’d missed our turn. Back at the tree, there’s come cairns that lead you up and over the hill and cut across sandy dunes. This is the other miserable section in the sun since the sand is soft and hot.

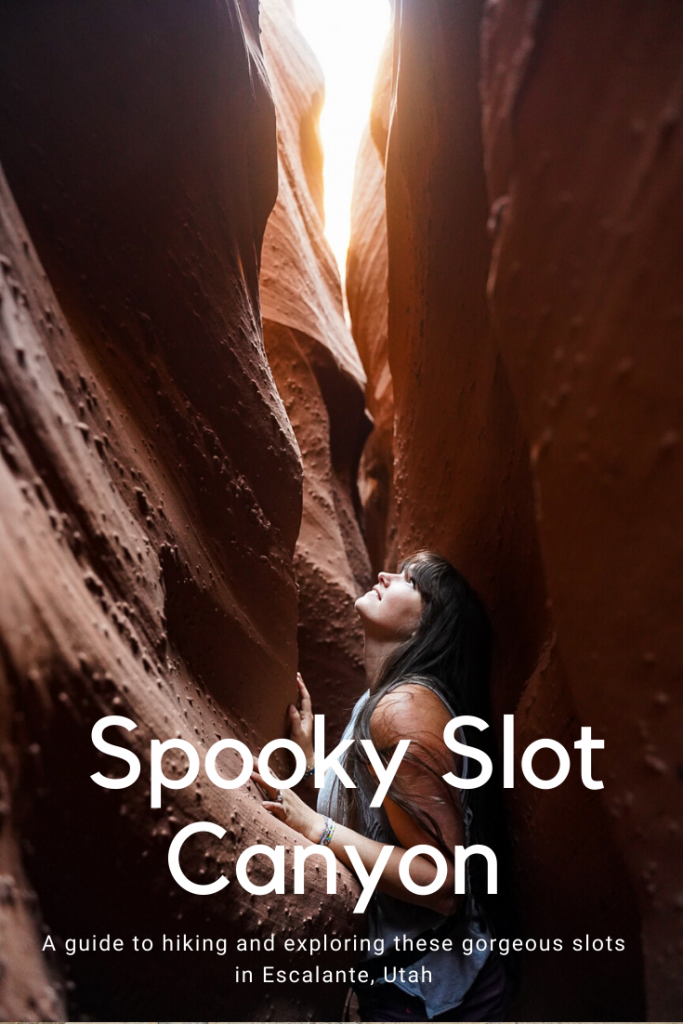
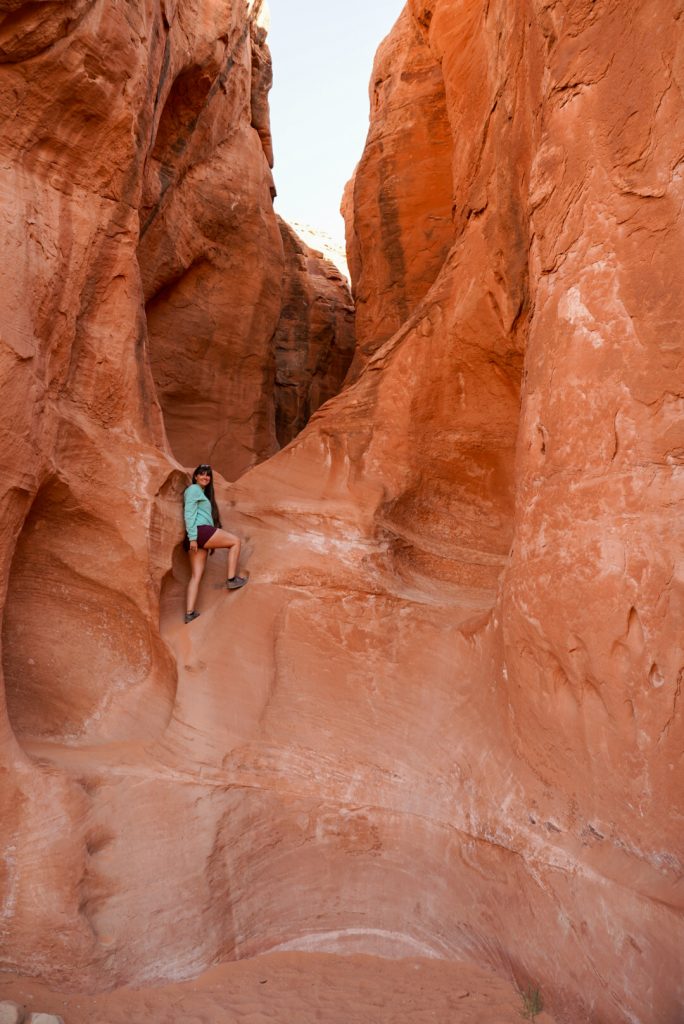
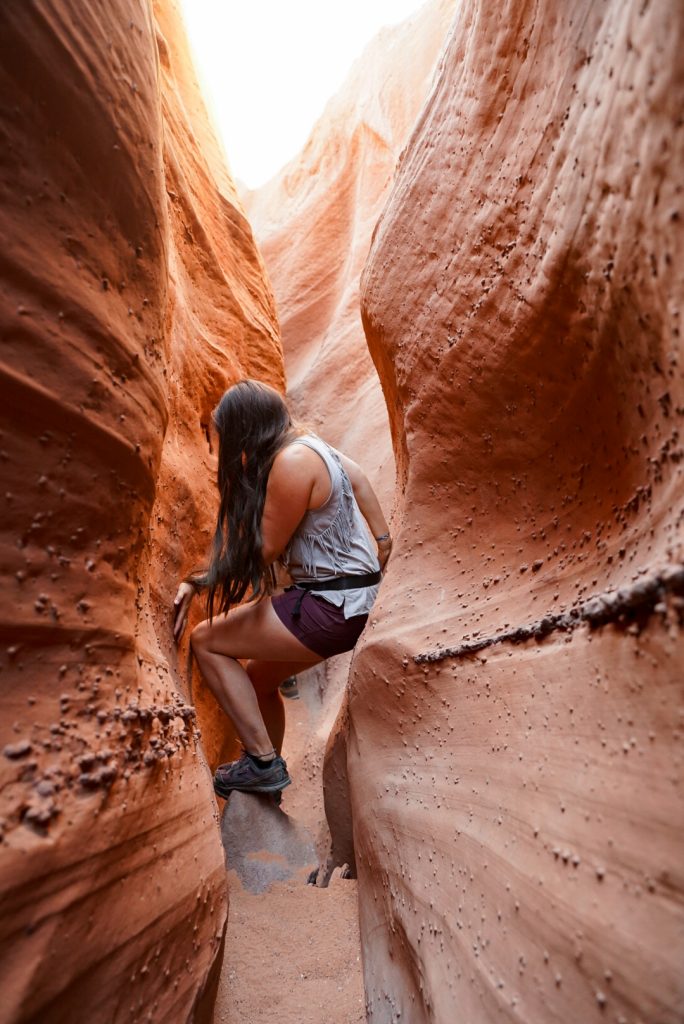
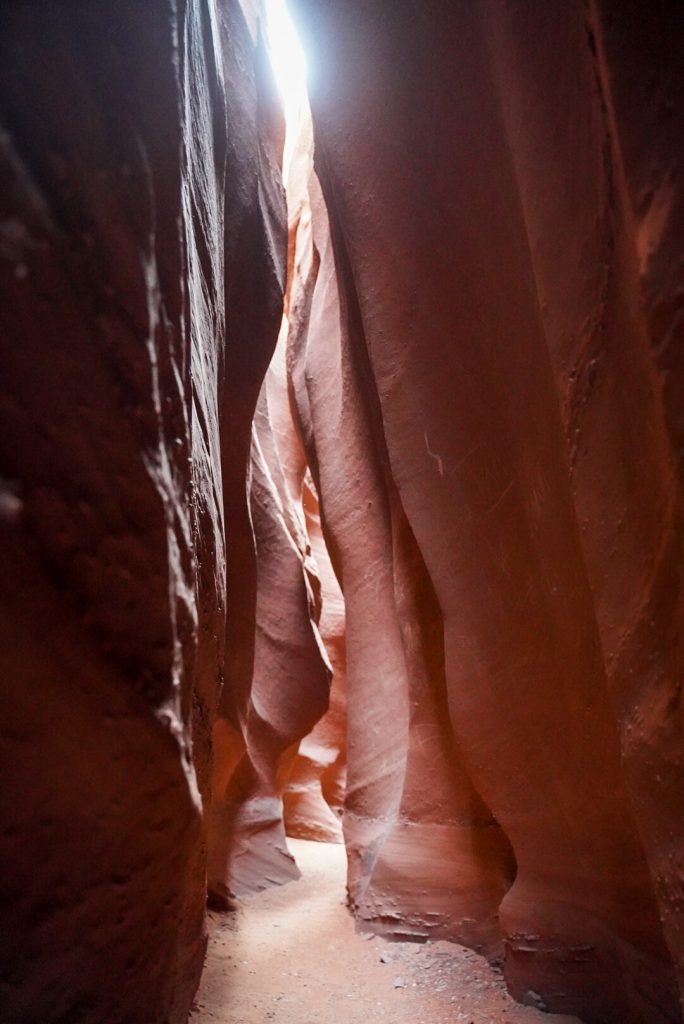
Spooky Canyon
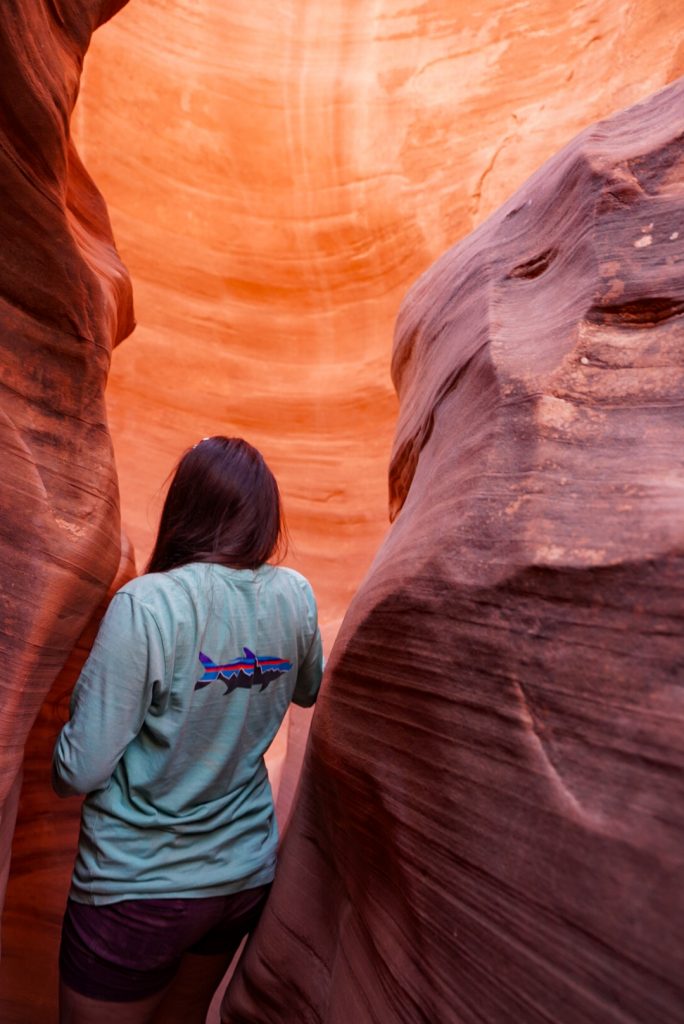
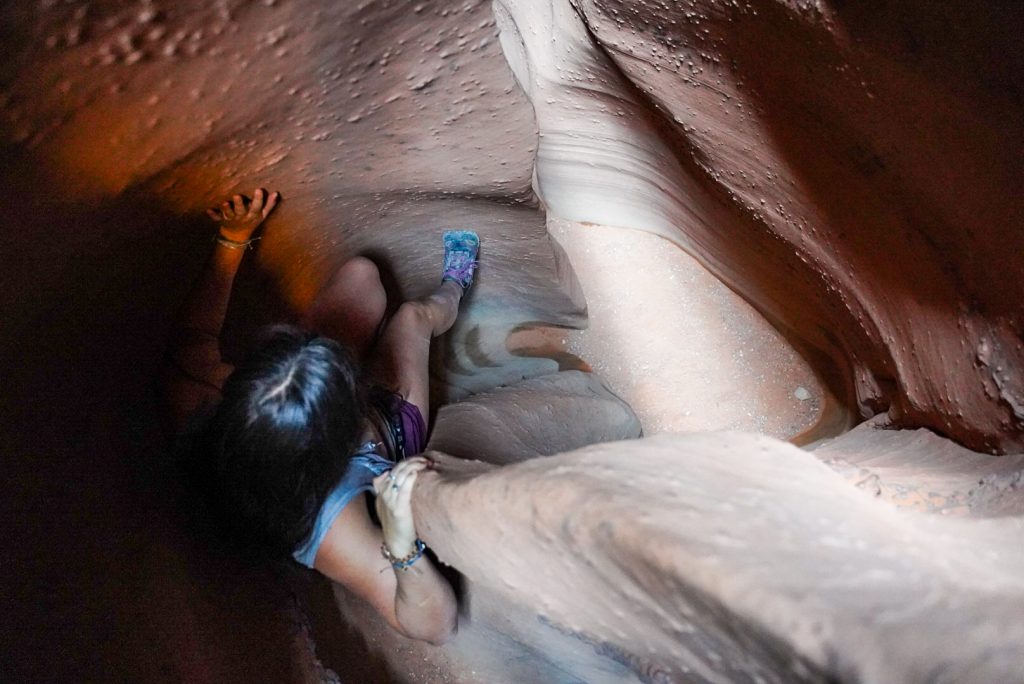
After about 20 minutes we were down and at the top of Spooky ready to descend. Spooky is at least twice the length of Peekaboo and MUCH skinnier with little curvy down climbs where you’ll need to watch your step. For most of Spooky you’ll have to have your pack slung over one shoulder or off to the side.
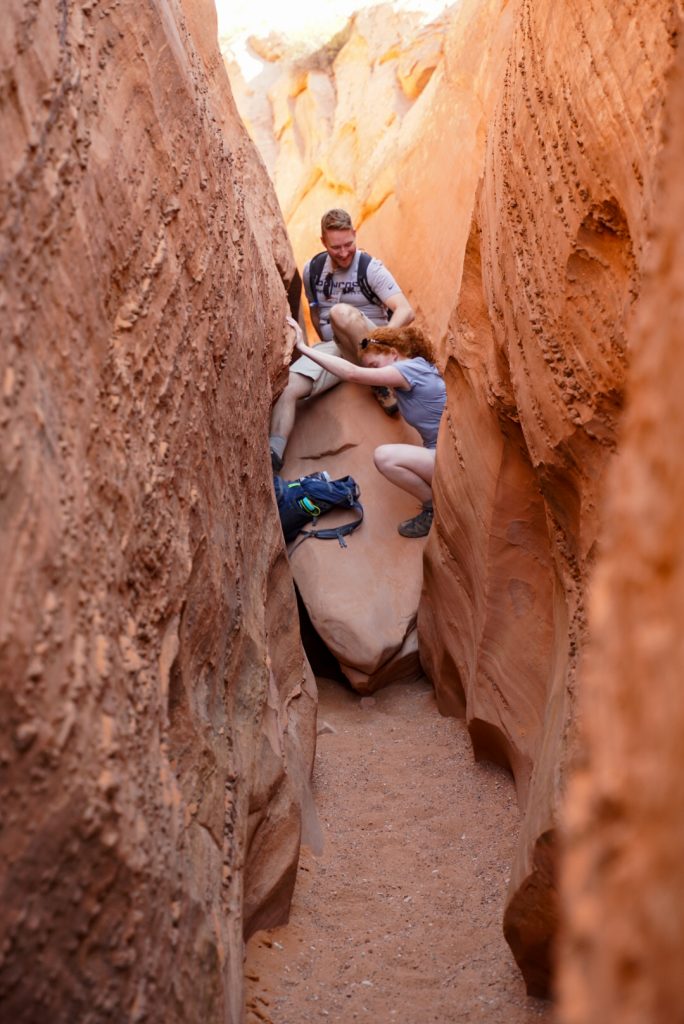

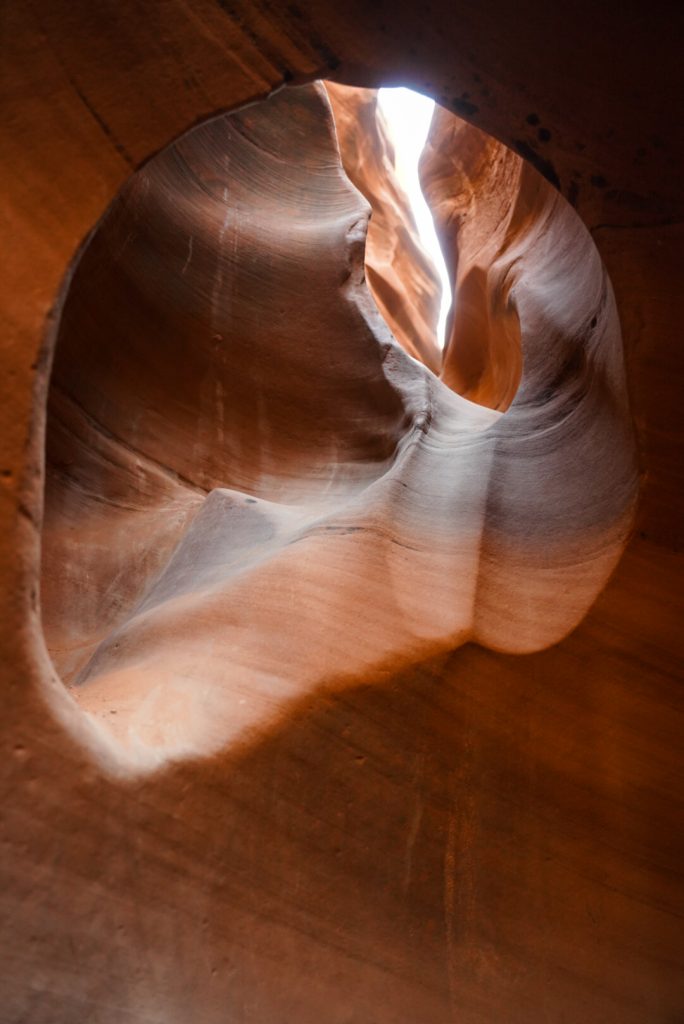
A couple minutes in there’s another little arch great for taking pictures under and then about 5 minutes later the major obstacle in Spooky. The top makes it look like a series of boulders, but the boulders are all about 10 feet above the canyon floor. Aim left to a 4 foot hop down or chimney down climb. From the top of that boulder, turn around to face “up” canyon and you’ll see a small, dark tunnel cut into the boulders. This is a smaller step down and crawl through that will get you to the canyon bottom the safest.
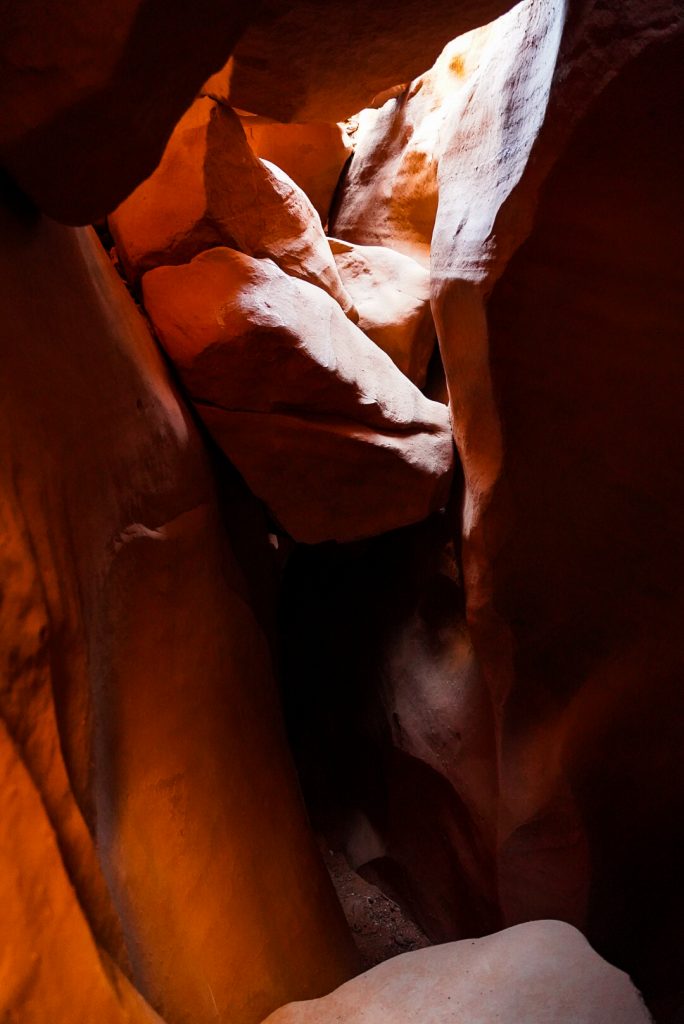

Sometimes there’s a rope to help people down, but I wouldn’t count on it being there. If you aren’t comfortable with what I just described, bring some webbing or a rope just in case- or skip this hike.
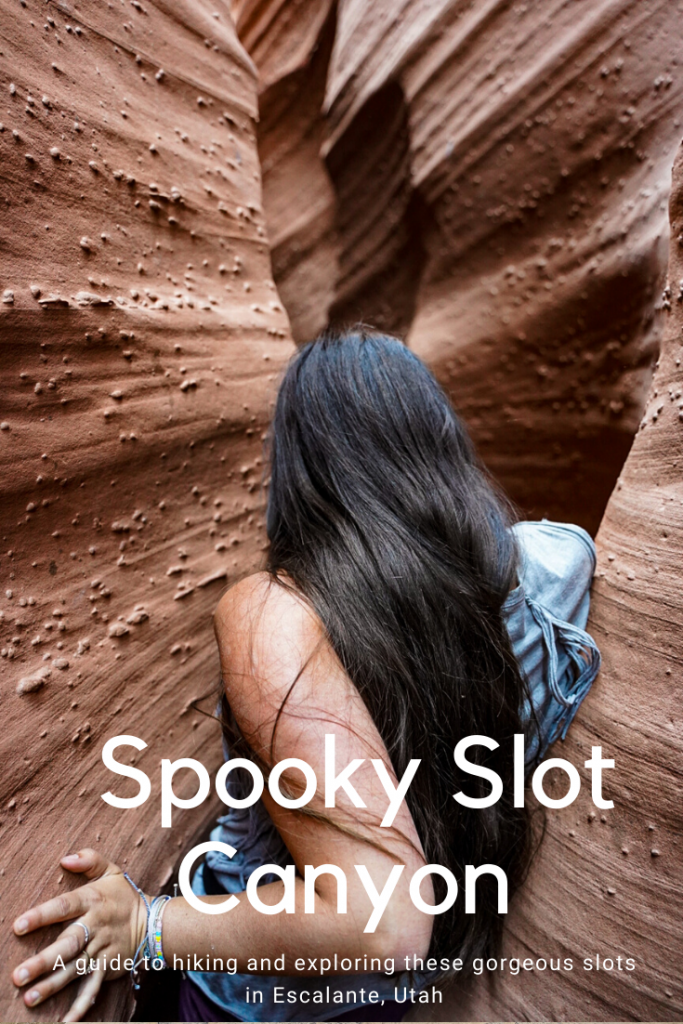
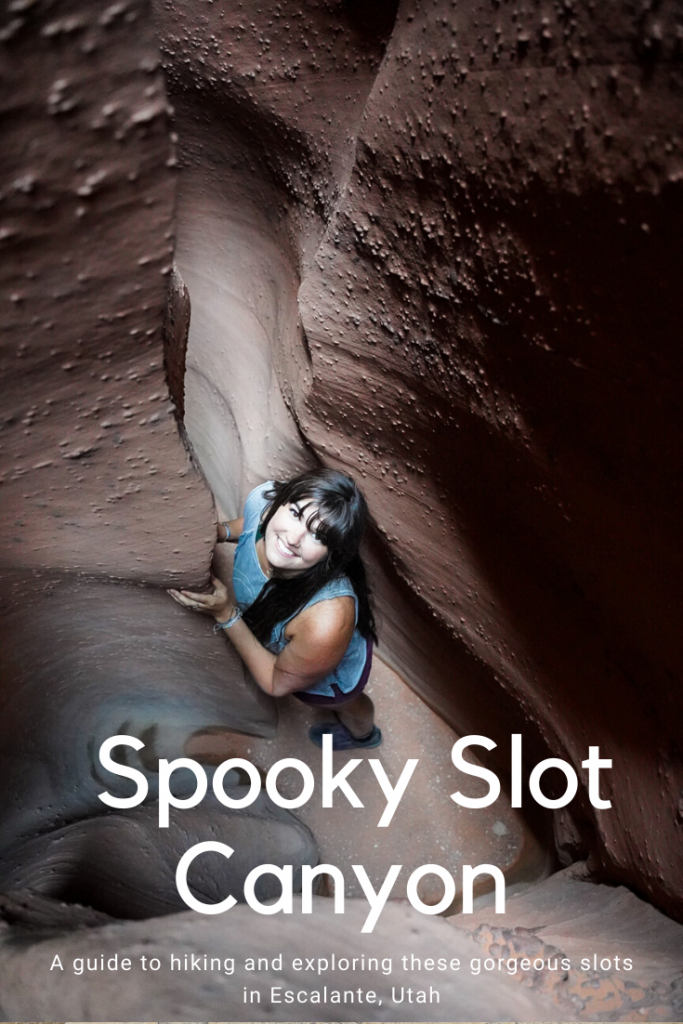
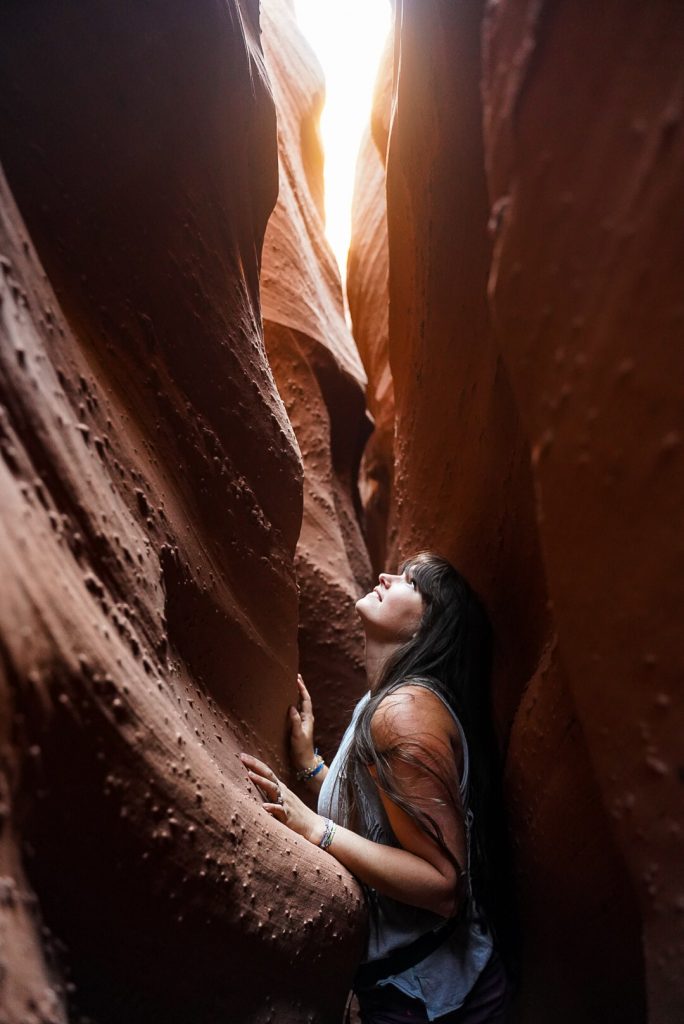
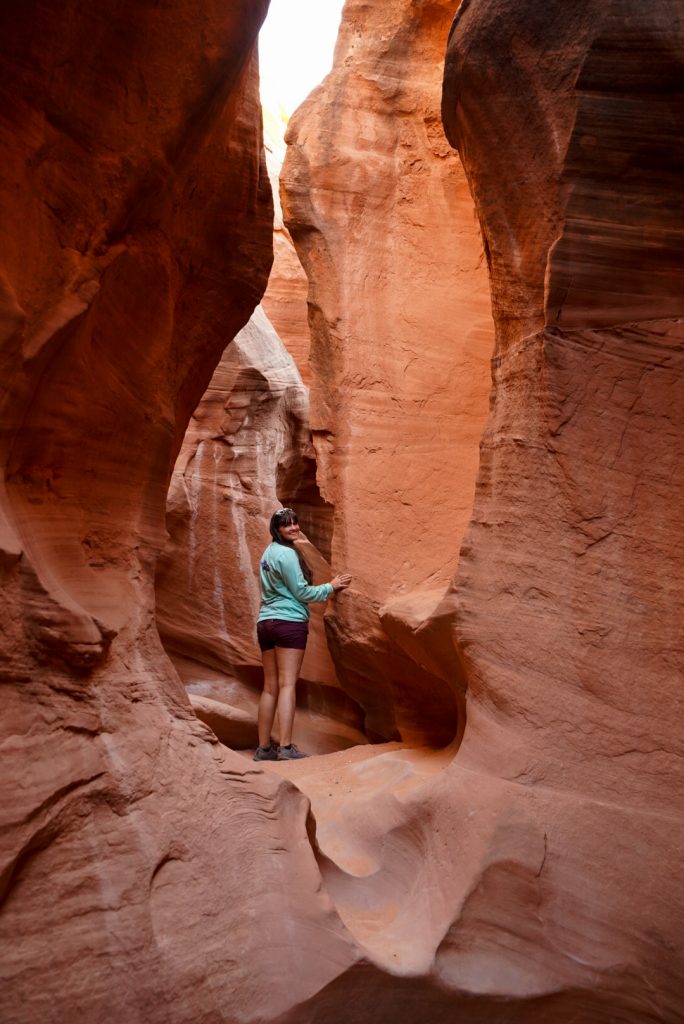
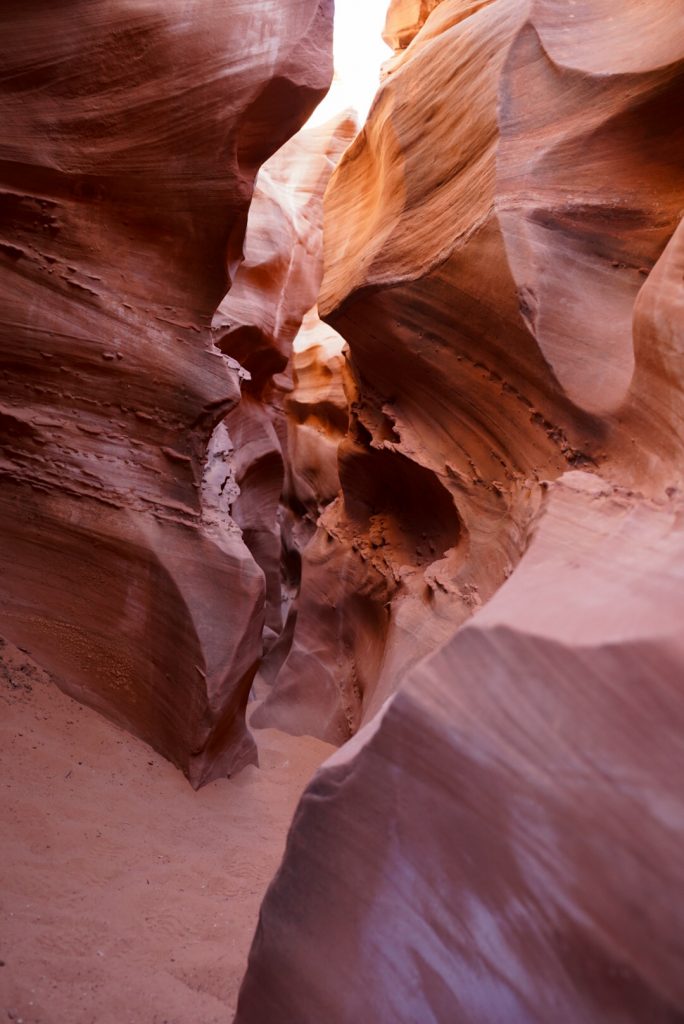
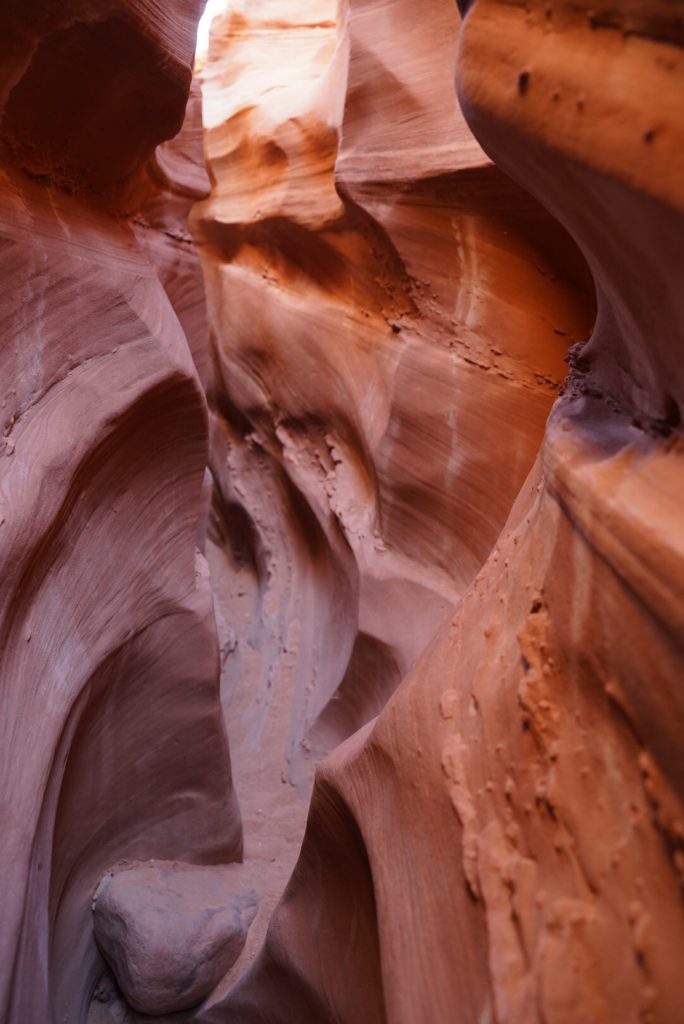
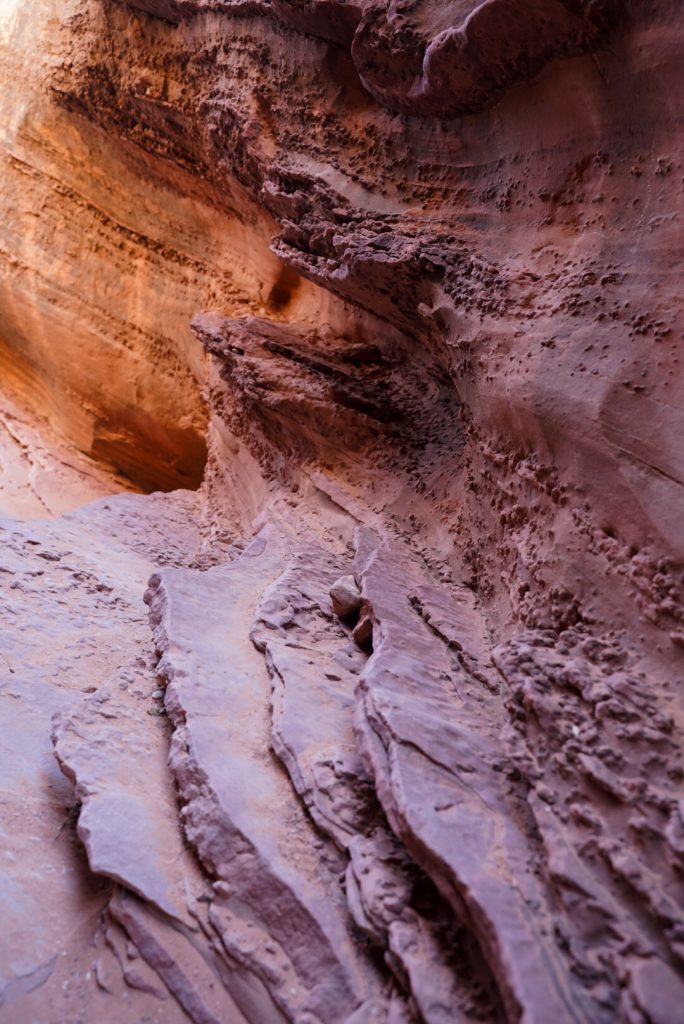
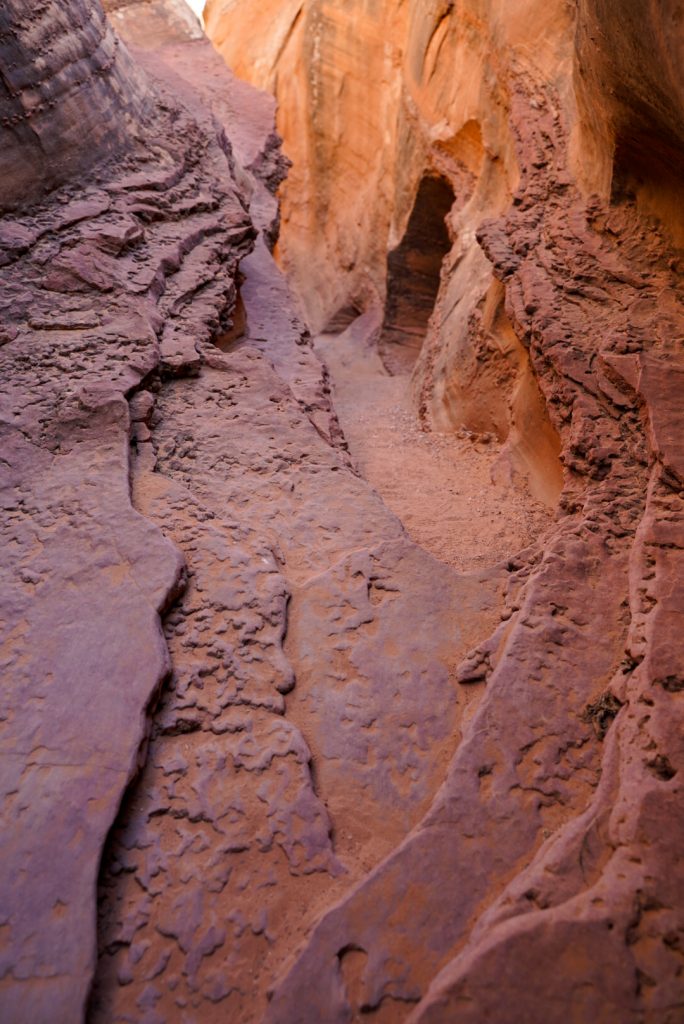
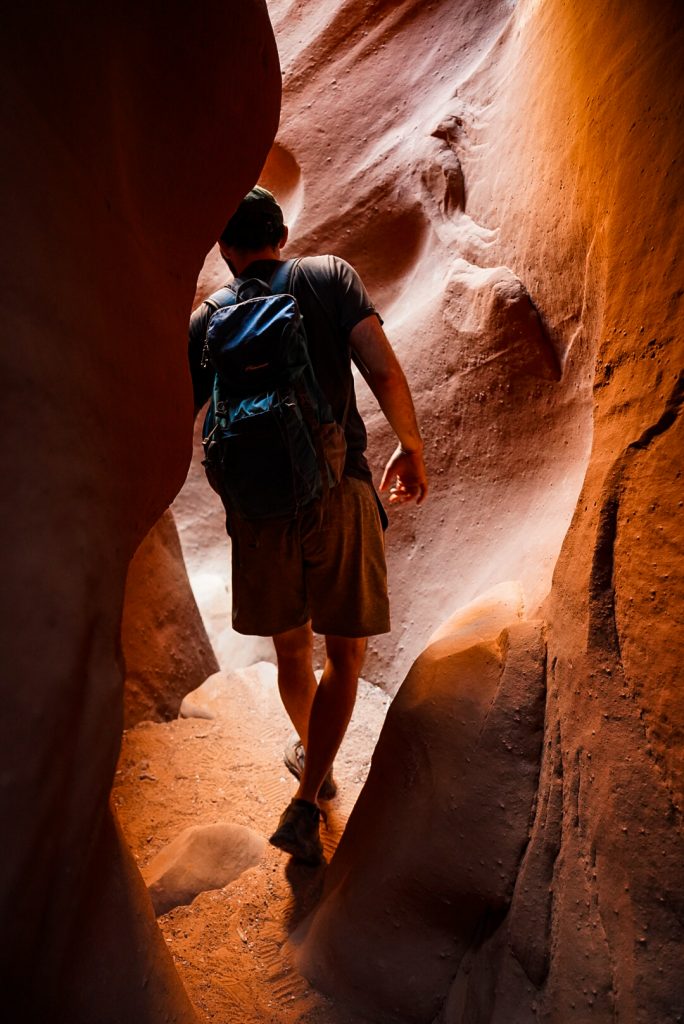
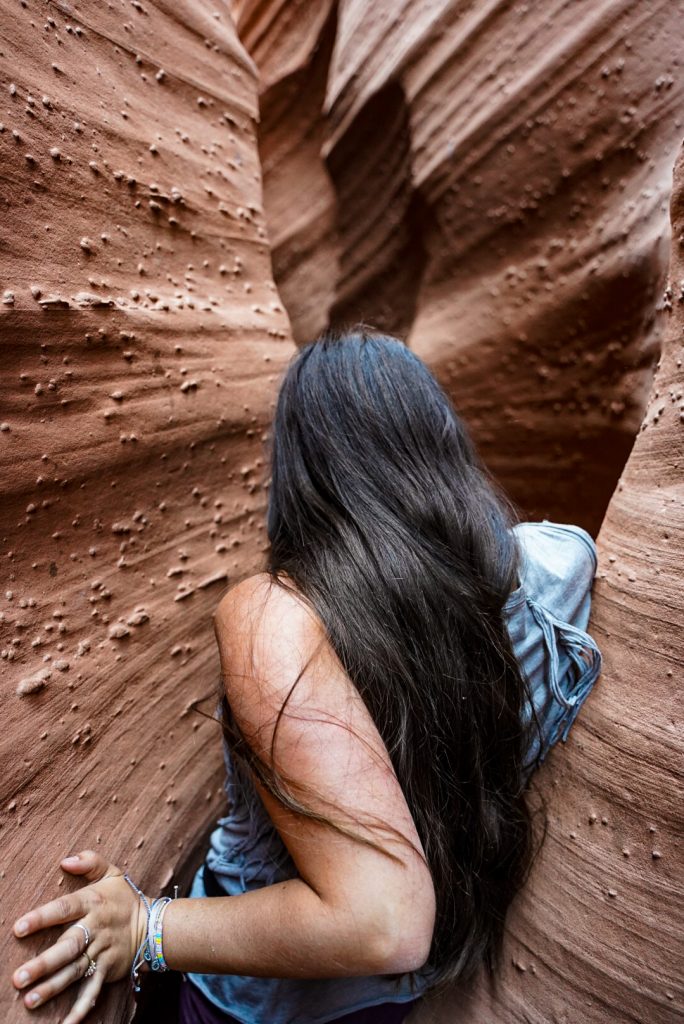
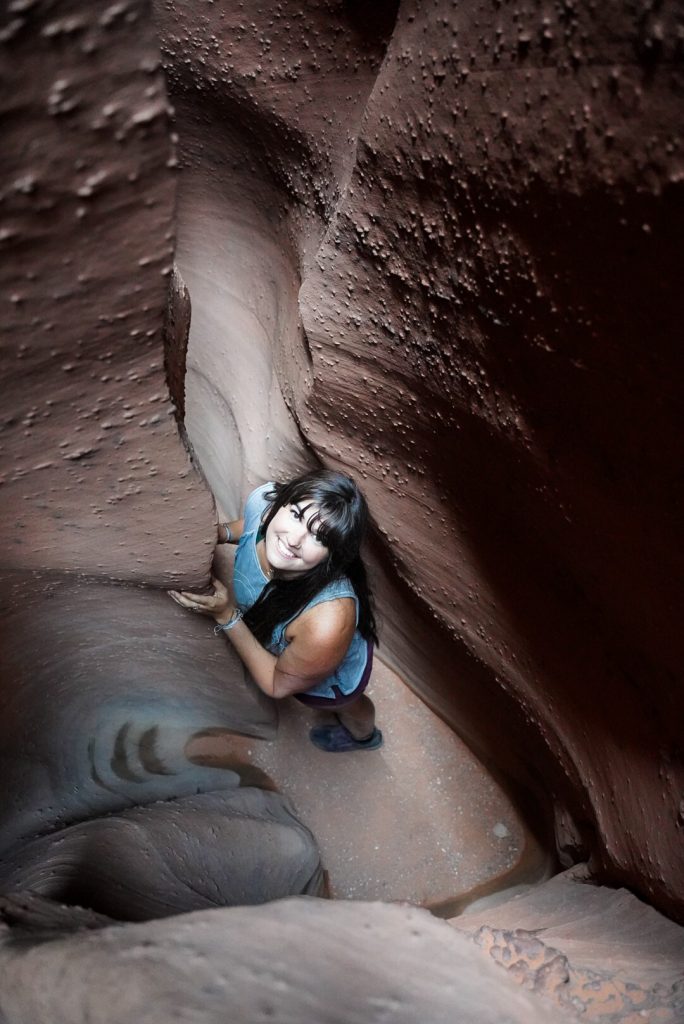
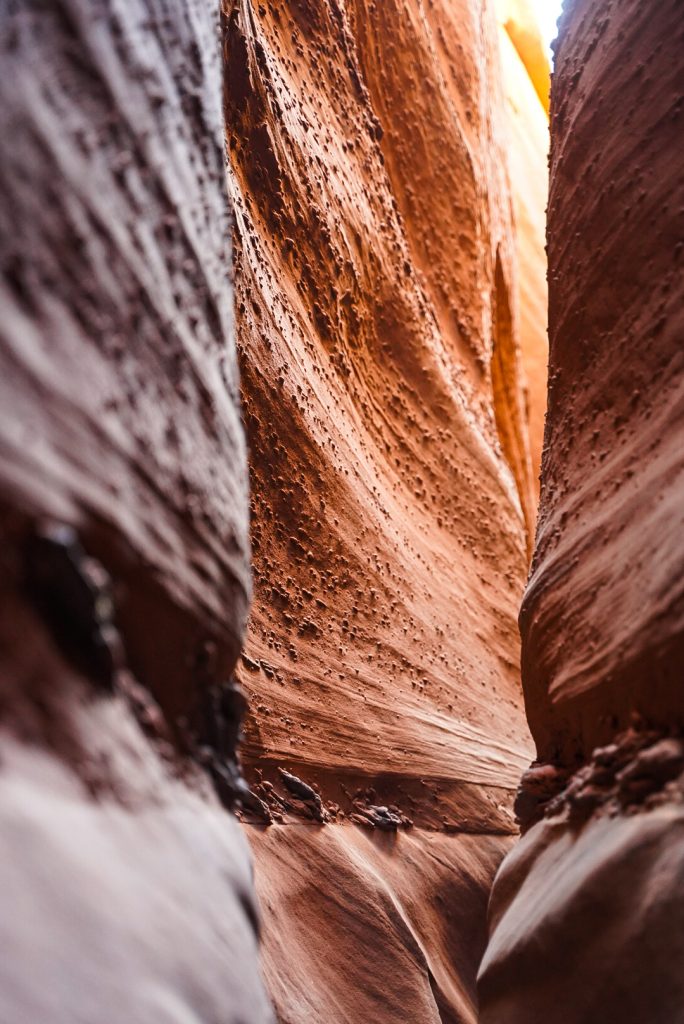
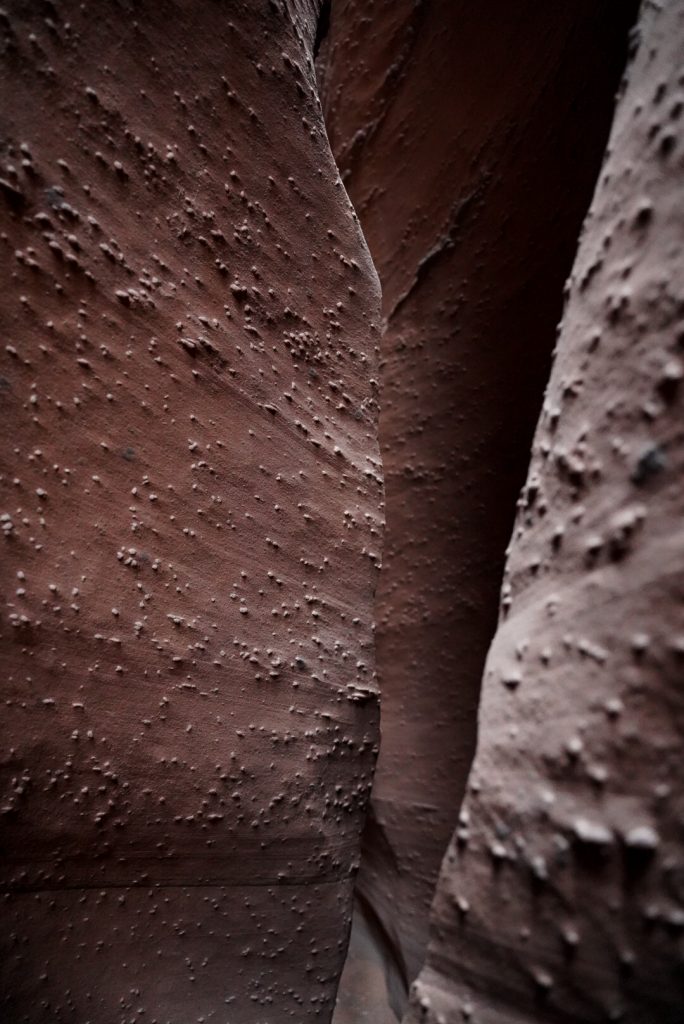
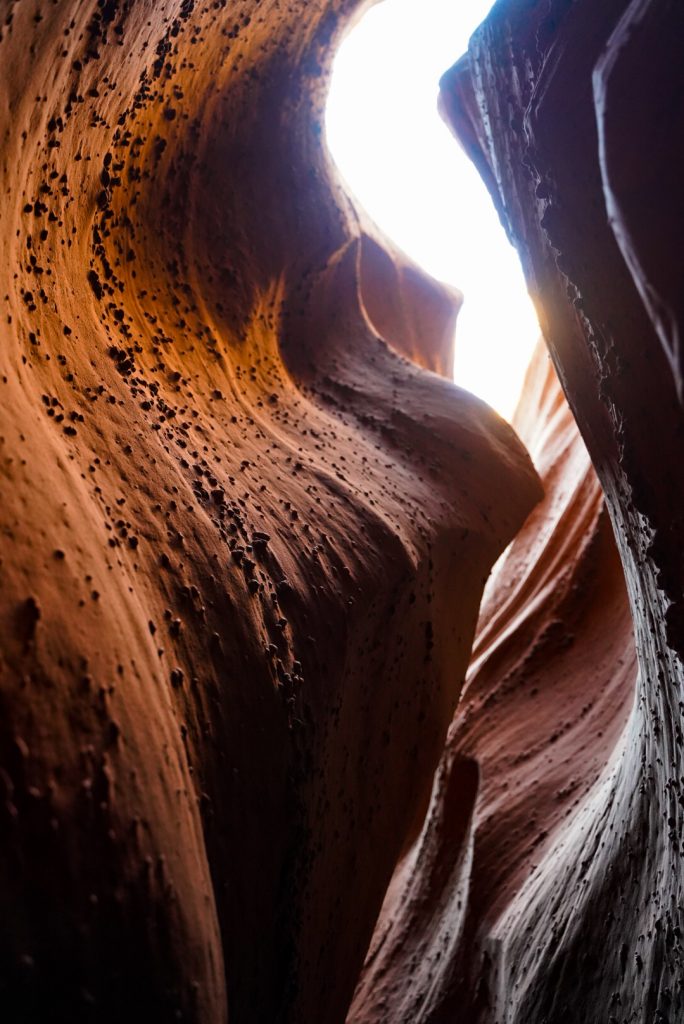
After the boulders it’s a series of shimmying, crawling, and skimming through the rest of the canyon. My absolute favorite parts of Spooky are the ultra textured walls and how sinewy (canyon talk for curvy) the walls are. Other slots like the narrows or Little wild Horse are narrow channels of straight walking- where you can see the light at the end of the tunnel most of the time. In Spooky- you can see maybe 5 feet ahead before the canyon dramatically twists and curves so there’s no end in sight.

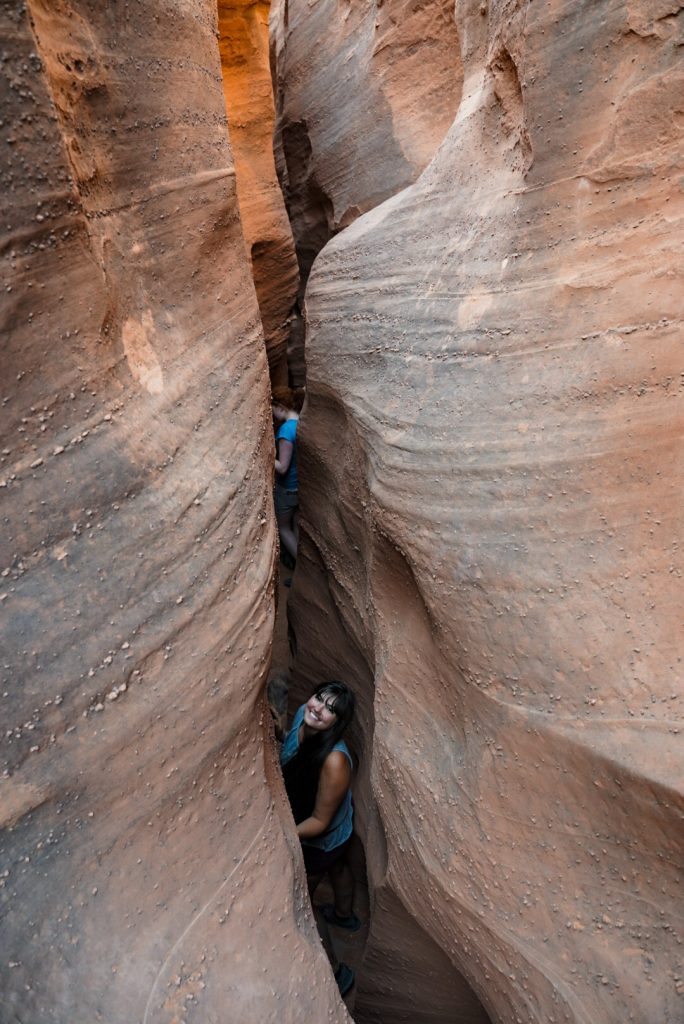

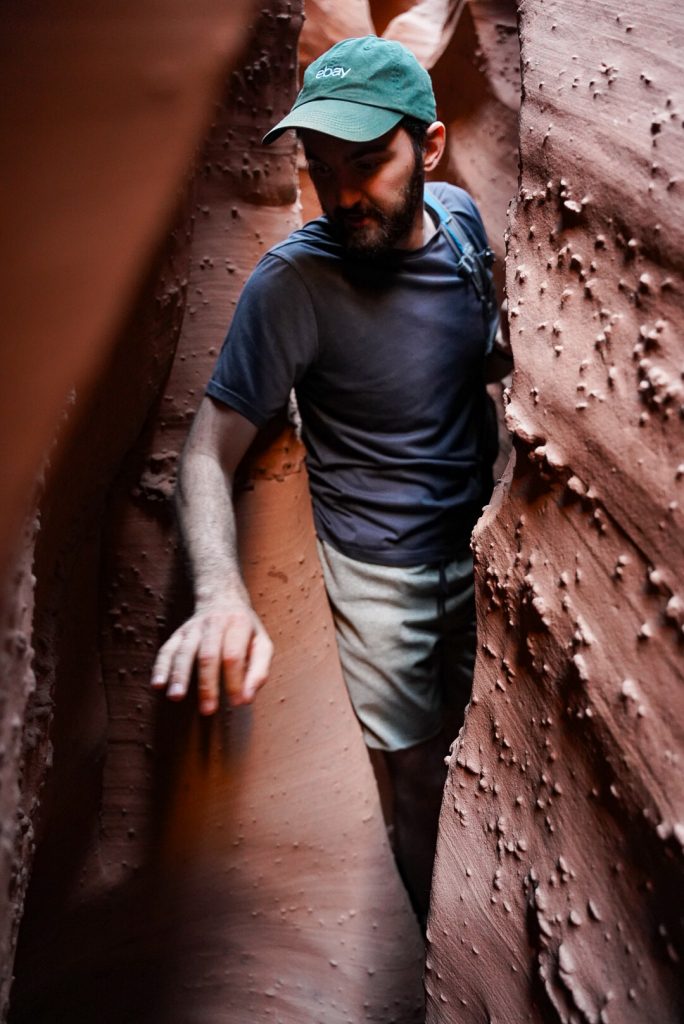
*As a side note, this isn’t a good trail for the claustrophobic.
After an hour or so we were out of Spooky. We followed the trail along the wash easily back to where we passed the entrance to Peekaboo completing the loop. From there you hike back up the same trail you hiked in on.
Should you bring your dogs?
*The entrance to Peekaboo around 10:30 AM on that Saturday was INSANE. At least 20 people were waiting to make the climb up and it seemed to mostly be blocked with families bringing very small kids and dogs with them. PLEASE be considerate of other hikers and your furry friends. This trail is NOT good for dogs. The sand is very hot and will burn their paws unless you start at 6AM. Also consider the canyon is NARROWEST at your feet where dogs will be hiking through. Not only will you have to lower/ hoist your dog up these 10+ foot drops but you will have to help your dog over narrow sections of canyon where they WONT fit.
We were back at our car around 11 to find a completely full parking lot but had one of the best mornings we could ask for.
Definitely start early.
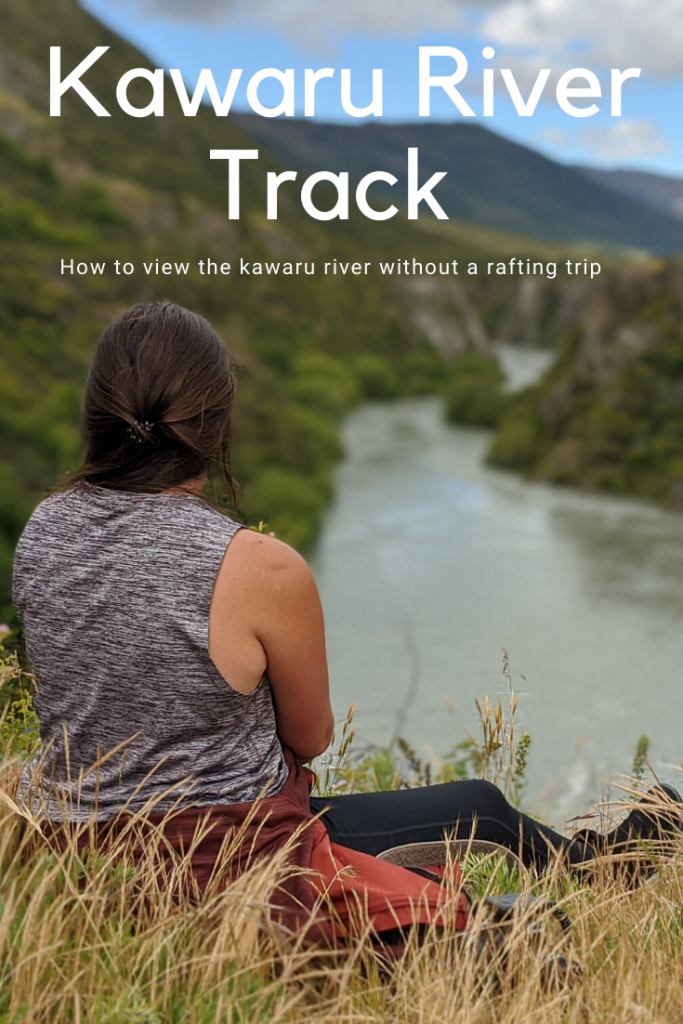
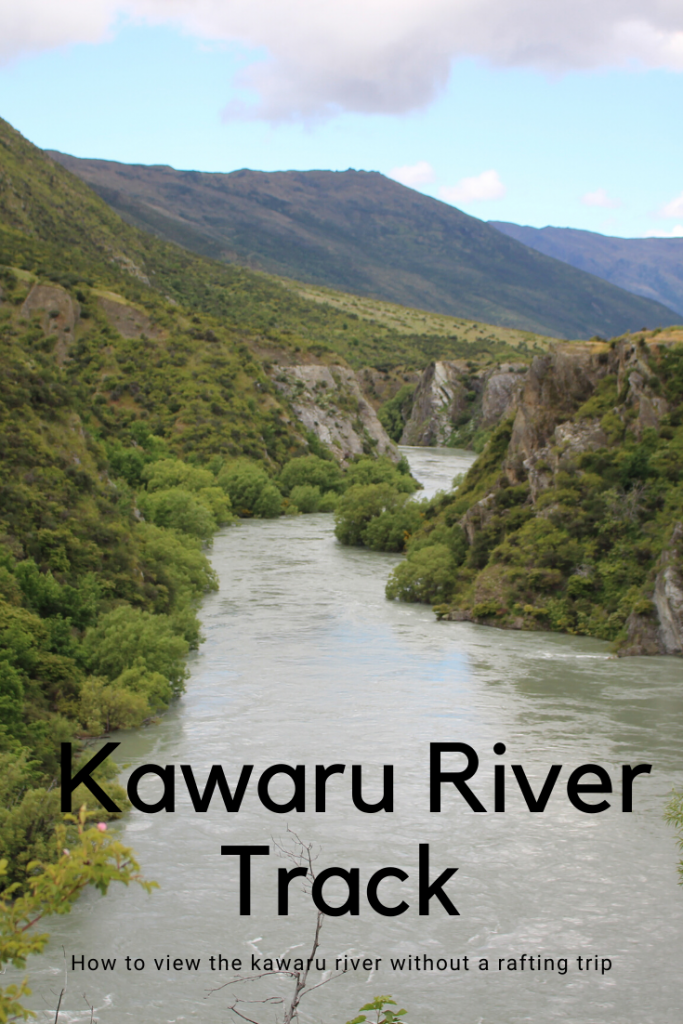
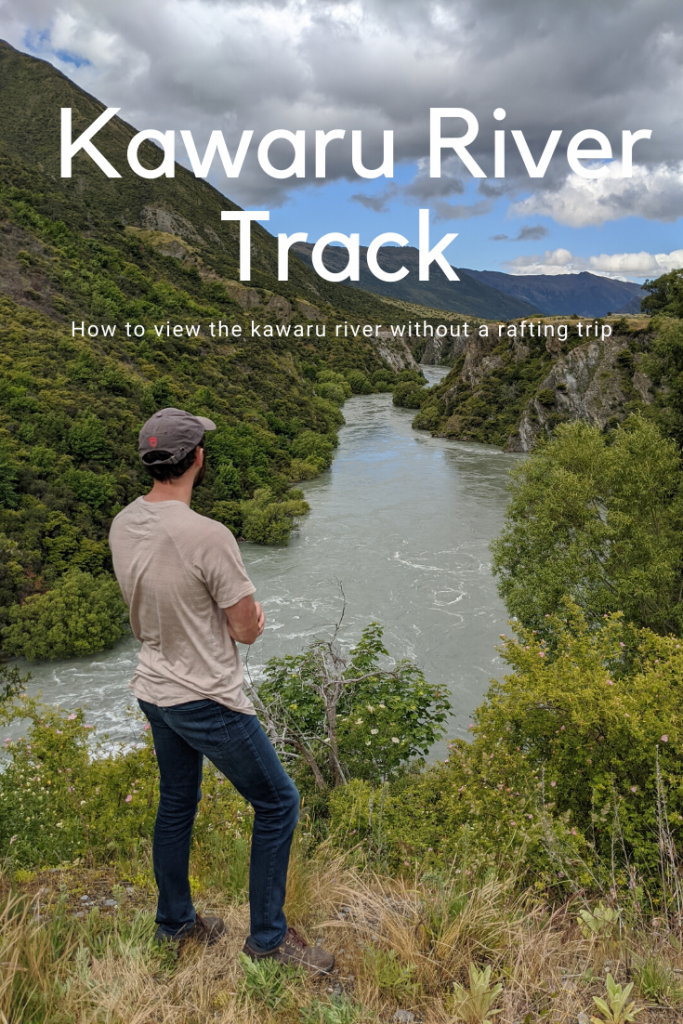
Pin me: