Backpack to Red Castle Lakes

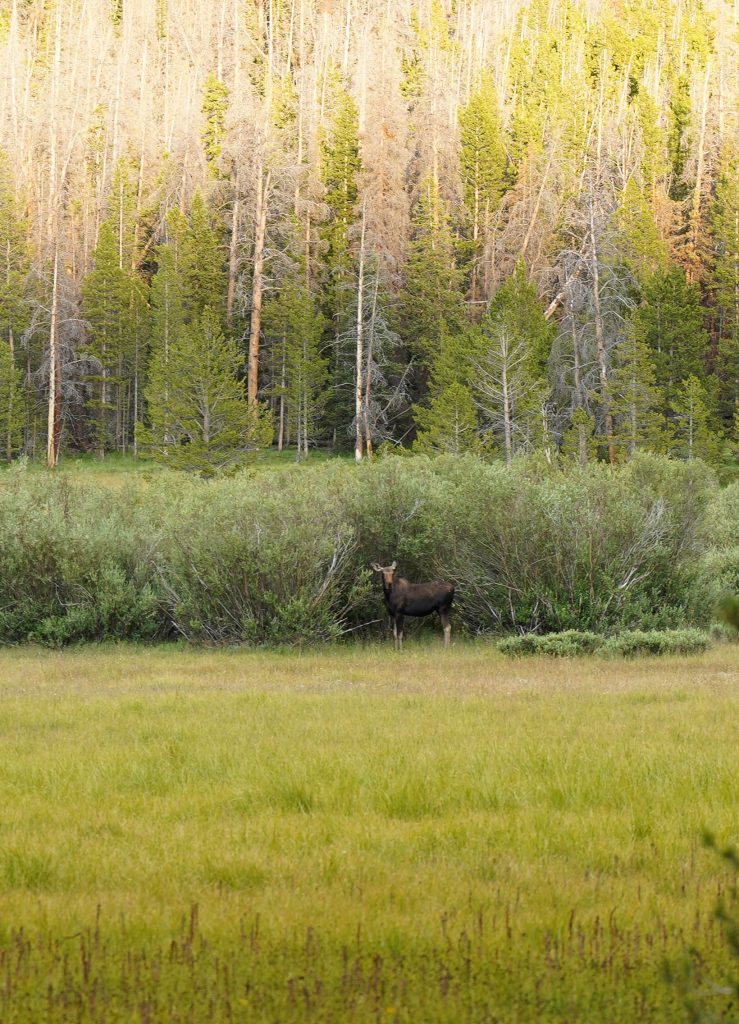
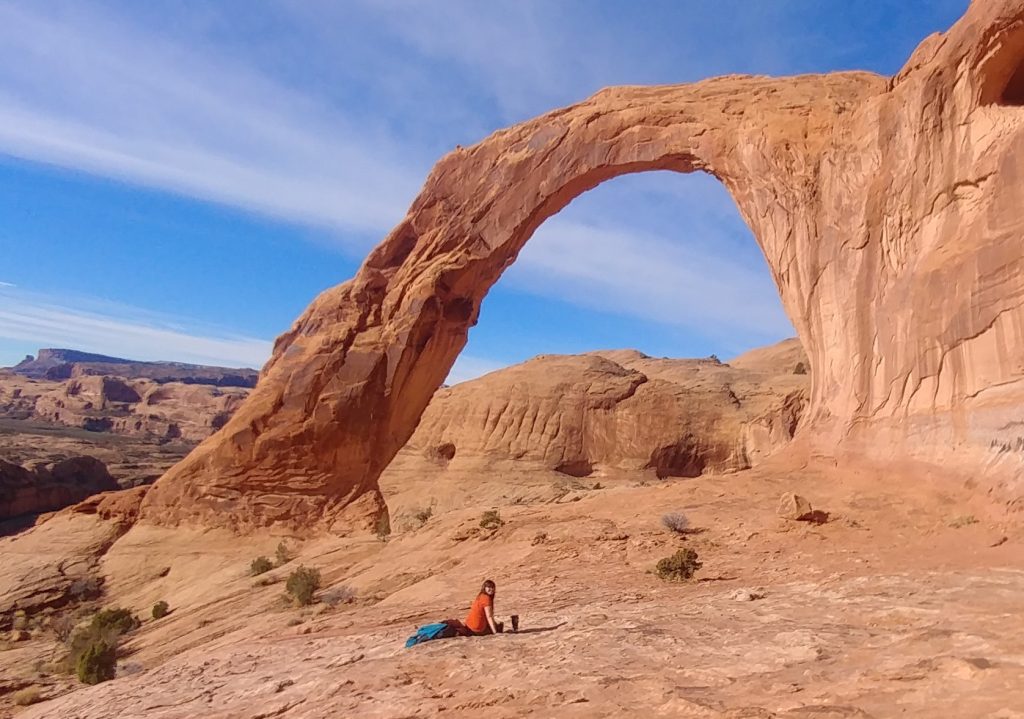
While almost everyone knows Kings Peak is “the” backpacking trip to do in the Uintas, Red Castle isn’t quite as largely known (though that continues to change with each passing year) I first heard about it and had a trip planned in 2016 but the trip was cancelled due to weather. Each year after I’ve tossed around the idea of going but something always came up! So this year was the year and all the hype from the last 4 years did NOT disapoint. 
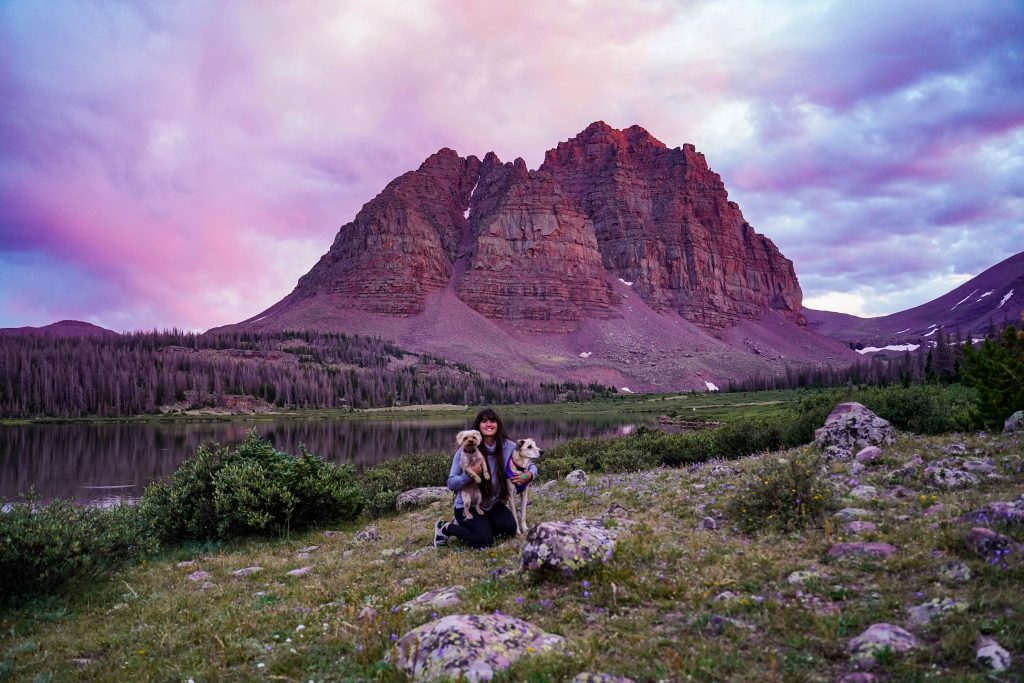
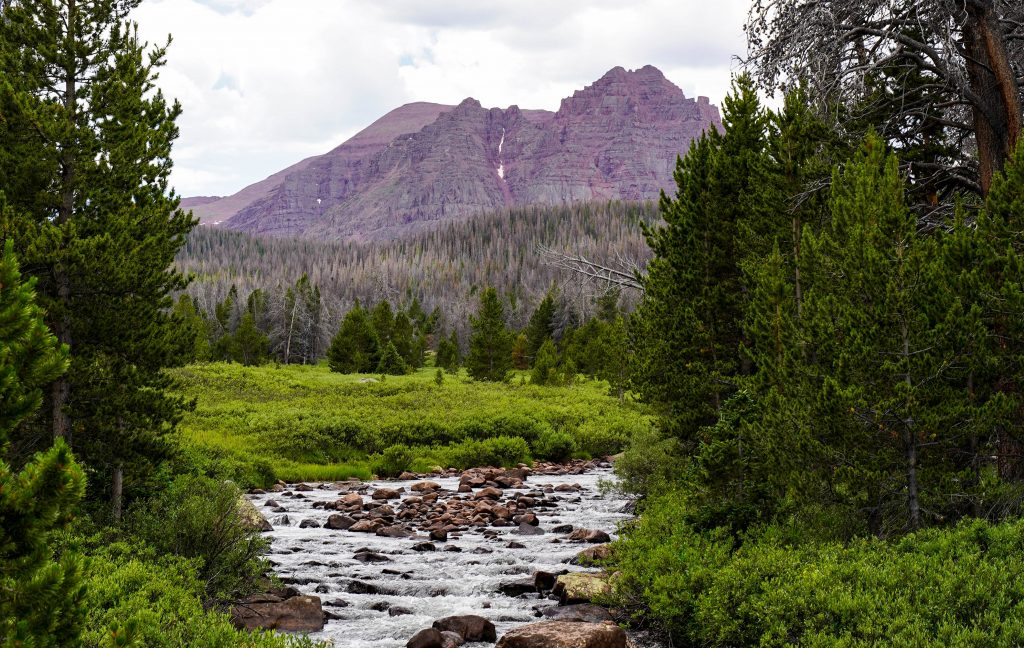
Red Castle, which just happens to be one major drainage over from Henry Fork (trail to Kings Peak), is not just an incredible destination but a stunningly beautiful hike as well. Now that I’ve hiked both Kings Peak and Red Castle, I’d say the trail to Red Castle is more graded and overall more enjoyable. (could be my PTSD from Kings though, that was a bit of a rough trip) So with that here’s the deets:

Trail Information:

Total Distance: 26 miles RT to Red Castle Lake
Distance to camps: 20-24 miles RT depending on where you want to setup
Elevation: ~2,000 feet
Time:~5 hours to Lower Red Castle Lake (camp) each way
Fees: The parking lot is $5/day and recreation passes are NOT accepted. If you have more than 1 vehicle you can pay “additional vehicle” charges which is +$4/ car/ day so if you have 2 cars it would be $9/day instead of $10. This fee is CASH ONLY. Come prepared so you aren’t ticketed while out in the backcountry.
Trailhead:

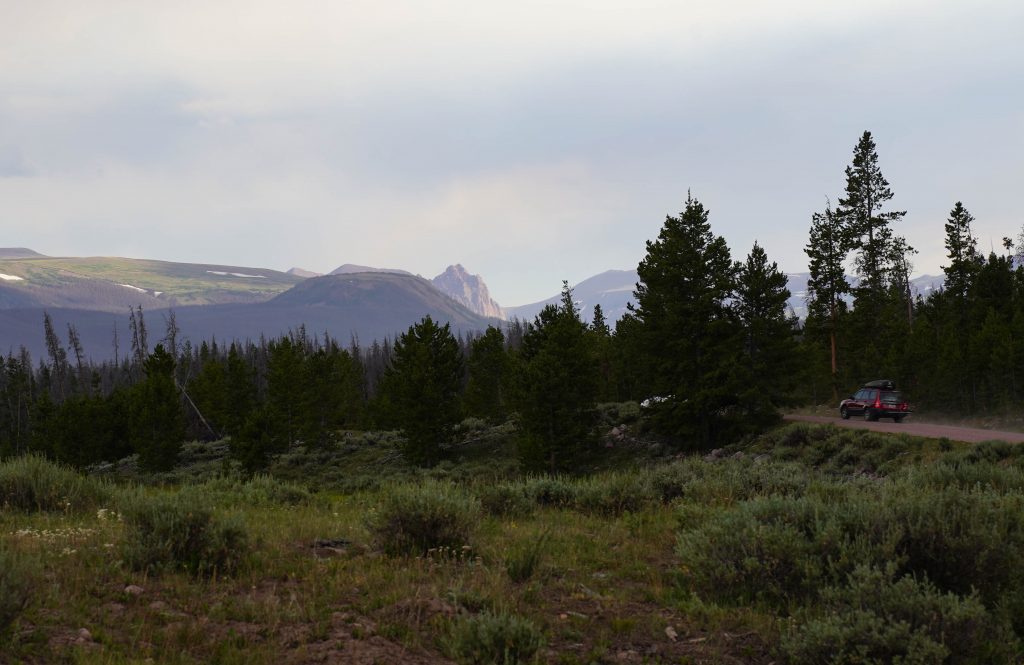
While all trails connect and there are various ways to actually hike into Red Castle, China Meadows is the most popular route. The trail starts from the trailhead campground at the far end of all the campground loops. To get there, take exit 34 off I-80 and follow WY-410 E as it become Co Rd 283 and FR072 to FR125. Most of the roads are unpaved but still decent with only the last couple miles being a little more rough. As you pass China Meadows Campground and start the far loop, keep an eye out for a large parking lot.

Camping spot options:

Red Castle is not a terribly difficult hike but it is a LONG hike. It can done as an overnight but would be much more enjoyable with 2 nights. We actually worked most of the day Friday, drove to the trail head, and started hiking in at 6:30 PM. Just getting halfway in made our 2nd day that much more enjoyable. Once near Red Castle, the camping options abound:
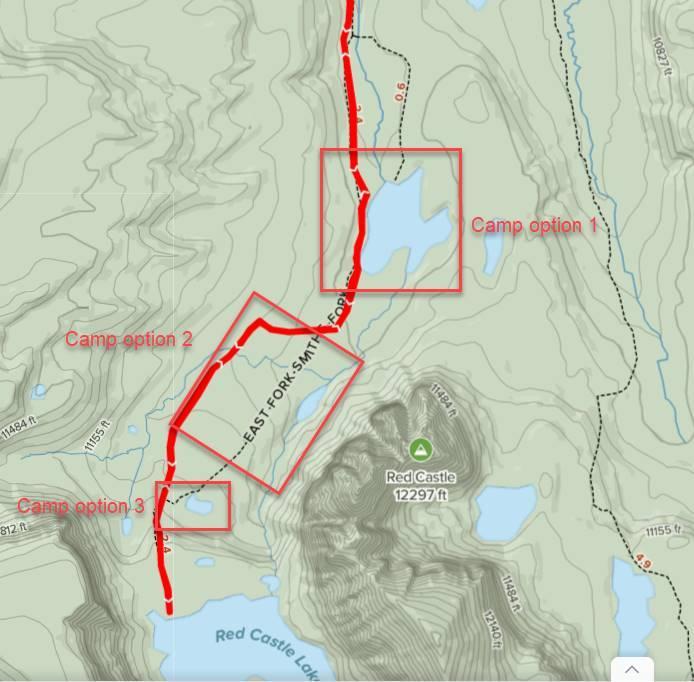
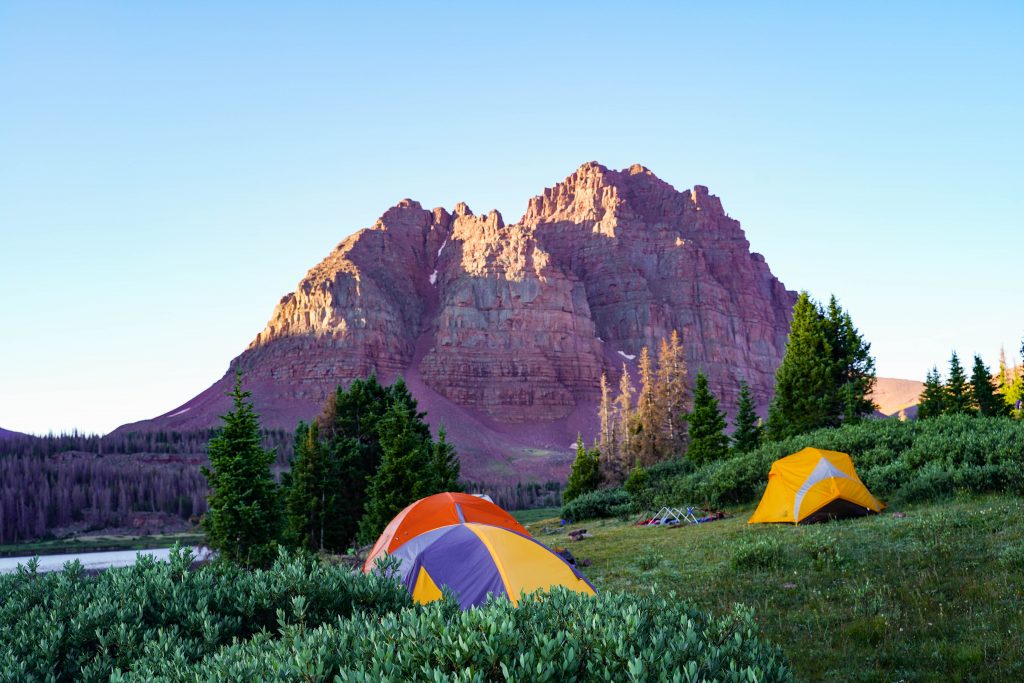
Option 1- Camp at Lower Red Castle Lake

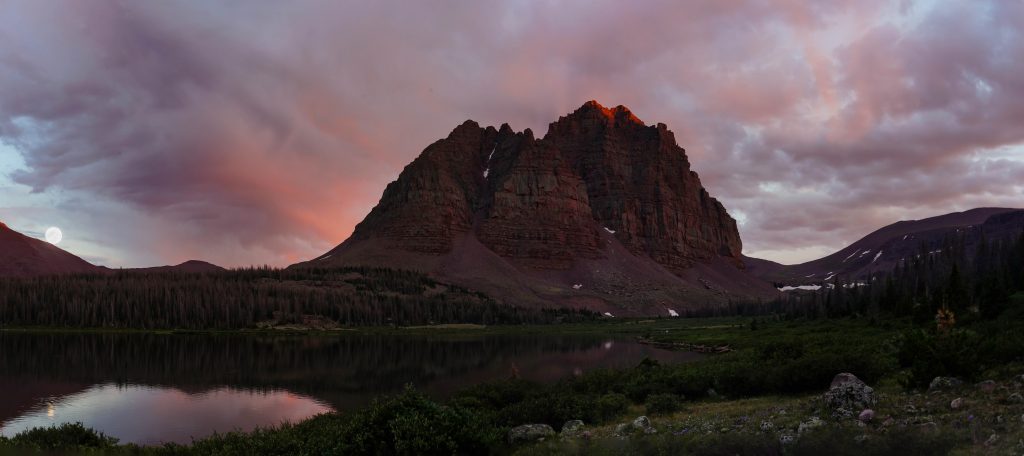
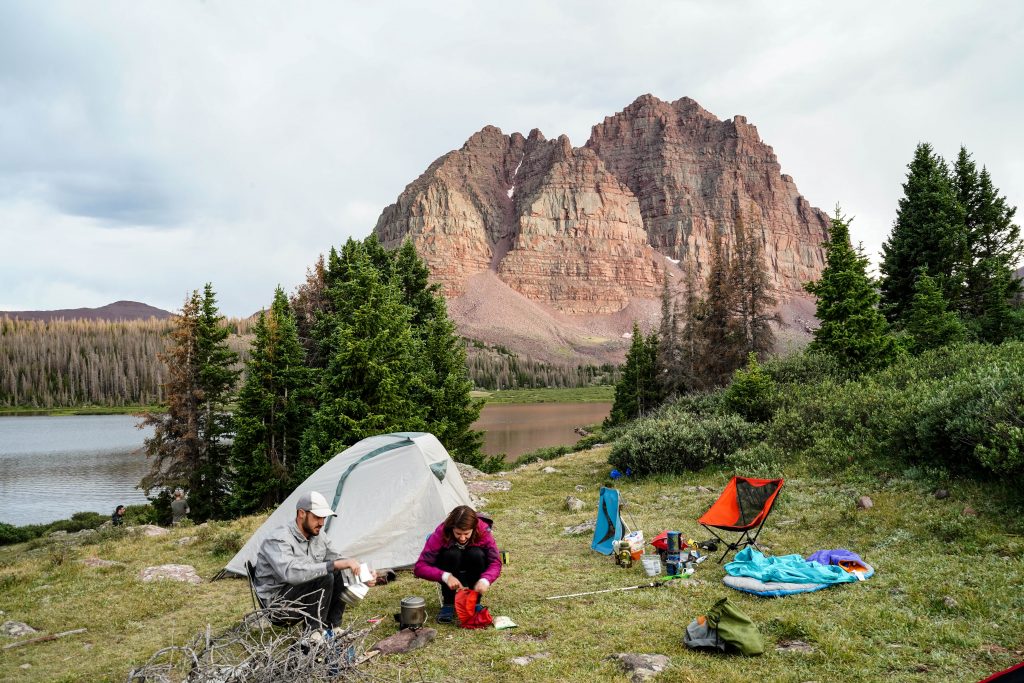
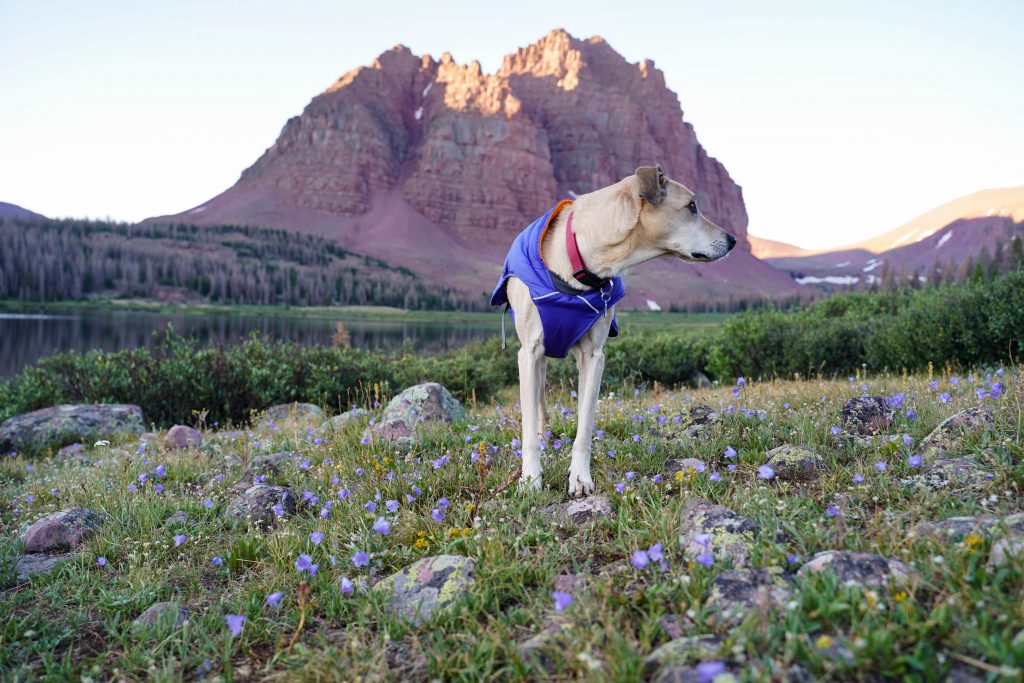
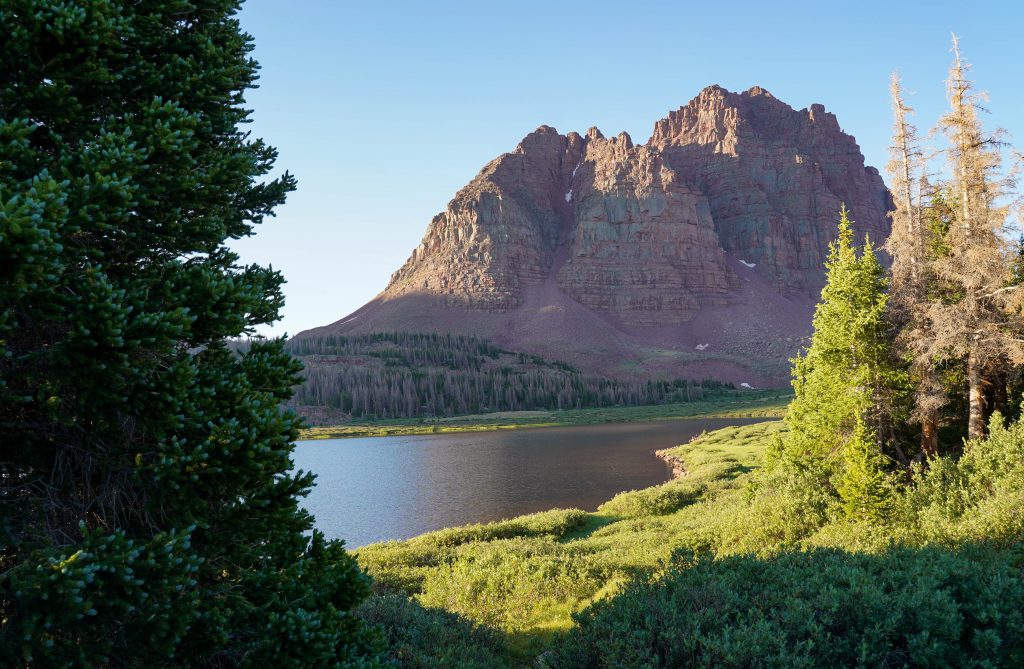
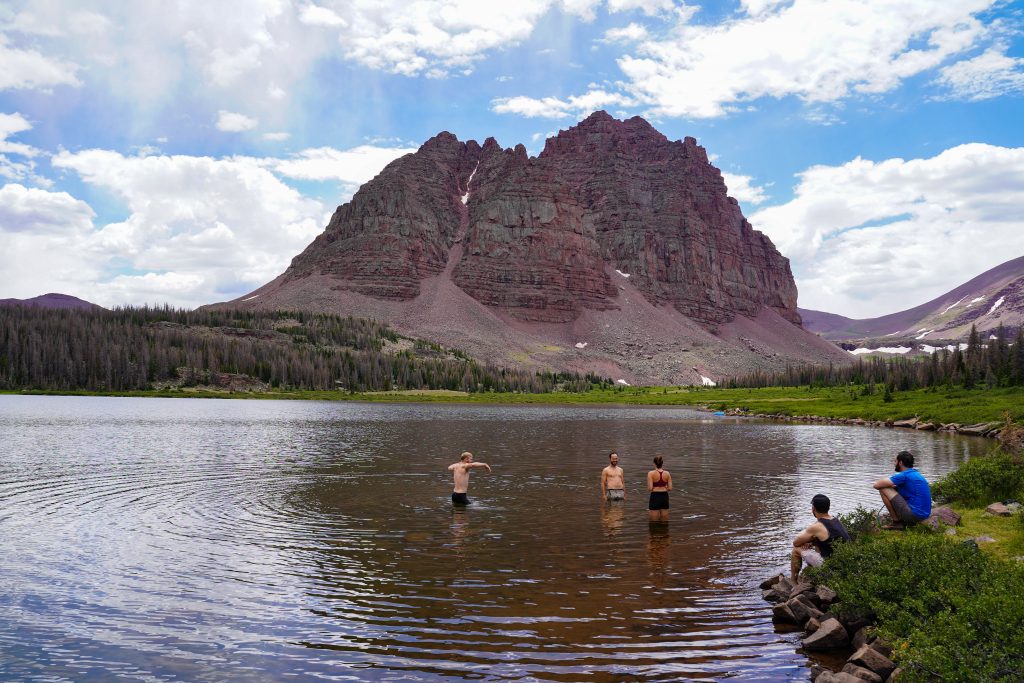
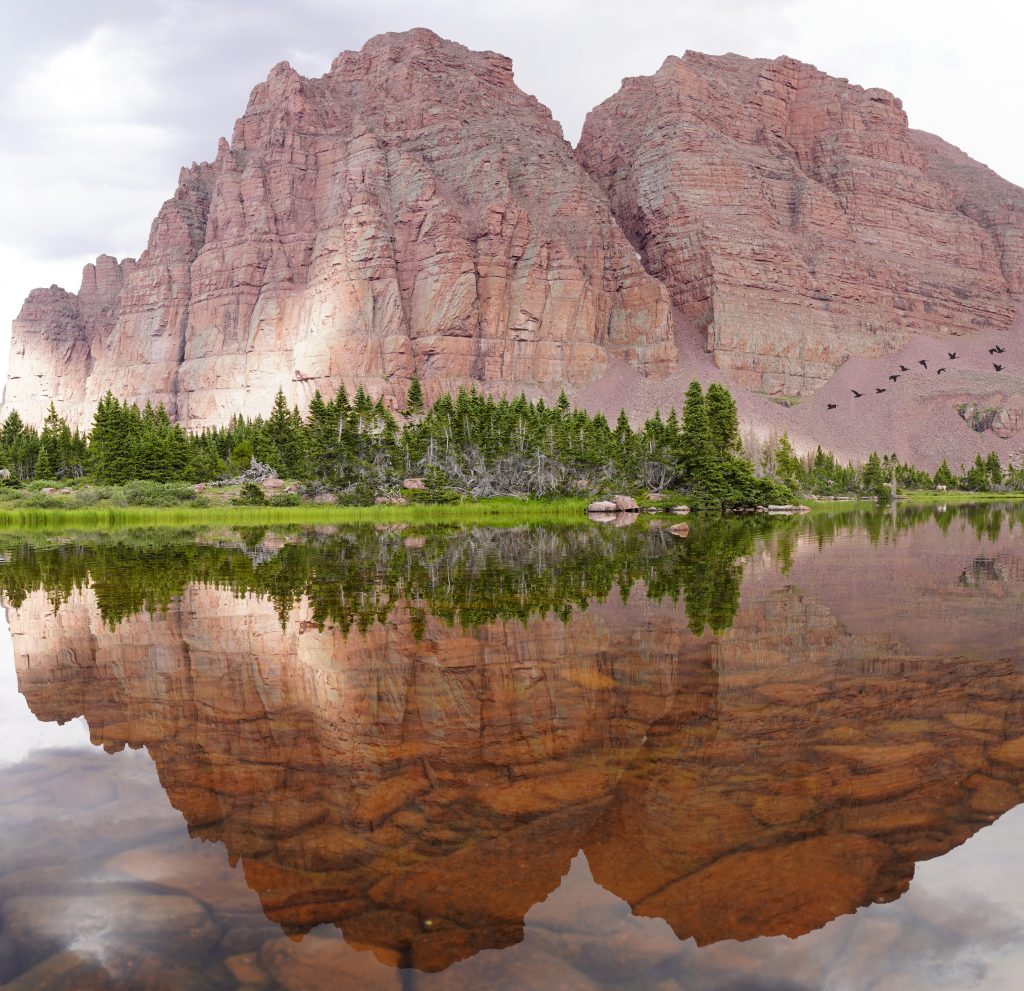
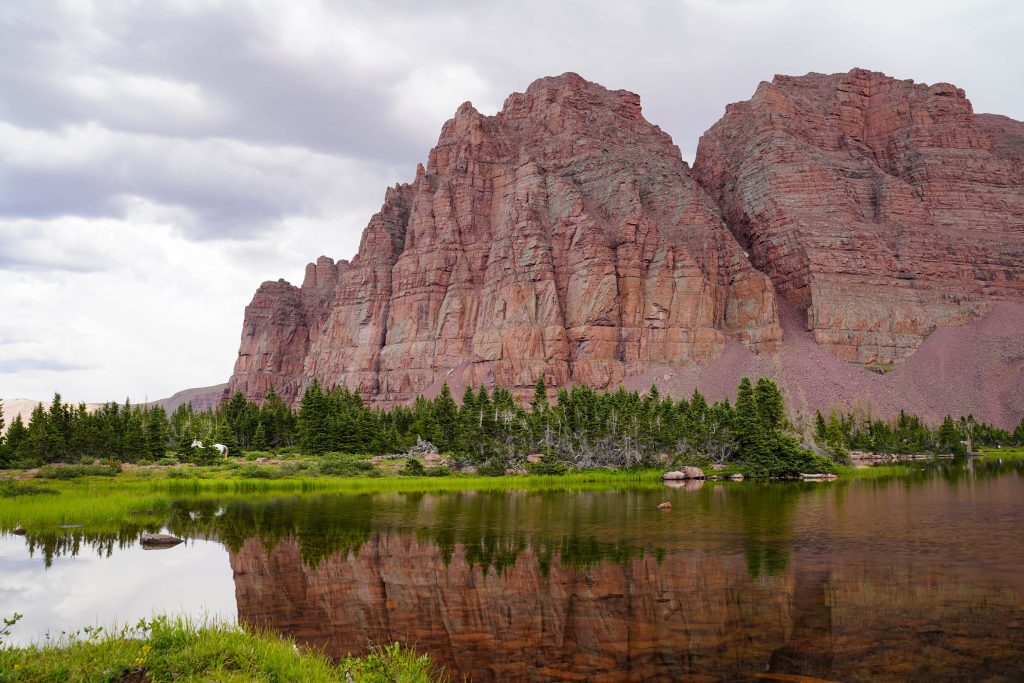
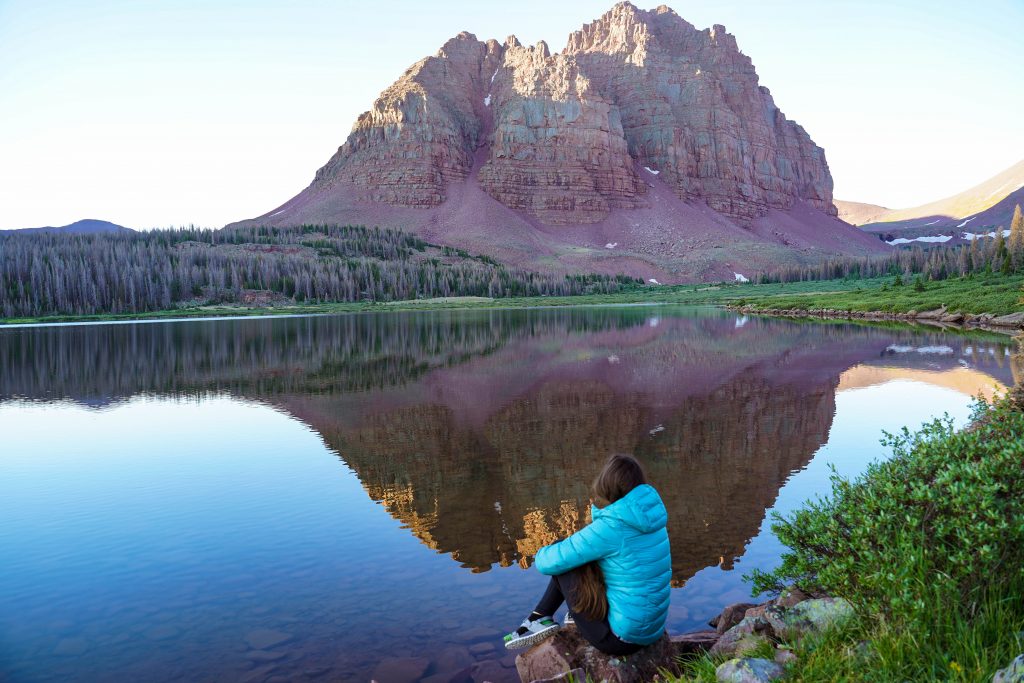
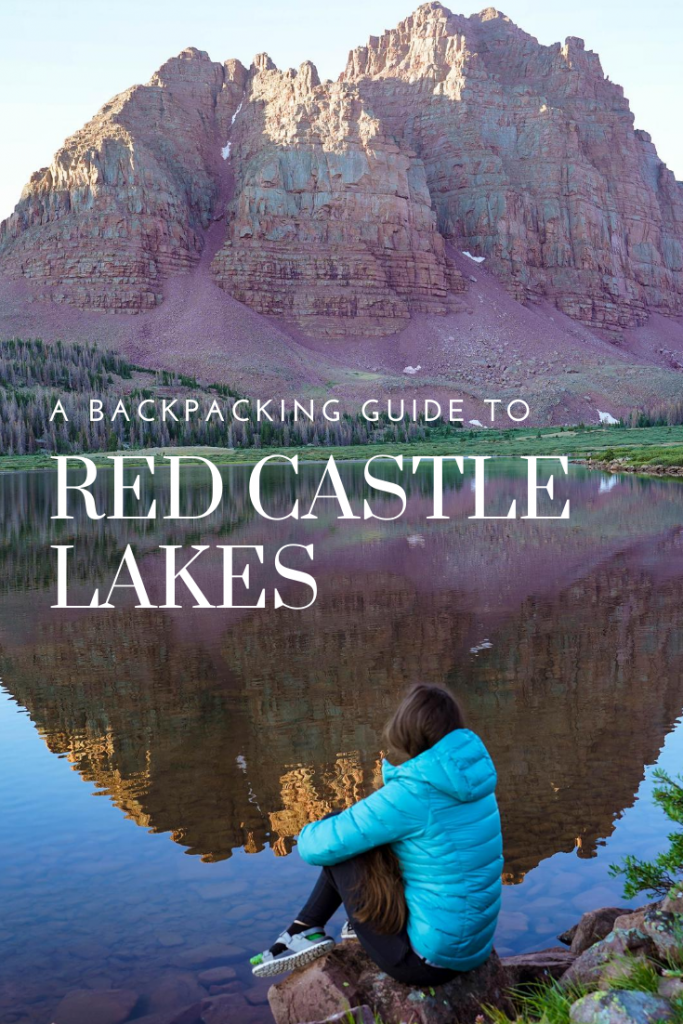
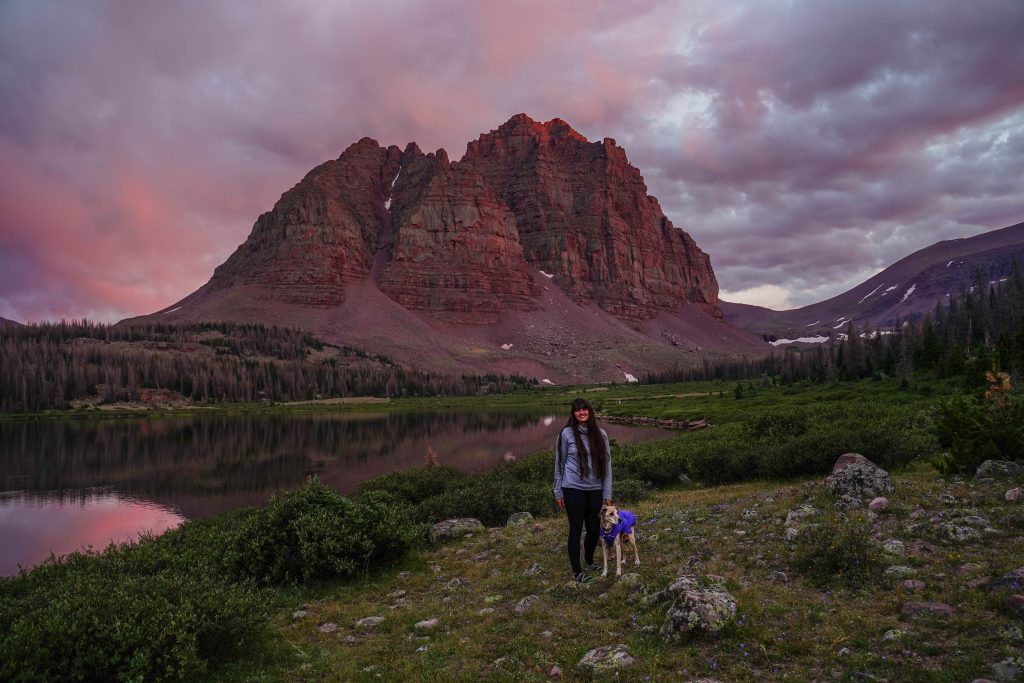
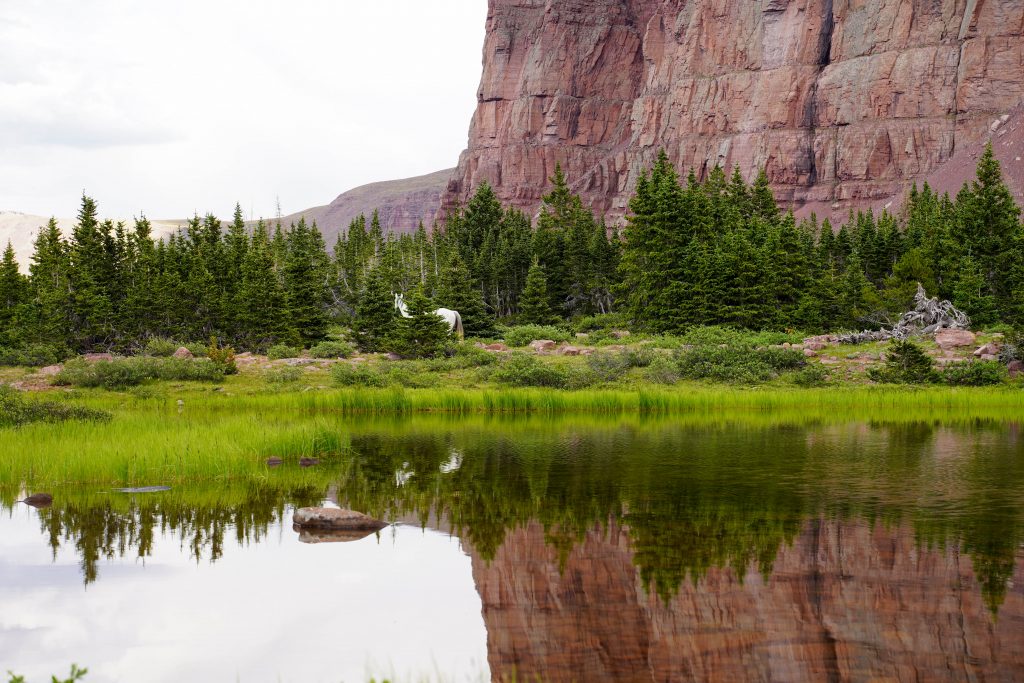
If you want that classic reflection of Red Castle on the lake and want the shortest hike with a pack possible, than camping around the lower lake is for you. (and for us) There are loads of places to setup all around the lake depending on the shore access and views you want. We got there Saturday afternoon and while it was busy we managed to still snag a great spot with some measure of privacy. (Just remember to camp 200 feet from water sources)
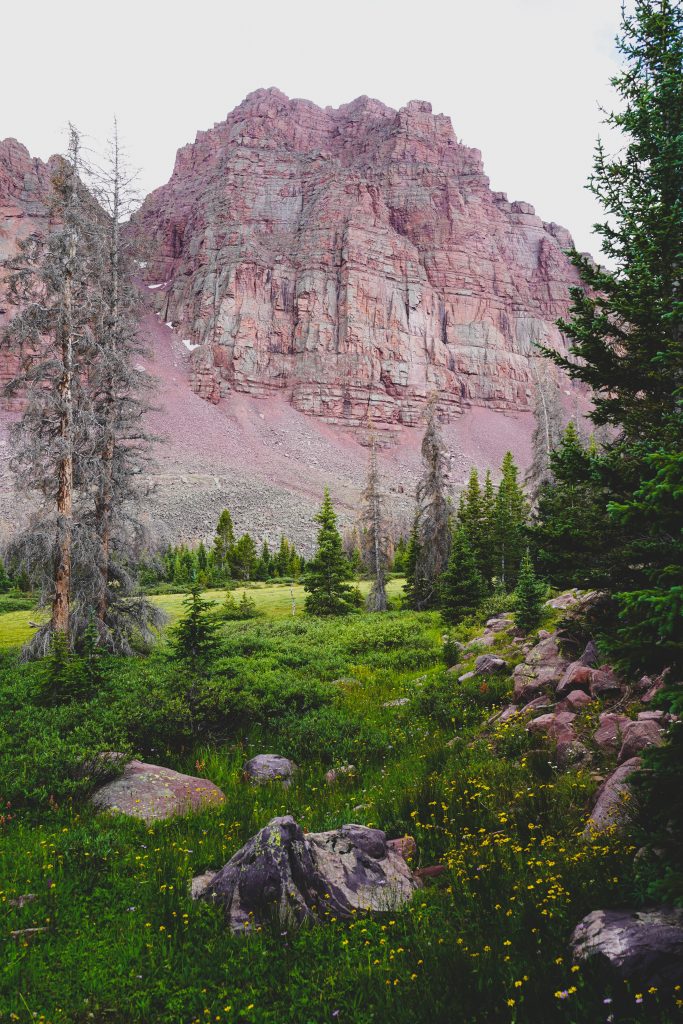
Option 2- Camp between lakes

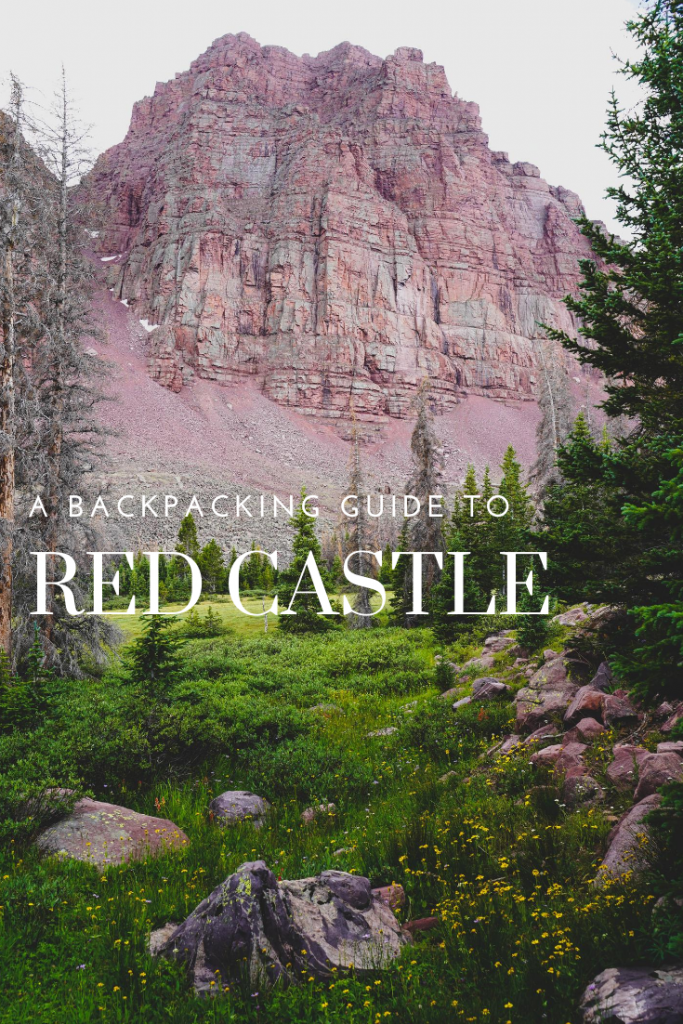
As you head up from the lower lake there’s lots of beautiful forested areas to camp in near streams for water filtering and with Red Castle peaking out through the trees. If you have hammock sleepers, finding a spot in this stretch would be your best bet. This area will also provide more options for privacy and getting away from other campers however we did still see a lot of people camping along this stretch of trail. So while this may be the least crowded option, they area all pretty comparable.

Option 3- Camp at the pond just below Red Castle Lake

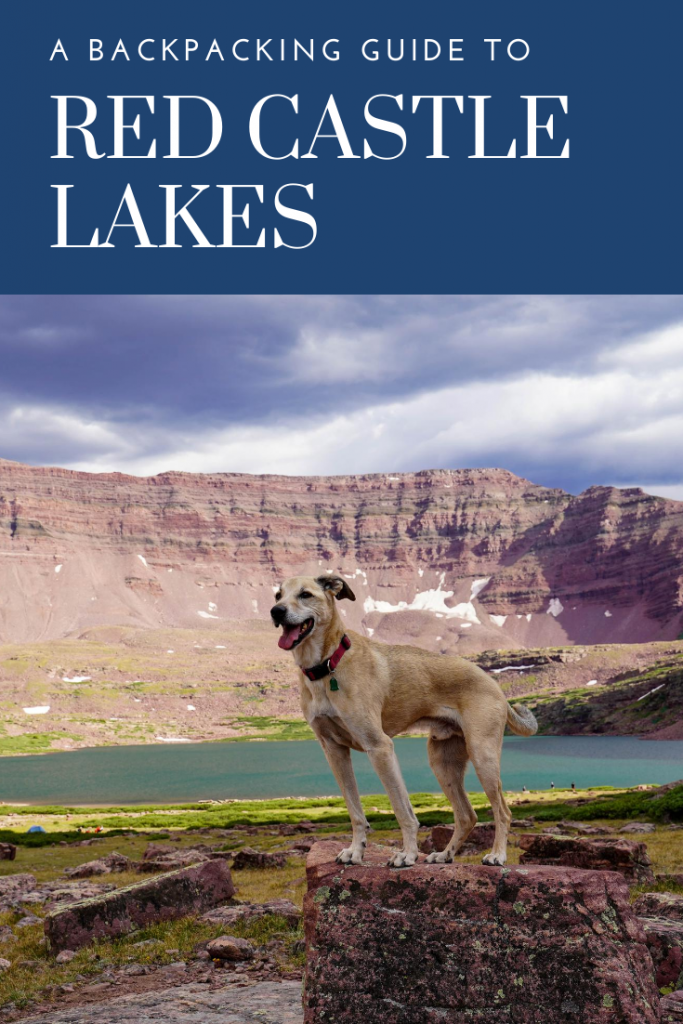
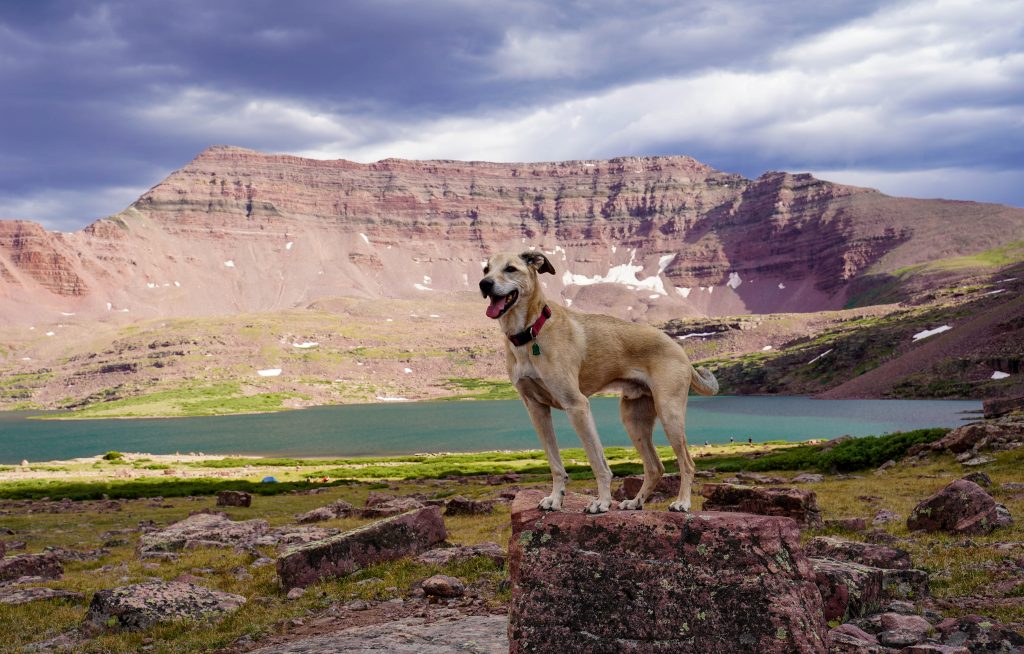
So, the main Red Castle Lake is huge and barren. It has no trees around it to break wind, hang water filters, or offer any privacy. (so I don’t recommend camping there). However there is a small lake un-named just below the basin for Red Castle Lake that offers plenty of shelter, water for filtering, and pretty gorgeous views to boot. This would mean you carry your pack 12.5 miles each way with about 1700 feet of gain so a longer harder hike, but definitely another worthy location to look for camp. 
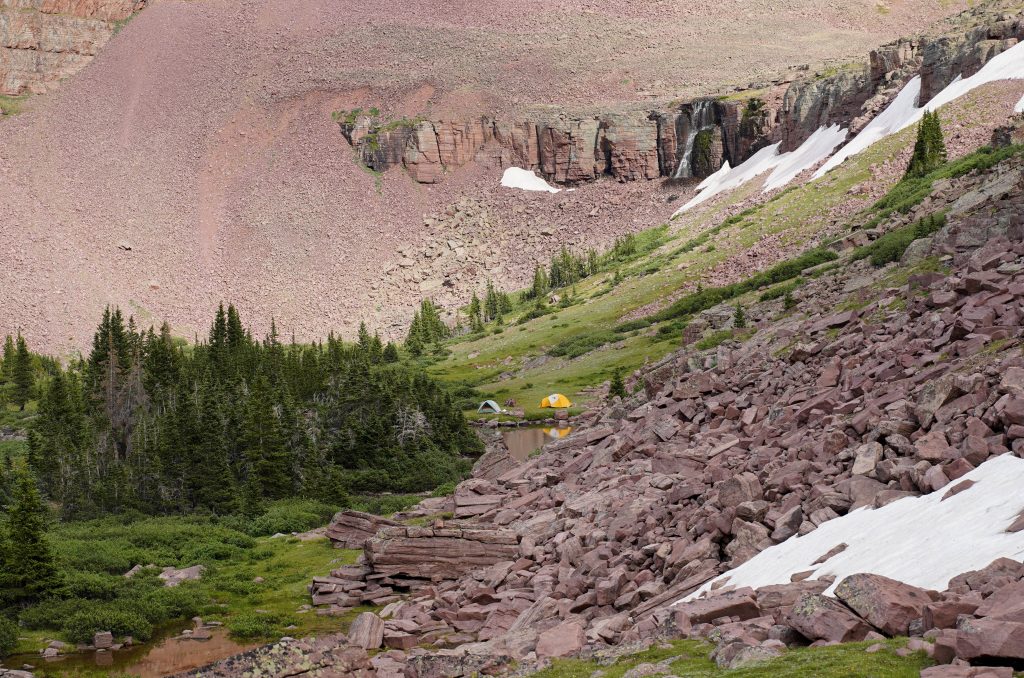
All 3 options are great options with superb views and about equal levels of crowds. Just know if you don’t find a spot where you had your heart set on, you very well could find an even more brilliant spot just down the trail.
*It took us about 30 minutes of wandering along the side of Lower Red Castle lake to find our spot. We passed several already snagged spots that looked AWESOME but we were just as happy with where end ended up. Don’t lose hope

Packing list:

Gear:

  • Lightweight Tent
  • Sleeping bag
  • Sleeping pad + pillow
  • Jetboil or light stove
  • Long spoon and coffee cup
  • water filter
  • Solid backpack with rain cover
  • String for hanging packs when out hiking or at night
  • GOOD bugspray and sunscreen
  • luxury item: lightweight chair

Clothes

  • Puffy coat
  • Rain jacket
  • 1x shorts
  • 1 leggings/ light sweats
  • 1x fleece/ sweater
  • Socks and other underthings

*The weather can be super bipolar in the Uintas meaning you’ll want a full summer wardrobe during the day when it is hot, and warm winter gear for at night. In August we had a high of 70 (felt at least 75 in the sun) and low of 40 at night. Afternoon thunderstorms are common as well so rain gear is always a must.  

Food- For a 2 night trip here is what we packed per person:

  • 2x dehydrated meals (backpacker’s pantry) + 1 dehydrated dessert
  • 2x oatmeal cups (no dishes needed, just cook in the cup and pack out trash)
  • 3x flavored tuna packets + several handfuls of crackers for lunch
  • 3x larabars
  • several handfuls of goldfish for snacking
  • 2x hot chocolate packets for colder evenings

Trail Description: 

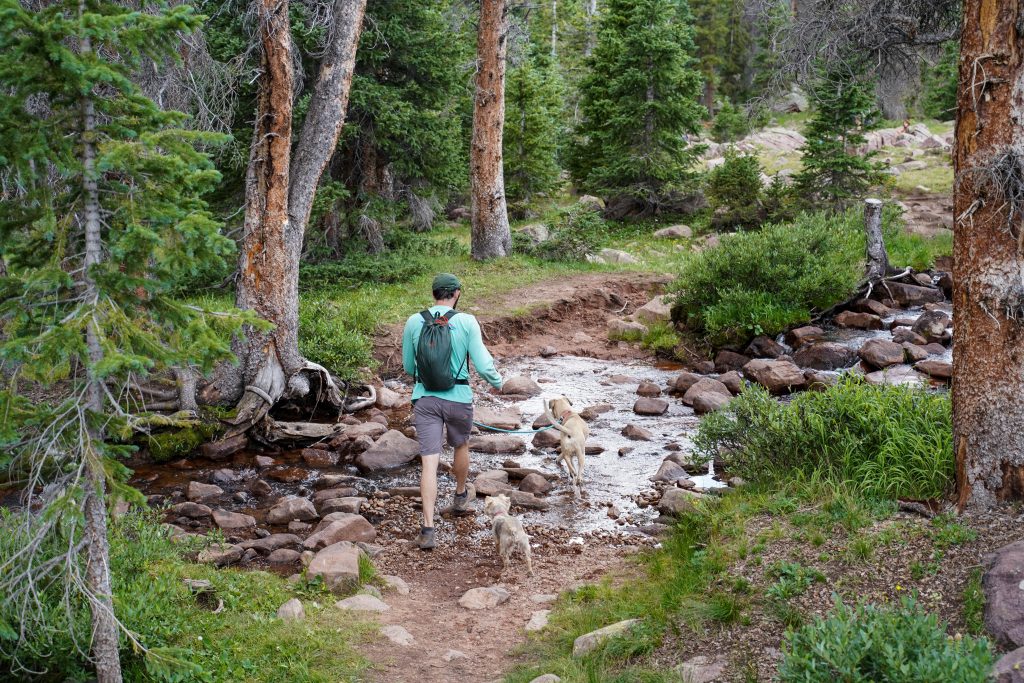
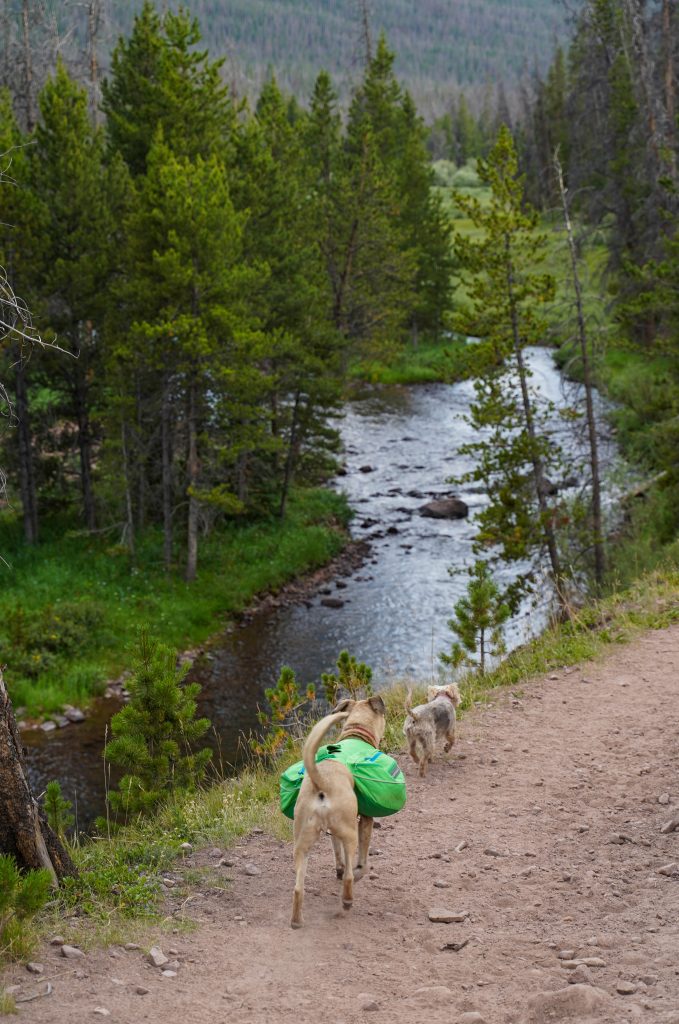
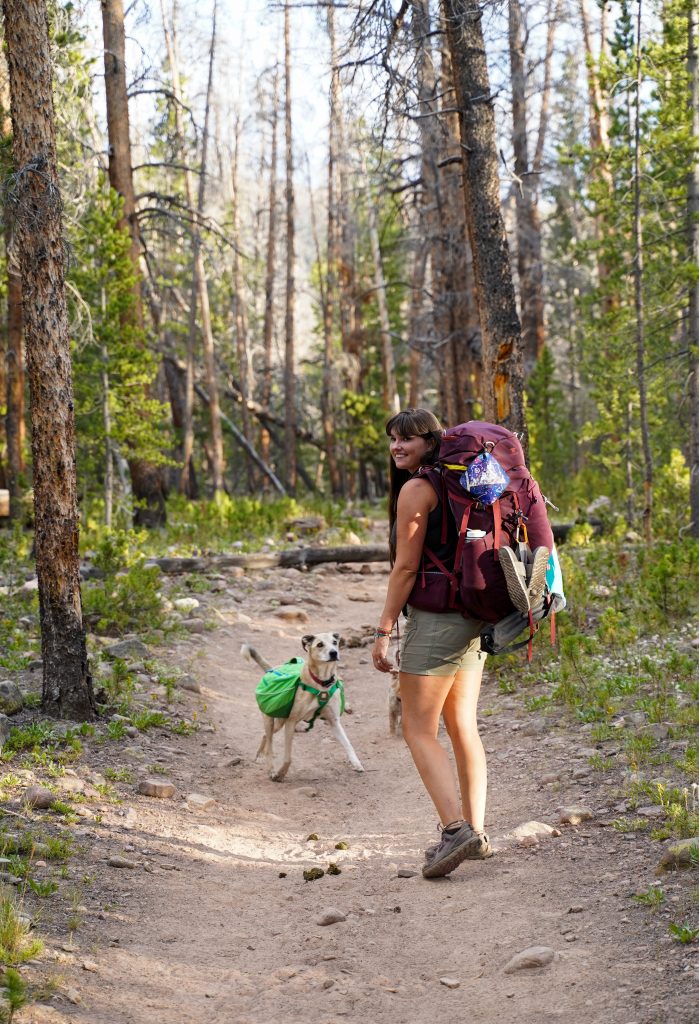
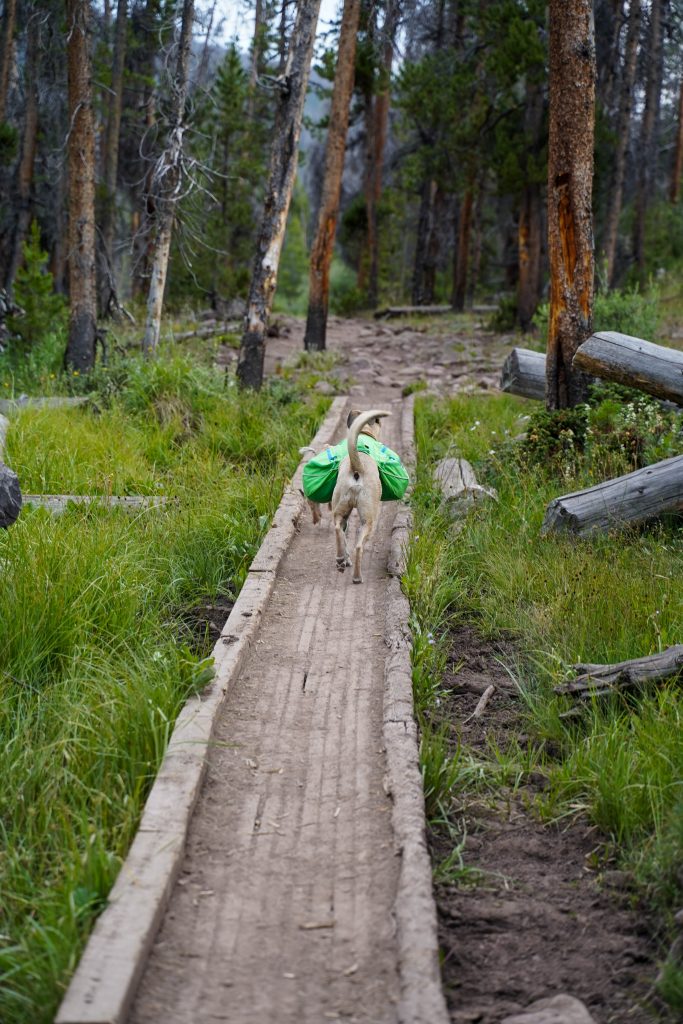
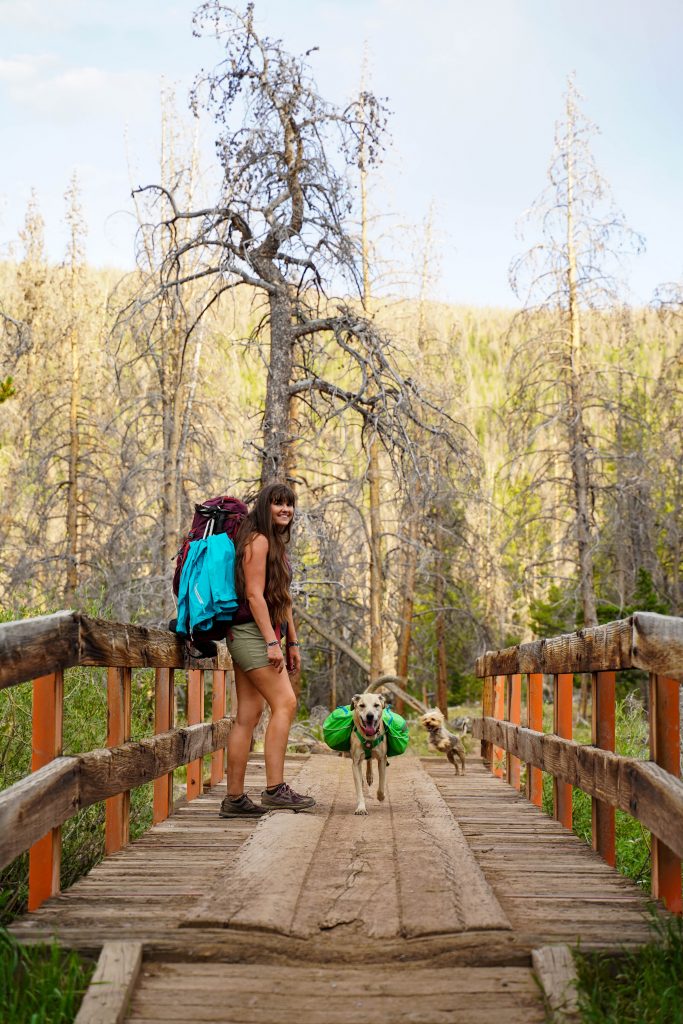
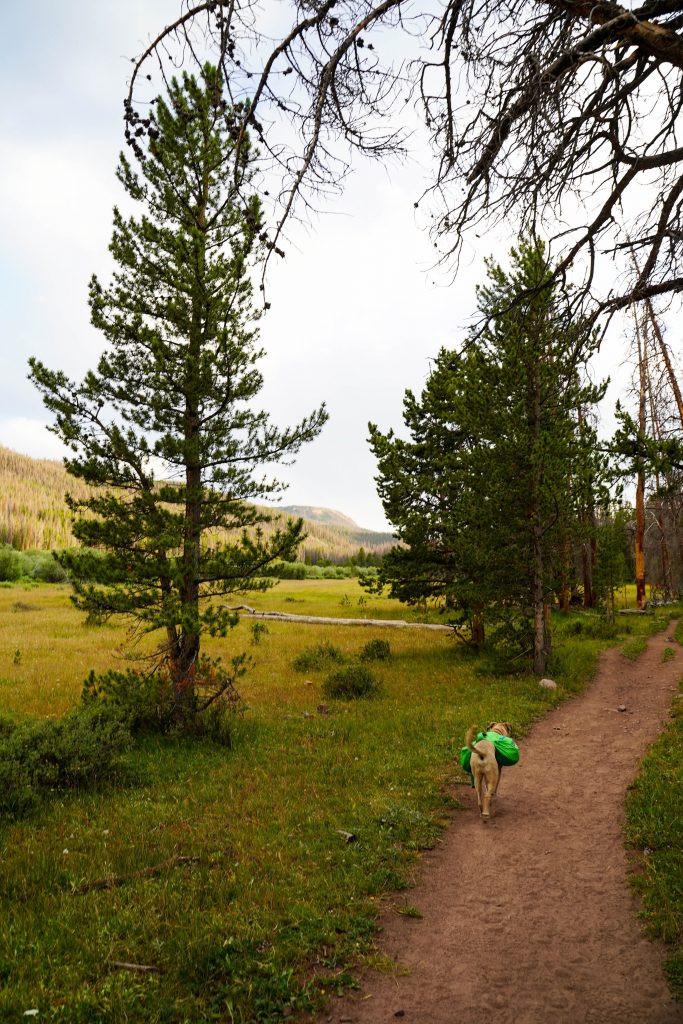
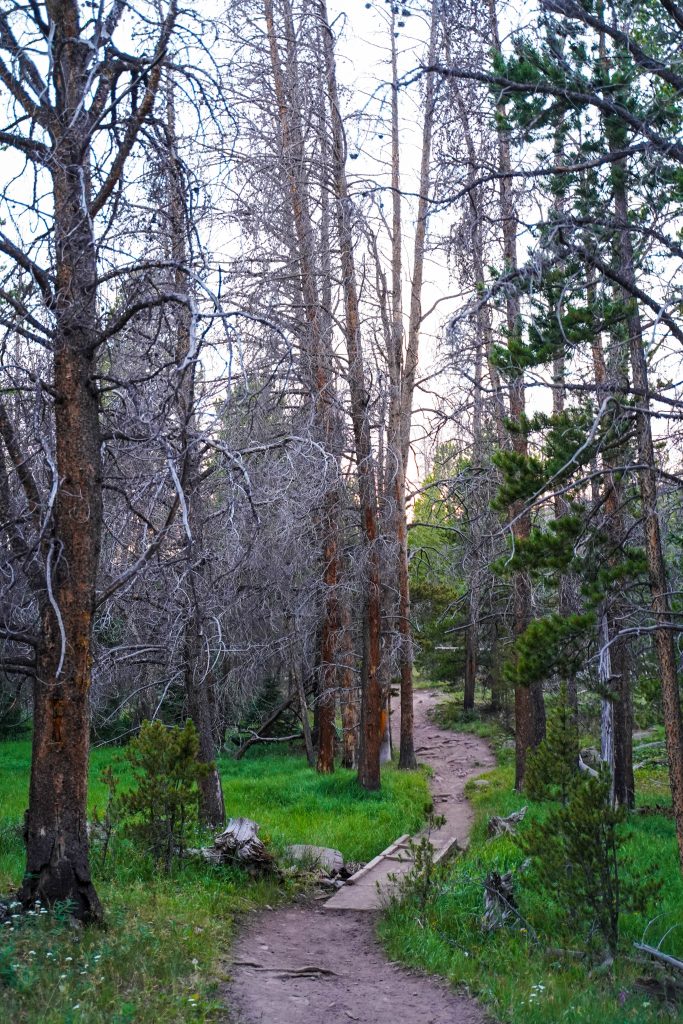
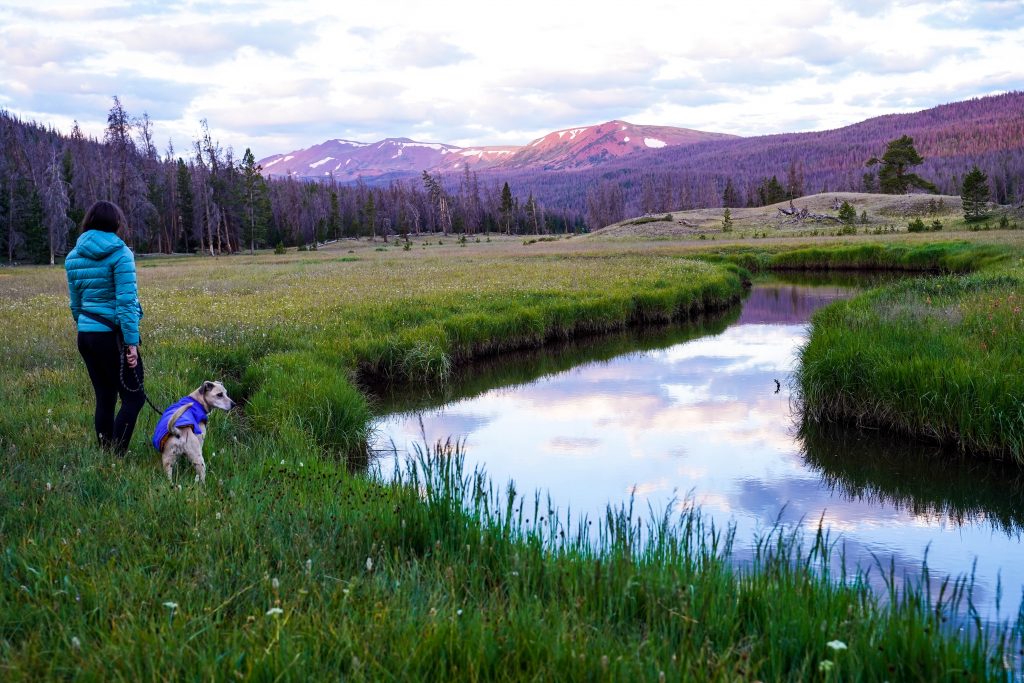
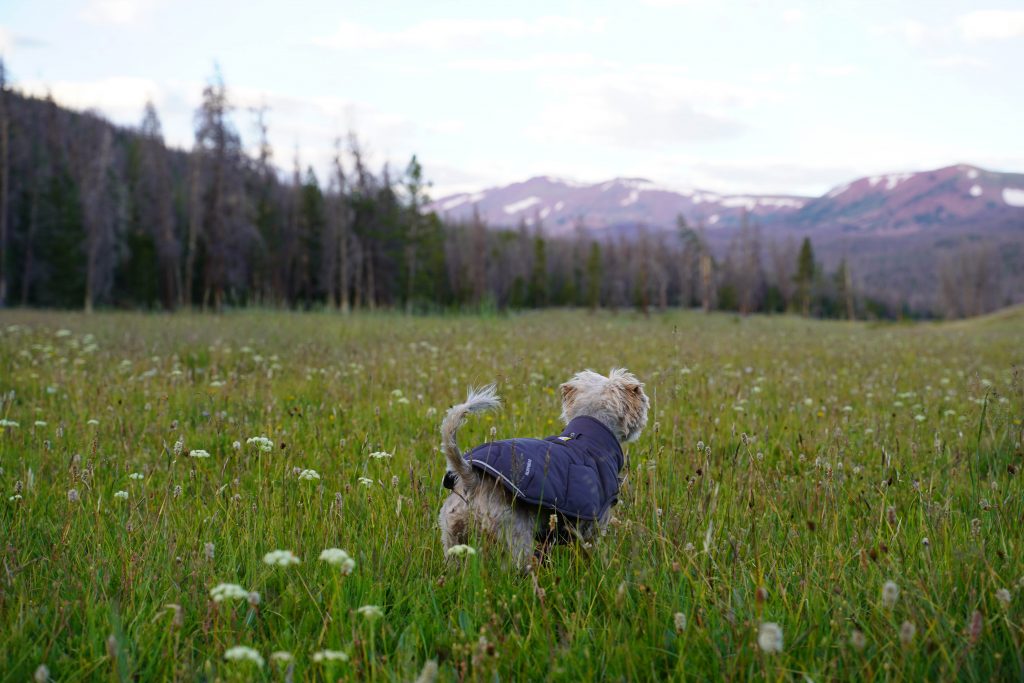
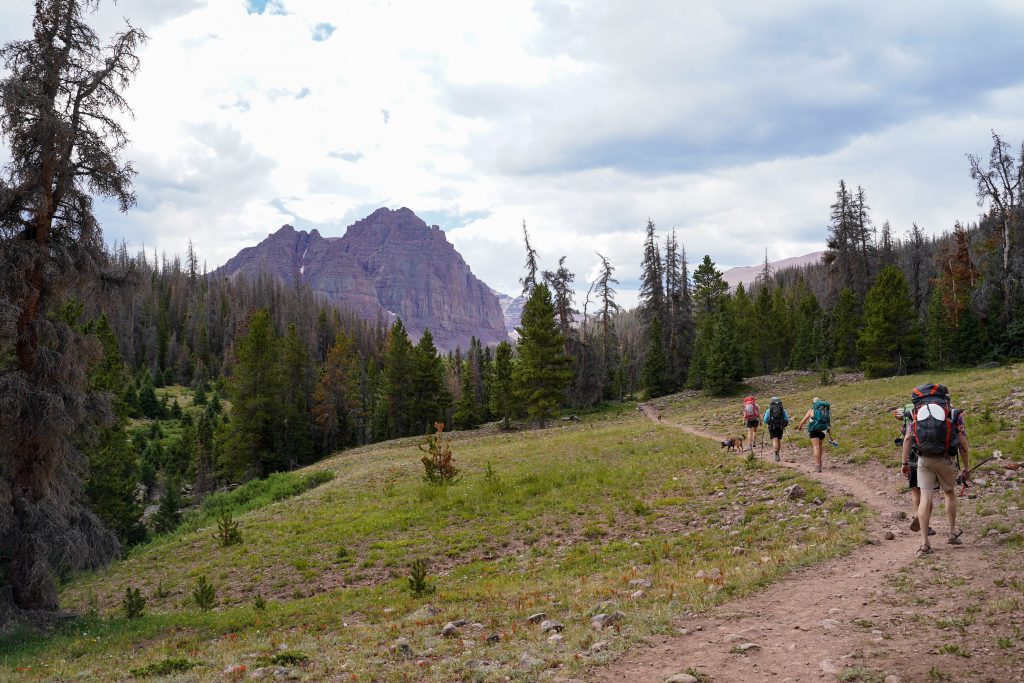
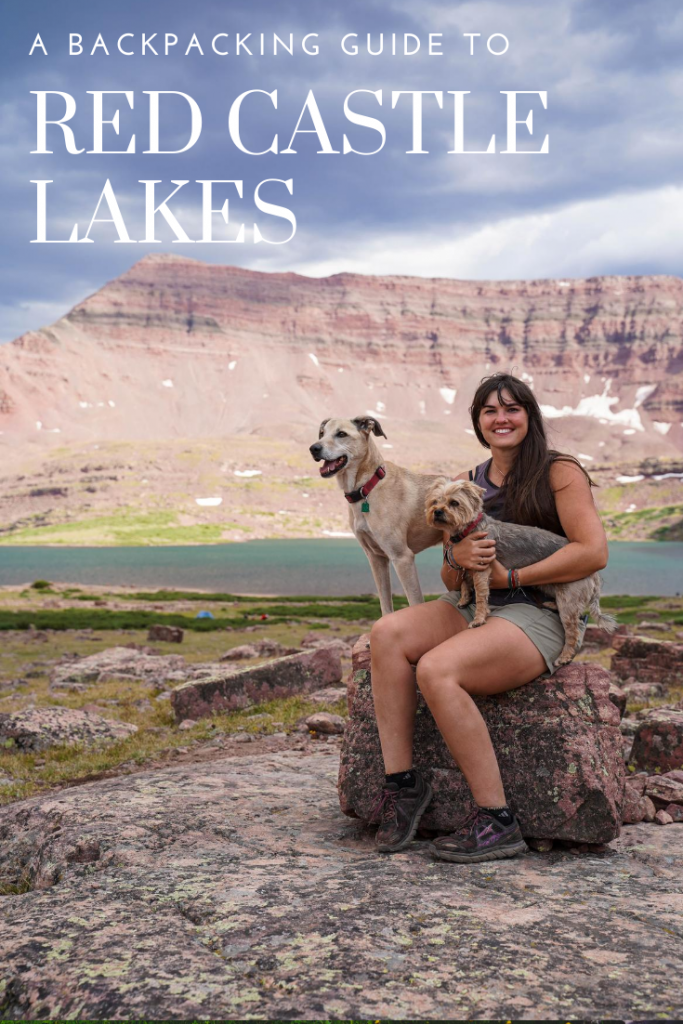
As previously noted we started in the evening on a Friday and just planned on hiking in as far as we could make it (which was several miles) The start of the trail is really easy, with the first almost 7 miles having little to no noticeable elevation gain. It wasn’t too rocky and was pretty easy going with our 2 dogs. Bonus- starting later we had the trail to ourselves.

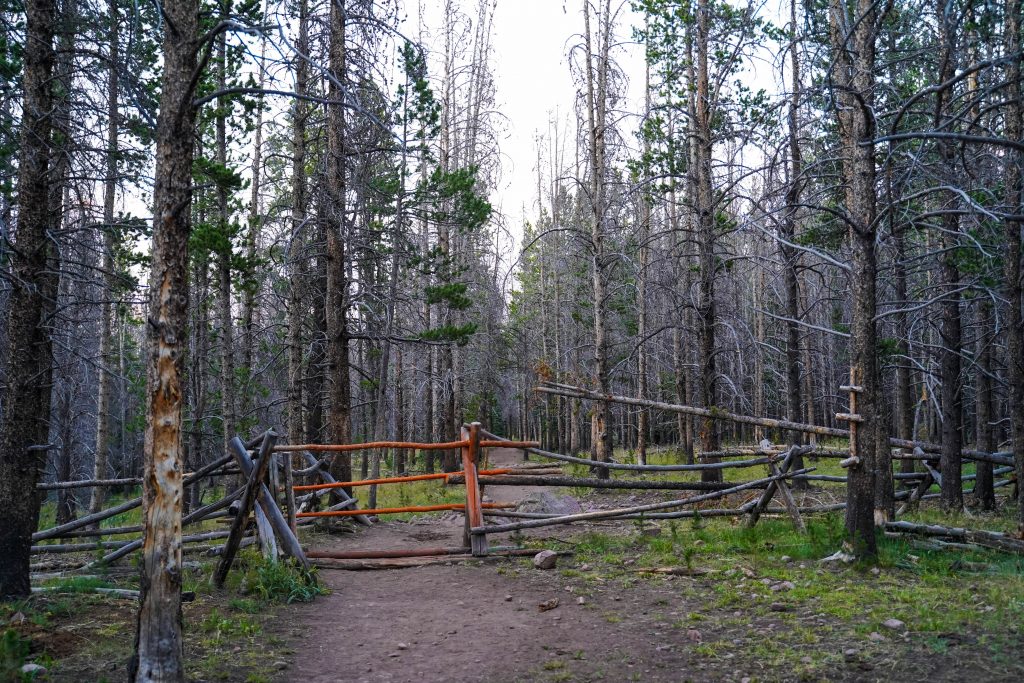
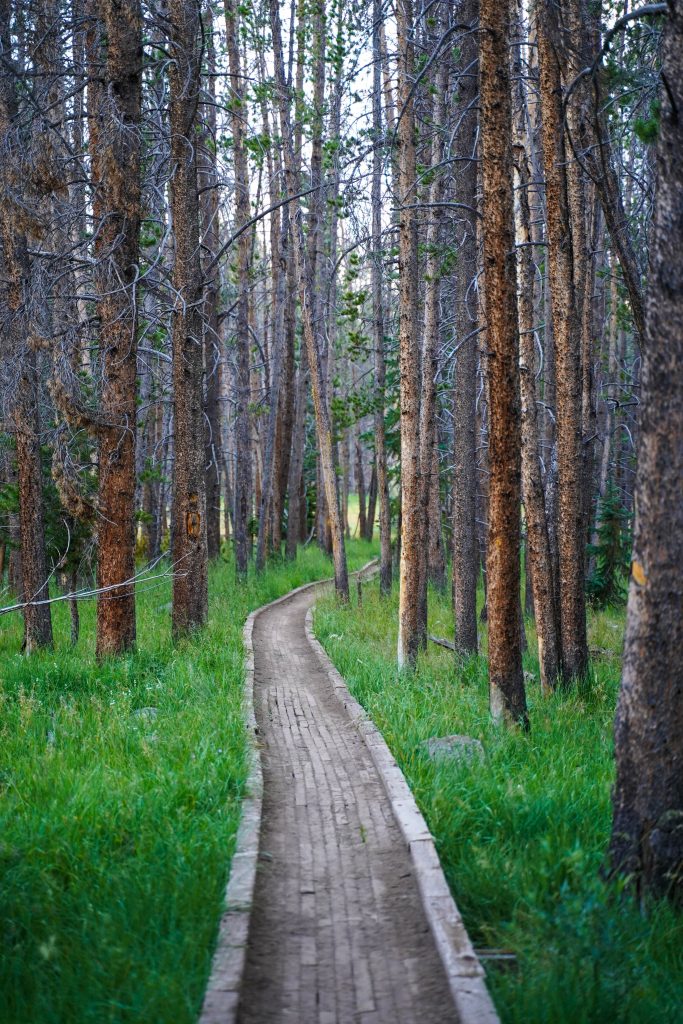
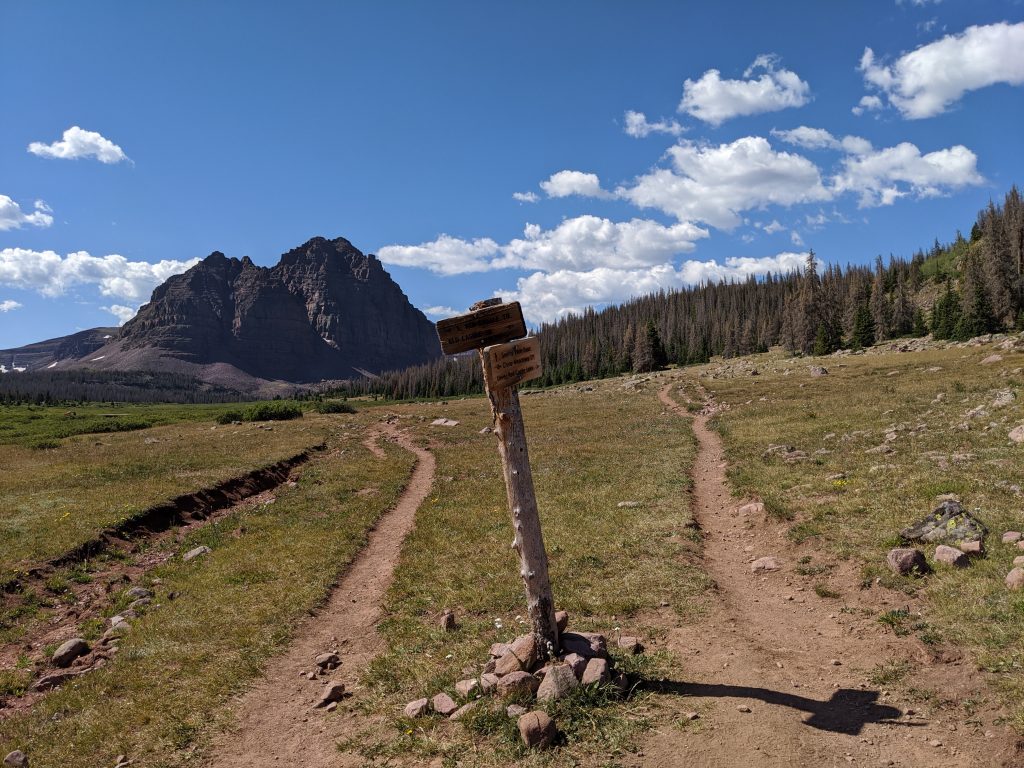
There’s a beautiful bridge 2 miles in and a random fence that you have to move logs out of the way about 3 miles in. After that you may notice some trail splits but they are all signed making the trail very easy to follow. You’ll just keep on the trail to Red Castle lakes.

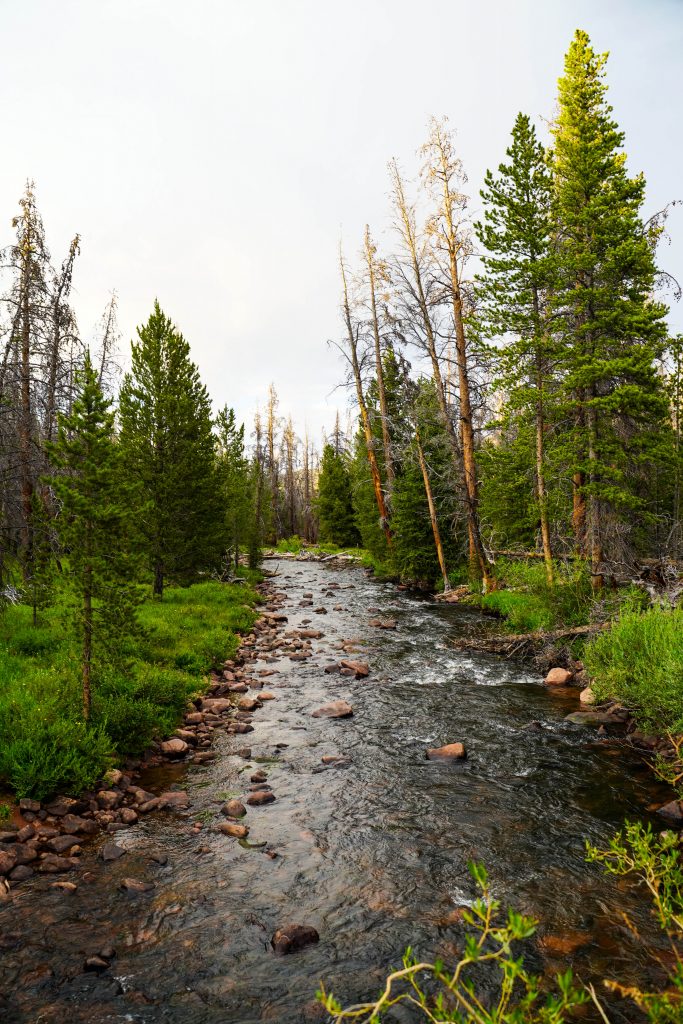
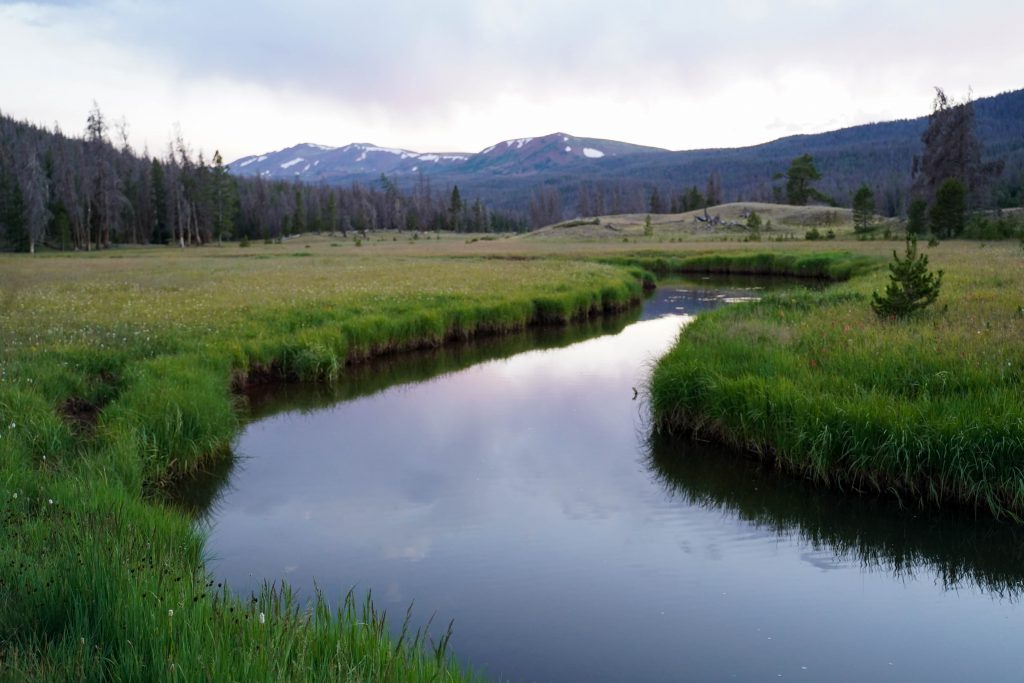
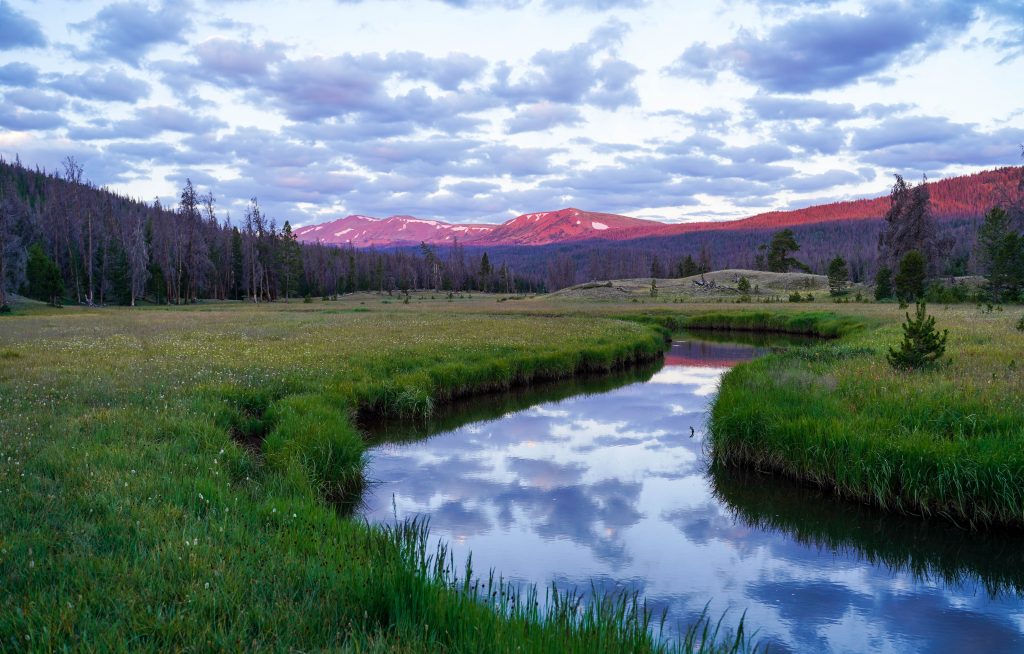
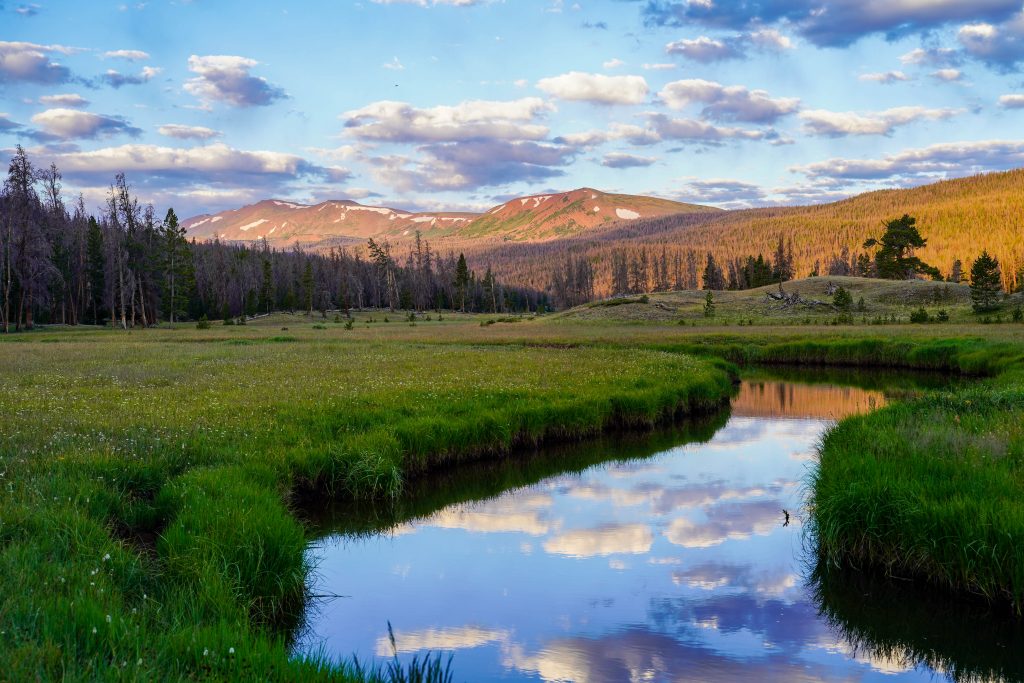
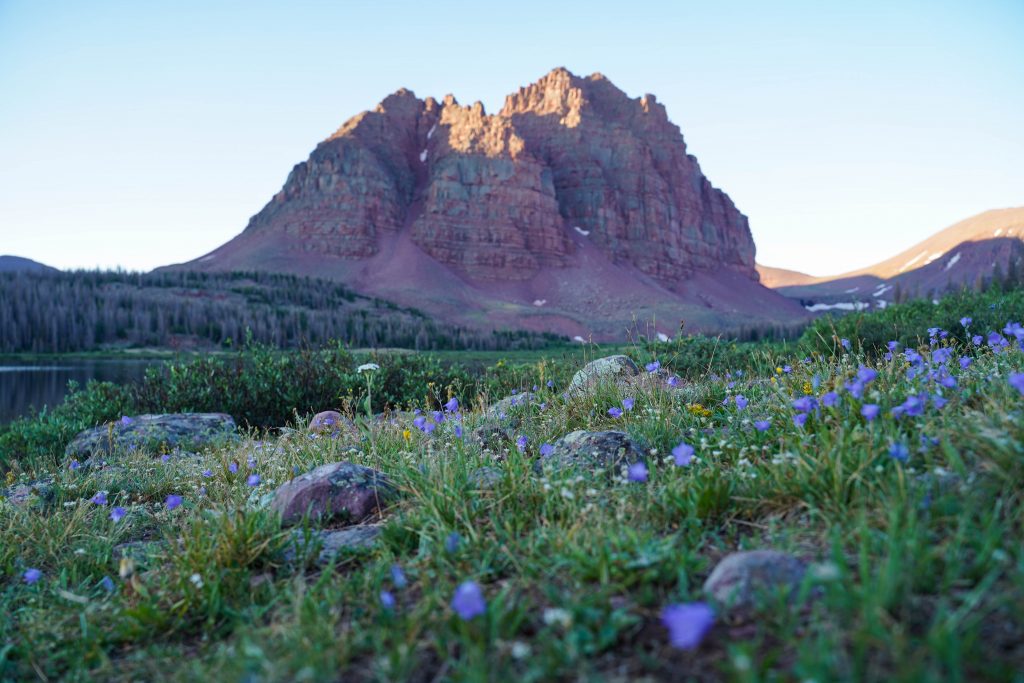
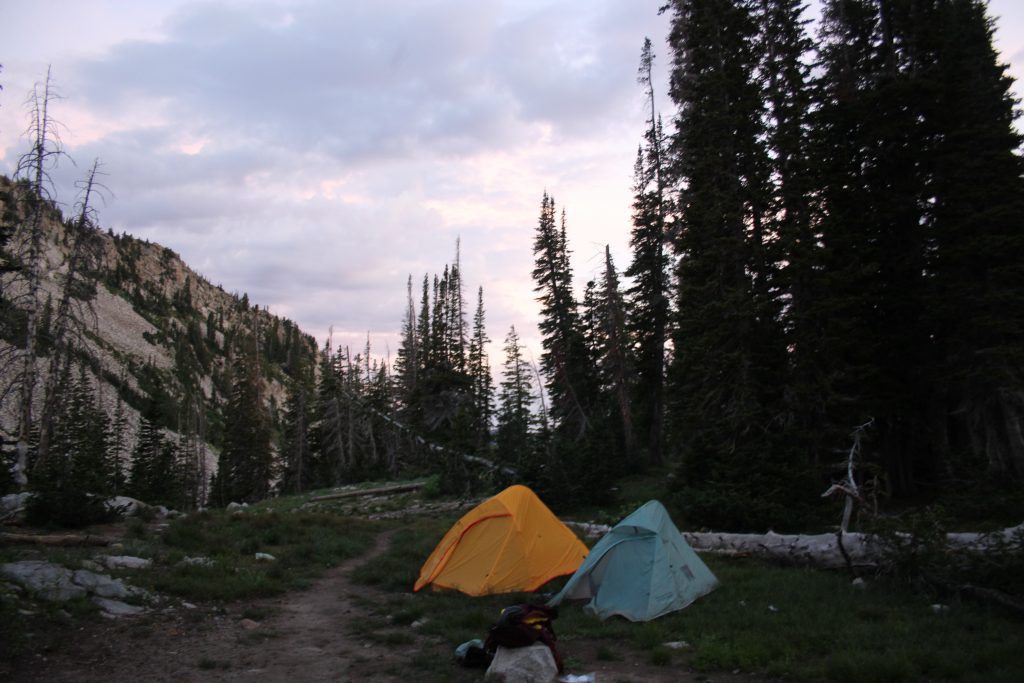
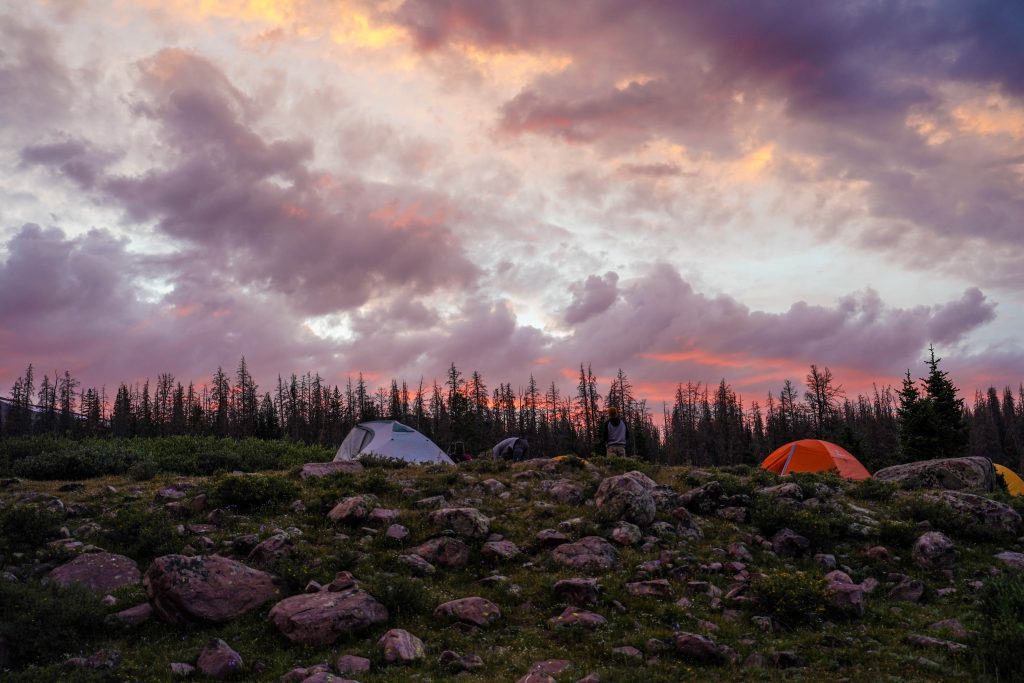
Around 8:30 we found a great little camp spot that even already had a fire ring so we called it a night and waited for our friends who started hiking even later than us. We were right near a stunning section of creek which made amazing sunset and sunrise photos and provided a very convenient spot to filter water from. 

Day 2

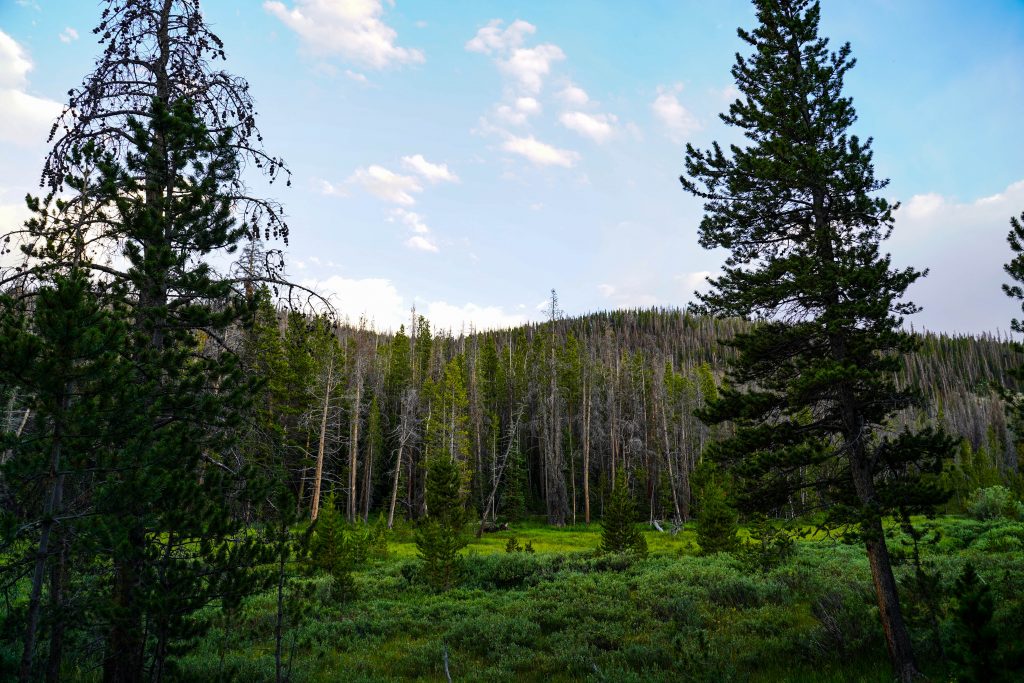
Starting in the morning we got a later start (around 9:30) and already noticed several groups hiking by as we cleaned up our camp. (so note Saturday a lot of people start hiking in) The trail again was pretty nice starting out moving between open meadows and trees (usually the climbs in elevation happen in the trees)

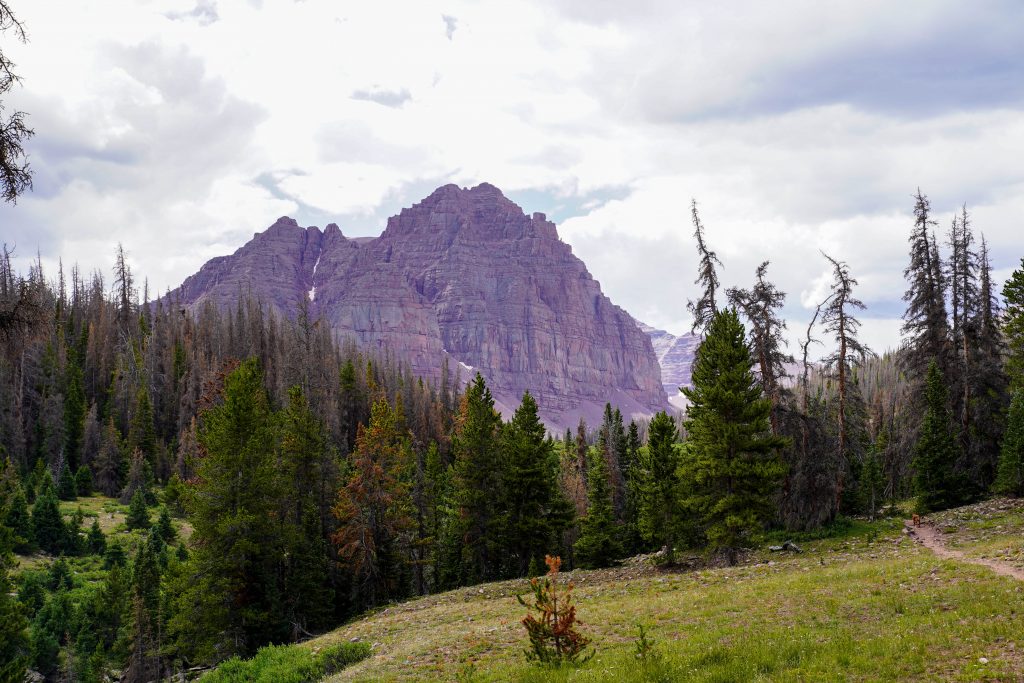
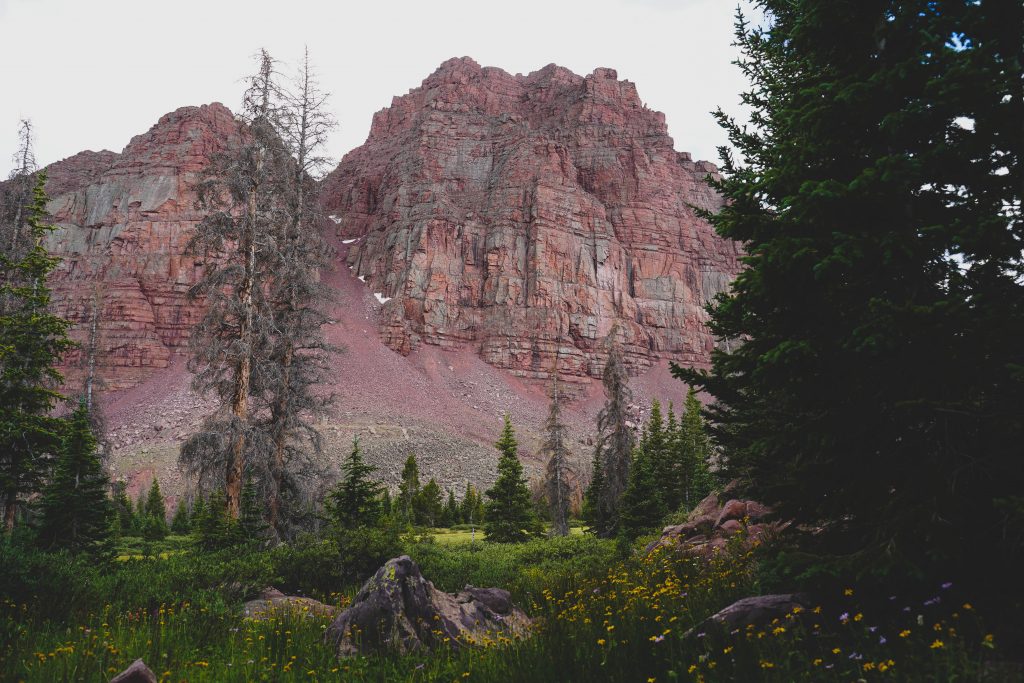
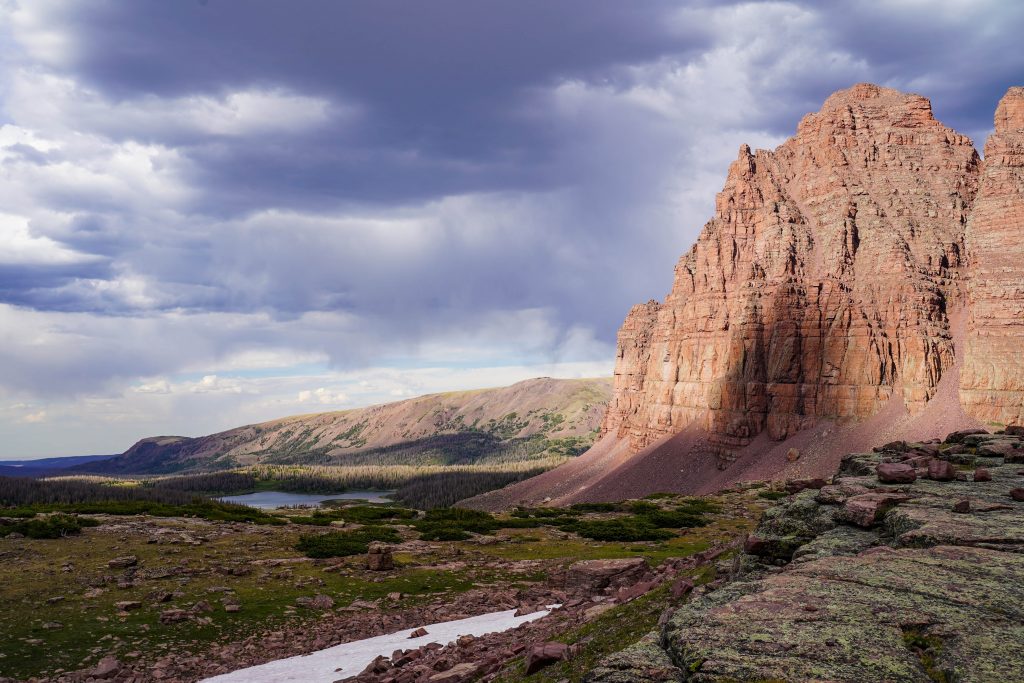
At about 8 miles in you get your first look of Red Castle as you cross your 2nd solid bridge of the hike. Then you’ll reach the switchbacks – which normally would strike fear in the hearts of people not wanting to go uphill- fear not, these are pretty mild. 

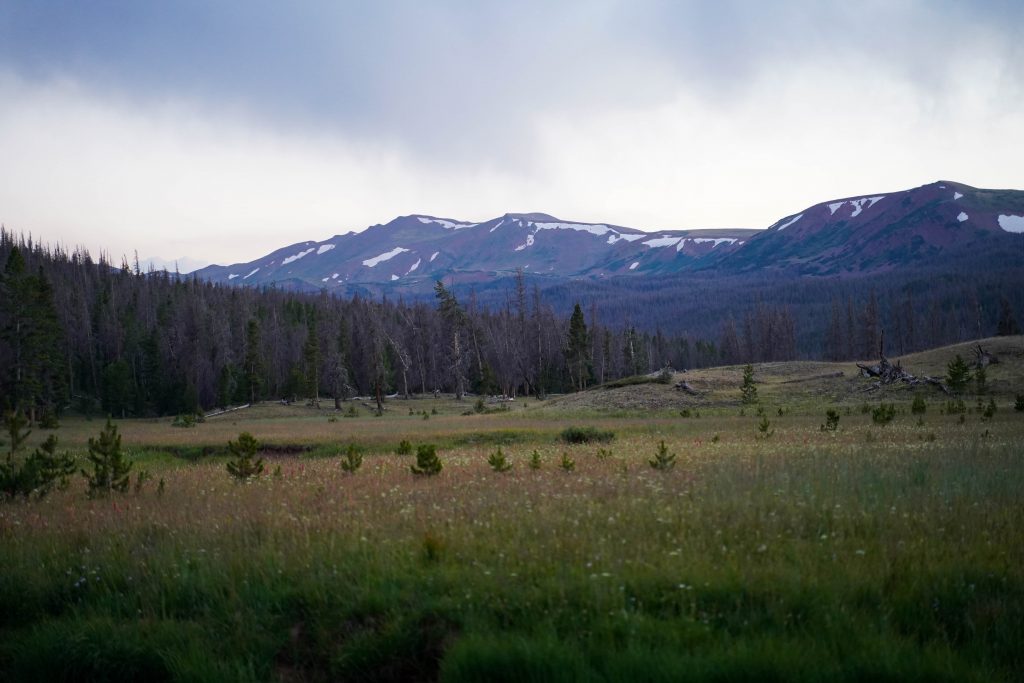
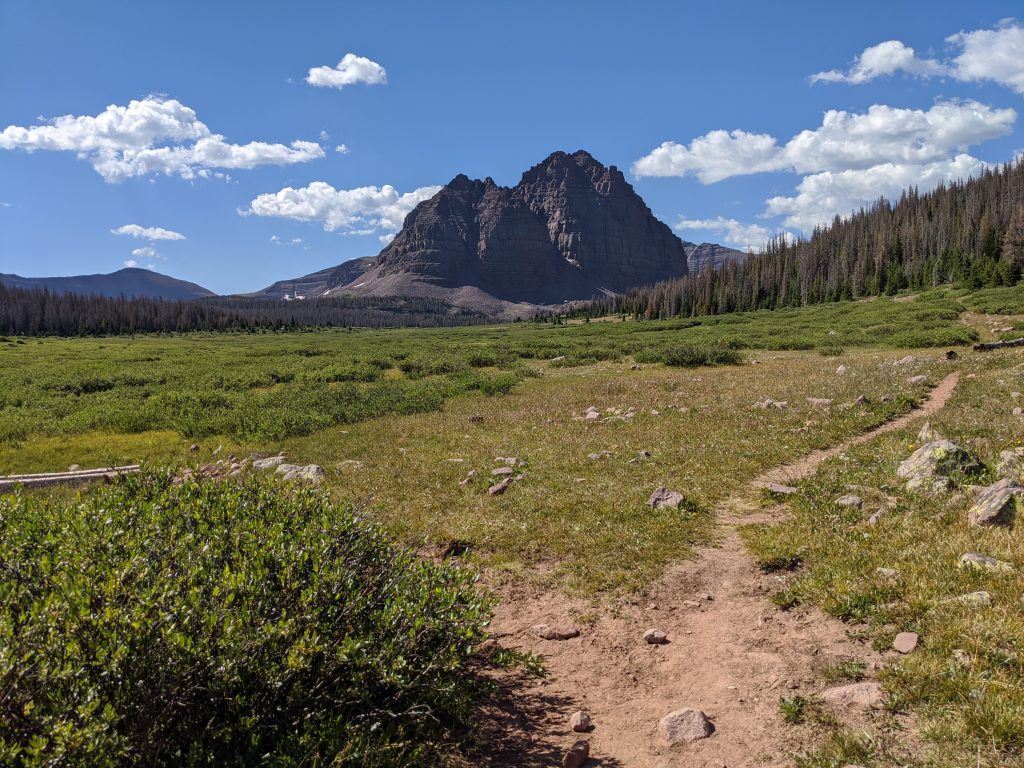
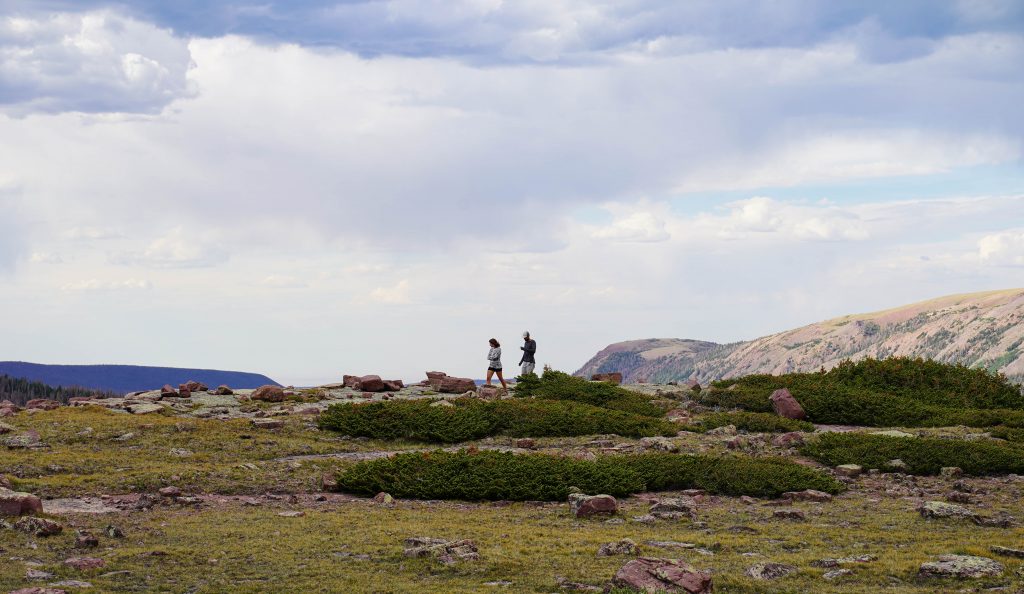
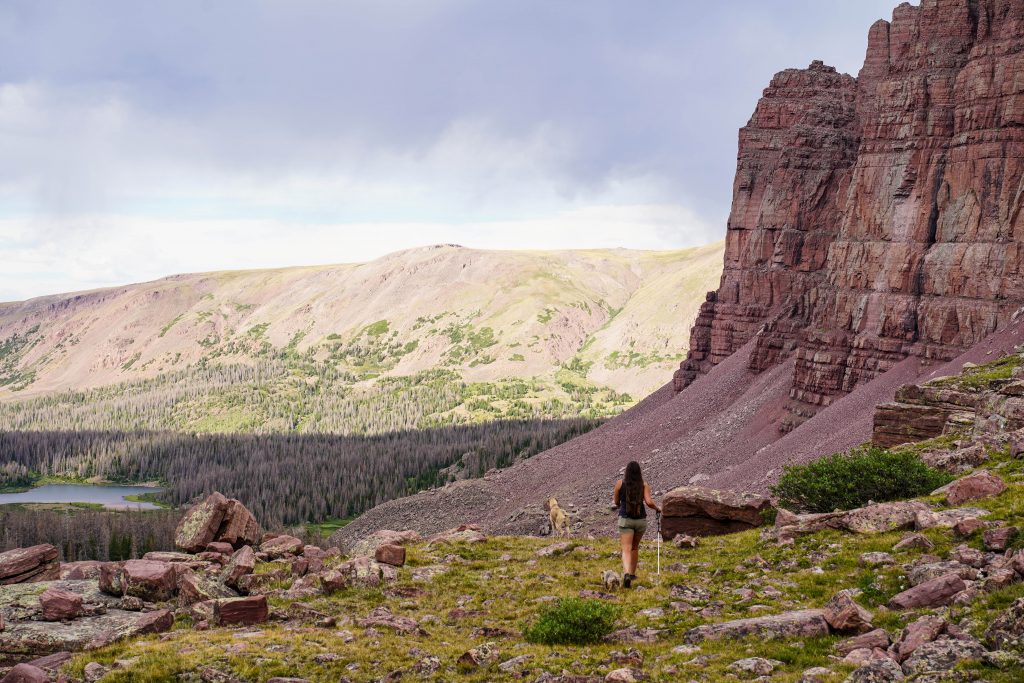
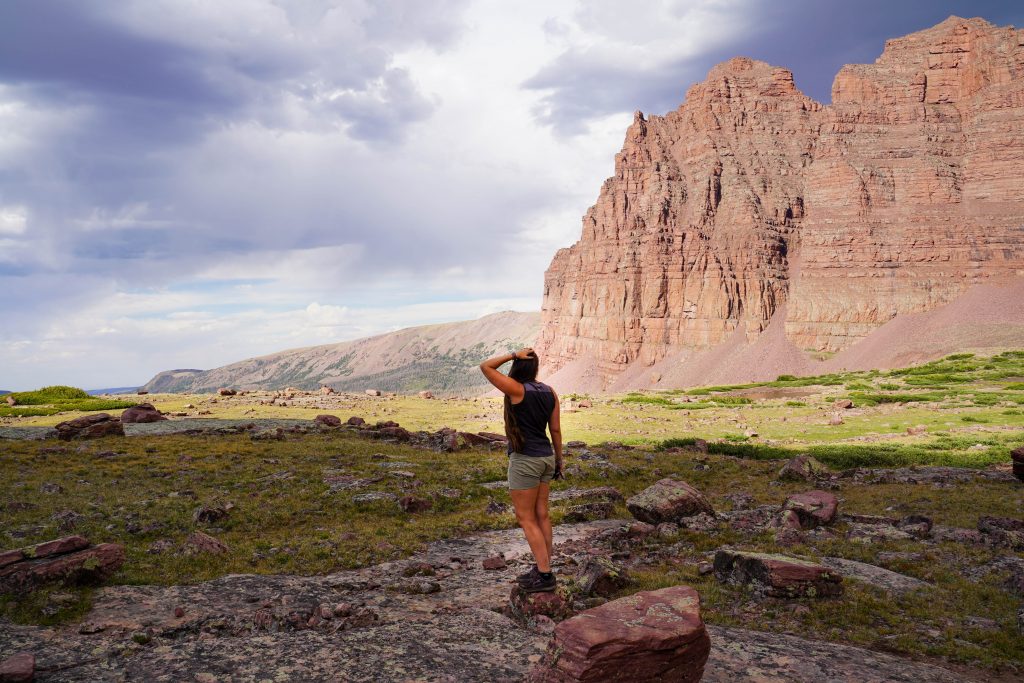
After finishing the switchbacks the trail opens back up with really nice views of Red Castle as you hike towards it. We were enjoying beautiful weather however it was HOT. The water along the way was very tempting to hop into.

Time to pick a camp spot

After the switchbacks you’ll reach a fork in the trail. This is where you decide where you are going to try to setup camp. If you want to camp by the lower lake, take the left fork which will go a couple yards and then at the unsigned fork you’ll go right. The trail crosses several streams but eventually leads you right to the lower lake where you can start scouting a good spot. This will be about 10 miles in. 

Otherwise take the right fork to climb up a hill that will take you around (and quite above) the lower lake. You can pick you way through some unmarked areas to this trail from the lower lake at later points- but it can be very muddy and overgrown. If you take the right fork, you will look down on the lower lake and hike on by where you’ll then come to some beautiful wooded meadows with creeks to filter water from. (camping option 2 about 11-12 miles in)
Continuing on past the lower lake you will start to notice quite a bit more elevation gain through the trees until you reach a beautiful unnamed lake with a waterfall and nice reflections of the side of Red Castle about 12.5 miles in. (camping option 3) This lake is the LAST viable camping option as from here on out you will be above tree line and subject to wind/ lack of privacy.

My experience

We dropped our stuff at the lower lake, had lunch and a dip in the lake, followed by a little nap and were ready to hike to main Red Castle lake. We started up about 4:30 PM and it took about an hour each way. (It was SO nice being free of our packs) We noticed as we hiked up that almost all the camping options felt about the same level of crowded… so really it just comes down to what kind of a view you want.

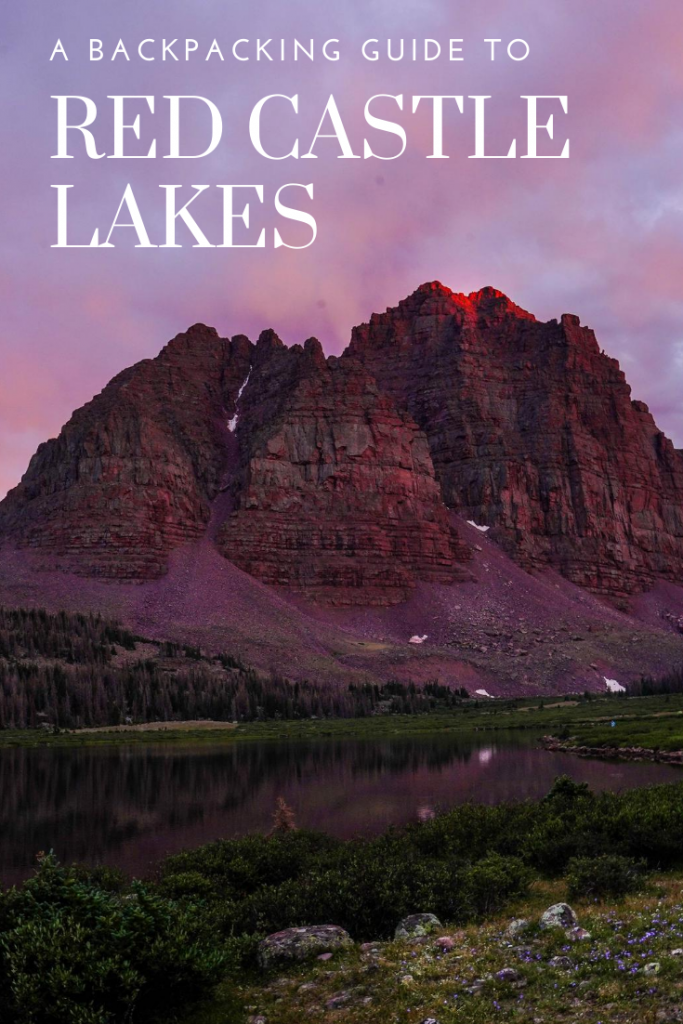
Again we had pretty incredible weather (if a little hot) After taking photos at the upper lakes, we headed back down for our dinner and sunset views from our own campsite (which were pretty unparalleled in my opinion) 
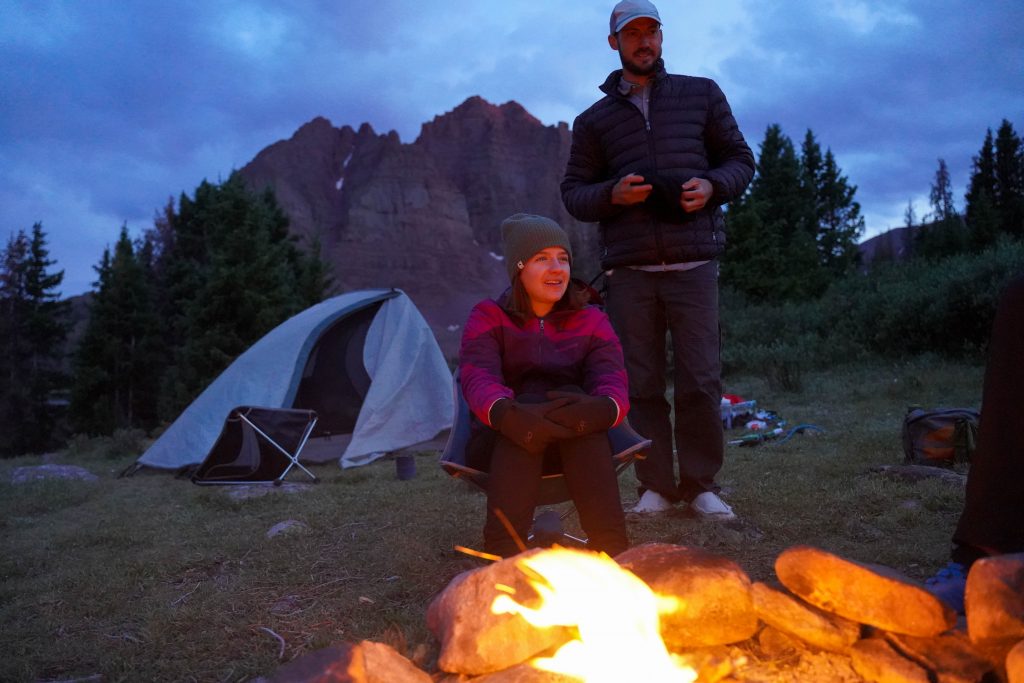
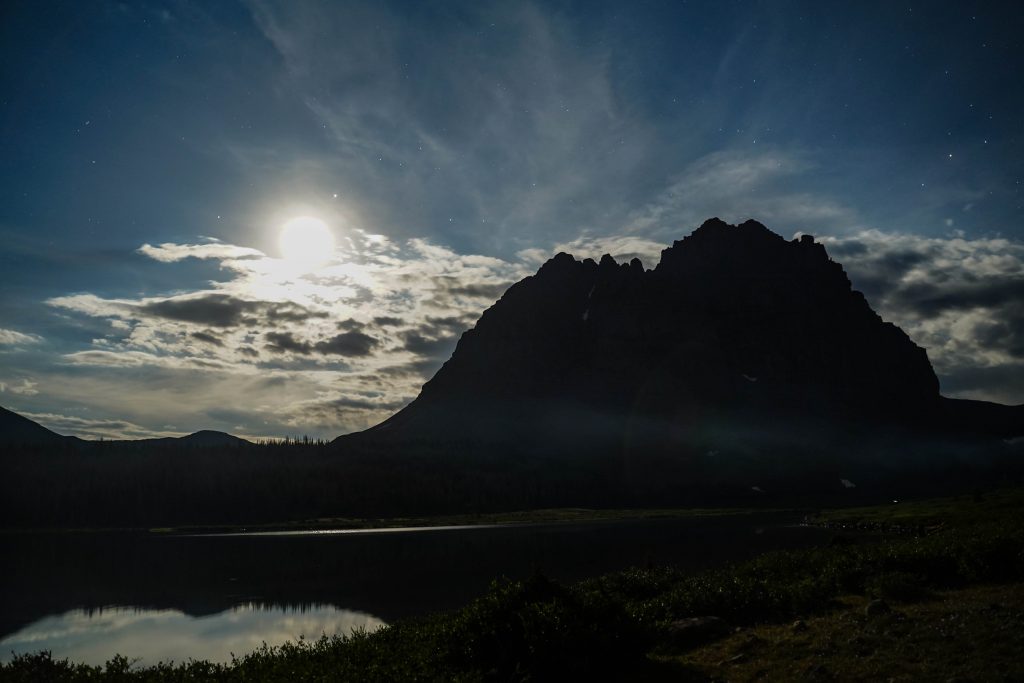
We collected fallen dead wood again (do NOT collect wood from live trees) for a small fire and had a nice evening before hitting the tents under a nice full moon. 

*Be aware of fire restrictions in the areas you are camping. Some don’t allow fires close to the water and some don’t allow fires at all. It may also be seasonal- be fire aware.
*The bugs were AWFUL- since we had such nice weather without wind, they were all over for several hours in the evening. Make sure you bring GOOD bugspray (100% deet) 
The hike out:

We had an easy going morning again, leaving camp around 10. It took us about 4.5 hours hiking back with about a 30 minute break. The hike back was nice as we noticed a lot of the groups left earlier so we had the trail to ourselves again. One of the great things about how long this trail is that people really get spread out along it. There may be a lot of people recreating in the area, but it never really felt all that crowded. Which is awesome for a weekend around here! 

Wrap up:

This backpacking trip is a total MUST DO. It is so incredibly scenic all along the trail with a breathtaking destination. Plan at least 2 nights so you can really enjoy the area and come prepared! Leave no trace as well so everyone can continue to enjoy the spot for years to come. 
Pin me for later:

Backpacking Must Haves (for the wilderness)

A lightweight tent

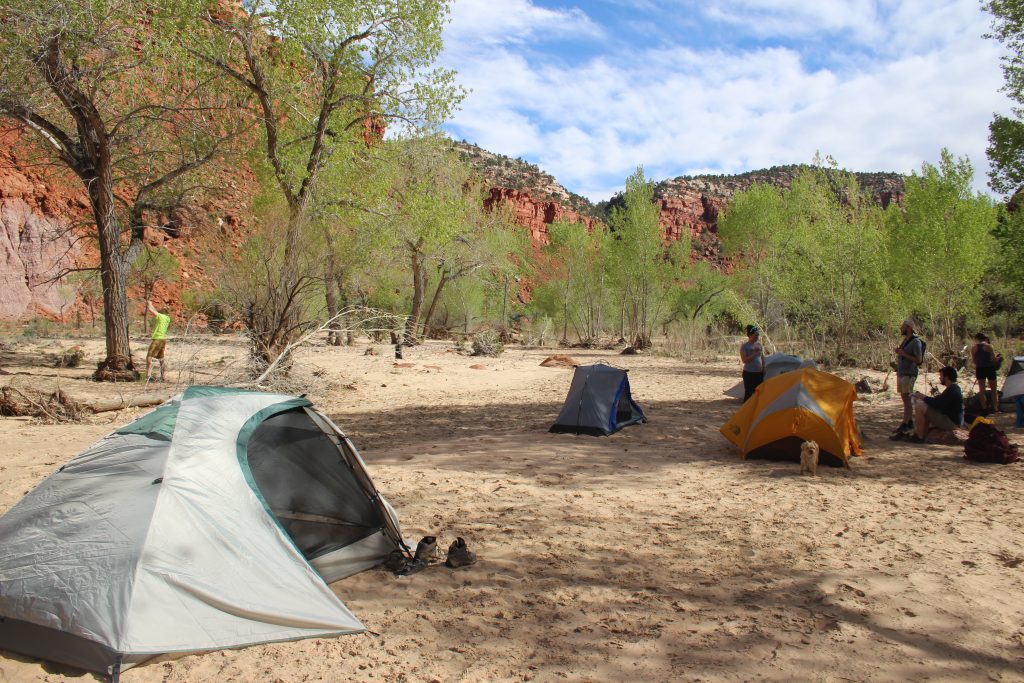
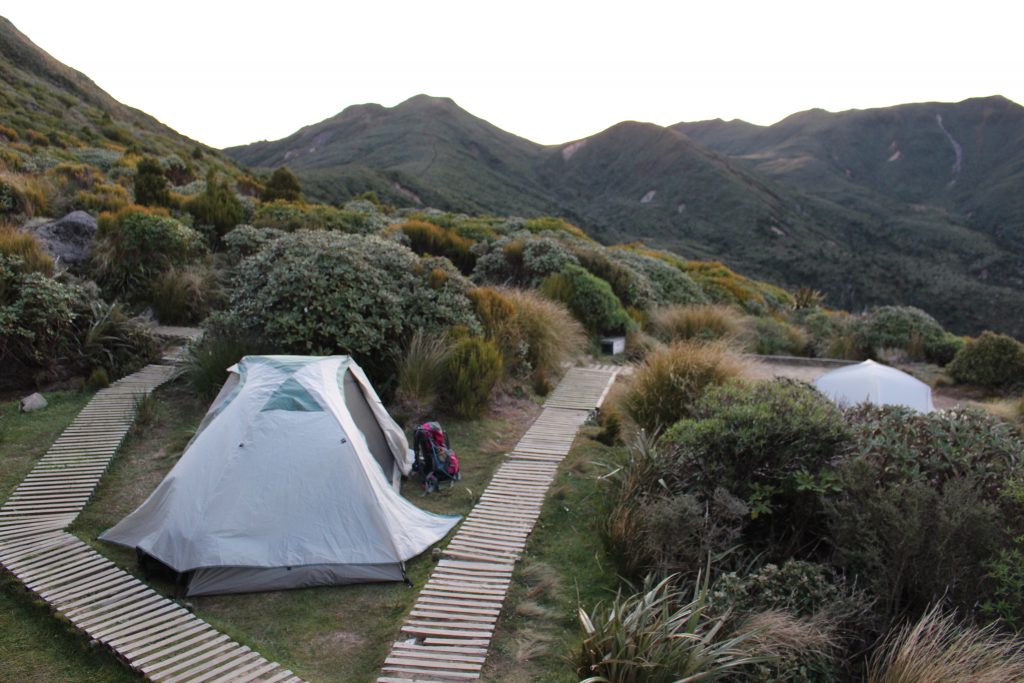
As far as tents go, there’s no huge rhyme or reason to it. What might work for me, might not be best for you. That being said, I’ll call out the tents I have and the features that I really appreciate in them.

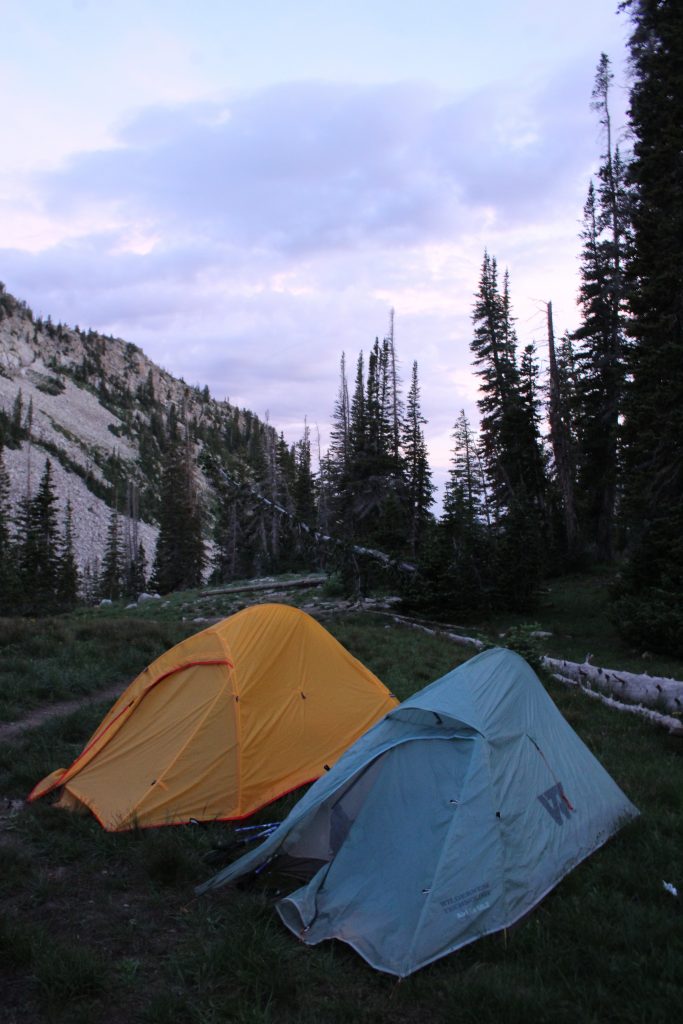
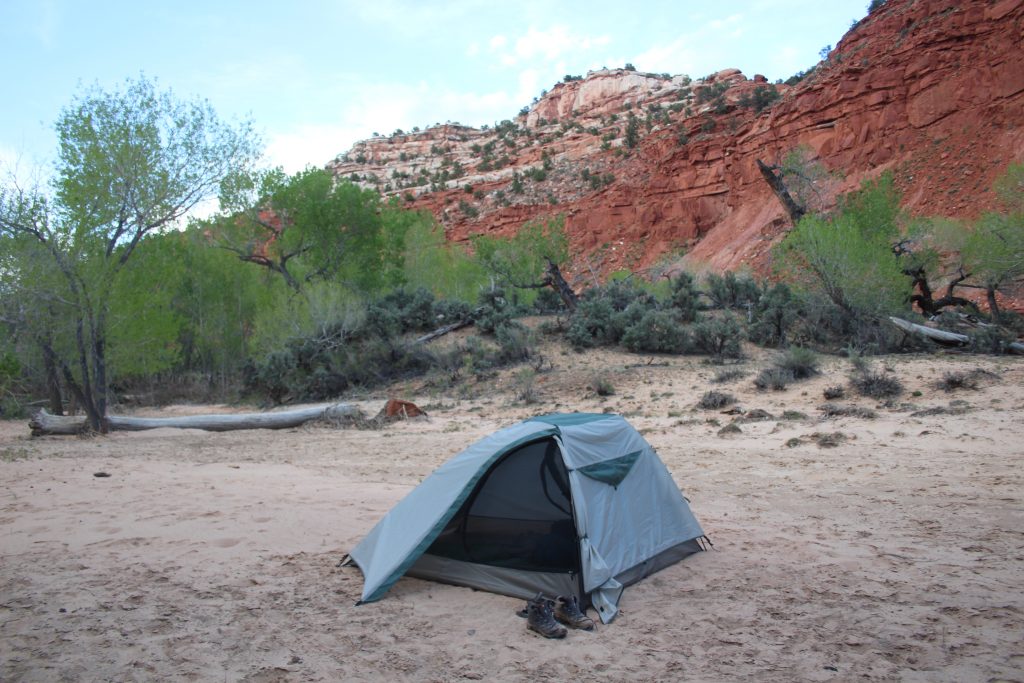
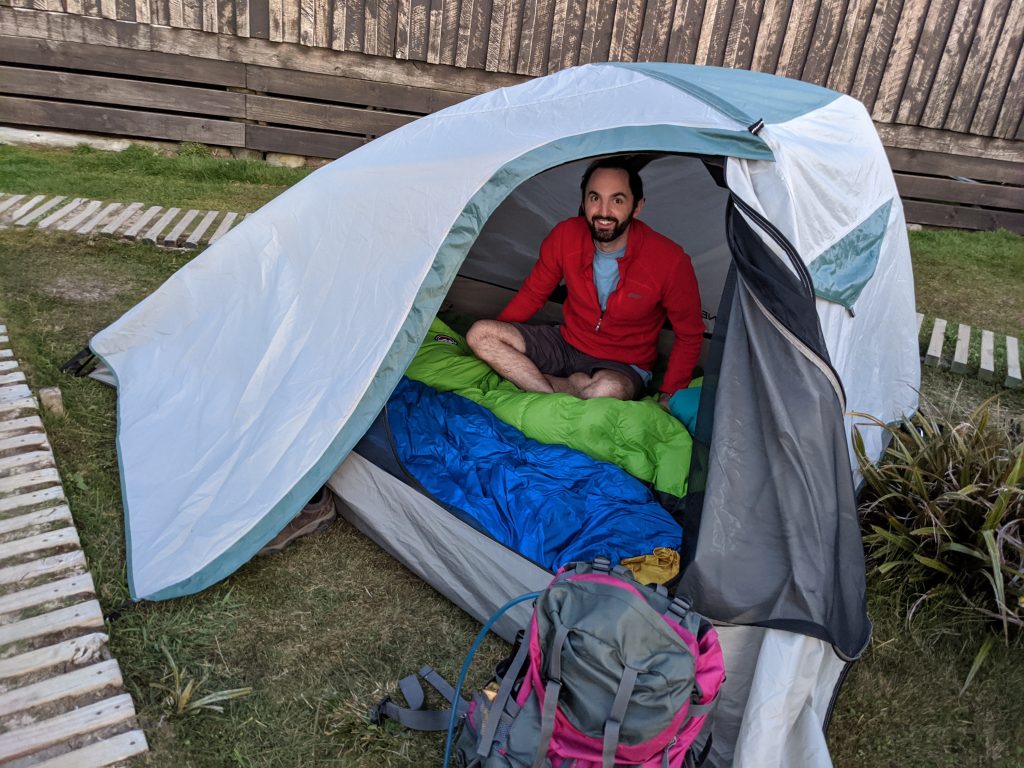
The Wilderness Tech 1.5person tent

I love this tent for solo missions or if it’s just me and the dogs. (It definitely wouldn’t fit 2 people, but it’s much more spacious than a standard 1 man tent, hence the 1.5) It’s incredibly lightweight at only 2.5 lbs, durable, and setups easily in under 5 minutes. My favorite features of this tent are:

  1. Less mesh on the side walls- this is great if you are in the desert in windy conditions to keep sand out of your tent. The top still offers plenty of ventilation in hot weather, and it stays warmer in cold weather.
  2. Single pole setup- This thing is easy to setup in any conditions. It uses a single pole and clips to attach the tent body instead of tent sleeves.
  3. It’s sturdy without needing tie downs. There are great LW tents on the market that only use trekking poles, or 2 vertical poles, but they require the ground to be soft enough to stake out lots of tie downs.
  4. It can be even lighter if you leave all but 4 stakes and the tent fly at home.
  5. It’s very weather proof and durable. I once had it setup in the middle of downpours in the desert and with the rainfly attached no water got in, despite literally having a small stream of water running under it all day.  

Features I wish it had:

  1. More storage pockets to keep things organized along the floor of the tent
Alps Mountaineering 3 person tent

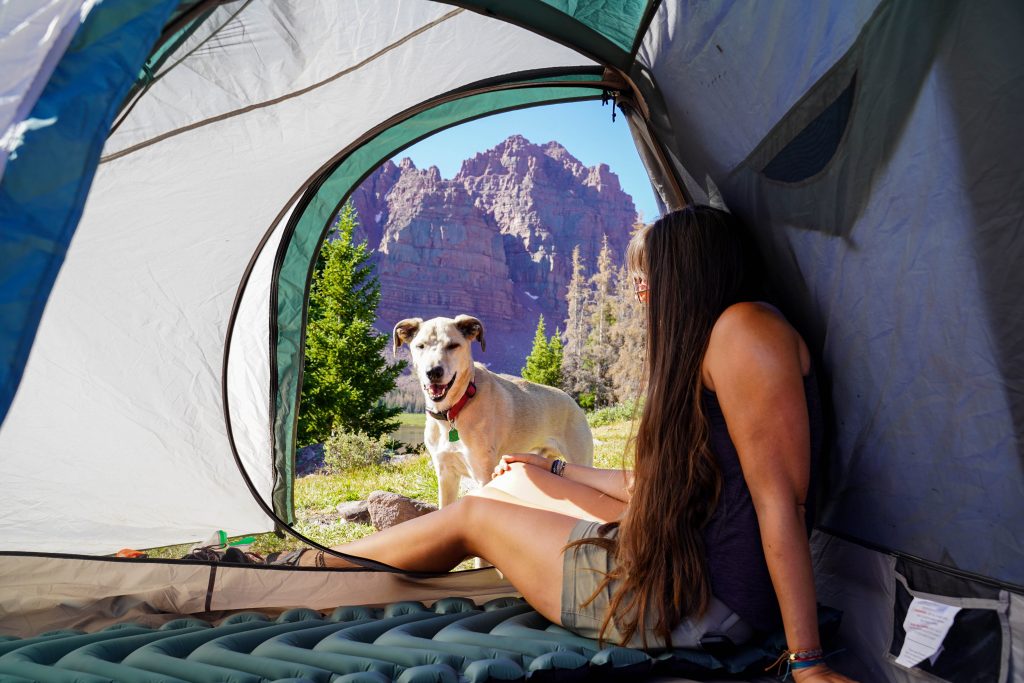
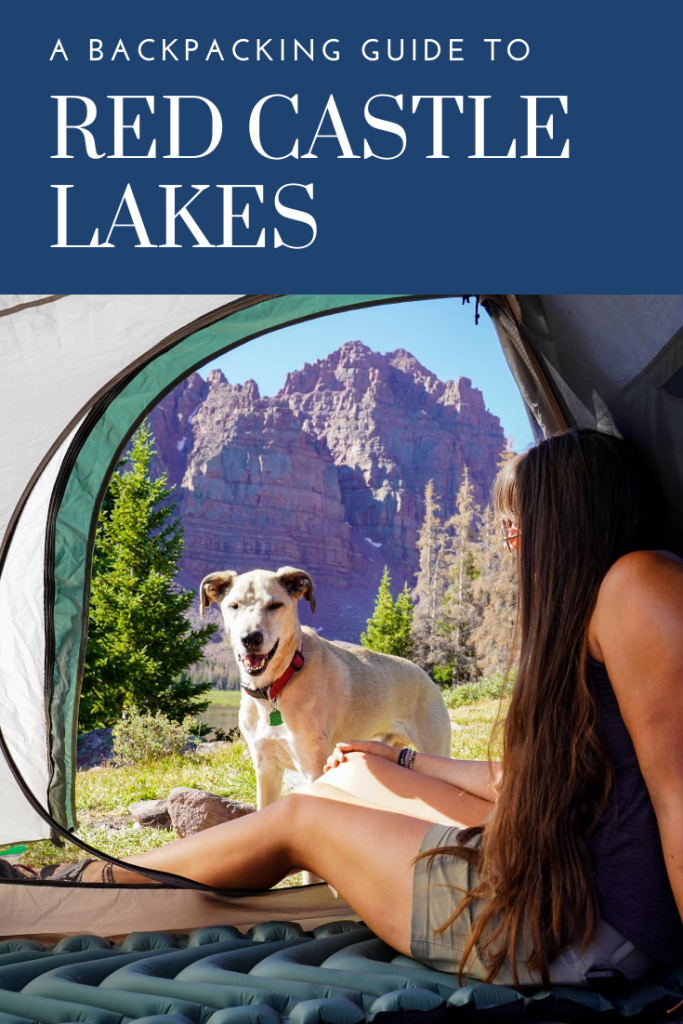
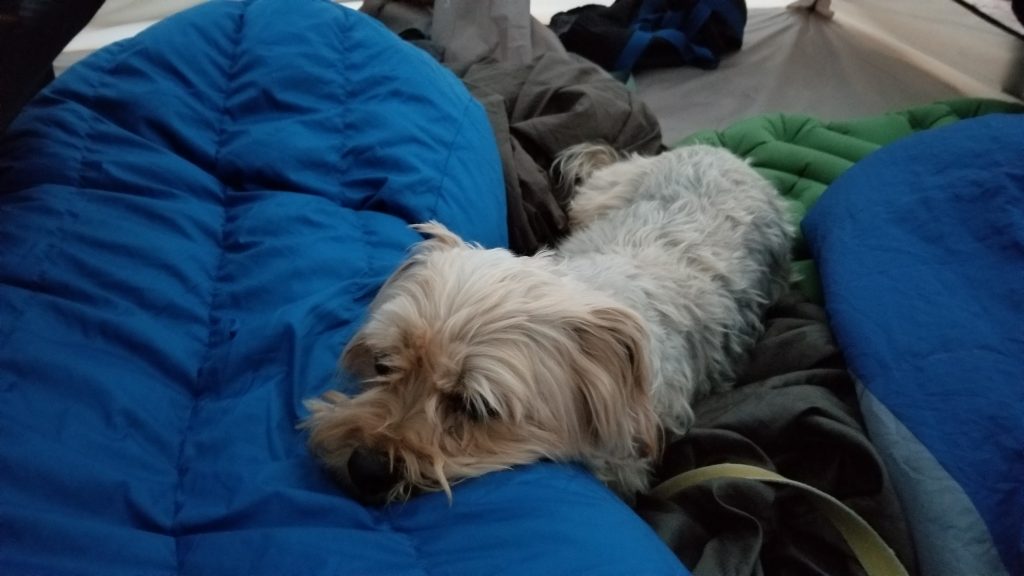
I love this tent when I backpack with my partner and our dogs. It is SO spacious without being much heavier than other 2 person tents on the market. We easily fit ourselves and some gear by our feet with our dogs on there plush beds in the middle. (our dogs refuse to sleep  down near feet so having space in the middle is a huge positive) It weighs in at just over 5lbs. (if you leave most of the stakes at home) and has proven to be very durable in windy conditions. My favorite features about this tent are:

  1. SO MUCH SPACE. If you like to backpack with your partner and bigger dogs, this tent is totally the way to go. The floor span itself (40 Sq feet) is  more than double my 1.5 person tent and so much better than the standard 2 person backpacking tent (around 29 square feet)  The amount of headroom is also a great mention here.
  2. Double doors- If you are using your tent for 2+ people, make sure to pick a tent that has 2 doors. It makes life so much easier for getting in and out of your tent.
  3. Great vestibule space for additional gear or leaving muddy shoes outside.
  4. Good storage at the floor and fabulous gear shelf hanging at the top of the tent for lighter-weight options.
  5. All mesh siding makes it great in hot weather and super easy to clean
  6. Easy to setup solo in under 5 minutes.
  7. Doesn’t rely on tie downs if you’re camped on hard ground. Decently sturdy floor base too if you don’t want to lug a footprint.

Features I’m less stoked about:

  1. The all mesh sides mean I typically want the rain fly for privacy and wind protection in the tent.
  2. The tent stakes aren’t very light weight and could be replaced with lighter options.

Klymit Sleeping Pad

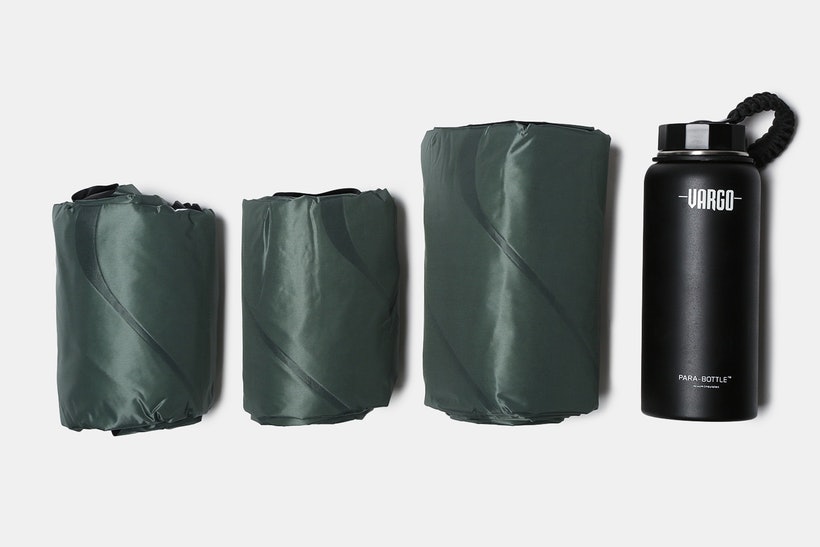
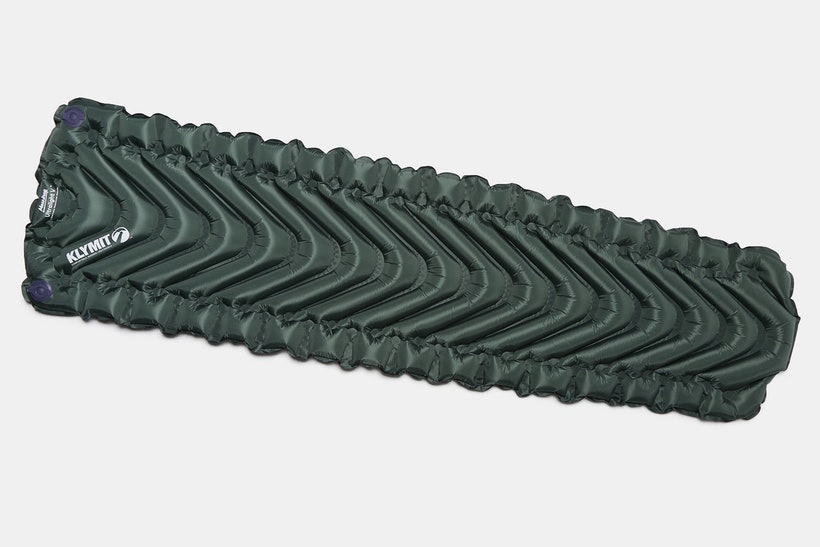
If you’re in the market for a new sleeping pad- Klymit is hands down the way to go. As far as I’m concerned, they can do no wrong as I’ve been using my Klymit static V (original) for over 4 years now with no problems. I think the v pockets are ultra-comfortable and great even for side and stomach sleepers. The pads are super lightweight and compact as well so you don’t have a goofy foam pad hanging off your pack. Bonus is they are quiet when rolling around on them! Lots of sleeping pads from other brands (I’m looking at you therma rest) make crinkly sounds when you move on them. I also have an insulated UL version of the static V that’s a bit smaller and more narrow than the original but great for insulation. Things to keep in mind when buying a klymit pad:

  1. R Value. SO important if you plan on camping early spring/ late Fall or even winter. The basic static V has a VERY low R value which makes it lw and cheaper, but does NOTHING to keep you warm off the ground. That being said, I love it in the summer and when car camping, I just bring an additional foam pad to insulate under it.
  2. Sizing- Klymit does offer short vs. long options, and super lightweight vs. standard. Make sure you are comfortable with what size you are getting and remember that a good nights sleep might be worth the 5 oz of extra weight to get the wider pad.

LW Sleeping bag rated to at least 15 degrees

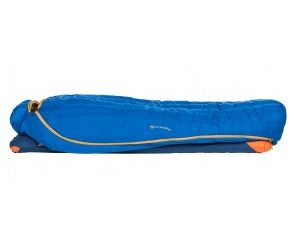
While I feel like most camp gear you can invest less in (aka don’t need to spend hundreds on a tent or pad) the sleeping bag could make a world of difference in your total sleep experience. Which is why I definitely recommend finding one that completely satisfies what you need for great sleep. In my case, my perfect bag was found in the Big Agnes Lost Ranger 15. The features I LOVE about this bag are:

  1. It has a semi-rectangular shape. Since I can only sleep on my stomach or side, traditional mummy bags are miserable for me. However in this bag I’ve got plenty of room to roll from side to side and it keeps me warm even with the extra space.
  2. It’s very packable and a fantastic weight for its shape. *
  3. It is made with responsibly sourced down- making it feel warmer and lighter than similar synthetic bags.
  4. The nylon is SO luxurious. It is so soft and smooth, that between the draft tubes (another must in a good bag) and extra space, I feel like I’m sleeping under a quality down quilt which makes it feel more like a bed, and less like camping.
  5. It has a pocket to hold your sleeping pad in place underneath you so you remain comfortably on your pad all night long. (The pad pocket can fit both of my klymit pads just fine)

* Note: This bag does not provide ANY insulation under you. You will need a sleeping pad with an R value of over 4 in order to use his bag in below freezing conditions. That being said, I have used this bag in 20 degree temps and can attest that with proper pads, it performs great in freezing temps.

The right pillow

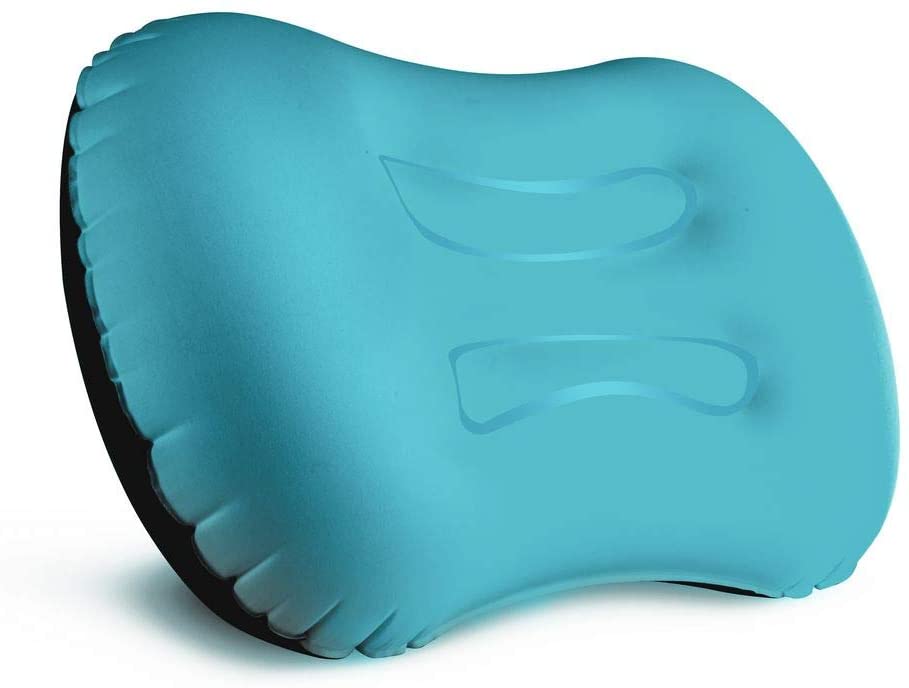
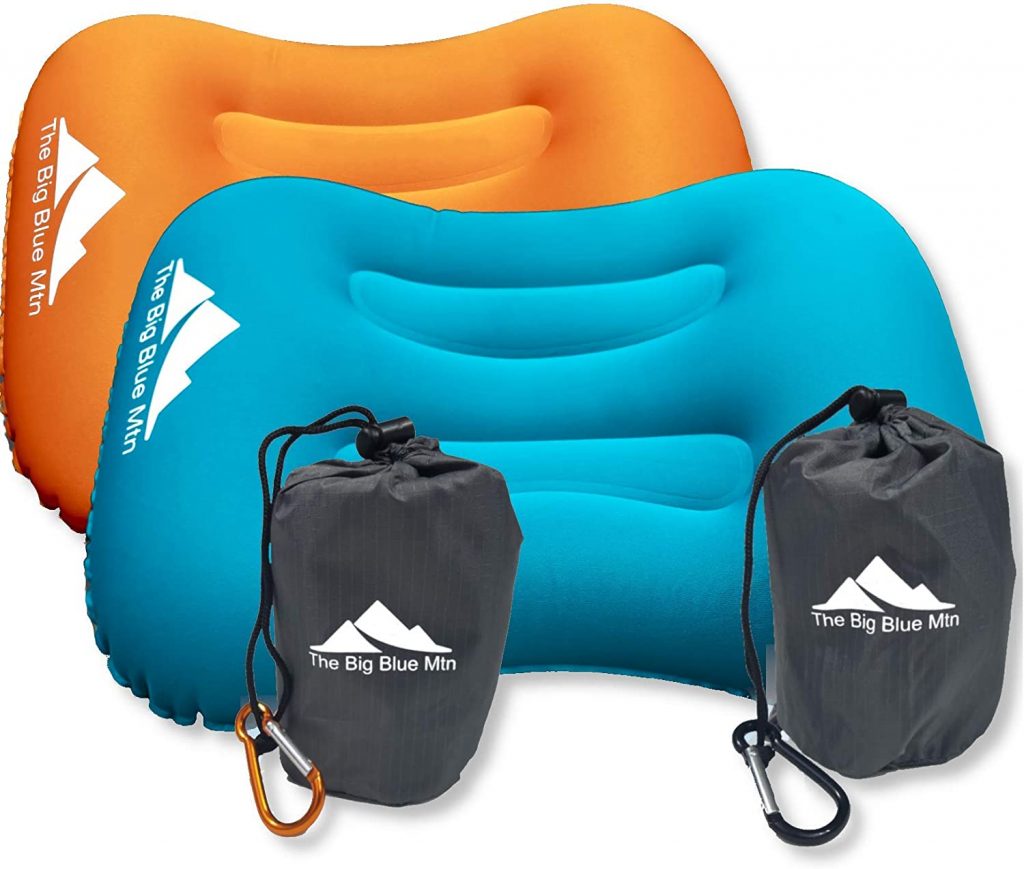
There is no right answer here I’m afraid but I can attest that having SOME sort of pillow is better than nothing. I have tried the clothing stuffed in a bag and covered with a sweater and let me tell you- clothing is NOT that soft when it is condensed in a bag. I have used multiple inflatable pillows and recommend one with this shape as it works best for me.

Jet boil

A lightweight camp stove is a MUST for backpacking trips. There is nothing that beats having a hot meal at the end of a grueling 10+ mile day or waking up to hot coffee on a chilly morning at camp. While there are many LW stoves out there on the market, the jetboil is my favorite choice. It’s great features include:

  1. Self ignition- mine worked flawlessly for 3+ years until a very sandy trip took it out. Now I just have a small lighter than I bring along just in case it wont get started.
  2. Its design will boil a cup of water in under a minute. It’s very fast and efficient meaning you need less gas.
  3. It’s insulated and covered with an easy pour lid as well as indicator on the side to let you know when the water is boiling. Again this means you don’t boil water long than needed preserving gas and getting to that Lasagna meal that much faster.
I take my jetboil everywhere- even on day hikes

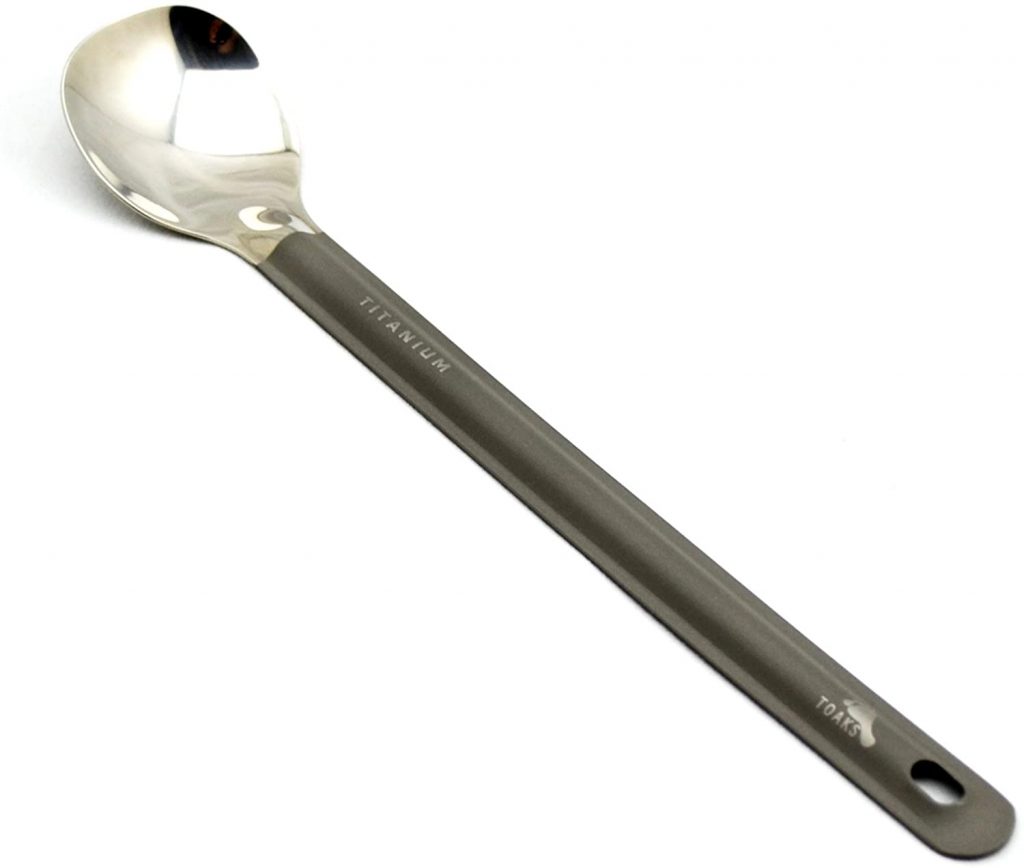
Long titanium spoon

Whatever utensil you buy, make sure it has a long handle if you plan on using dehyrdated meals. This is because those bags are so deep that you end up having to dip your hand into the bag if the handle isn’t long enough to eat the entire thing. (I prefer not to get whatever I am eating all over my hands). As far as meals go, I have yet to meet anything my titanium spoon couldn’t handle. I have this one

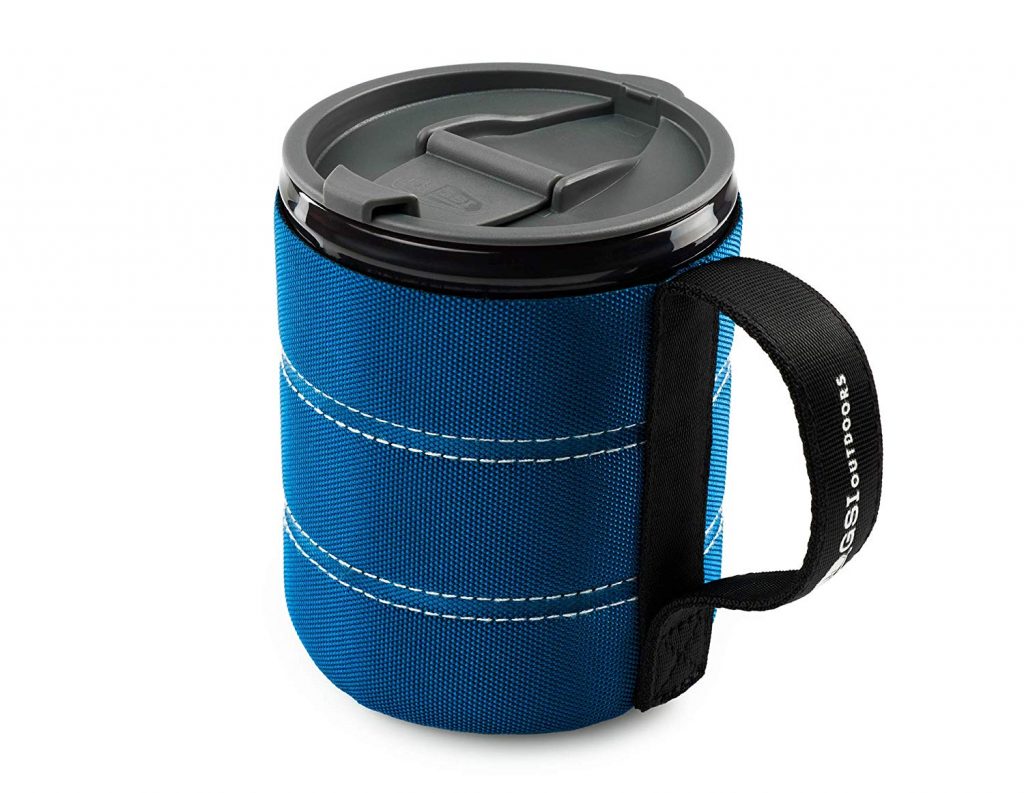
LW Camp Mug

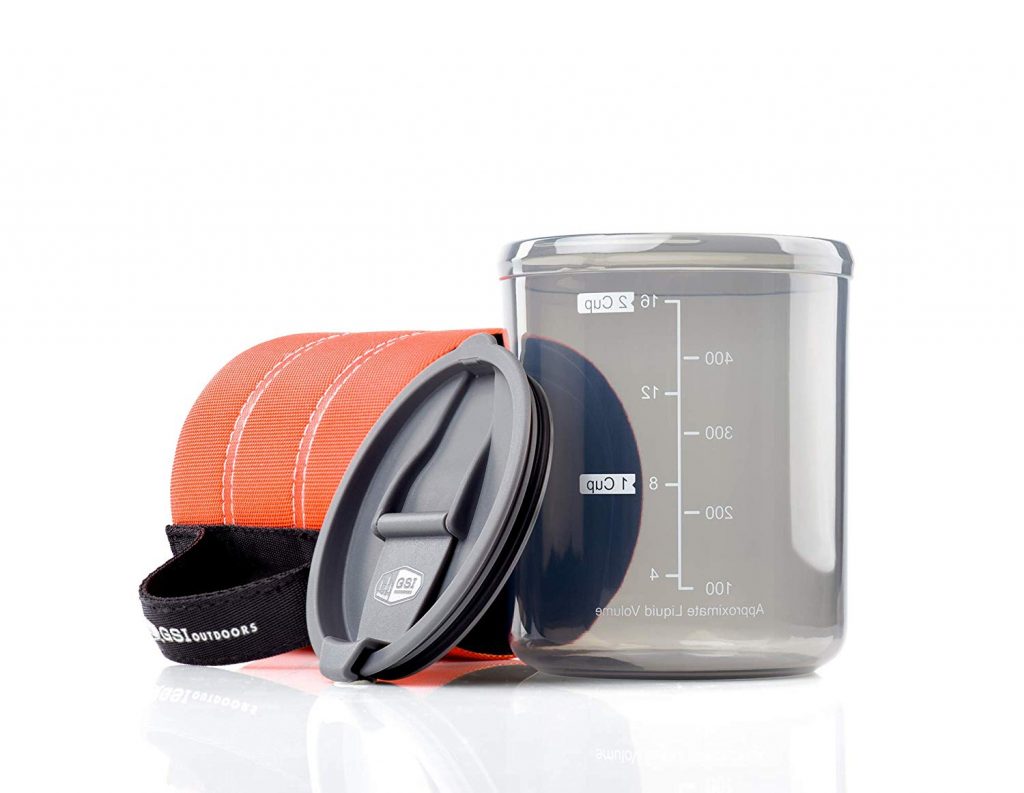
Camp Mugs are an absolutely essential part of backpacking- I use it for the morning cup of joe and for making mixed drinks in the evening (hello lightweight drink options) My favorite mug I’ve tried is the GSI Infinity mug which is very inexpensive, easy to clean, well insulated for hot or cold, and has lid and handle without adding much weight.

Water Filter

There are 2 different filters I recommend based on the type of trip you are taking:

  1. The Platypus gravity 6L filter: This filter is great if you have a larger group backpacking and sharing the one filter. It filters large quantities of water very quickly and easily. HOWEVER beware that like all gravity filters, don’t filter heavily silted water as it will clog the filter. It works best filtering clear running rivers/ streams or from springs. It also beats out competitor Katadyn gravity filter because the filter is located OUTSIDE of the dirty water reservoir.
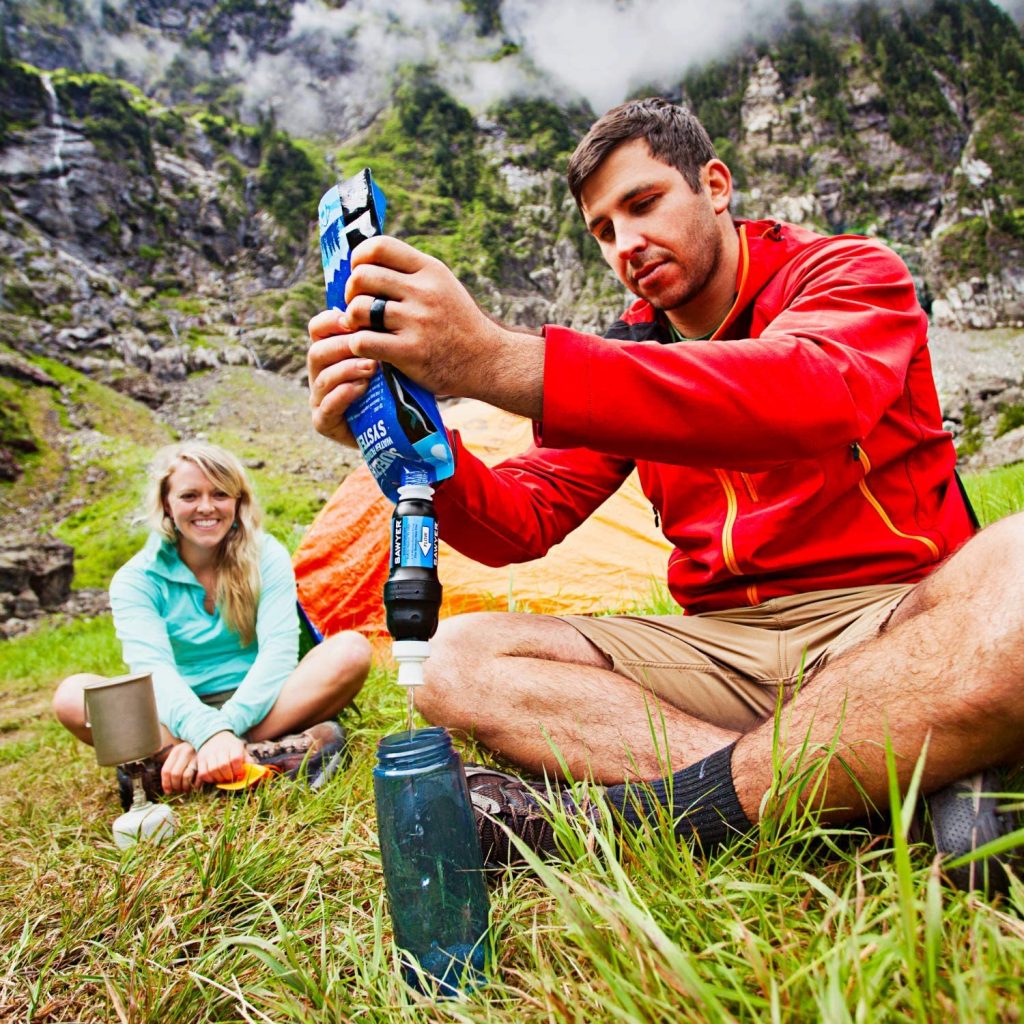
  2. The Sawyer Squeeze filter: This filter works great for 1-2 person trips on quick overnighters. It performs better than a gravity filter when it comes to silty water (though you still want to filter clear water when you can), is still a quick option and easier to troubleshoot. Its hangups come from weak reservoirs under pressure so it’s a good idea to bring back ups. This filer is also much more AFFORDABLE than other filters making it a great beginner filter.

*I always recommend (from several lessons learned) to bring backup water treatment to your filters. I’ve had 1-2 trips where a water filter (I’m looking at you kataydn…) failed. I’d recommend the water treatment drops to straight iodine tablets as some people have side effects from drinking iodine treated water.

Trekking poles

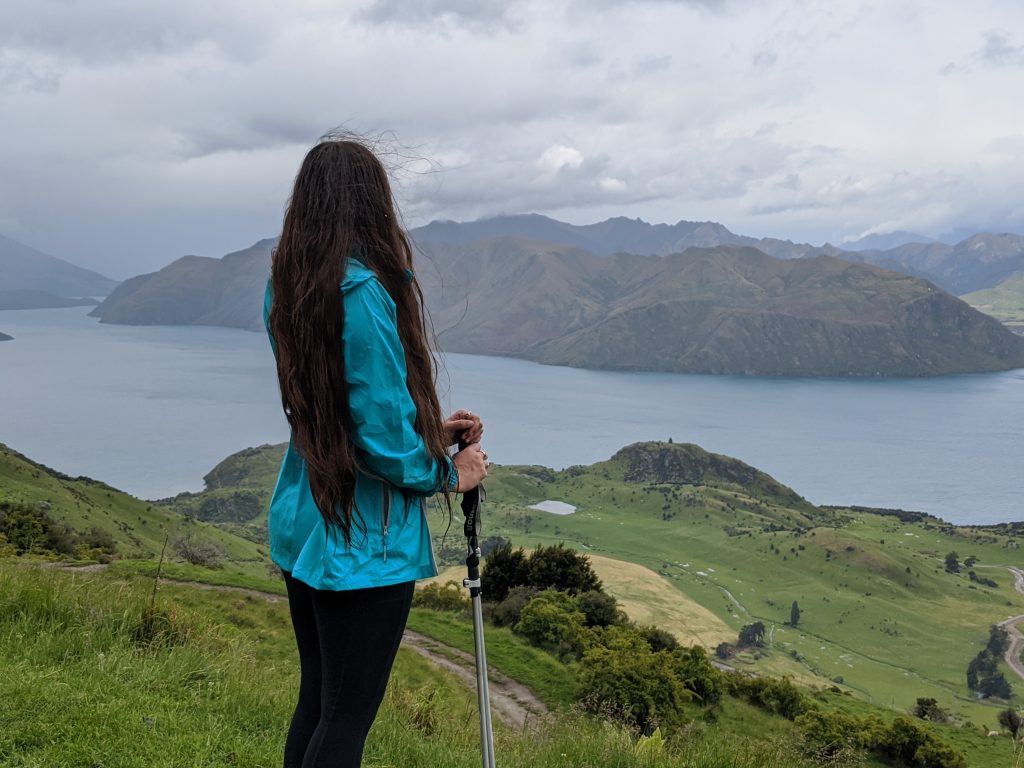
I know several people who have tried trekking poles and decided it wasn’t for them and that used to be the case for me as well- however the more I used them, the more helpful I realized they were. (*on a flat hike, I agree they really don’t help much)

I use my poles equally on the uphill as I do on the downhill. It helps keep my momentum up and even out my pacing so I don’t get out of breath. Poles also greatly help with my stability when carrying a heavy load and help relieve pressure on my toes and knees on the downhill. All that being said- it took me forever to change from my basic snowshoe poles to collapsible trekking poles. Now that I’ve tried them I’ll never go back.

I recommend these collapsible trekking poles

Things to look for in collapsible trekking poles:

  • Easy to pack fully collapsible poles – I’ve taken mine to NZ and plan to bring them on a Europe trip this year.
  • LW and easy to store options for when not needed on flatter sections of trail
  • Cork handles that are more resistant to sweaty/ greasy hands
  • DO NOT BUY spin to tighten poles… these almost always fail quickly. Instead look for poles that lock into place with external lockers that you can adjust yourself.