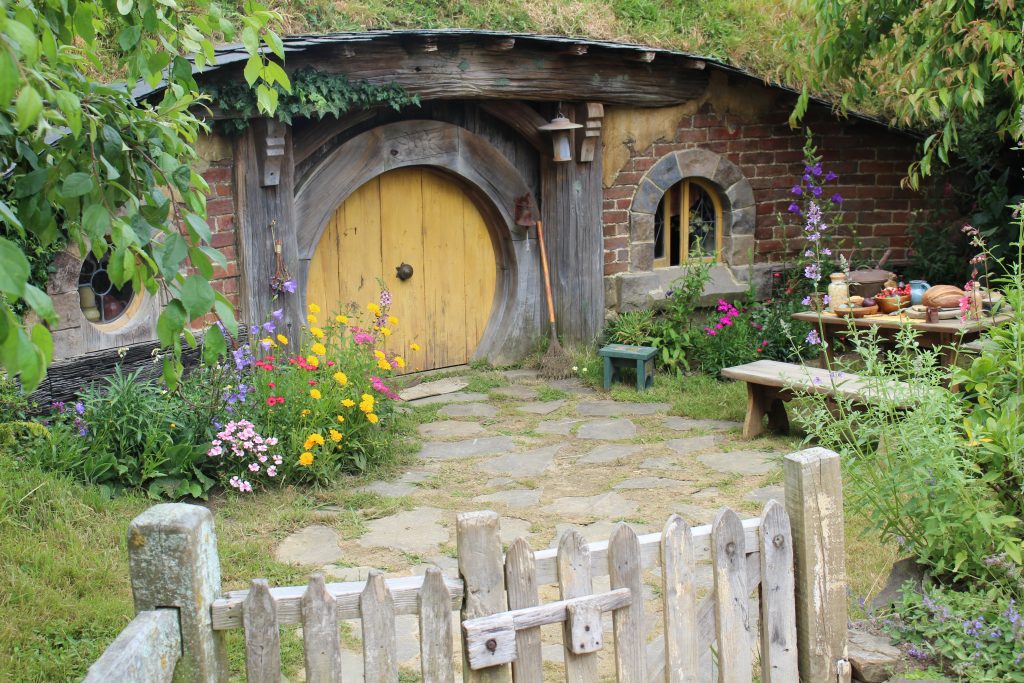
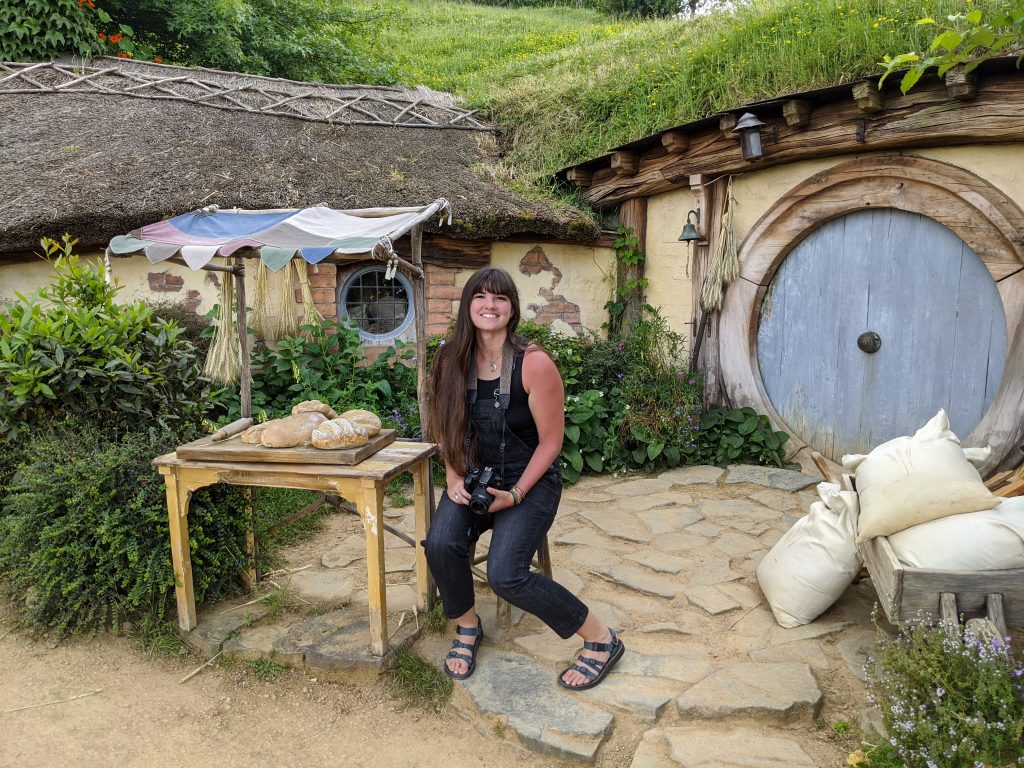
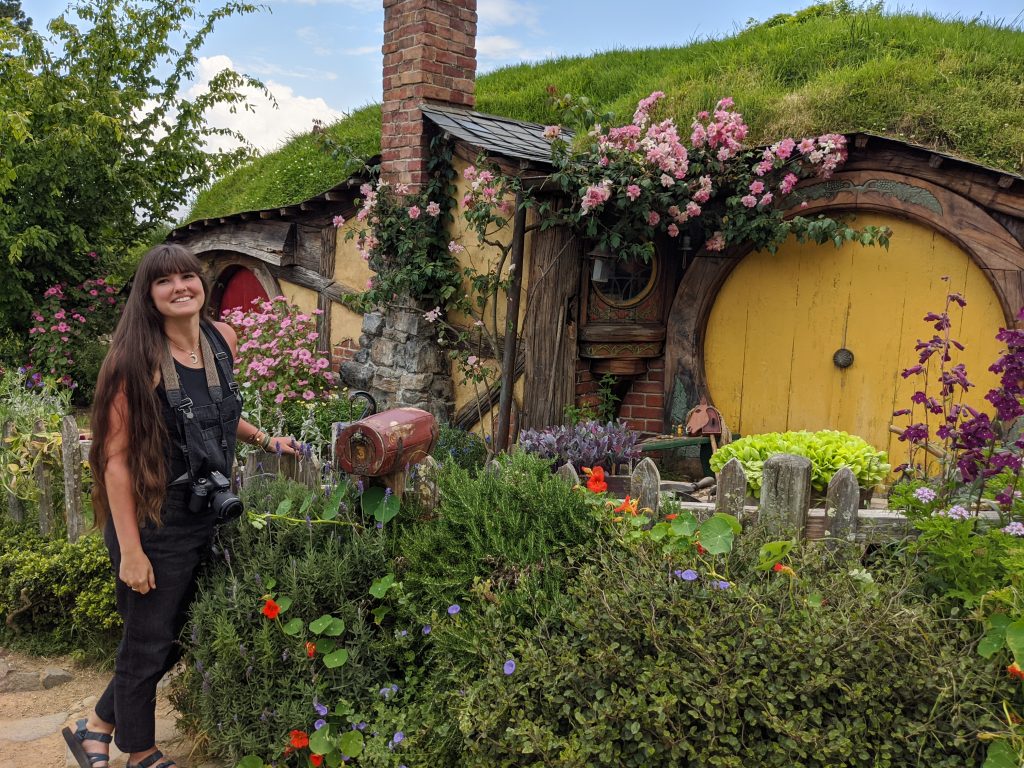
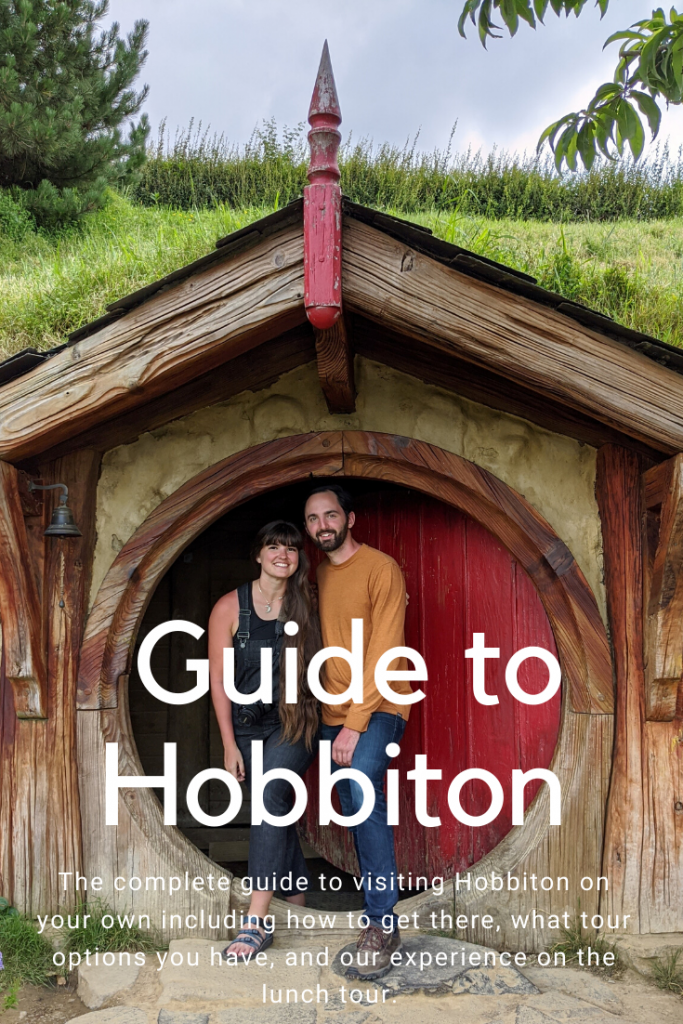
Guide to Hobbiton

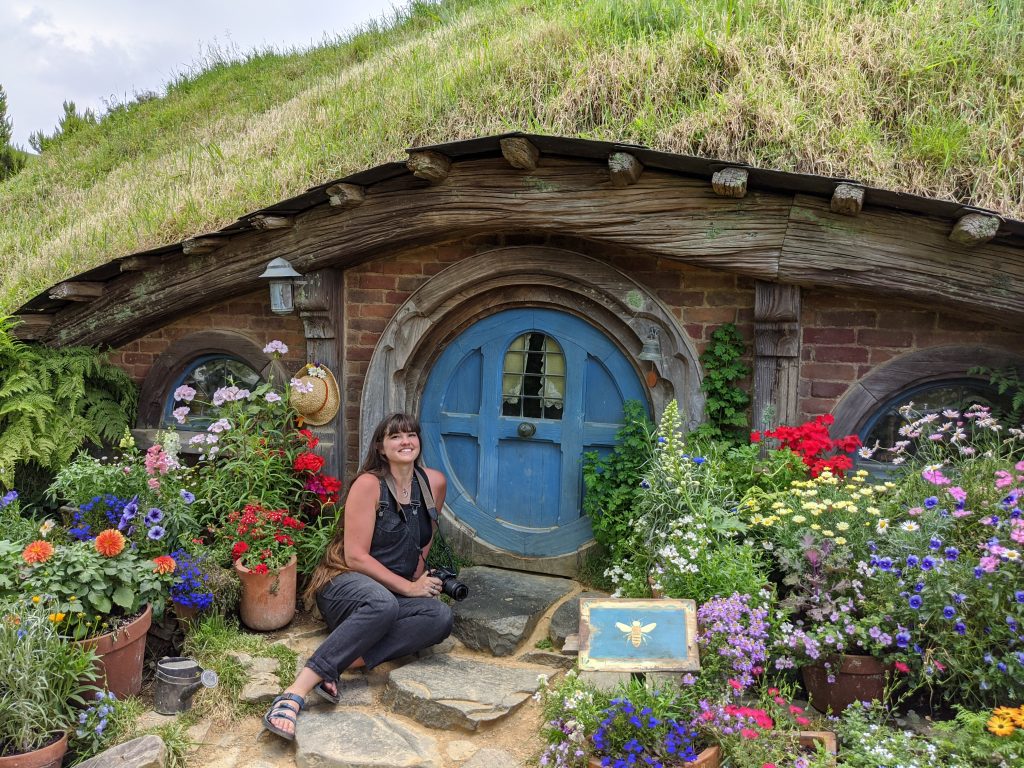
Something most people cannot miss when visiting New Zealand is Hobbiton, the movie set. It’s known worldwide so no matter where you go- when you tell people you visited New Zealand, you will get asked “Did you visit those Hobbit Holes?” by both fans and not fans alike. That being said, you should plan on whether a stop at Hobbiton is right for you or not. You SHOULD visit it you are

  1. A fan of the books or movies
  2. Interested in set design and/or the making of movies
  3. Interested in a good beer and some likely photo ops.

You should NOT plan a trip here unless you at least fit the bill with 1 of those options. People who DON’T like crowds or on a strict budget may find it busy, touristy, and an expensive expenditure. *

*Just saying how it is.

Contents

About the Hobbiton movie set:

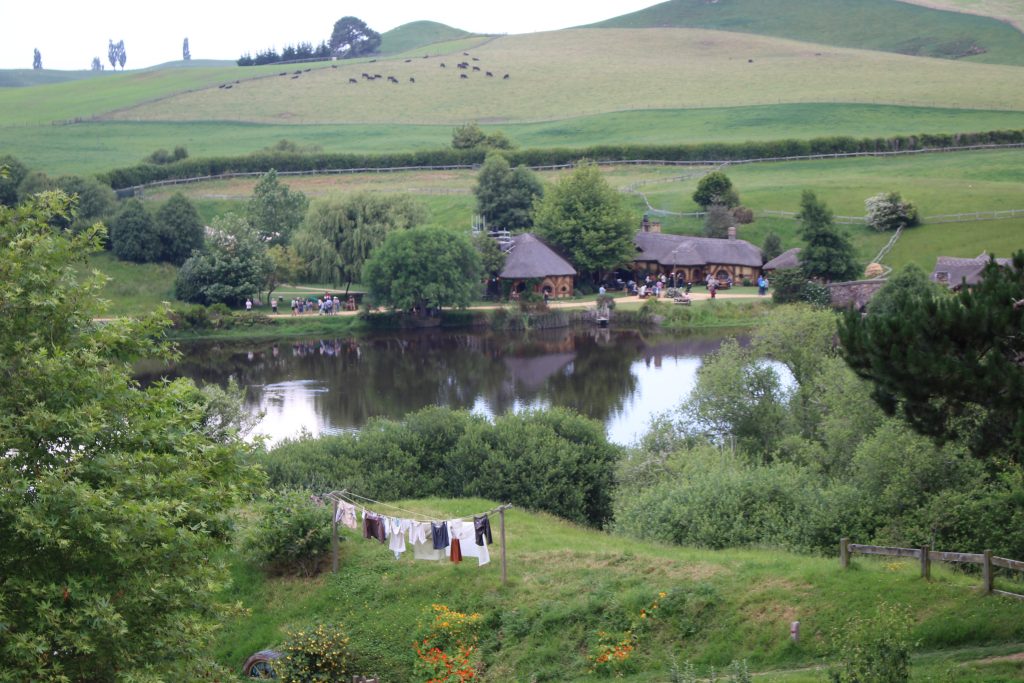
“In 1998, Sir Peter Jackson’s team of location scouts were searching for the iconic rolling hills and lush green pastures of Hobbiton™. An aerial search led them to the Alexander farm, a stunning 1,250 acre sheep farm in the heart of the Waikato. They noted the area’s striking similarity to The Shire™, and quickly realized that the Hobbits™ had found a home.

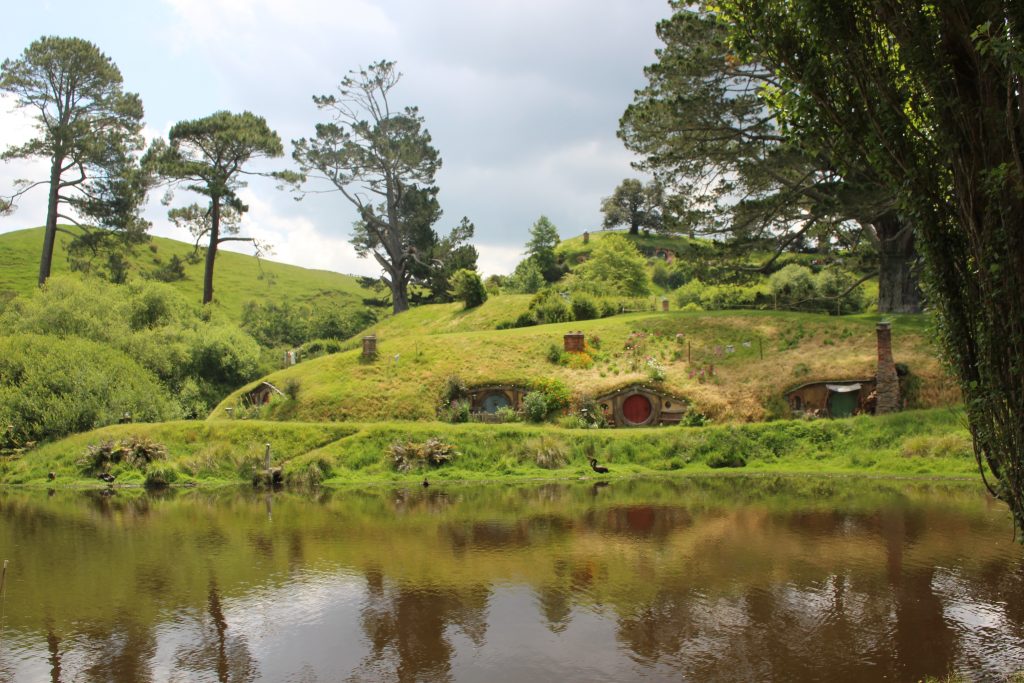
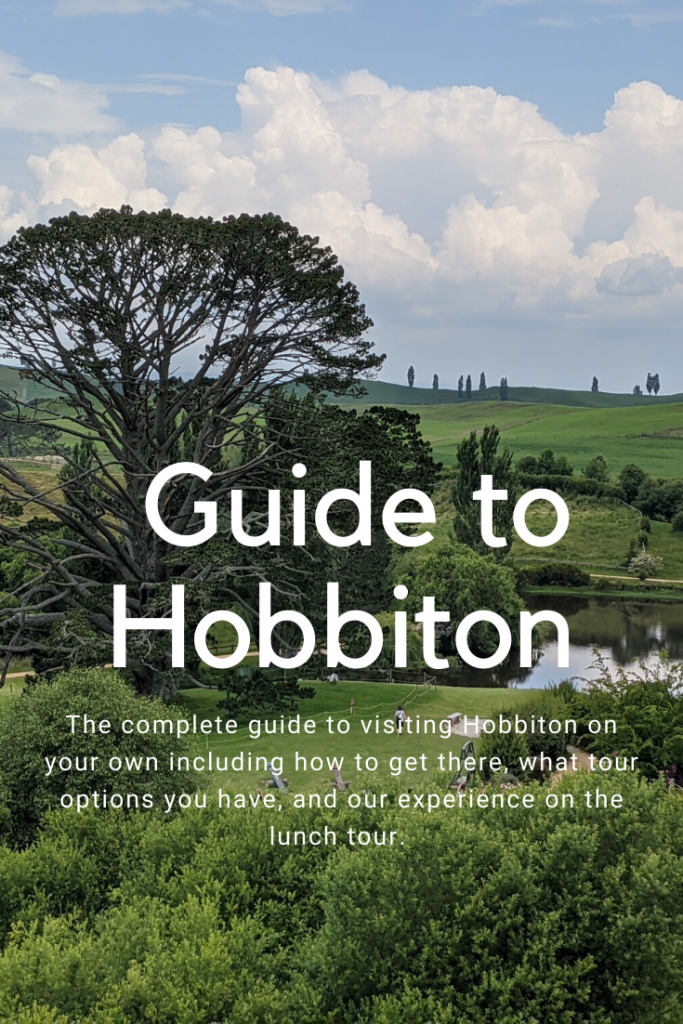
In one particular part of the farm, there is a magnificent pine tree towering over a nearby lake, adjacent to a rising hill. Bag End now sits atop that hill, overlooking the Party Tree, as that pine would later be known. The surrounding areas were untouched; no power lines, no buildings and no roads in sight. This meant that Sir Peter Jackson could leave the 20th century behind, and fully submerge himself in the fantasy world of Middle-earth™.

In March 1999 the crew began the nine month quest to bring the ideas for Hobbiton to fruition; help was provided by the New Zealand Army, and soon 39 temporary Hobbit Holes™ were scattered across the 12 acre plot used for the set. Secrecy was key, and strict security measures were put in place by the production company throughout construction and filming. Filming commenced in December 1999, and it took around three months to get a wrap on The Shire.

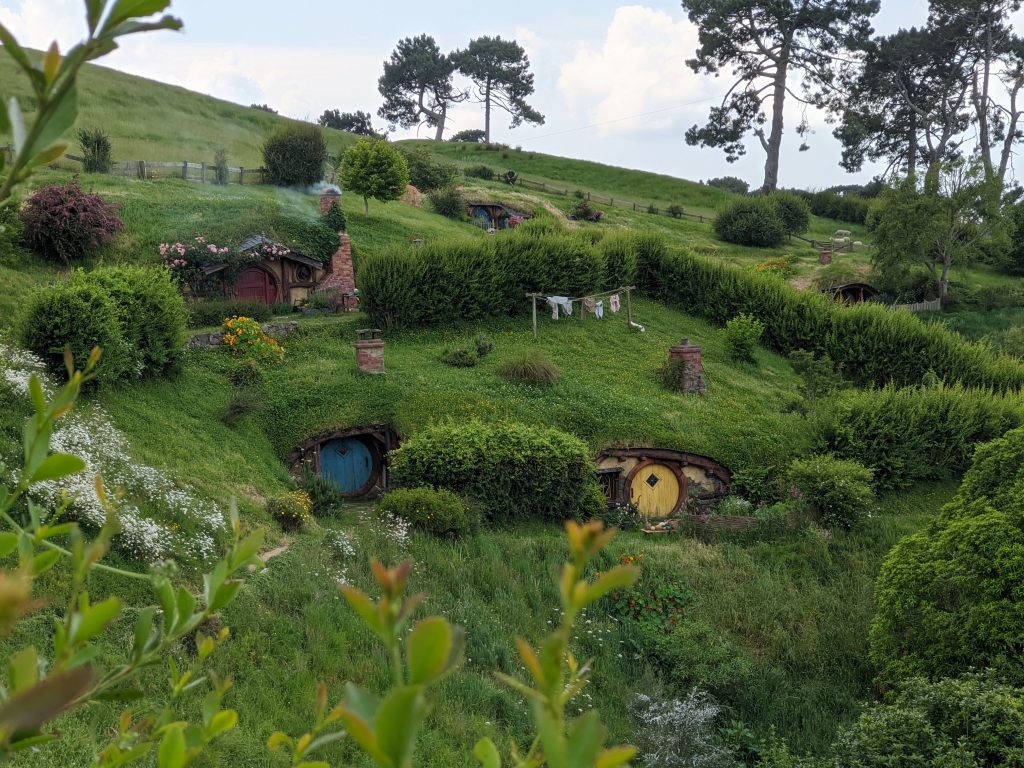
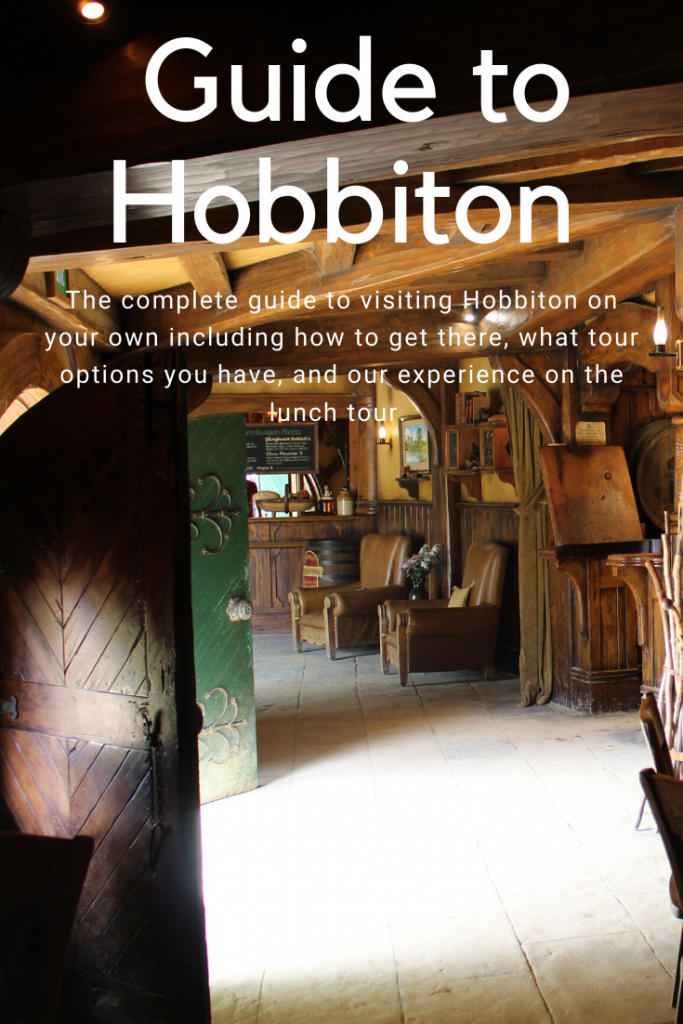
In 2009, Sir Peter Jackson returned to film The Hobbit trilogy, and he left behind the beautiful movie set you’ll see today; 44 permanently reconstructed Hobbit Holes, in the same fantastic detail seen in the movies. In 2012 The Green Dragon™ Inn was opened as the finale to the journey. Guests now finish their Hobbiton Movie Set experience with a refreshing beverage from the Hobbit™ Southfarthing™ Range. There’s an abundance of movie magic nestled inside the fully operational farm.”

Options for getting to Hobbiton:

  1. Private car- Simplest option in my mind- the tour departures are cheapest if you can drive yourself to Hobbiton. It is just over a 2 hour drive from Auckland and very close to other popular destinations in Rotorua.
  2. Take a bus from Auckland to Matamata where there are Hobbiton tour departures that can be booked as a combo with your Hobbiton entrance. (Bus fares are around $40- book in Intercity.com)  
  3. Book a tour within Auckalnd to transport you to your Hobbiton tour. (most expensive- least flexible option)

Since the absolute best way to get around New Zealand is driving yourself, this is the method I’d recommend. Once you get to Hobbiton you have still more options:

Hobbiton Set Tour booking options

  1. A 2 hour movie set tour Adults (17years+) : $84/ Youth: $42 *
  2. The 2 hour movie set tour+ lunch Adults: 120/ Youth: 78 *
  3. The 2 hour movie set tour+ dinner+ lantern lit walk second tour (only offered select nights during the week) Adult: $192 Youth: 152.50 Child: $100

*All tours come with a complimentary drink and free time at the Green Dragon after your walk. There is also a café at Shire’s Rest where you park and where all the Hobbiton tours depart from.

*Children 8 and younger are free but must be accompanied by a paying adult and have a ticket

*You CANNOT see the Hobbit holes without booking a tour.

About our experience:

I did the simple 2 hour tour on my last visit 5 years ago so this time we spiced it up by booking the set tour+lunch combo. (I would’ve booked dinner but it was only available certain days of the week and didn’t align with our schedule)

We drove from Tongariro in the morning and got to the Shire’s Rest about 45 minutes before our departure. We checked in at one of the many kiosk desks to exchange our online vouchers for the physical tickets and then spent some time milling around the gift shop. About 10 minutes before our tour departure (1 PM) we lined up in our designated queue to be first on the bus and waited for our departure.

The lunch portion

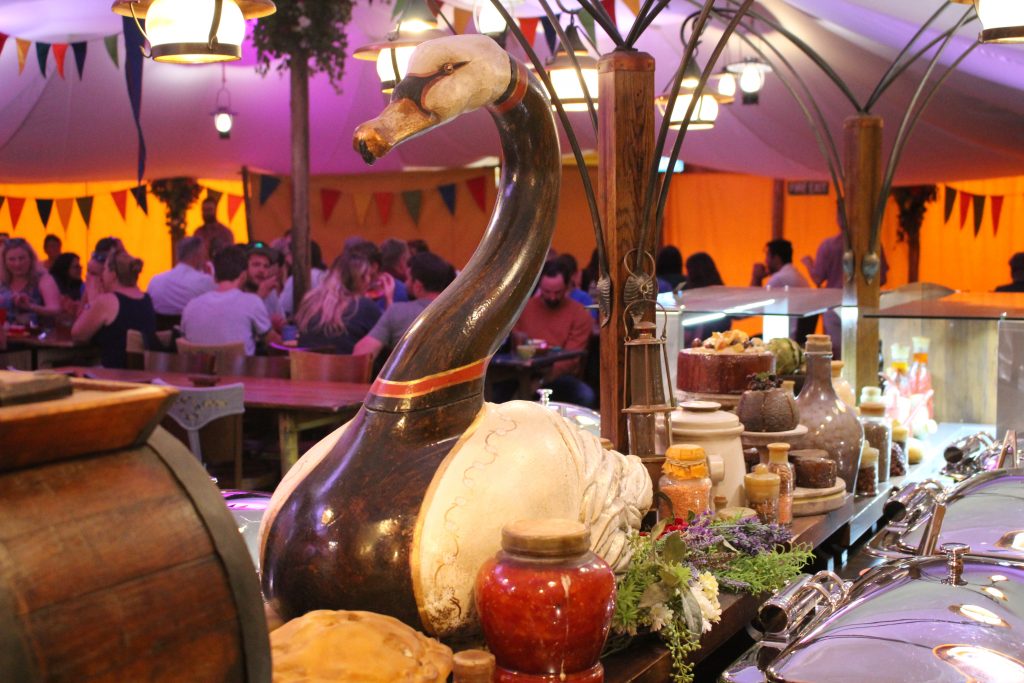
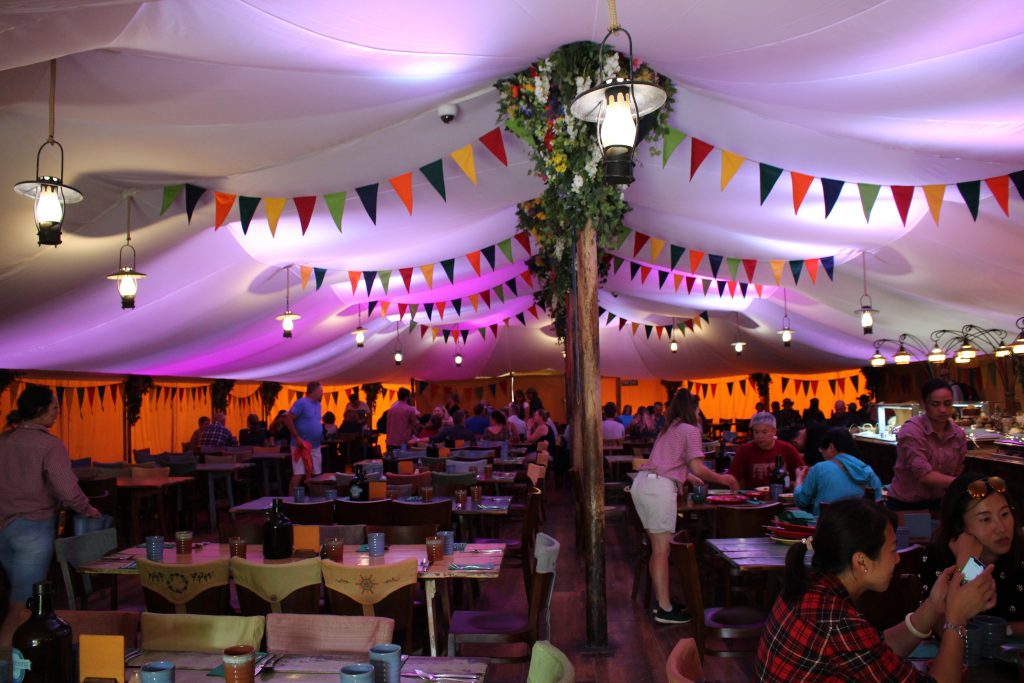
Once you board the bus, it’s a quick 10 minute drive along a beautiful road to Hobbiton. For the lunch tour, they lead us down to their party tent (which is right near the Green Dragon Inn) and we were seated at our specific group tables. We had about 45 minutes to eat once seated and they designated an order to lining up to go down the buffet line which was all rather efficient. Once  everyone was seated with their food, you were more than welcome to go back for seconds and there was plenty of food. The options were NUMEROUS but my favorite things were the roasted potatoes/ veggies with herbs, slow roasted beef, tomato and vegetable curry, and marinated chicken. They also had a selection of deserts, tea, and coffee available after the main courses. The only other beverage available during lunch is water.
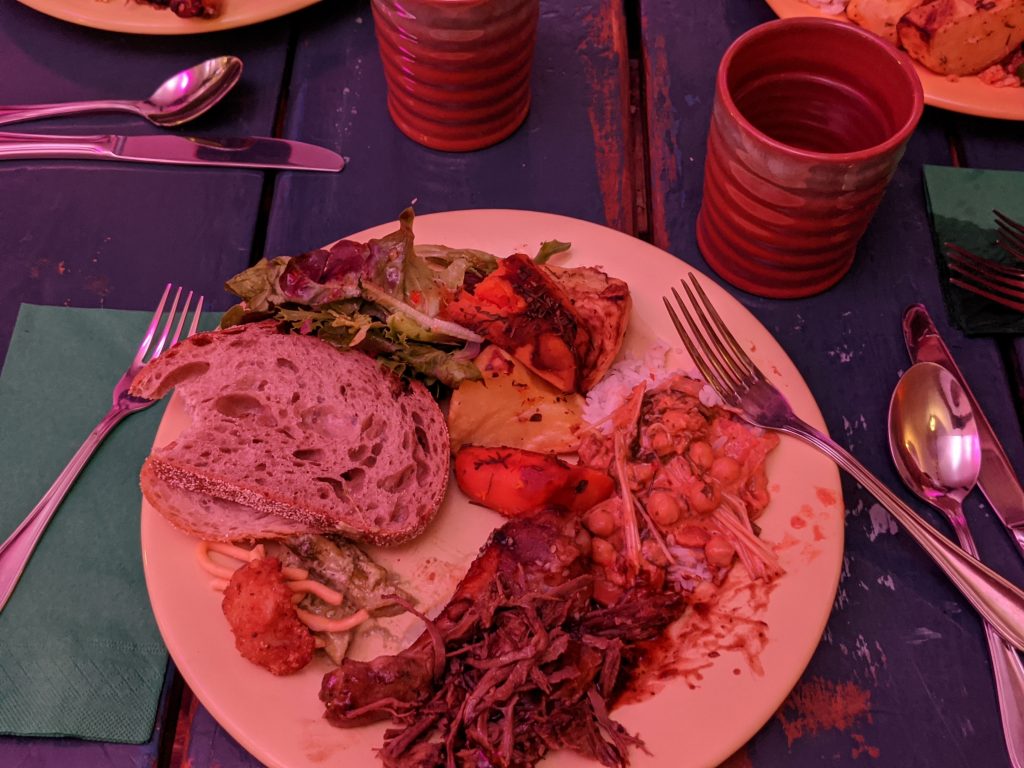
Delicious options pictured here include roasted veggies with herbs, slow roasted beef, tomato and vegetable curry, marinated chicken, salad, and fresh hearty bread

All in all, I’m a slow eater and so only having 45 minutes to eat semi stressed me out and once we had food, both Braden and I were 100% business at consuming as much food as quickly as possible. I am happy to report that everything was absolutely delicious and we have no regrets about spending a little more on lunch that day.

The touring portion

After everyone was finished and we had all gathered outside, we began our walking tour! The tours seemed to be spaced about every 10-15 minutes and each tour group is easily around 30 people which makes for A LOT of people milling about. The guides are all very good at getting people to move along while still stopping at all the “must get the shot” spots. In general, we would stop and learn a few facts, take a few photos, and the guide would start slowly walking on. Then people would trickle after getting their own shots and we’d all be stopped where the guide stopped next.
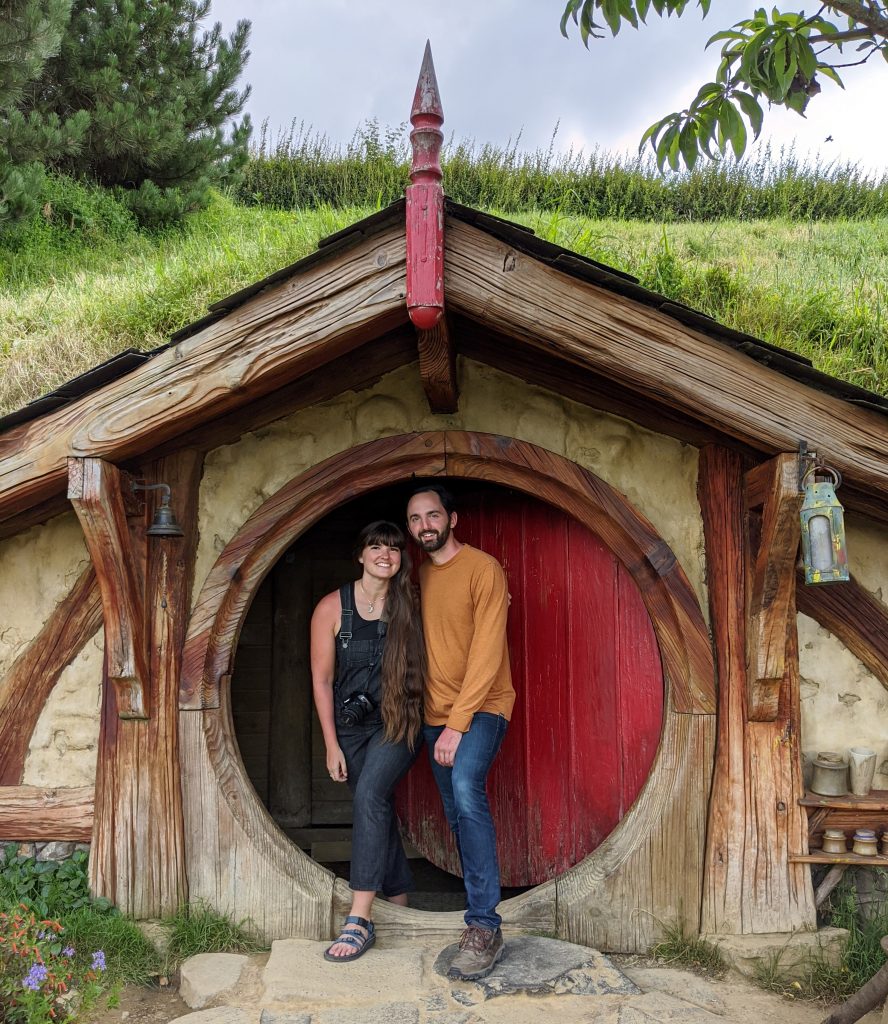
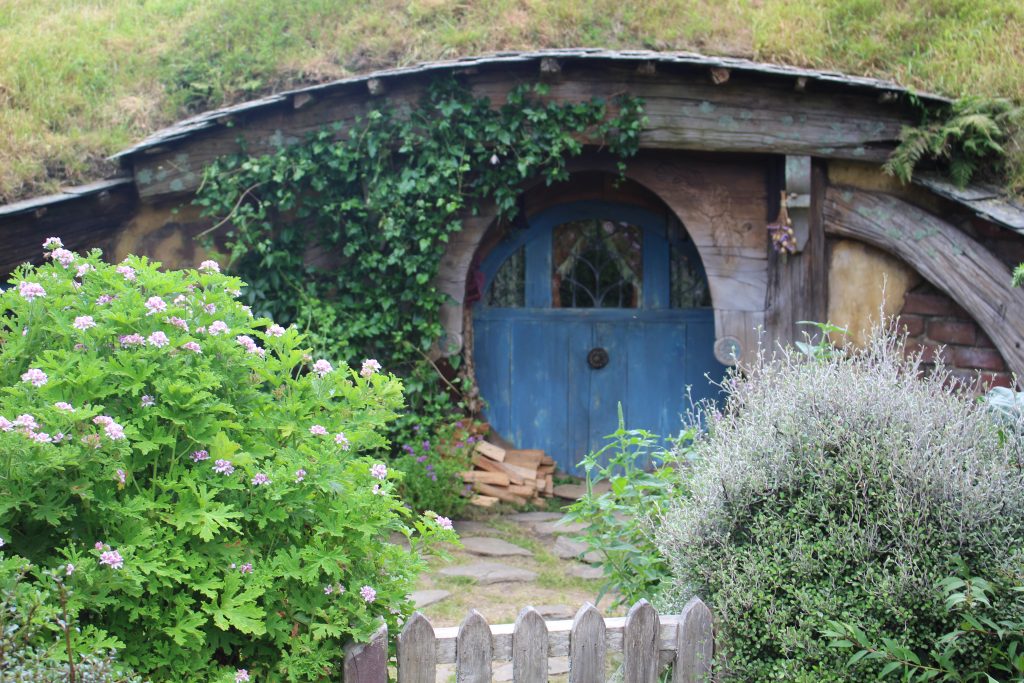
The red door Hobbit hole is the only one you can open and look inside of. They are just empty or used for storage anyways at this site.

It was actually quiet impressive how efficient the tours ran and all the guides seemed to be excellent at communicating and directing. There were 2 spots along the route that EVERYONE who wanted one got a photo (the guide offered to take the photos). These were at the red door (where you can actually open the door and peak inside) and Bag end. The rest of the walking tour the guides ask you to move along and not try to get a photo with every single Hobbit hole. (there are a LOT).

At each stop you learn about specific scenes filmed in that spot, some of the building process that went into the visible props, and some of the Hobbit characters that resided in each particular hole. You learned a little bit about the Hobbit’s lifestyle (as described in the books) which was great and I found everything to be on par (since I had just read the books again before leaving for our trip.)
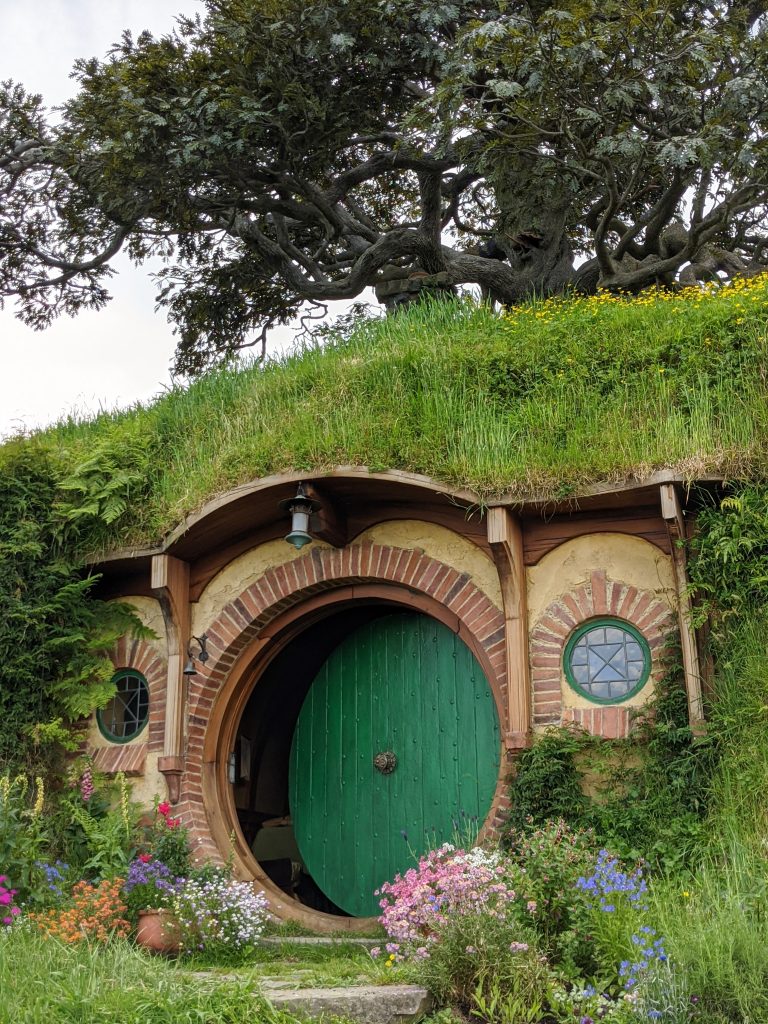
My favorite details we learned about the site was how meticulously devoted to the tree on Bag End they were- it’s actually the only tree that is fake in the whole area. Each leaf was hand painted and attached to be as authentic as possible.

The finale

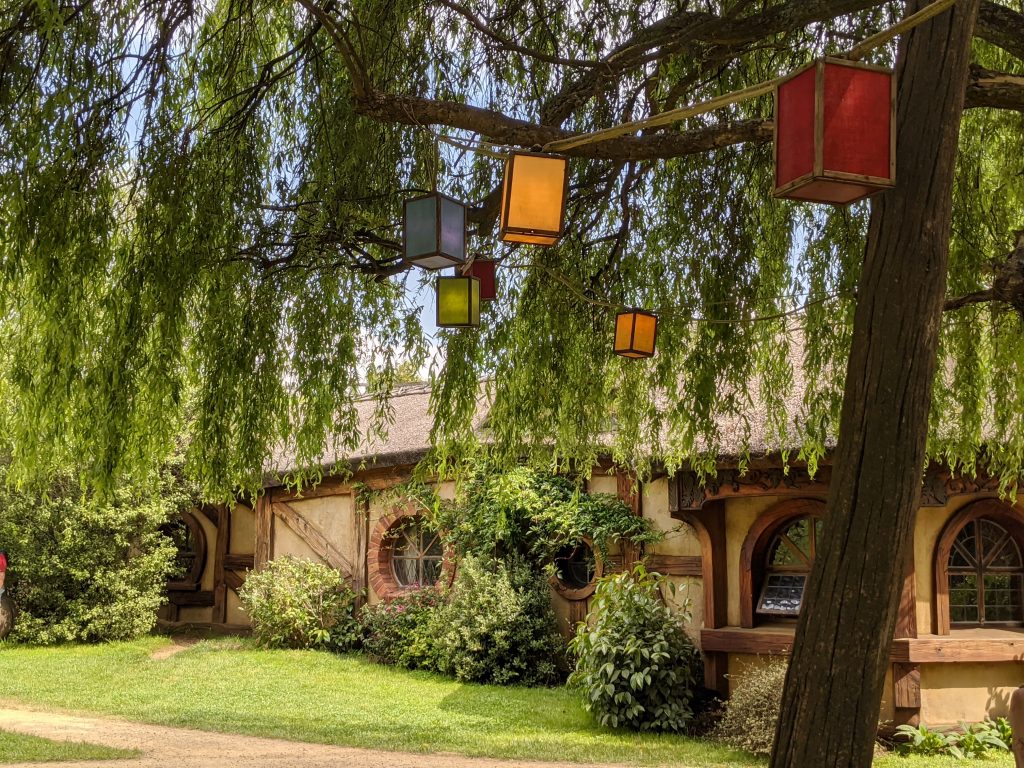
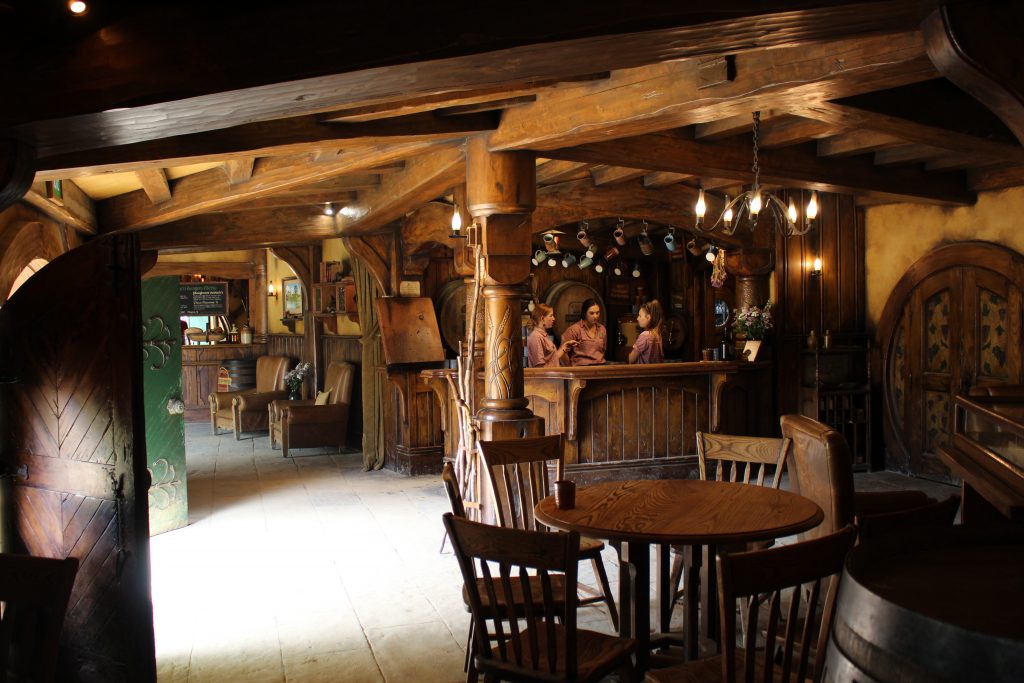
The other notable stops are at the bottom of the hill (in the “community”) and by the party tree. From there we walked a short 5 minutes or so through some pretty gardens and woods to the mill and Green Dragon. You’re rewarded then for making it through all that walking with your choice of 4 beverages and anywhere from 20-40 minutes to hang out. We had the latter so plenty of time to drink and admire the details that went into the Green Dragon and mill.
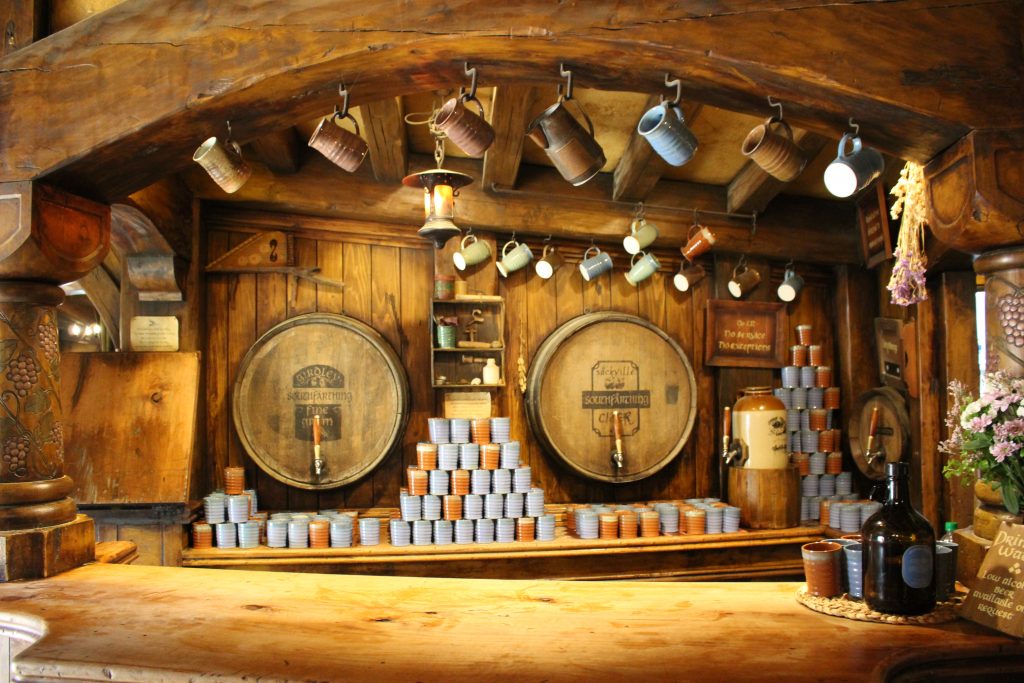
Hobbiton beverage options are:

  1. Nonalcoholic Ginger Beer- tried on my first visit to Hobbiton and remember it being delightful
  2. A traditional English Ale- haven’t tried but sounds good. It’s a roasted chocolatey sort of brew.
  3. A Fine Grain Amber Ale- tried this round and it was QUITE good. The taste is light, malty, and sweet. Very little bitterness or hops.
  4. The Sackville Cider- Excellent- tried this and both Braden and I agreed it was great. It’s a more tart and refreshing cider as opposed to a lot of the overly sweet ones you get at the store.
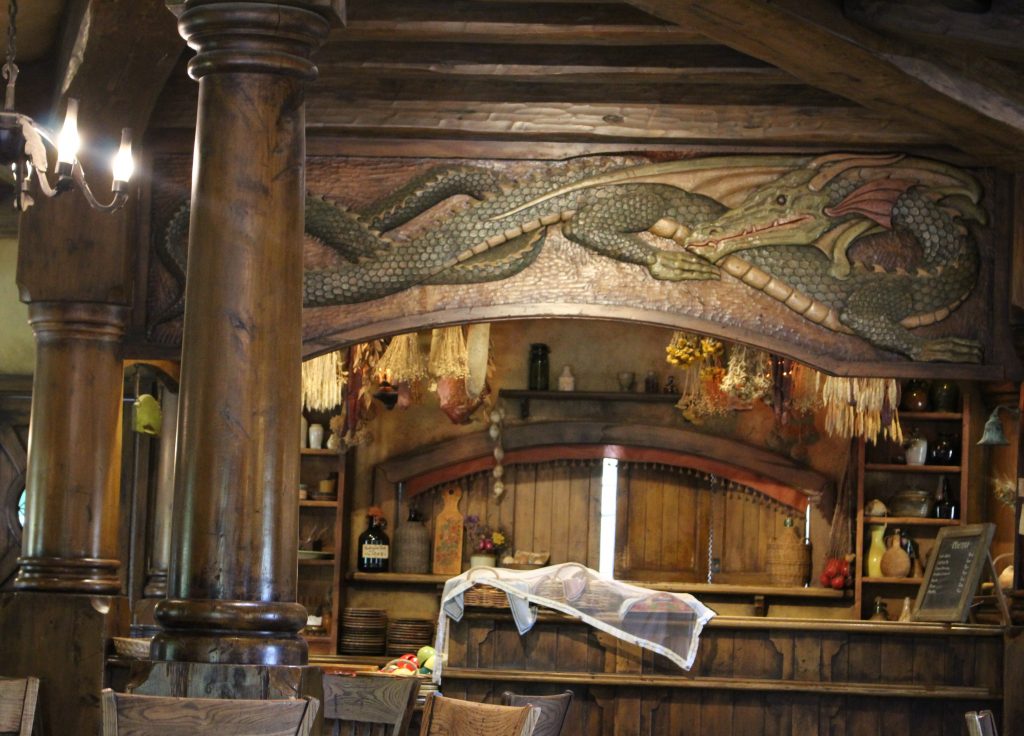
Note: There are 2 restrooms around the Green Dragon (one of which is IN the Green Dragon) so apart from when you are wandering around the Hobbit Holes (approx. 1.5 hours) you have access to facilities.

At a specified time you meet back up with your same tour guide just outside the Green Dragon and walk back to board the bus for a 10 minute ride back to the car park.
Wrapup

So in review, I would recommend doing the lunch or evening tour as I thought the food was great and it was fun having a little extra time around the site. Just visit without the meals if you are on a budget though and you’ll still have a great experience. If you are a fan of the fantasy and not of the crowds- fear not. While it is busy, they have these tours down to an efficiency that really impressed me and I never had to stress that much about getting the photo I want or having to wait for people to move. All in all- awesome experience, and a must do if you enjoy LOTR, movie making, and cool photos 😀
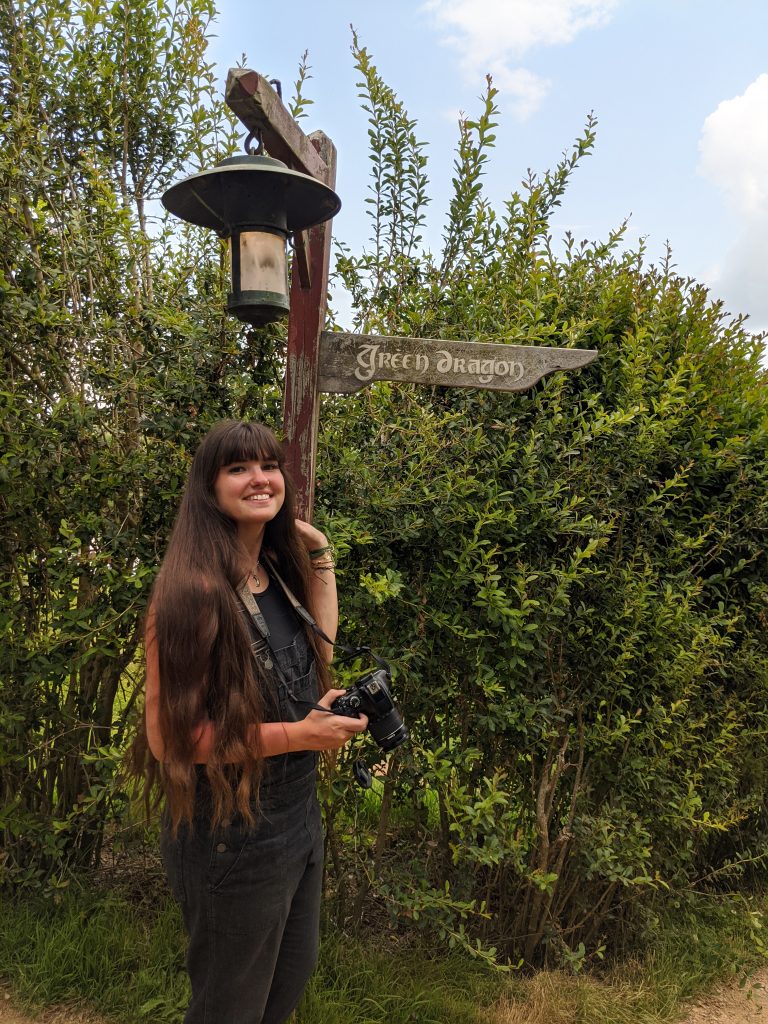
What do you think, does Hobbiton seem like a must do for your trip to New Zealand?

Pin me:

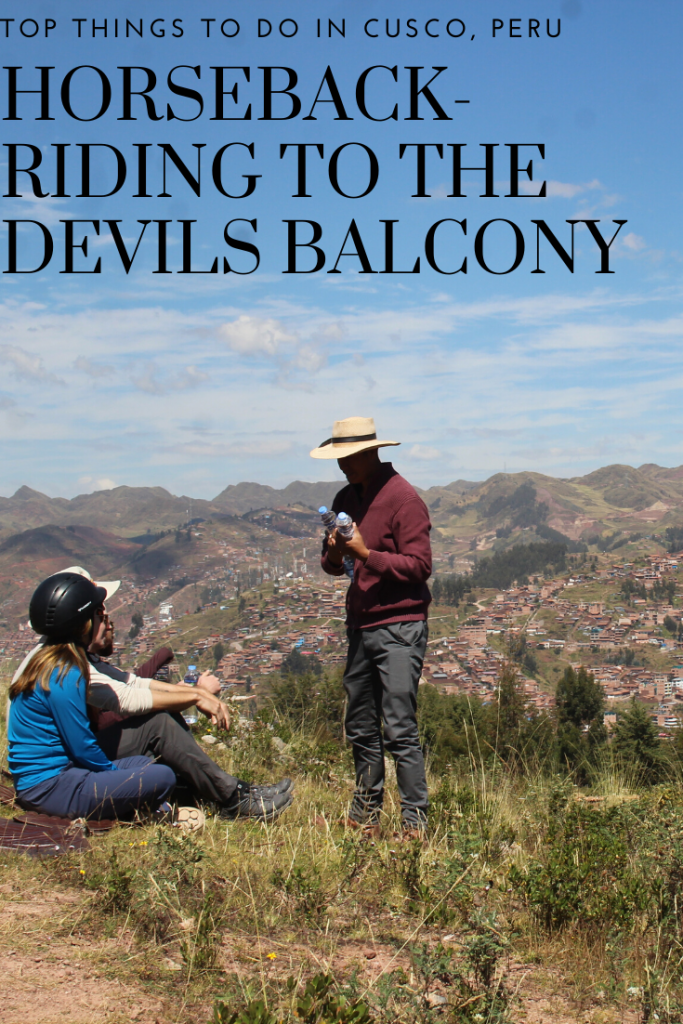
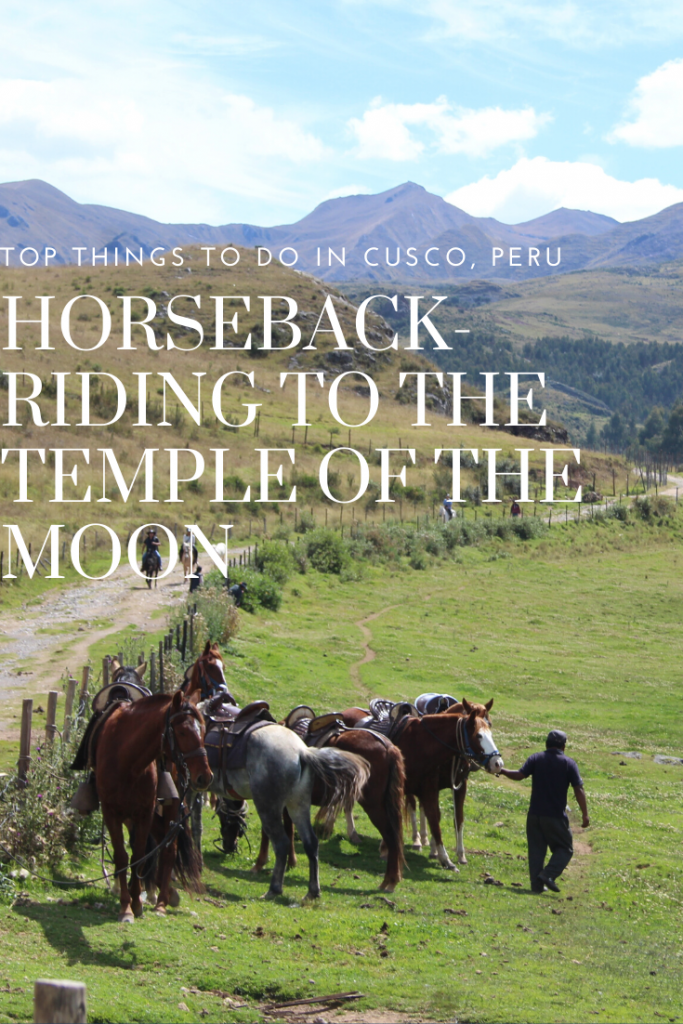
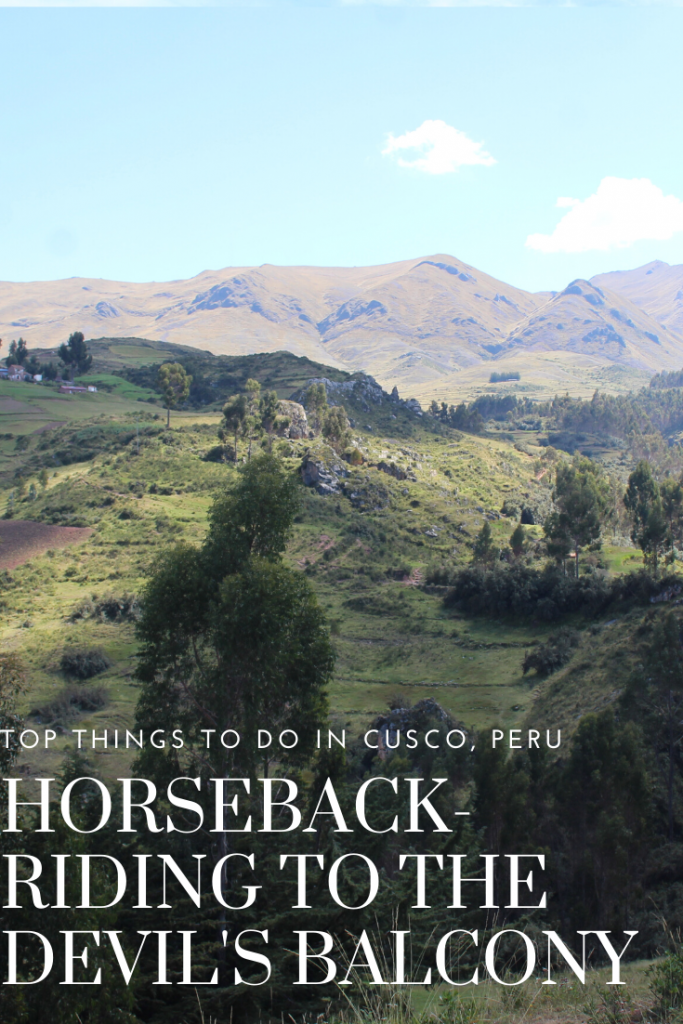
Horseback riding in Cusco

 
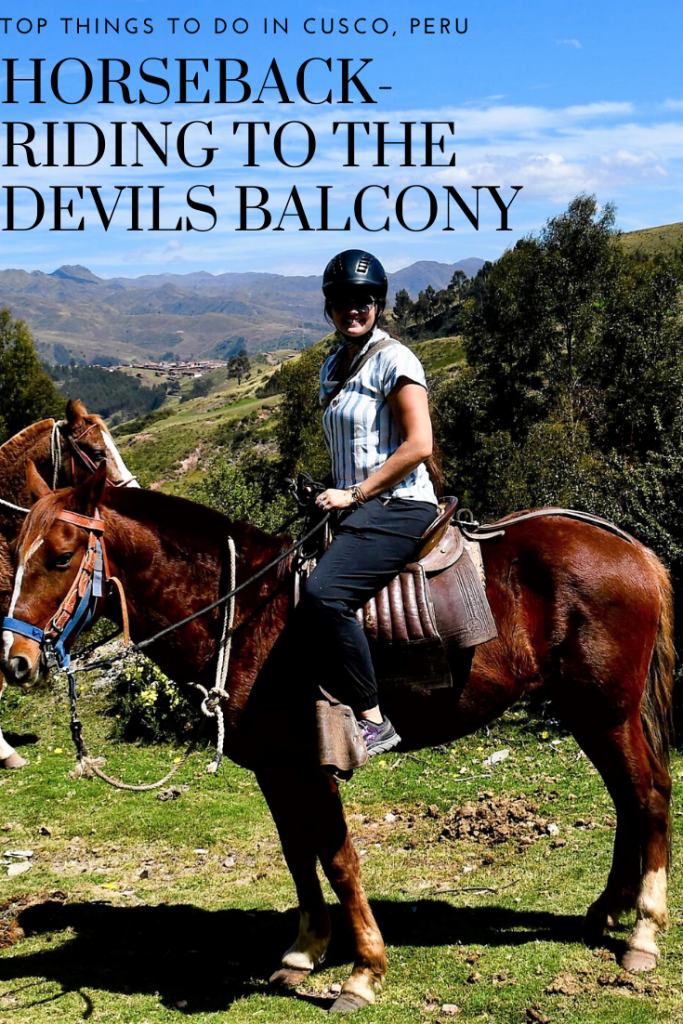
While our first 2 days in Cusco were enjoyable, this day really BROUGHT it. It was one of the first tours I landed upon when searching things to do in Cusco for a half day and for only $65 riding, it really intrigued me. So far the only other country I’ve ridden in was Iceland, so I was definitely interested to see what tours were like in other countries. Luckily my friends were also game for a little riding adventure so we booked it, made sure to wear pants, loaded up on sunscreen, and got ready for out tour.
 
We did NOT know what we were getting into, in the best way possible. This was hands down the BEST riding tour I could imagine, and possibly one of the best tours I’ve ever taken.


About our tour

We were picked up at a hotel near our Airbnb (easier to coordinate) by a private taxi driver at 9AM who drove us 15 minutes up past the San Blas neighborhood and  Sacsayhuaman ruins to a small farm where the horses were already tacked and ready to go.
 
There we met another couple slated for our time slot making our group once again- 6. (the magic number of Peru groups apparently)
The ONLY con of this tour was there were not bathrooms at the ranch. Meaning those who had too much coffee to drink had to head for the bushes before we started. (for once I wasn’t among that group) We fitted our riding helmets which the guides were very explicit that we had to use, and then met the horses.
 
Out of our group, I was the 2nd most experienced rider, though there were 3 of us that had decent experience. Then there were 3 total beginners. Our guide, Holgar matched us to our horses. I was matched with a horse named Seos (who wouldn’t spook at my camera being slung around my side). We got a very brief safety/ riding demonstration before we were all helped to mount our horses.
 
Holgar getting ready to mount his horse for the “riding demonstration”
 
The ride started off following the road past the ranch just a little ways before skirting off up a decently steep hill through beautiful woodlands. We spent the next hour or so going up and down hills, passing lush farming fields, and with incredible views of Cusco city below. We mostly rode in order of the horse’s preference so I got lucky to go in 3rd and could hear the guide the whole time.
 
The entirety of Cusco laid out beyond the hill
 
Holgar pointed out a field that was growing the grain they use for their local beer, and also spotted 2 big Condors just getting ready to take flight! Half way to our first destination he started introducing a little bit of trotting in short bursts and would check how everyone was doing. I found it a blast to trot and even canter at times through the trees and hillside. (My horse really wanted to MOVE, every time a spot opened up where he could go faster to catch up, he broke right into a nice canter) So beyond the scenery, the riding experience in and of itself was the BEST.


The Devil’s Balcony/Temple of the Rainbow

We eventually got to our first stop where we dismounted and had a short walk along an “original Inca trail” (you’ll hear that a LOT from guides around Cusco) and this trail had one of their irrigation trenches as well. When we got to a hill overlooking a lush valley with a river flowing through we split up into 2 groups to visit the Devil’s Balcony.
 
We kept our helmets on to protect our noggins from bumps when climbing down the rocks and came to a small natural little cave with a balcony overlooking the river. It was so tucked away and hidden, you’d never know it was there unless a guide or local showed you!
We then returned to the overlook while the other 3 people checked it out before heading down to the river to peer into the lower cave/ tunnel where the water flowed through. I would’ve loved to trek back into the cave but I have a feeling it would’ve gotten our feet wet and Holgar wasn’t keen on guiding us down there. We did however learn a bit more about how this site was a “Temple to the rainbow” either from the culture pre-Inca or the Incans themselves. You could see some hints at foundations around and it would make sense they would make use of the cave and natural balcony.
 
Climbing down through the rocks to visit the balcony
 
The balcony overlooking the river as it flowed out of the center of the rock
 

Temple of the Rainbow
The big cave is in the lower left and the balcony the upper right- almost around where the bushes are.
 
Once we walked back to the horses, we were given our bagged snacks and water bottles which was perfectly timed after the walk. The snacks included some cookies, an orange, crackers, and a few hard candies. We had about 15 minutes to eat/drink and enjoy the view from our sitting spot where they even laid out the saddle cushions in a row for us to sit on. SUCH SERVICE. 
 
The view in the other direction from our snack break. The devils balcony is over (out of frame) to the right.
 
Remounting our horses
We remounted our horses and headed back the way we came
Eventually we came to our 2nd/ last stop: the Temple of the Moon (another spot above Cusco) where we dismounted and walked around learning about it’s initial discovery and the different purposes of the rooms. Holgar pointed to one cave opening where they just recently discovered a mummy !


Visiting the Temple of the Moon

I will note here that while the devil’s balcony is quite out of the way and more difficult to get directions to, the Temple of the Moon is an “easy” hike from Cusco. The path actually follows the Inca highway to Antisuyo leaving from the Plaza de Armas and rising up through San Blas, passing Sacsayhuaman, crossing the Avenida Circunvalación and eventually flattening out. The site is free to visit and is frequented by locals who visit for exercise and spirituality. So if you aren’t a horse back rider, don’t care to find another sort of tour to visit, and would like to make the trek yourself- it IS an option. (Pair it with a visit to Sacsayhuaman which is a must see in Cusco)
 
After walking around and learning a bit more about the Temple of the Moon, we remounted and had a short but FAST ride back to the ranch. (lots more cantering)
 
Back at the ranch we were reunited with jackets and backpacks and said goodbye to our sweet horses. The same taxi driver as before drove us back into town and dropped us off in the main square so we could find lunch and continue our city exploring right around 1.
 
AMAZING tour and even better value. If you’ve ever wanted to do a riding tour and find yourself in Cusco- even if only for a day- I recommend this. It was quite literally- my favorite thing we did and saw in our first 3 days.
 
To book your tour, visit here
 
Seos also thinks you should book this tour. 😉
 

Pin me:
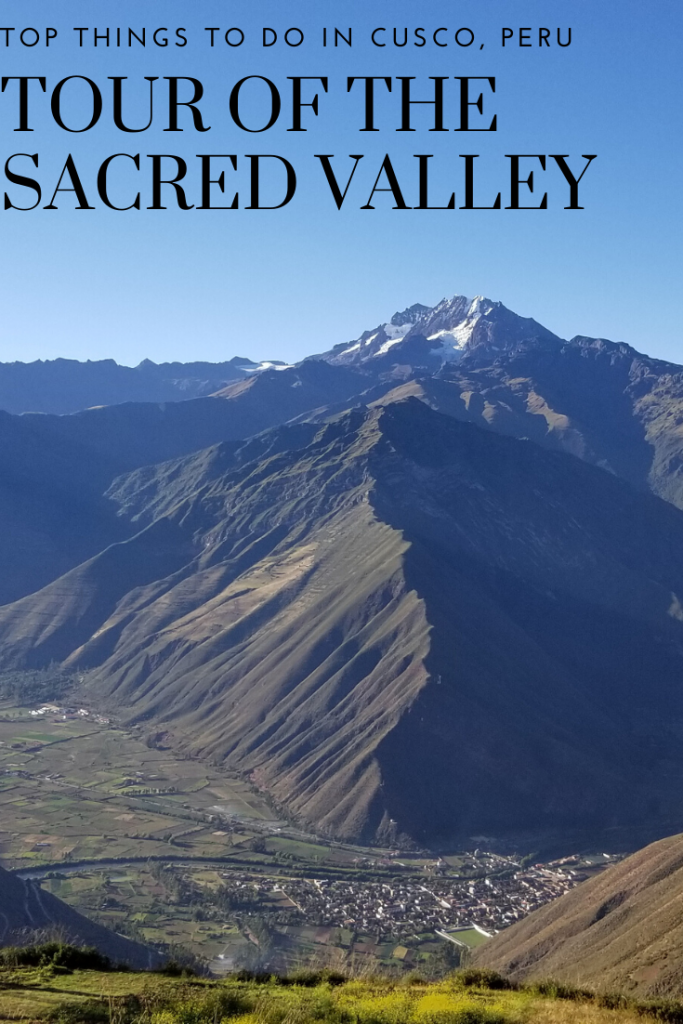
The Sacred Valley

 
The Sacred Valley
 
 
What is a trip to Peru without a visit to the famous Sacred Valley?
About as important a visit as seeing the top wonder of the World, Machu Picchu, the many sites and towns along the Urubamba (sacred) river are a must see. Preferrably over a few days with time to spend in each place. But if you are on a time crunch like we were, 1 day on a tour is what you get.


About our tour 
On our 2nd day in Peru we opted to do a Sacred Valley Tour through Salkantay Trekking (the same company we were using for the trek) The plan was an early morning – start in Pisac and finish with Ollantaytambo – Chincerro district, effectively circling through the Sacred Valley and finishing on different sides of Cusco. The tour included our transportation, lunch, and guide but did not cover our entrance into the sites. There are 2 ticket combinations you can purchase- 1 which is comprehensive and covers the sacred valley AND the localized ruins around Cusco such as Sacsayhuaman and costs 130 soles. The other which just covers the 3 we were seeing plus Moray. As we didn’t think we’d have time to visit the many other sites, we opted for the cheaper ticket at 70 soles.
 
We bought yogurts and bars from the store the previous night so we gobbled those up at 6:30 before the guide picked us up just before 7. Our group only had 1 other couple in it making us a 6 person group which was nice for a more personalized trip.

We headed up the road learning about how Eucalyptus was planted around Cusco as it grows fast and provids fast wood for building- then stopped at our first stop just past the Sacsayhuaman ruins at an alpaca/ llama farm.

While the layout of this stop was largely commercial (also voluntary, they did give us the option of skipping the stop)- learn about how alpaca wool is harvested/ dyed/ and woven- then try to get us to buy some, I still appreciated the stop. We got to feed the alpacas and llamas which was fun and pet the ones who’d let us. The farm also had a couple Vicunya which are the smallest of the camelid family and by far the softest. It was great interacting with so many of the animals and I did find the types of materials they used for dye interesting. That being said… I also got guilted into buying a very expensive pair of socks – $30 (cheapest thing I could find) woven from baby alpaca wool that I figured would make a decent gift for Braden. (Hope you love them babe! )
 
My favorite guy: This is a great time to point out that Alpaca don’t have top front teeth… only bottom giant ones!
A cute little Vicuña, the smallest of the camelid family!
And a llama
 
Looking down the center of the farm. Llamas on the left, alpacas on the right.
Then onto our next stop!
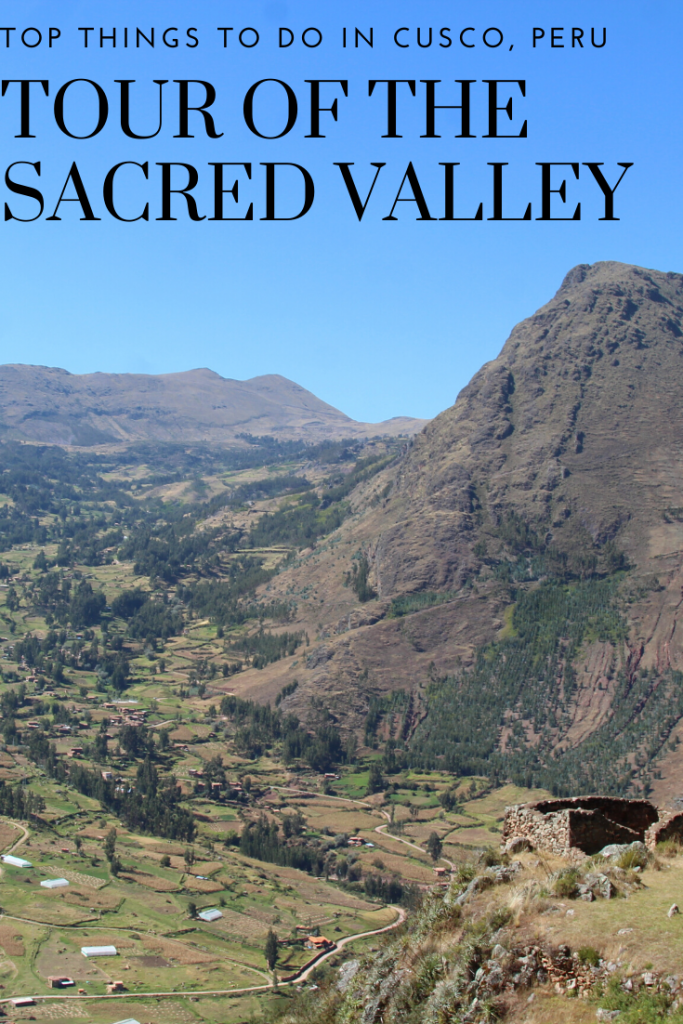
A viewpoint of the Sacred Valley we stopped at on our way to Pisac.
 
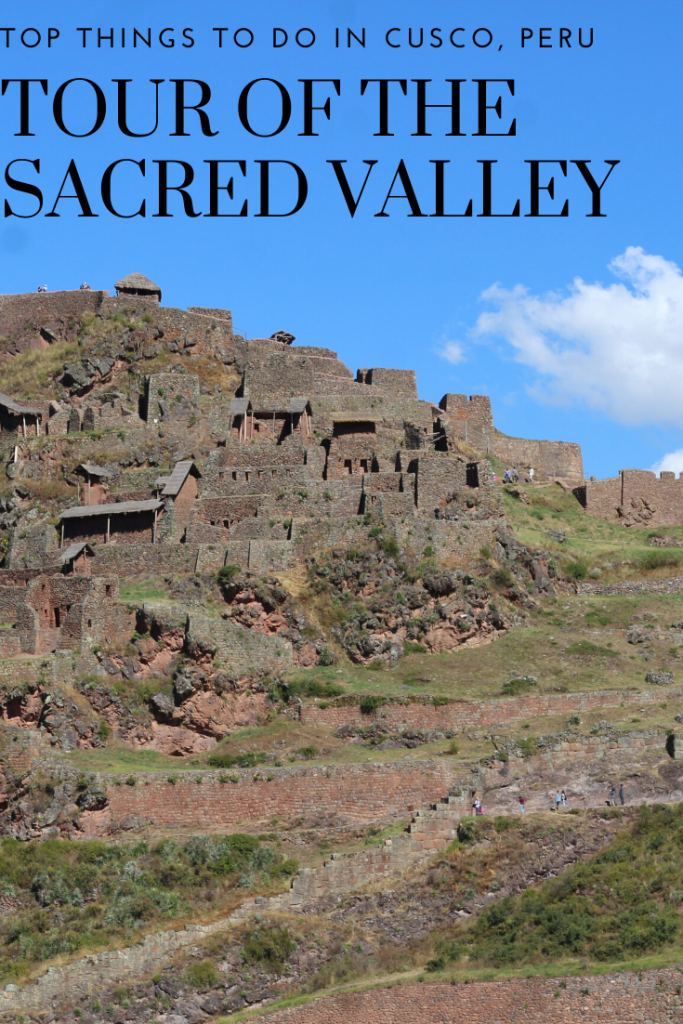
After the farm, it was another hour or so onto the archeological site of Pisac. We didn’t have nearly as much time at the site as I would’ve liked, but we walked around learning from the guide and grabbing a few photos of the view down the valley.
The temple sitting at the top of all of the site.
 
About Pisac
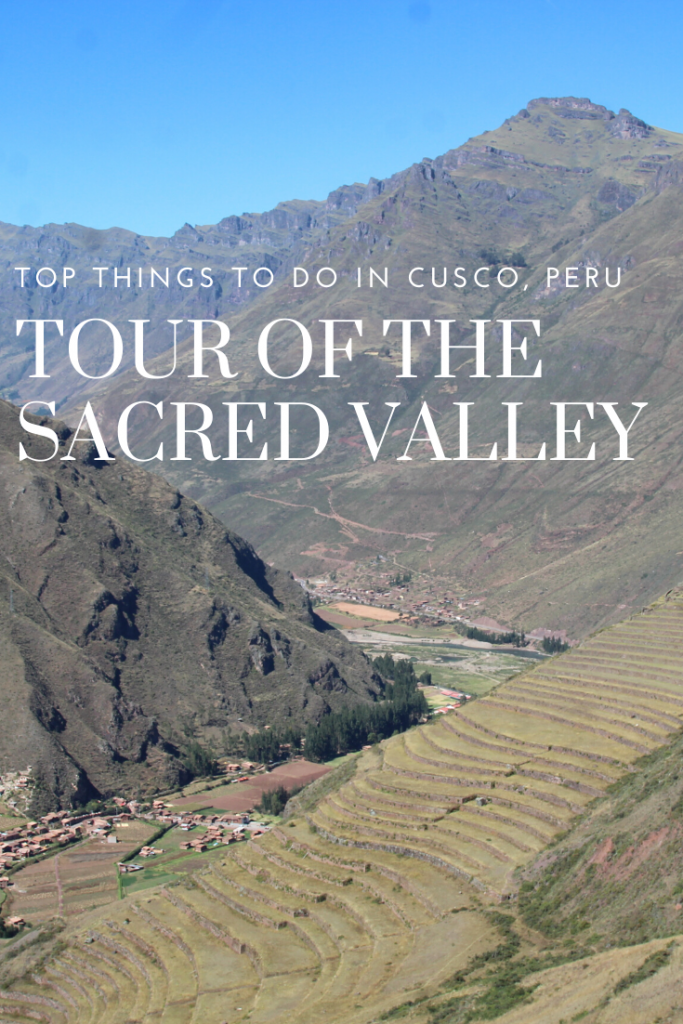
The coolest part about Pisac is the astounding view and many terraces that laid out beneath the ruins. The view down the Sacred Valley is incredible and the terraces make awesome photo additions. This was our first taste of the ingenuity of the Incas as we learned not only were the terraces built for farming but also to prevent land slides and erosion beneath their temples. The site itself is divided into groups – the Temple of the Sun (where we walked around and at the very top), altars, baths, and water fountains. There were multiple rooms that the priests would live in (many people to a room) that had “built-ins” for holding golden idols. All pretty mind blowing to think about when standing in a stone room without a roof. The site was estimated to be built around 1440 and occupied until the Spanish destroyed it in the early 1530s. The town below wasn’t started until 1570. We learned a bit about the daily life at the site ending our tour with the “guinea pig” house room. A room with a smaller stone base built in with tiny little doors that the guide said the guinea pigs were kept and cared for in.
 
 
A small room that was used as a lodging for the priests in the temple
Views of the lower site
 
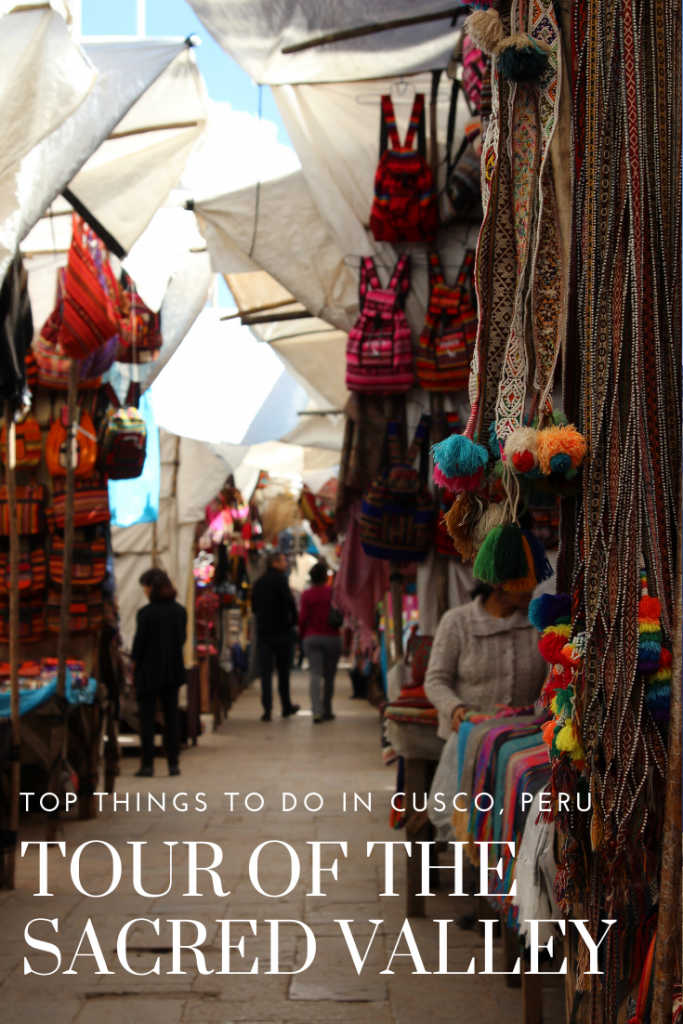
Next up we visited the town Pisac (below the ruins) where we had an hour to shop, visit the market, etc. Again there was a “demonstration” on how they make silver jewelry at a shop but the shop had fancy/ nice bathrooms so for the 3 minute demonstration, I found that a decent trade off. (Also didn’t get guilted into purchasing anything this time lol)
 
 
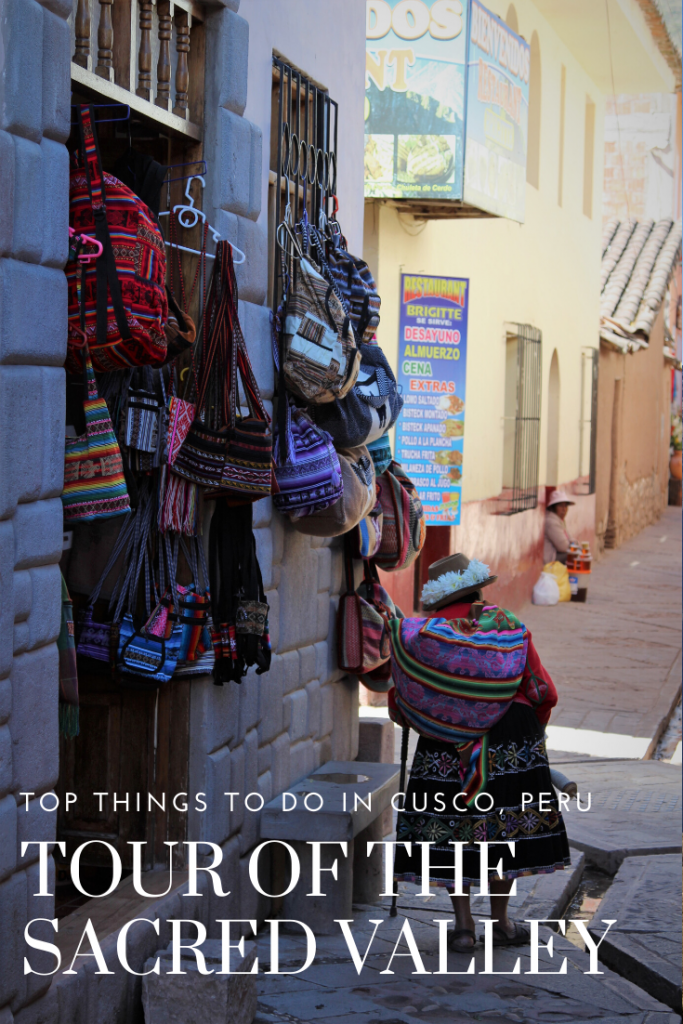
We wandered down the street to the colorful Pisac market which was really nice and apparently only runs on Sundays/Tues/Thurs so we got lucky there. While I’d already bought a few things at shops in Cusco, I enjoyed bartering a bit more with the street sellers in the market and winded up buying way more than I should’ve considering I had to haul it all home in a little carry-on! We met back up with our group and guide at the silver shop before travelling another hour or so to the town/ archaeological site of Ollantaytambo.
 
Views in the market
 
About Ollantaytambo 
Again I would’ve loved to have more time to explore the site (without the guide) and take more photos particularly as this site itself was probably my favorite of the day. While the view isn’t as spectacular, the site is huge with multiple running fountains still, and had the most interesting history to its name. Tambo- which means resting place and “Olly” comes from a famous general named Ollantay who fortified himself in that temple while leading a rebellion to win the love of an Incan Princess. The site also has awesome history as it became the main fortified retreat for the Inca Manco who lead the rebellion against the Spanish in Cusco. It’s defensive position was one of the more successful against the Spanish as the Incas were able to flood the valley and defend the high walls above the terraces. That being said- it like many other ruins were abandoned for stronger jungle foot holds and was eventually… ruined by the Spanish.
 
It’s also shaped like a llama which we’ve determined, I’m quite obsessed with.
The town at the base of the ruins (Would definitely stay here to explore the Sacred Valley more if we’d had more time)
Across from the temple/ fort were more ruins used as granaries and food storage
The balcony path we took to head down a different way
This site also had the best example of the incredible masonry of the Incas (that we visited). In the distance it was possible to see their main quarry (higher up on a mountain) from where they moved boulders weighing more than 50 tons about 20 km, sanded down and chiseled away, and created “lego” like locking pieces so that no mortar was needed. The stones fit together exactly creating an incredible strong and beautiful wall. There were a couple places where you could see the face of a jaguar caved into the rock or Chanakas (the Incan cross) which were incredibly neat with how they have withstood erosion. We learned more of how the Incans moved the boulders with wood and smaller rocks to roll them on before we took the balcony path down to the baths/ fountains. Again there was amazing masonry work as you could see the ornamental carving around the still flowing ceremonial fountains.
 
By the time we walked through the fountains we were pushing 2:30 and everyone was getting a little hungry, so another 20 minutes down the road we arrived at our lunch spot.
Lunch was glorious- honestly one of the best parts of the day tour. The restaurant was cleverly open air- with live musicians playing very mountainous Andes music, and buffet style options for every taste. We left feeling very full after sampling a little bit of everything.
 
Another view point we stopped at on our way back toward Cusco
 
 
After lunch we headed to our last stop and point of interest: Chinchero. Specifically the colonial church there “Iglesia Colonial de Chinchero” This town was at the summit of our adventures that day, sitting at 12,350 feet above sea level, (the highest altitude we visited in Peru thus far) and was once again built on Incan ruins. The large terraces are largely still used today for agriculture as the soil in Chinchero is the most fertile in all of the Sacred Valley. At the colonial church you can see the original Incan foundation from the temple that once stood there. The inside of the church is perhaps even more beautiful than some of the big cathedrals- every wall and ceiling space decorated/ painted with floral and religious symbols. Since we got there later in the day we missed most of the crowds but if you are looking for a more local themed market- their Sunday market is said to be much more “local” than the larger market at Pisac. The town is very quaint so I enjoyed the little “uphill “ walk we had between the parking lot/ government checkpoint for tickets and the church.
 
We also got to see some dancers/ festival going on by the church which was also awesome to see! (considering we missed the parade in Cusco again this day)
The church courtyard with Incan foundations
 
Walking around town
The town has QUITE the steep streets
After Chincero, we had a shorter 45 minute drive back into Cusco. We were dropped off back by our apartment where we changed into warmer clothes for the evening and set out to explore a bit more. For dinner this round we chose a place previously recommended from friends that was good, though maybe not as spectacular as other meals we had. It was amazing how cold it got in the evenings but luckily this round I prepared with my puffy before heading out. Since most things were closing up, we just walked around more parts of the city near the apartment enjoying the lights and evening vibes. Then it was back to our home away from home.
Sacred Valley Day Costs 
Breakfast- groceries from previous day
Tour – $50 *Included lunch but not drinks
Drink at lunch $5
Tour guide and driver tip $7.50
Entrance to archaeological sites $21
Dinner at Los Toldos Chicken $10.30
Airbnb $45 – $11.25 pp


Total: $100 pp 


Pin me:
Puerto Plata: The waterfalls of Damajagua

One of the first things you do after booking a cruise (or even shopping for a cruise) is check out the shore excursions and what each island stop has to offer. In our case, the only port my mom (the cruiser extraordinaire) hasn’t already been to was Amber Cove, The Dominican Republic. This was a huge win as it opened up a whole new host of possible shore excursions and places to explore a new. The very first excursion that stood out was the waterfalls of Damajagua.

Described as “the adventure of a lifetime in the Dominican Republic’s best kept secret and natural wonder, the Waterfalls of Rio de Damajagua. Begin your journey with a 40-minute hike through beautiful landscapes to the first of several breathtaking waterfalls, where you can slide into a fresh, sparkling pool of mountain water waiting down below. Each waterfall and pool comes with its very own personality, and you’ll soon find yourself celebrating with every waterfall you conquer. This thrilling adventure has it all; from hiking trails with breathtaking scenery, canyoneering through narrow passages, sliding down natural waterslides, and swimming through caverns leaving you with memories never to be forgotten.” 
Need I say more? We were onboard. Cruise booked, excursion booked, wardrobe planned (you need water capable closed toed shoes or risk trudging 40+ minutes in crappy water shoes) we were so excited for this tour.
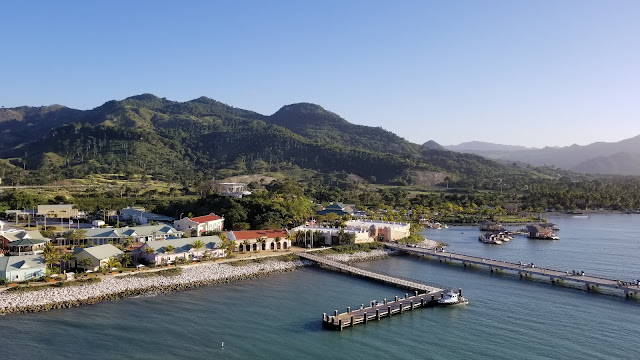
When we arrived at the port of Amber Cove bright and early, we expected to have to ferry into port but instead it was a straight walk off the ship (no small boat needed) We got to walk past most of the fun little shops and cafes in the port, meeting our tour operator at a bus terminal and climbing onboard. It was a short 30 minute ride (another selling point for this tour) and we arrived ready to do some jumping and sliding and beautiful water.
Arrival at the tour base: It was chaotic to say the least, you HAVE to have a locker as the only thing you are allowed to bring with you is a water proof camera, and when you cruise.. you bring stuff with you. It’s a fact of the game. So expensive locker paid for, we battled next the idea of having to wear sneakers vs. water sandals. After changing into my sneakers I found out apparently there is a form you can sign saying you know the risks in wearing sandals but still prefer them. Great. I had already shoved everything into our locker so I decided to just go with it in my tennis shoes (praying they’d dry out in time for my gym sesh the next day) After 20 minutes of battling people for locker positions, gearing up with a life jacket/ helmet combo, and using the restroom, we set forth on a 40 minute “hike”
Family photo starting our hike

You first cross a swing bridge which is fun to walk across but kind of unnecessary as there wasn’t at the time any water flowing under it. Then about 10 minutes later, you cross a small river and start your upward climb. The trail is almost completely fenced on both sides whether to keep wildlife off the trail, or keep the tourists off the farms.. I’m not sure. It was somewhat disappointing not to have much of a view for this whole walk. They did have some of the plants named which was nice, and at one point we spotted a cow behind some of the vegetation fence, but for the most part… it was a walk up a fair few stairs with 20 strangers and the tour guide’s video camera pointed at you. Lol

Walking at the back of the pack
 COWSSSSS
Finally you reach the top where you must finish your provided water so that you can toss it in the last available trash. You descend some steps and get your first view of the canyon and water which reminds you that the money and the walk were worth it.
Lining up for the first jump
 Then you spy the jumping platform about 15 feet (?) above a narrow canyon that you get to jump into! (For the less brave, there’s a ladder you can climb down) The first jump is pretty high to get started making it a little more thrilling than I think it would normally be. You swim back up the canyon a bit where a guide helps you climb into a secret pool with a waterfall which was very scenic though dark and difficult to get photos with. (You’re also crowded into this small pool with the entire tour group of 15-20 people) So after a few group photos are taken in the small pool, you get to slide out of it and swim to the next set of falls.
Narrow canyons 
In front of one of the smaller slides
There’s 5 in all with a few you can jump OR slide and a few that are just slides. We all slid as I felt that was a bit more unique (I can cliff jump a lot of places) The best parts were walking through the more slotty sections with narrow green covered walls.
The last slide or jump depending on your preference
All in all some may think that was enough. (my mom was about done and wouldn’t have wanted to do anything scarier than what we did.) I felt only 5 waterfalls and like 40 minutes in the water for $90 was a bit steep. But then I’m also incredibly spoiled with stunning canyons all over Utah that I can explore for free so I’m probably biased! Either way it was beautiful and worth seeing. We had a short 20 minute walk back and then some time to clean up and collect our stuff but not really enough time to get food before we were back on the bus riding to the port. 
All in all I’d say the adventure was worth it, but check this link out for a tour (not organized by carnival) to do all 27 waterfalls/ pools. It has a 70 minute hike approach but much more time in the water and hopefully… smaller tour groups so you aren’t 15 people to tour guide.


More photos from in the canyons
 Side views from one of the slides

A day in the US VI: St. Thomas

A day in the US Virgin Islands : St. Thomas
While planning a trip to the Carribbean you have several clusters of islands to choose from, one of which is the US Virgin Islands. This group is composed of St. Croix, St. Thomas, and St. John. Visiting these islands offers a bit more than just your standard beach vacation with diverse architecture (evidence of nations that colonized the islands in the 17th and 18th centuries) and culinary encounters, artisan fairs, and most fun of all if you time it right: Carnivals.

The islands have a long history of habitation starting with the first inhabitants, the Ciboneys  before 100 AD. There were various natives before Christopher Columbus visited on his 2nd voyage in 1493, claiming the islands for Spain. The battle between the natives and Columbus on the island of St. Croix is known as the first insurgence in the New World. Columbus continued his exploration leaving the islands largely inhabited and many counties began expressing interest in the 1600s. It was the Danish who established the first settlement on St. Thomas in 1672 and expanded to the other islands while establishing the Danish West India Company in 1733. St. Thomas became a trading post mostly for slave trading with more than 200,000 slaves forcibly shipped to the islands. St John and St. Croix were maintained as plantations supporting the trade economy. With Denmark ceasing human trade in 1792 and the discovery of sugar beet (instead of sugar cane) agriculture began to decline and the need for the islands as a shipping port with the industrial revolution also changed the economic environment. 
Little was heard of the islands until World War I, when the United States realized their strategic position and negotiated the purchase of the islands from Denmark for $25 million in gold. Now the islands are thriving destinations for tourism and I’m glad I got to see at least one of them on this trip. I’ll definitely have to take a trip back to experience the other beautiful islands. 
What to do on stop over?
With the close proximity of other islands, it’s really possible to do just about anything: Snorkel with rays, explore historic towns, taste test the best restaurants around, visit the most scenic beaches, or get a birds eye view of it all from the top of St. Thomas!
We found a fair priced tour to Magen’s beach and skyride so for ease of planning on this trip, we went ahead and booked that. 
We were picked up right outside our cruise ship by a local who drove us (and a fair few other people) around for the day in an open jeep – like tram. We stopped at 2 scenic pull outs as we crossed over the top of St. Thomas to drive down the other side to Magens bay.
The first view point had awesome views of the cruse port and St. Thomas bay. 
 Multiple islands in the distance we visible from this spot 
Our 2nd stop would look down on Magen’s Bay itself: 

Magens Bay sits on the North Atlantic side  of St. Thomas and is one of the world’s most beautiful beaches with pristine white sand stretching ¾ of a mile. The beach doesn’t get much wave action making it wonderful for floating and lounging in the warm water. (but not so much for snorkeling with the sand) You can see many varieties of fish and occasionally sea turtles, and in our case, enjoy the many types of water fowl that would make dive after dive fishing just off shore. The entrance to the beach (if not on a tour where it is included) costs $5 with free  picnic tables, toilets and public showers. There’s additional covered table spaces available for rent as well as snorkeling and beach gear and snacks for purchase.  
When we first got to the beach it was a bit overcast so we took a long walk to one end of the beach and back admiring shells and watching the birds dive.

Once the sun came out, the water was perfect and we spent at least an hour playing in the warm subtle waves. Overall I couldn’t have asked for a better beach day/ stop along our week long cruise. 
After a couple hours we cleaned up and re-boarded our jeep-bus to head back to the port and ride the sky ride to the summit of the island- Paradise Point. It was a short wait with a fun ride, and stunning views from the top looking right down on the cruise ships in the bay. At the top is a restaurant and some tourist shops that you can enjoy before heading back down to the port. We looked around for some souvenirs while walking the short distance back to our ship. All in all a beautiful day on a beautiful island. Next time I’ll definitely have to try the snorkeling or more adventurous sports
We scored a skyride cabin to ourselves 
View of the 3 cruise ships halfway up 
The sky ride heading back down after dropping us off
View from the tip top.  Beautiful bay! 
Other activities to try on St. Thomas or around the 
US Virgin Islands : 
Swimming/ Snorkeling at Trunks Bay St. John
Cruzan Rum Distillery Tour
Exploring main street St. Thomas
Buck Island National Monument (St. Croix) for diving/ snorkeling
Estate Whim Plantation Museum (St. Croix)
Cinnamon Bay swimming/ beach – St. John 
Take an Island Catamaran tour 
Hike the Reef Bay Trail do a secluded beach – St John 
Dive/snorkel the RMS Rhone
View of the port from our private deck on the ship
Virgin Island Culinary Specialties to try:
Pumpkin Fritters (tried on the ship and delicious) 
Kallaloo (meat dish) 
Red Grout (guava tapioca) 

See you another time US Virgin Islands! 

Walking Tour of old San Juan

Historic San Juan in a day Walking Tour
Whether you have an extended stay in Puerto Rico, or less than a day from a cruise stop over, here’s my walkable itinerary for seeing the best of San Juan.Puerto Rico in one day! Experience history, art, shopping, and admire tons of cool city architecture. 

Start
The San Juan Port in the historic area. Grab some bottles of water from the shops around the port as you’ll head up the hill on Calle Marina street to Castillo San Cristobal, the largest fort built by the Spanish in the New world. 
Distance ~0.5 miles 
Along the way you’ll pass some squares with little shop tents if you’re a fan of the blown glass, one of the tents that is along the way makes little blown glass animals right there for figurines or jewelry. You’ll also see lots of brightly colored buildings and as you finish the uphill trek, you get an awesome view of the port looking down on the big ships docked there.
Peak down all the colorful alleyways as you trek up the short hill

Vising Castillo San Cristobal
Hours: 9:00-6:00 PM everyday 
Cost: (16+): $7.00 
*If you have a National Parks Pass, you can get 4 adults entry for free. 
This fort as mentioned is the largest Spanish fort in the Americas, spanning 27 acres. It took 150 years to build with construction beginning in 1634. It covers the Eastern gate of San Juan Island and its walls extend in either direction of the coast. There are 3 levels to explore: cannon embrasures, sentry boxes, tunnels to explore, and exhibits to learn about the former military quarters. All in all, it’s a great stop and won’t take longer than an hour for self-guided tours. 
**You can also get married here.. *swoon*
After San Cristobal, follow the sea coast along Calle Norzagaray where you can explore old parts of the wall that made up San Cristobal’s defenses with multiple garitas (guard towers) and historical markers. Learn about the La Perla area of San Juan where another fort used to be as you make your way to Castillo San Felipe del Morro. Here walk across the great lawn taking in all the kite flyers and the size of this incredible fort perched on the bay. 
Distance ~ 1 mile

Vising Castillo San Felipe del Morro
Hours: 9:00-6:00 PM everyday 
Cost: (16+): $7.00 
*If you have a National Parks Pass, you can get 4 adults entry for free.
If you have to choose between visiting the 2 forts, this would be the one to go with. While overall containing less “acres” than San Cristobal, this fort has 6 levels and unparallel’d views of the bay and San Juan Isle. While San Cristobal was built to defend against land invasions primarily, this fort was built to defend the bay. And defend it did as there is only one instance where the fort was penetrated by enemy invaders making it the most successful of all the Spanish forts built at that time. Construction began in the 1500s when the battery and tower were built to protect the harbor. In 1632, the governor of San Juan began construction on San Cristobal and the city walls. It was also the center of Spanish life at the time so the structures contained within the fort have a lot more complexity making the tour a bit more interesting.
After a visit to the fort, walk down the stairs on the right/ East side to the start of multiple trails. If you follow the same trail to the right/ East it will take you to the cemetery you pass as you approached the fort from the street. Heading left/ West the path wraps around the bottom of the fort and connects to the Paseo del Moro trail. 
Views looking East along the Paseo del Moro trail 

Paseo del Moro

This trail was my favorite part of San Juan. (shocker right.. I do love trails) It follows the old wall almost around the entire western side of Old San Juan with nothing else along the way besides the ocean and cats. The old wall has been wonderfully maintained dating all the way back to 1630! Between the wall and the ocean, it’s like walking into Pirates of the Caribbean scene.  Along the trail you can also watch the big ships leave from port back to the open ocean easily catch wildlife (other than cats) out in the water.  The area directly under the fort has multiple tide pools that can be peaked into, but be careful not to slip on the wet rocks or get soaked by a sneaky wave. 
Watching a large ship sail out of San Juan Bay
The area which is maintained by the NPS like the forts, is also serving as a cat sanctuary with little cat boxes, food, and water to help the strays out. There were so many adorable cats, most of which won’t let you get too close but will play with a bit of string if you have some. (My dad led a cat by the string quite a ways down the path as it follow and continually pounced on it)
After following the trail a ways (approx. 0.75 miles)  you’ll have two options to make you way back into town and then back to the port. The first option is to turn in at the Puerta De San Juan The Iconic red gate that served as the doorway for dignitaries and bishops to enter into San Juan back when there were only 5 gates into the city.  
Or another 5 minutes down the path, the trail ends at a beautiful fountain on the Paseo de la Princesa which is lined with shops, galleries, and also includes for those of you who skipped out on bathrooms at the forts, a public toilet.
Watching a cruise ship sail past the old San Juan walls out into open ocean 
Both gates are great options and worth seeing if you have to backtrack as the path between the two has beautiful trees overhanging the path and the fountain is really cool. The old gate takes you down Caleta de San Juan straight to the San Juan Bautista Cathedral. From either location, make sure to head over to Fortaleza street to see the fun umbrella covered walkway and explore more little shops and restaurants. And from there with whatever time you have remaining, head back to your hotel or cruise ship. 
Distance ~ 0.75 miles depending on the road you take

Walking Distance for entire loop ~ 3 miles/ 5 km

Colorful buildings of San Juan visible over the old wall
The Paseo del Moro is also a wonderful walk to do at sunset 

Other Points of Interest around San Juan to check out in a day:
Museum of Arts of Puerto Rico
Condado Beach 
El Yungue National Forest and waterfalls 
Tour of the Bacardi Distillery 

Why go on a cruise?

Why go on a cruise?
As somebody who loves to travel and also frequently talks to other travelers, the general opinion of  that cruises are boring and that though you are technically traveling, you don’t ever actually “experience” the places you go. So if you love to travel, why take one?

1. Easy to plan with large groups
Cruises are by far the easiest vacation to plan, they already provide for you lodging, meals, entertainment, and options for things to do ashore.  Essentially, no matter the group you’re going with, there’s something for everyone and all you have to organize is your flight from various places to get there. 

2. It’s relaxing
This goes hand in hand with how easy to plan stuff is. You can spend 10+ hours in a lounge chair reading if you want to! Parents? There’s a kid care where your kids still have supervised fun but you still get to relax! There’s no where you really have to be so relax all you want! 
Our balcony room on the Carnival Magic 

3. Experience multiple islands to decide which ones you might be interested visiting more later
Here is one that I think should really be mentioned to the travel snobs who think they’re too good for cruises. (You can use this argument if you need to) Yes you only have a day or even less in ports, but have you spent 5 days at a beach resort on an island? It’s the same idea if you want to do anything interesting on the island, you end up taking excursions/ tours. Most smaller Caribbean islands quite fairly can be explored in a day as well and don’t need a full week. By taking a cruise you get snap shots of different islands and from there you can decide if there is more to do and see to require a full on visit at a future date. 


4. It’s a foodie’s paradise
And I can’t say this enough really… but my favorite parts of a cruise are relaxing and… EATING! The dining rooms provide breakfast and dinners with multiple courses and options every day! For lunch, most ships have a multitude of specialized food stands along with a buffet line. Example of fine dining for me: 
Breakfast: Brulee’d grapefruit, coffee, pineapple juice, a croissant, Omelet and or Avocado Toast, finished with a vanilla French toast. 
For lunch options we’d enjoy burritos/ tacos, Guy Ferreri’s sponsored burgers and/ or BBQ, and pizza! 
For dinner, back to sit down we’d get a soup (hot or chilled), another small appetizer, then salmon/prime rib/ lobster/ shrimp pastas/ or special “port of call” delicacies, and for dessert the crowning jewel: Baked Alaska or cheesecakes, and so many other options. Then you add in 24/7 pizza and ice cream cones for a midnight snack… you may gain pounds but you’ll never eat as well as you do on a cruise.
 
5. Great entertainment 
From karaoke, piano bars, big production shows, trivia nights, shopping specials, art auctions, bingo, small live music everywhere, and standup comedy… cruise ships are built to entertain.
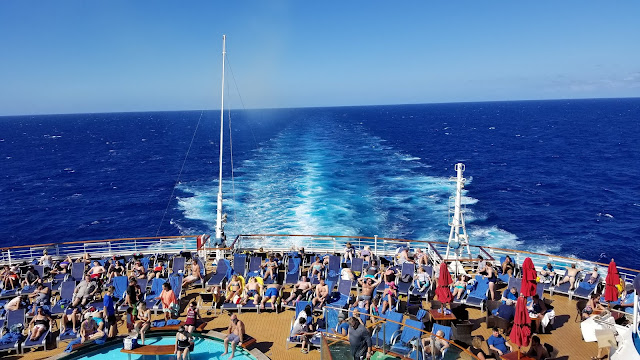
On days at sea you have so many different choices of entertainment, be it specific kid activities, pools, water slides and splash pads, exercising, ropes courses, mini golf/ deck games, trivia games inside, gambling, sleeping, and my favorite: eating. Every evening there’s a movie on the lido deck under the stars, a large production show in the theater, and comedians doing standup comedy. 
Every. Evening.
Braden scoring one for his team while playing basketball somewhere in the middle of the Caribbean


6. Awesome Value for everything
Awesome value (most of the time)- If you aren’t traveling over a holiday, they really can be a steal. (just not if you plan on drinking… seriously that’s where they make their money.) This is particularly a great way to vacation if you live near a cruise port as well and don’t have to buy flights. (I would cruise way more if I didn’t have to fly to a port) 
Drawbacks
While most of the time cruises are priced low, if you wish to travel during holiday seasons, the prices will be higher. (although not any higher than traveling other places)
They can be crowded ( again especially around holidays or on new ships). Even on the Carnival Magic at full capacity I didn’t feel terribly crowded. We just ate in the dining room more to avoid the buffet lines on the lido deck and made sure to get up early enough to snag some lounge chairs.
Shore excursions are limited time, expensive, and can be underwhelming. Counter argument here is to skip the excursion and explore the port, take a taxi, or book an adventure with a local company. (just be aware of your port times and what you realistically have time for)
Maybe not for those with motion sickness. Tip: use a motion sickness patch or non drowsy pill. Also book your stateroom on a lower deck towards the center of the ship.

Avoid Hurricane season (late summer) if possible and if looking at touring Alaska, the Mediterranean, or destinations further North, book during the warmest months for those sites to ensure you will get quality time in the sun on the deck. 

Non edited/ filtered view of the sunset from our private balcony

Which cruise line to choose? 
Carnival: Very family friendly with awesome kid care activities, fun deck amenities, foods, and larger state rooms. Not to mention one of the friendliest to the budget so if paying for more family members, this goes a long way.
Princess Cruises: The older adult crowd but still fairly budget friendly. This cruise line is also owned by Carnival, specializes in longer cruises, and includes activities like cooking classes and even history lectures. (So.. not the most kid friendly)
Royal Caribbean: Another budget/ family friendly option- a toss up when it comes to which is better, but from what I’ve heard and read- carnival offers a lot more entertainment nightly than Royal Caribbean.
Disney Cruises: Over priced for the value but if you LOVE Disney (particualarly love Disney characters) than this might be for you. Excelllent entertainment but food and service wise- not really any better than the cheaper options.
Holland America: Rated one of the best for service with 1 member of staff for every 2-3 guests. This cruise line has some family friendly ships and some that are more adult oriented. Just make sure you check out the type of ship when you’re booking. Food and entertainment were not rated any higher than other cruise lines.
Celebrity Cruises– The highest rated cruise line for entertainment, service, food, overall value. I have no personal experience or know anyone that has been on one but I have eyed a few of their Mediterranean itineraries.
Whichever line you go with, (try to get a private balcony) explore online what the cruise ship has to offer as far as included dining and entertainment before you book so you know if it will fit with your family’s idea of fun. There’s definitely a cruise out there for everyone.

The Summer Palace/ Forbidden City Tour

 
Our day started on a train and similar to our last sleeper train experience, I was up at the crack of dawn unable to fall back asleep… starting what would be a fairly long day. Luckily we didn’t have to worry too much about organizing our trip as this day was our 2nd tour and was organized for us.
 

About the Tour:

I didn’t book this tour through a website or by happening upon someone’s page but instead was referred to the tour guide Lisa from a friend who had previously visited Beijing. The cost was the most affordable I saw comparing to online prices for a private tour and the biggest benefit was since we had a private car for the day, we didn’t have to worry about what to do with our luggage while we explored the city. While we didn’t get to meet Lisa personally (she had a family emergency) we did have a great tour with one of her associates. Our stops would be the Summer Palace and Forbidden City and would only end up taking about half a day. If you are wanting to book with Lisa, send me a message and I will give you her contact information.

Pickup: We arrived at the South Beijing Rail station right around 9AM and were met right outside our gate by our tour guide for the day. He had excellent English (the best we encountered on our whole trip) and seemed very knowledgeable as he lead us to the car park where we met our private driver who was also very nice. We hopped in and had about a 1 hour drive to the Summer Palace for our first stop. (Traffic was pretty rough)
Once at the Summer Palace, our guide stood in line and bought our tickets for us which was nice, and we headed in. We were unfortunately visiting on a Saturday so it was VERY busy.
 The first couple of buildings we passed were beautiful but hard to admire around all the people. Our guide however made up for it by giving us interesting information on the symbology used  in the ancient architecture, which would be helpful throughout the day. (ie. How to tell the difference between the female and male lions at the temple gates) He also explained Feng shui to us as both the Summer Palace and Forbidden City incorporate that into their design.
The giant cauldron of bronze was also used for fire safety measures which I found interesting.

Visiting the Summer Palace on your own:

 
1. By Subway: take line 4 and get off at Beigongmen and exist from D- it is a 3 min walk to the N palace gate.
2. Entrance fee to the park is cheaper but does not include going into any of the buildings. See pricing info and hours below:
 
As we walked around the giant complex that is the Summer Palace, it was interesting to learn how it was all designed and built for just the Emperor and the Empress.. and for only a few days out of the year.
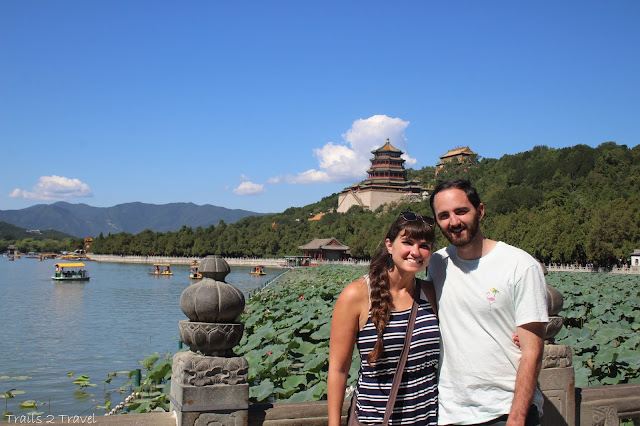
The lake is completely man made and most of the soil makes up the hill on which the temple sits. Despite the crowds, as we moved around the lake, I started to really enjoy this place. It was just. so. Beautiful. And I found myself wishing we HADN’T taken a tour here so we could’ve spent more time hunting out the quite spaces to site and relax, or renting a boat to paddle around the water. But alas, we had one day to see the sites, so a tour was what we were left with.
 
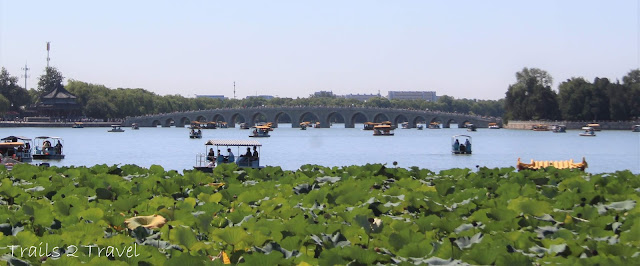
The famous 17 arch bridge crossing a section of the lake

The History of the Summer Palace


It was originally built in 1750, by the fourth emperor of the Qing Dynasty, and was called
“the Garden of Clear Ripples”
In 1860, it was destroyed by the Anglo-French Allied Forces and rebuild in 1886.
It was again destroyed in 1900 by the Allied Forces of the Eight Powers.
In 1912, it was rebuilt as one of the final acts of the Qing Dynasty (1644–1912).
In 1924, it was opened to the public as a tourist attraction and was made an official UNESCO site in 1998.

The layout of the Summer Palace follows the same format as the other imperial palaces in China with the front court buildings serving as the Emperor’s business and ceremonial spaces and the area towards the rear of the court being mostly gardens, relaxing spaces, and living quarters.

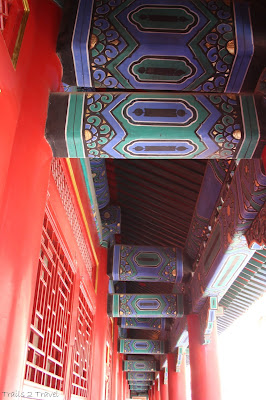
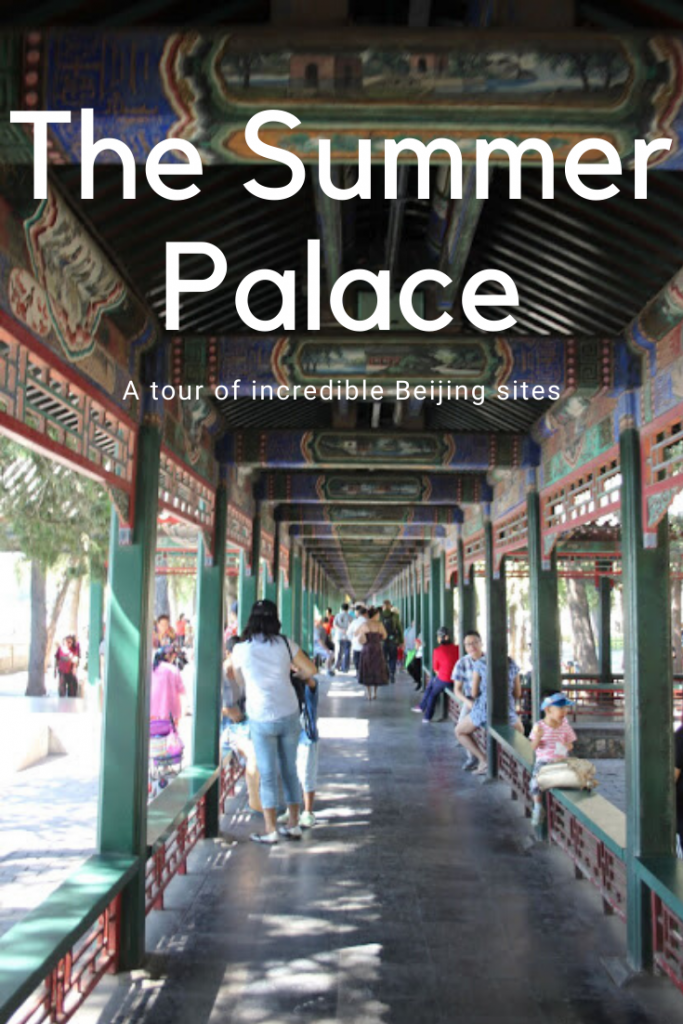
We left lakeside and headed for the world’s longest covered promenade: The Long Corridor. While the lake was beautiful, I can’t even begin to explain the beauty that is the long corridor. It stretches on for 2,388 feet/ 728 meters ALMOST HALF A MILE with 273 crossbeam sections. And if the sheer length and colors of this corridor don’t strike your fancy, the over 10,000 paintings of landscapes and folk lore that line the ceiling and side pillars definitely will.
While walking the corridor, you forget the crowds and for a moment, picture yourself an Empress walking a path only meant for you.
 
Beautiful colors along the ceiling covering every inch of wood
 
Unfortunately both my husband and our tour guide felt like marathoning this section so I didn’t get to spend nearly the amount of time I would’ve liked photographing it, but word to the wise, save your photos for the second half of the corridor. A LOT less people and quieter space for contemplation and photos.
 
A beautiful gate section about halfway along the corridor and about where the crowds thinned out.
 
Closeup of one of the thousands of paintings.
After the long corridor, the last truly spectacular architecture is the Marble Boat. The boat served as a sort of living room for the Empress alone to read and relax in. It was originally built on a base of stone with a wood structure in 1755 but was burned down in 1860. It was restored in 1893 in a new 2 story structure, still made out of wood, but this time painted to imitate marble throughout. Each floor also encompassed a large mirror that would reflect the water around it to further along the feeling of serenity.
After the Marble boat it is a pleasant walk back to the exit passing a few small parks and over some scenic bridges. Our private car and driver picked us up close to the exit and we had about an hour drive to Tiananmen Square and the Forbidden City.
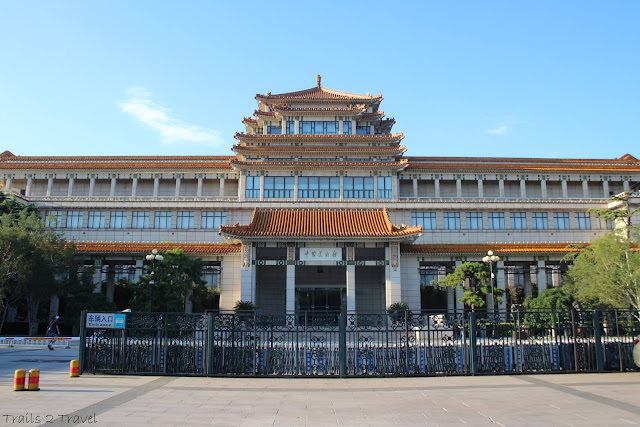
There are only a few entrances to the square as you are required to go through security checkpoints to even enter but once you are in, the space is huge and is in fact the 7th largest city square in the world. The world Tiananmen means “Gate of Heavenly Peace” as the square serves as a gate to the Forbidden City on the Northern side. One the other 4 sides are the  Great Hall of the People, National Museum of China, and the Mausoleum of Mao Zedong who proclaimed the founding of the People’s Republic of China in that very square on October 1,1949. (Tip: Don’t visit Beijing on Oct 1 as our guide told us it is one of the few federal holidays, and the crowds that amass at Tiananmen square are huge, hotels sell out, and people sleep within the square.
 
There is a Monument to the People’s heroes erected in the square that we checked out before heading to the Forbidden City. There are huge tunnel underpasses to the city from the square and you have to cross from bridges to enter as well. The crowds were very thick here which made it a little miserable, but again… we were here on a Saturday.
The crowds were very thick here which made it a little miserable, but again… we were here on a Saturday. After yet another security checkpoint and our guide showing our tickets, we made into the inner city.
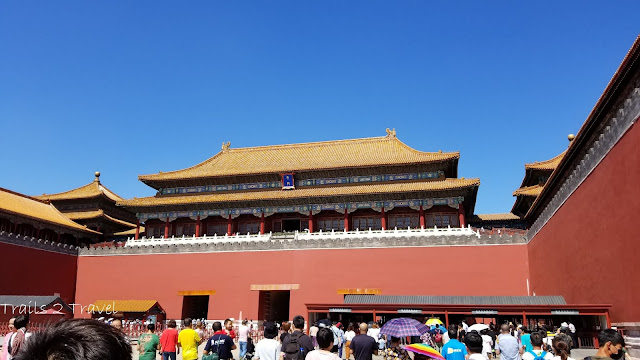
Feng shui is again another important part of the design of the Forbidden City. The moat, and a few small pools near the entrance make up the southern ‘water’ requirement. Then Jinshan hill to the north makes up the hill requirement. Additionally there are temples in each direction N,E,S,W.
 
The moat itself is 170 feet (52m) wide  and 20 feet (6m) deep. (most of the earth excavated from the moat went towards building up Jinshan hill to the North) In addition to the moat, the city is completely walled in by a 22 ft wide wall that is 32 feet (10m) high. Quite the defenses which makes entering the city even more impressive.
 
Standing in front of the Hall Of Supreme Harmony (the most important building in the Forbidden City)
 
The first set of buildings (the outer court) our guider referred to as the “governing” buildings as important business and government officials were allowed into these buildings to conduct their business with the Emperor. These buildings also included the main ceremonial halls, the first being the one used for coronations that contained the golden Dragon Throne and is known as the Hall of Supreme Harmony.  The second building directly behind it would be the hall of Central and is where the Emperor would rest, practice speeches, and prepare for sacrifice rites before departing for the Temple of Heaven. The last great hall is the Hall of Preserving Harmony which was used for banquets.

Fun Facts about the Forbidden City:

1. The Forbidden City consists of more than 90 palaces and courtyards: 980 buildings… over 8,728 rooms
2. The Forbidden city is the world’s LARGEST palace at 7,750,000 sq feet which is over 3 times larger than the Louvre in France. (also for comparison the Vatican only measures at 1,443,569 sq feet.
3. Originally it was called the “Purple Forbidden city” and is now simply referred to as the “Former Palace” in China.
4. The city took 14 years to complete and was finished in 1420.
5. It took over 1,000,000 workers with more than 100,000 of them being craftsmen
6. It was the home of 24 emperors — 14 of the Ming dynasty and 10 of the Qing dynasty and served as the Imperial palace of China for 492 years.
7. It has not had an Emperor in residence since 1912 and has been a museum since 1925.
 
Details outside one of the ceremonial halls
Looking toward the Northern inner court where the imperial family lived with Jinshan Park in the background
The second half of buildings (the inner court) were the more private living quarters for the Empress, Emperor, and his many concubines. On the outside, these buildings are virtually identical but there is an addition of a garden that boasted a lot of the same cool boulders/ rocks as the Summer Palace. (said to come from a sacred lake in the south of China.)
A female lion (always on the left) standing guard at the entrance of a hall.

Points of Interest in the Forbidden City include:

A clocks Gallery
The Treasures Gallery
A Porcelain and Ceramics Gallery
A Bronzeware Gallery
All the other architectural details everywhere!
 
The crowds largely thinned once we were in the city, but our guide still rushed us quite a bit. All in all I doubt we spent more than 1.5 hours within the walls which was a little disappointing for me as a photographer. We learned plenty and I enjoyed all the stories and history bits but I would’ve liked more time to wander for sure since there are so many little gardens, galleries, and rooms you CAN see. We mostly just made a straight line through, only checking out one of the galleries for a living quarter.
 
The carpentry and colors of the buildings are largely symbolic with yellow and red being regarded as a symbol of good fortune and yellow a symbol of supreme power. (yellow was only used by the imperial family) There’s even small animal carvings in rows along the ridge line of the halls were used to differentiate the importance of the buildings. For example, there are 9 animals along the Hall of Supreme Harmony (the most important building) and 7 animals on the Palace of Earthly Tranquility (where the Empress lived)
Exit through the Northern gate looking across the moat.
 

How to visit the Forbidden City on your own:

  1. Take Subway Line 1 and get off at the Tiananmen West station (Exit B) (more direct to the Meridian Gate at entrance to the city) OR you can take Subway Line 2 and get off at Qianmen Station (Exit A) and walk through Tiananmen square.
  2. Most visit the Forbidden City through the Tiananmen and Meridian gate and work their way N. When exiting through the N Gate of Divine Prowess only bus options are readily available with the subway being a good walk away. (Or just book your hotel in the close vicinity and walk to it!)
  3. Ticket price is 60 CNY April-October and 40 CNY Nov-March. The Treasure gallery, clock, and watch gallery all cost an extra CNY 10 each
  4. If you are in Beijing the day before you wish to visit, it is highly recommended to purchase your ticket the day before (as tickets DO sell out) and you can purchase tickets at a ticket window near the Meridian Gate. If you have Chinese friends or speak Chinese, you can purchase tickets online though a book website.
  5. You need to show your passport when buying tickets and will have to show your passport with your ticket when you visit.
  6. Opening hours: CLOSED ON MONDAYS!!! See hours below:
 
One of the many government buildings in the area
Once we exited out the Northern gate we walked a short ways away to a spot our driver could pick us back up, then it was only 5 minutes to our hotel where our tour was complete and we were able to check in. It was only about 2 or so but we were exhausted. (likely from another night on a train) so we ended up eating the snacks we’d bought from the train and hadn’t eaten yet for lunch and napped a while until the day cooled off.
After our nap we headed out for a walk around the area passing a beautiful cathedral.
We ventured back over to the Wangfujing shopping area ( a pleasant walk from our hotel) to do some more souvenir shopping with our last night and grab some dinner.
As the sun started setting, we wandered back toward the Forbidden City wall to walk along the outside moat and follow that back to our hotel. The area was quiet and peaceful and it was fun to see people actually fishing in the moat.
The moat makes for awesome photos in the evening!
Quiet shops opposite the moat and Forbidden City as we walked north.
The North gate at sunset
Looking down the moat at the East corner watch tower.
 
We had a short 5-10 minute walk back to our hotel and called it a day.
 

Day 8 costs:
Breakfast/lunch snacks from store previous day
Tour: $218.62 for 2 people on a private tour
Mcdonalds dinner/dessert: $5.38

Hotel: King Parkview hotel $67

Day 8 total: $291

Pin me:
Fall Carbon County ATV ride

Fall Carbon County ATV Tour

Let me start off this post by saying that not only did this tour far exceed my expectations, but the entire area did. If you hear Carbon County, most people immediately ask “what is there to even do there,” “where is that?” Then you mention “Price” which is on all the road signs when you head from SLC to Moab and you get a few nods. 
WELL, time to change that.

I cannot believe I have lived so close (less than 1.5 hours!!) from such a beautiful place! Our tour was organized as part of the 
FIRST ANNUAL CARBON COUNTY FALL JAMBOREE

ABOUT THE EXPERIENCE:
The tour includes both breakfast before the ride, and lunch halfway through, organized leaders who will make sure you stay on the right path/ don’t get too separated from the group, and are ok in case of emergency. Not too mention you are guided with some of the best HISTORY experts on the area. We learned so much about the history of coal mining in the area! And did I mention the cost of this was $25 for first person on a vehicle, and only $10 for passengers?! 
**You do need your own or rent and haul in an ATV/ 4-wheeler/ QUAD/ whatever you want to call it

The tour was a full 8 hours and went up above 10,000 feet at Bruins Point passing old coal mine construction (more on that below) and incredible fall colors. Then it descended down Dry Canyon  to 9-mile canyon (basically the red rock desert we all know and love) before climbing up Cottonwood Canyon to alpine plateaus with WILD HORSES and back down to the starting point. Basically THIS. PLACE. HAS. IT. ALL.

Map of the route we took.

We met at 8 for what has to be the best breakfast I’ve ever heard of : Breakfast Pizza! with coffee and orange juice. We picked up our swag bags which included genius buffs (but bring your own just in case!) as well as a map of the roads we’d be taking, an awesome Carbon County Patch, water bottle, and more info on the area. We had a brief safety debriefing/ information meeting with the leaders of the group and then loaded up.

THERE WERE 37 MACHINES/ &70 PEOPLE
It was awesome! I’ve never experience what it is like to ride in a biker gang, but I’m pretty sure it was similar to this. Everyone lined up, flags flying, ready to ride on a beautiful fall morning. 

Oar Buckets on the 3.5 mile long cable way 

We rode a ways up admiring the fall colors that were changing, some old ruins of homes (from the early 1900s) as well as gawking at still standing, original and unaltered, oar buckets on a cable line. The towers supporting the cables were all still standing, and by all appearances untouched by time.

Half way up the mountain, we stopped to keep the group together, admire a tower up close, and get a little history lesson. The cable line that ran between the towers was constructed in the 1920s and ran 3.5 miles each way, making the line a total of 7 miles altogether. At the time, this was the longest continuous cable in the US. 

MORE ABOUT THE SUNNYSIDE COAL MINE 
1. Coal mining in the area got its start in the area in 1883 with the introduction of the Denver and Rio Grande Western Railroad company that needed coal for the trains.
2. Sunnyside started out as Whitmore Coal (in Whitmore canyon) in 1896.
3. The coal mined in the area was of good “coking” quality which means it was excellent for making steel. (by baking the coal in giant ovens, it forced out impurities leaving mostly Carbon behind) Giant coke ovens (650 of them) were created in the area to easily coke the coal before shipping it to areas in the Western US.
4. By 1909, the sunnyside mine was mining 3000 tons of coal/day and by 1914, furnishing nearly 300,000 tons of coke coal per day.
5. Unfortunately the the railroad and copper smelters that were the primary customers of the coke were switching to use of coal directly which made the Sunnyside mine less useful in the 1920s-30s. Luckily though, in 1942, Geneva Steel in Utah valley, and a steel manufacturer in California found plenty of use.
6. With the exception of the war years however, demand for coke was dropping off so the mine struggled. The ovens themselves operated until 1958 when they closed as well.  

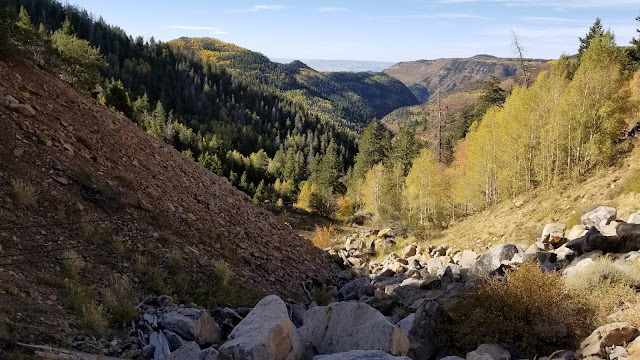
 Pretty fall colors as far as the eye could see

We stopped once more to see the tower where the cable originates before really stopping at the summit, Bruins Point. Here we took a slightly longer break for bathrooms (in the woods, no toilet here) and views of the fall colors surrounding.

 
Katie and I on the summit!

Then back on our respective rides to drive a longer ways down into the desert?! All the sudden it went from fall woods, to red rock canyons.

 TIPS TO HAVE THE BEST ATV ADVENTURE:
1. Wear layers! In the morning shade it was very chilly and at the top of the mountain all day it was windy and cold! Make sure you have a warm jacket/coat, and maybe a blanket to cover your legs!
2. On that same note, bring a good thermos to keep your hot drinks warm in the morning
3. IT WILL BE DUSTY. Don’t wear your Sunday best, make sure to wear sun glasses/ goggles, and have a buff or scarf to cover your nose and mouth when it gets real dusty.
4. Also on that note, bring some nice wet wipes or baby wipes to periodically clean the dust from your face and hands. It makes a huge difference.
5. Bring a map of the area! We were in a tour led group, but there were diverting roads and paths that without a leader or a map could get tricky!
6. MAKE SURE YOU HAVE ENOUGH GAS FOR YOUR JOURNEY
7. Bring a speaker for music, cool drinks for when it gets hots, and have a blast!

 Stopping for another short re-group break. Amazing turn out for a first annual event!

 Driving through what felt like the Grand Canyon!

Before I knew it, we were admiring our first look at the Indian rock art in the area (which hardly anyone gets to see as we had not yet made it to 9 mile canyon)

See the rock art?

A short time later we were at our lunch stop in the Daddy Canyon Complex where a pit toilet was available, short hiking trails, and picnic tables were located.

We had our packed lunches (good sandwich, apple, bag of chips, and small dessert) along with our chilled beverages from the cooler, and then went exploring during our 1 hour break. We walked back in along the canyon admiring so many more petroglyphs!

Taking my best guess at what some of the art means! 

Taking a lunch break to go for a walk in the desert

ABOUT 9-MILE CANYON & THE ROCK ART 
1. Wondering how 9-mile got it’s name? There’s a few stories out there, but the most likely comes down to when John Wesley Powell (ring a bell?) was exploring the Green River in 1869 ad used a nine mile transect for mapping the canyon.
2. 9-Mile Canyon was inhabited by native peoples for over 8,000 years with the most prolific artists of the area hailing from the Fremont people who lived in the area from 1100-1200 AD.
3. The canyon is often referred to as “The Longest Art Gallery in the World
as the entire canyon has amazing wall art in abundance.
3. Main points of interest include: An original homestead cabin at the cottonwood Glen Picnic Area, a Granary (ancient building walls) as well as a pit house, and tons of rock art. The most popular sites there are located around Balanced Rock and the Great Hunt Panel.

We had one more stop along 9-mile canyon to see the giant art of “The Great Hunt Panel.” A stop definitely worth checking out! In fact look around the corner to see a buffalo!

At this stop we were about half way through our tour and one of my new friends from the group, Boyd, offered me the chance to drive his side by side Polaris! Um YES! I was thrilled, so this backseat bystander transformed into a Motocross racer on a Side by Side. 

We turned up Cottonwood Canyon which while still being mostly red rock, seemed a different sort of dessert and transformed into more open high alpine plateaus. It was up here that we were treated with the icing on the cake so to speak:
WILD HORSES

 I’d always heard Utah was home to some wild horses, but had yet to see them with my own eyes. We started off spotting only 2 or 3 here and there before coming across the rest of the herd of around 20 horses, that all started running by.

At this point, my day couldn’t get much better but I guess I’d been impressing my ATV companion (with either my driving skills or chatting abilities.. I’m still not sure) and I was allowed to continue on driving. Needless to say, I’ve got a great new friend(s) from this experience!

Cottonwood Canyon eventually connected us back up to Bruins Point and we headed back down Spring Canyon past the old Oar buckets and finished where we’d started at Sunnyside park. 
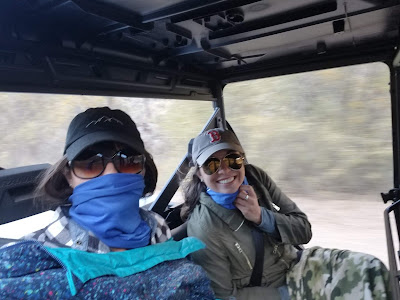
A whole lot dustier than we started, but grins on our faces that couldn’t be wiped off. 

This was just the start of my discovery in Carbon County. More posts to come on hikes, historic towns, more ATV trails, and NBD: Stock Car Races. Stay tuned. 
**Sorry for the China post interruption, wanted to get this info out while there was still time left in the Fall season to enjoy!

I lucked out with amazing friends with ATV’s but if you have neither the ATV or connections, here’s a few spots you can rent one from. (Keep in mind you need to be able to transport the ATV from Spanish Fork to East Carbon, about 50 miles as there is currently no rental spot in Carbon County.)

1. TRAX® PowerSports of Provo: 801-613-8729

  • ATV (can fit 2 people) will run you $156-$195 per day depending on length of rental 
  • Side by side (2 people) is $196-$245 per day 
  • Side by side (4 people) is $220-$295 per day depending on model and length of rental
2. Summit Motorsports in Spanish Fork:801-405-7433 
  • Call for prices 
3. Toyitup Rentals in Spanish Fork: (801) 489-8697 
  • Call for prices 

A love post about Block Island

As my previous pointed out we had a 7 PM ferry to block Island to catch so in that 1 day we went from NYC subways, taxi cabs, and trains, to ferrying on over to Block Island from Rhode Island. It was a chilly ride with light sprinkling and some serious heaving and surging forward and back. Like if you stood on the bow, you may have been doused a time of 2. Luckily it’s just an hour ride over.

Cutest little New England sight to welcome us in. 
The STUNNING house I got to stay in compliments of incredible friends with family connections. 
The house has 4 “rooms” and another open loft room. The 2 rooms downstairs were occupied by the couples on the trip while my lonesome self had the upstairs loft and rooms to myself. The room I used only had 1 single bed but… by the time I wanted to take a picture I had made quite a mess of the bed so decided to take a pic of this room instead. haha basically the same though. 
 Outside the 2 small rooms there is the open loft. 
With window looking right out to the ocean! What a view to wake up to each morning! 
So Day 1 on Block Island was explore by car day and 1st stop was at the Mohegan Bluffs which were named after the native tribe the Niantic indians chased the Mohegans over the bluffs in a battle for territory. The bluffs stand at about 150 feet high and are eroding constantly with at least 250 feet of known erosion. There are about 100 steps that get you close to the bottom, and from there a short trail to the beach. (The trail was fairly muddy so we descended as far as we wanted before heading back up.) 
The bluffs offer a great view of the Block Island Wind Farm which is the United State’s first commercial offshore wind farm and just began operations at the end of last year! (A fun fact that Katie loves to tell me is in the construction of the wind turbines, they actually had to stop for a day as there were loads of hammer head sharks swimming around the bases) 
At the base of the stairs looking out at the beach 

The memorial stone for the Mohegan Bluffs which is actually found at the lighthouse parking and not the bluffs parking. 
The SE lighthouse, located on the Mohegan bluffs of Block Island. This lighthouse was built in 1784 and is renowned as being the most architecturally sophisticated lighthouses from the 19th century. So way to go Block Island. It really is a gorgeous lighthouse! 
Fun fact? Remember how I mentioned the Mohegan Bluffs eroding 250 feet? Well they actually had to MOVE this 2,000 ton structure back 300 feet in 1990 or it may have been lost. As it is still a functioning lighthouse, they couldn’t move it back further than that so we’ll see if it will have to be moved yet again!
Next up on the Block Island tour: North Light Fibers Mill to essentially see the animals. There’s a lovely range of animals to check out but my favorite (in fact most everyone’s favorite) is the Zedonk. Also plenty of Llamas roaming about. If you’re in need of some wool socks, highly recommend checking out the store cause they had so fantastic ones made exclusively with Merino wool for $25. Still regretting not getting a pair.  
Up next: lunch and a stroll on the Town beach. Both the sand and water were so inviting but man it was too cold for that! Still lovely and you can see one of the ferries. 
And as the sun set on our first day we headed down to Ballard’s for some BANANA mudslide action. Even though it was freezing and basically drinking a shake may NOT have been the best way to warm up, I couldn’t leave Block Island without trying one. 
And heading back from there we were treated to the most AMAZING sunset right from the front porch. From the house you get a great view of North Light! (photos coming up) 
None of my photos are edited so you can believe that sky really was that incredible! 
And the light reflected back on the house made for a great show of its own! 
Next activity? In all seriousness I was assured you can’t go to Block Island and NOT do a puzzle. So rather ambitiously, we started a 1,000 piece puzzle that night that wouldn’t even fit on our table completely. (the corners hung off. haha) 
Day 2 started with a lovely walk straight from the house to the North lighthouse. 
The North light is situated right on Block Island Point. The current structure is actually the 4th lighthouse to have been built in that spot and was completed in 1867, only 38 years after the first structure was onsite. It’s quite a bit smaller that the SE light but just as charming and much more beach accessible. 🙂 
So from there we went to the point which due to very interesting tide currents, creates a V-point. 

Looking back at the lighthouse from the point
So we did the car tour, so now onto the most natural way to get around the island: the bike tour! We started at the house and rode into town, making a stop (conveniently going up a hill for a break) at the labyrinth. 
It’s called the “Sacred Labyrinth” and is a narrow circular walkway lined with stones where you can “unplug from the distractions of the modern world and enjoy the peace and quiet of a walking meditation” by following the path. It was interesting, although I didn’t even make a full circuit before breaking the path. I guess walking meditation just isn’t for me. haha 
Biking along the road our first stop just as we were getting into town as at the Poor People’s Pub. It was a nice stop along our bike route although their Root Beer Floats I must say were quite overpriced. 
Then onto the iconic “OAR” restaurant for drinks with a view. They had such a fun outdoor environment with lawn chairs and lots of dogs! We finished our bike tour back at the Ferry terminal to drop 2 of them off making our One way excursion somewhere in the 5-5.5 mile range. 

Then we headed back for dinner and to laboriously finish the puzzle. (which we did… hours later haha) 

The last day we were up bright and early to close up the house and catch the 11 ferry (with everyone else) off the island. UNFORTUNATELY, it was only 1 enclosed single deck and pouring rain so everyone wanted to be INSIDE. Meaning our sorry butts getting there 10 minutes before leaving were left with the floor seats. haha The wet crowded floor that is also not helped by the ocean and the serious swaying that was going on. Needless to say I was glad I had some food in my stomach.. but not too much. It was a rough start to Memorial Day. haha

Block Island Costs:
The ferry from Pt. Judith, RI to Block Island: $12.50 each way
Various beverages from Ballard’s, Poor People’s Pub, and The Oar: around $10 average
Breakfast, lunch, and dinner we were blessed to have a kitchen so we cooked/ prepared stuff for those meals and thankfully brought most of the groceries with us on the ferry. (The food is crazy expensive at the stores ya’ll. Plan ahead!
And also thanks to my wonderful, amazing friends the lodging, car, and bikes were all covered. thanks again guys!

So not a bad memorial day weekend at around $55 plus grocery costs. Definitely recommend checking this little island off the New England coast a try! (But maybe wait till steadier weather cause those beaches really do look amazing!)